
Engaging with users who have reacted to Instagram posts is a powerful way to connect with your audience and raise interactions. ReachOwl provides a variable platform for automating such outreach efforts.
In this blog, we’ll guide you through the process of setting up a message sequence campaign to effectively reach out to individuals who have reacted to Instagram posts using ReachOwl.
Step 1: Select the “Create Campaign” option
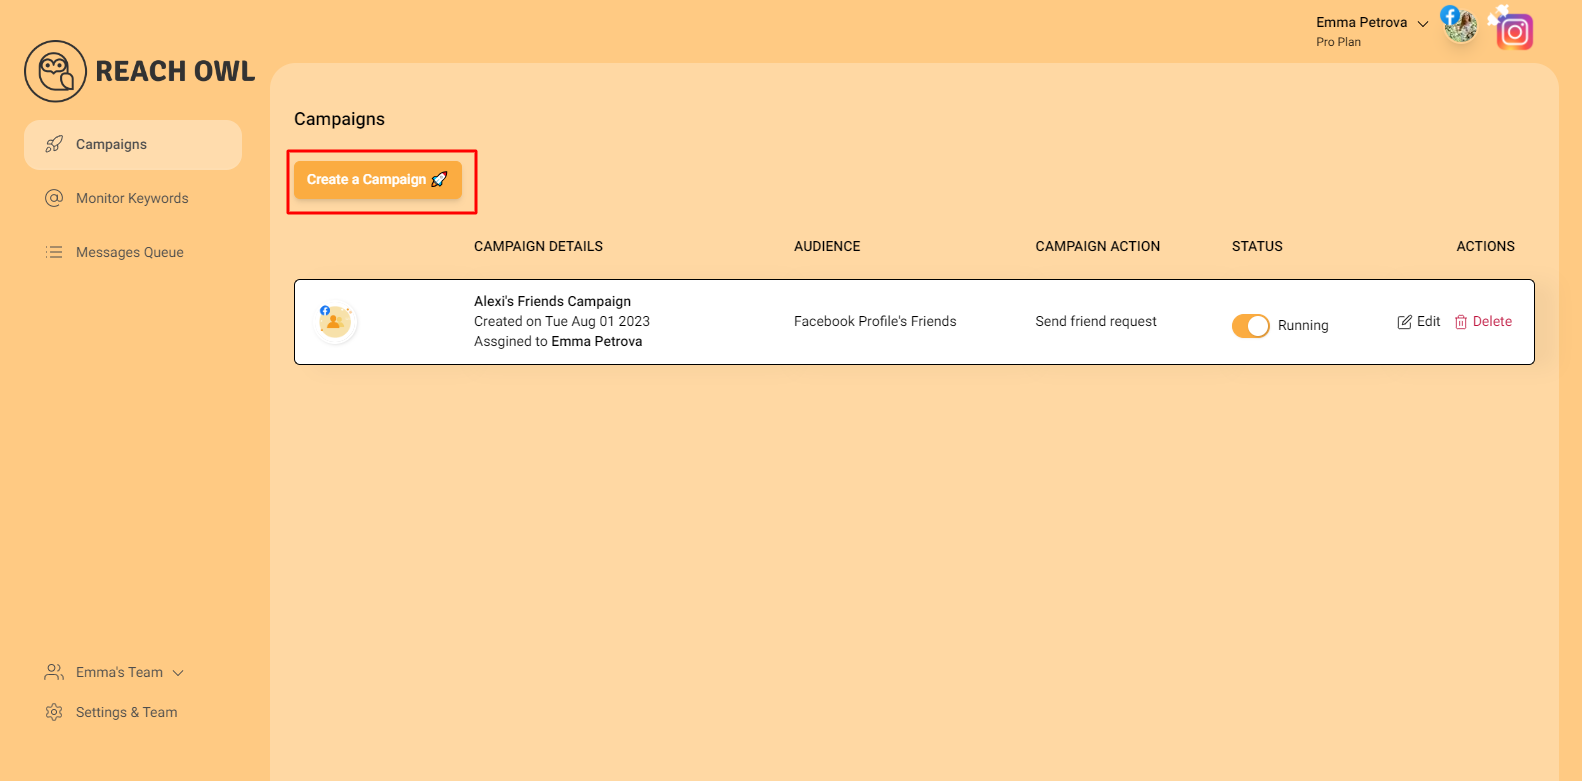 Log in to your ReachOwl account and select the “Create Campaign” option to initiate the campaign setup.
Step 2: Choose the “Instagram Post Reactions” option
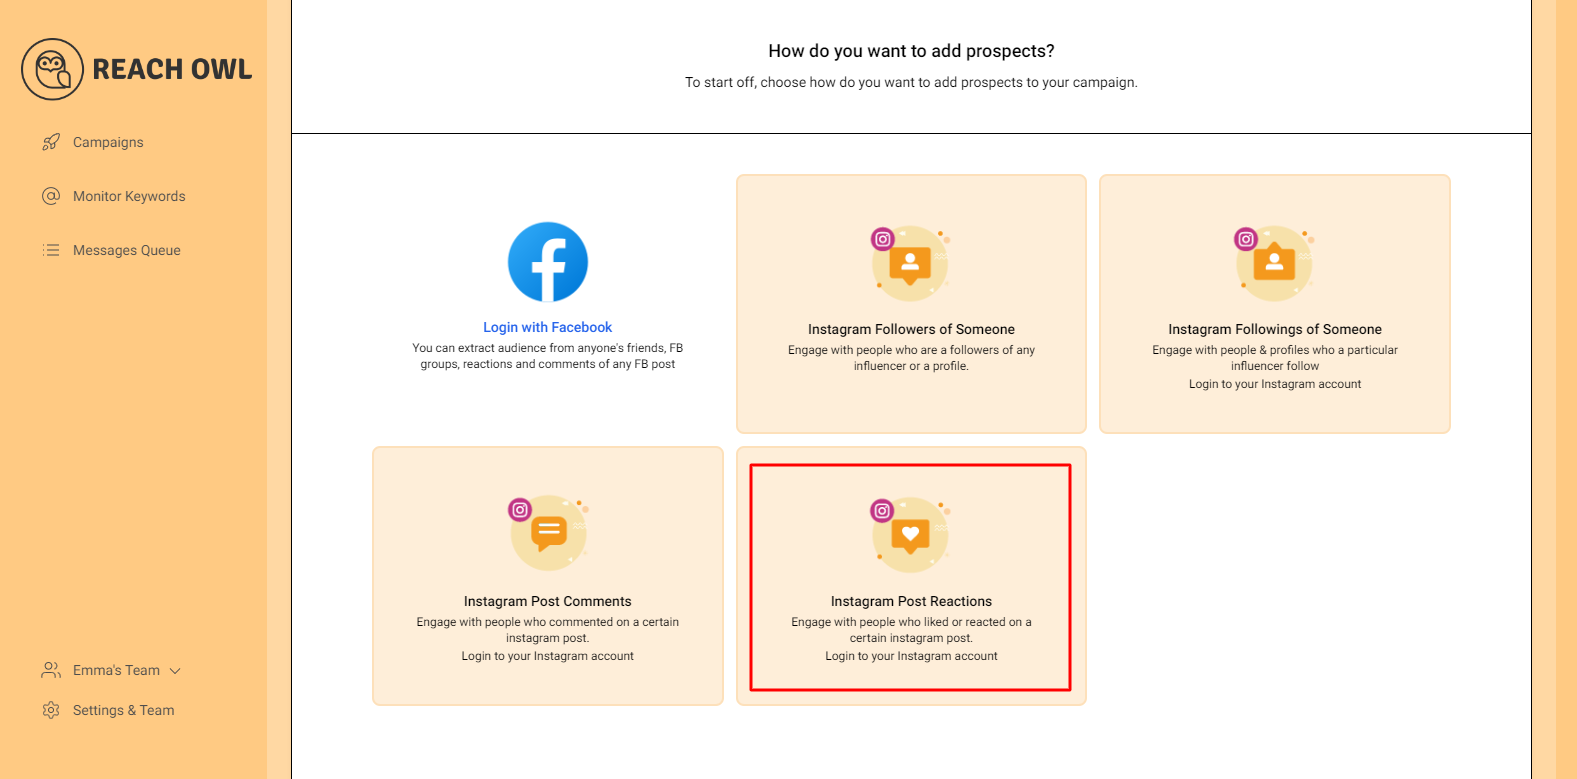
This selection will enable you to target users who have reacted to a specific Instagram post.
Step 3: Find the Post and Copy the link

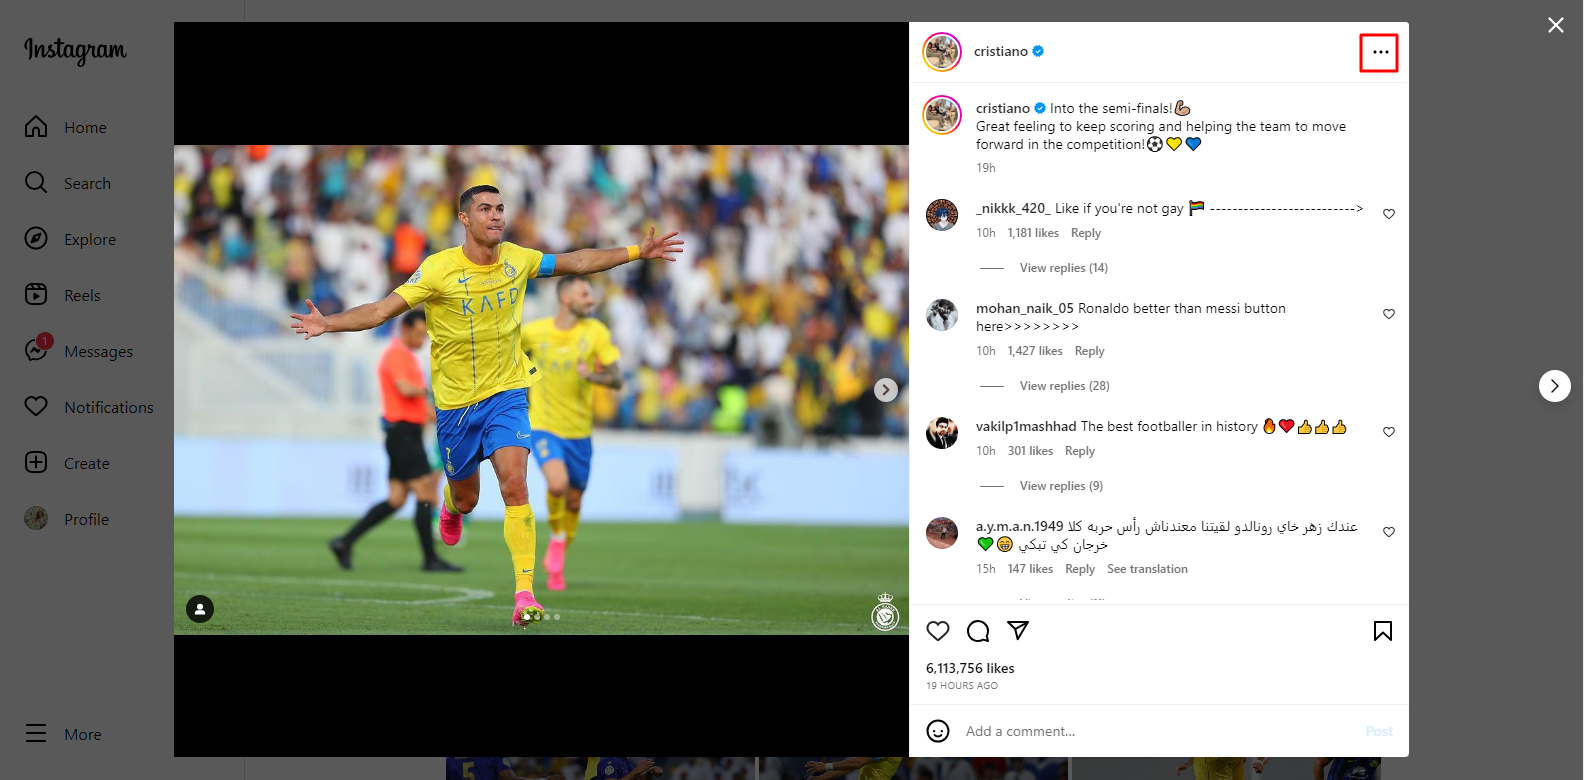
Locate the Instagram post and click on the three dots (…) located at the top right of the post.

Select “Copy Link” to copy the post’s URL
Step 4: Paste the link of Post into ReachOwl

Head back to the ReachOwl page and paste the copied post in the designated area.
This step helps ReachOwl identify the post and its reactions.
Step 5: Click on “Next”

After pasting the post, click on the “Next” button to proceed.
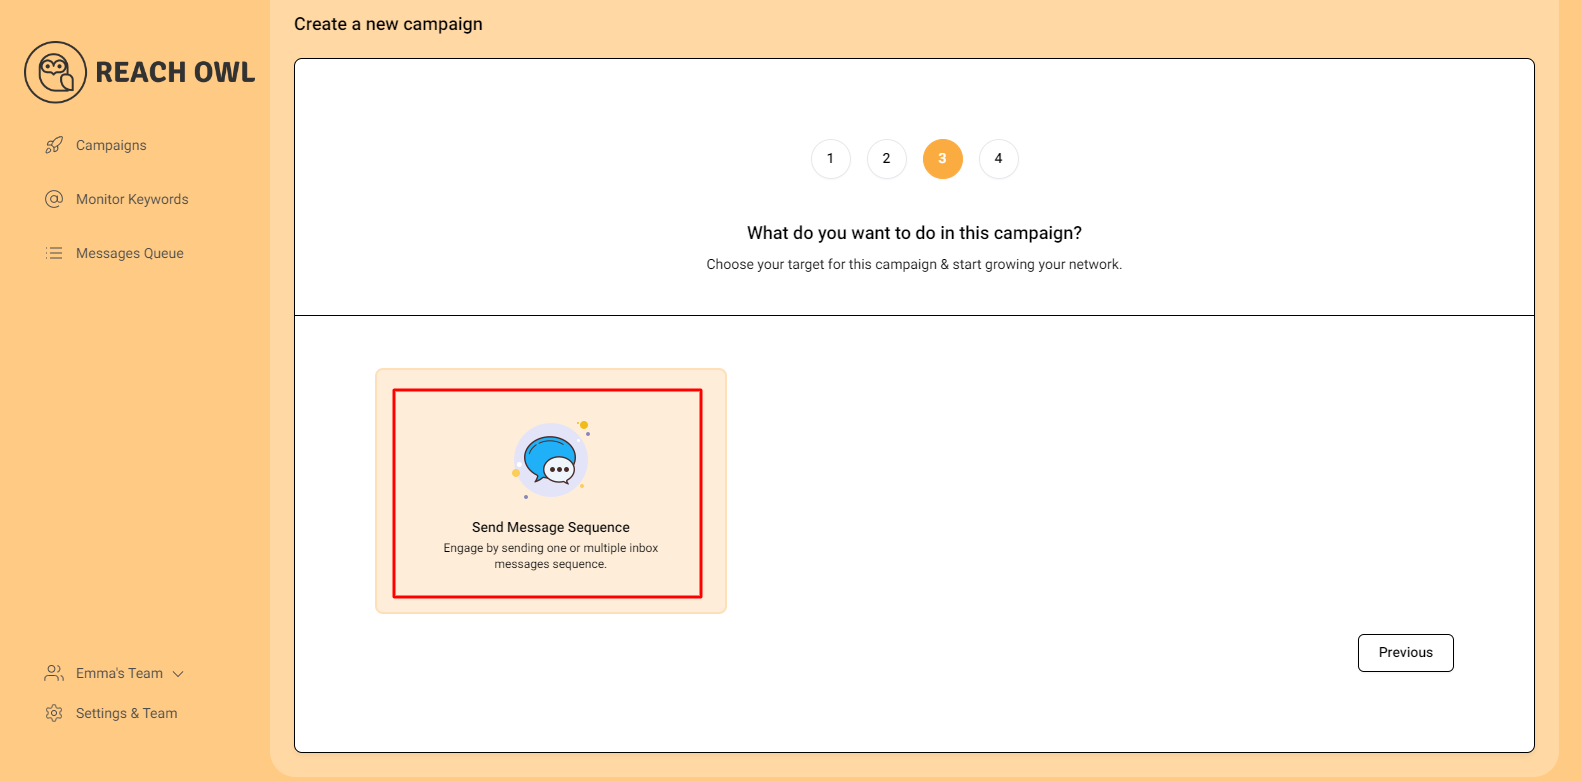
Step 6: Click the “Message Sequence” option
Step 7: Name the Campaign
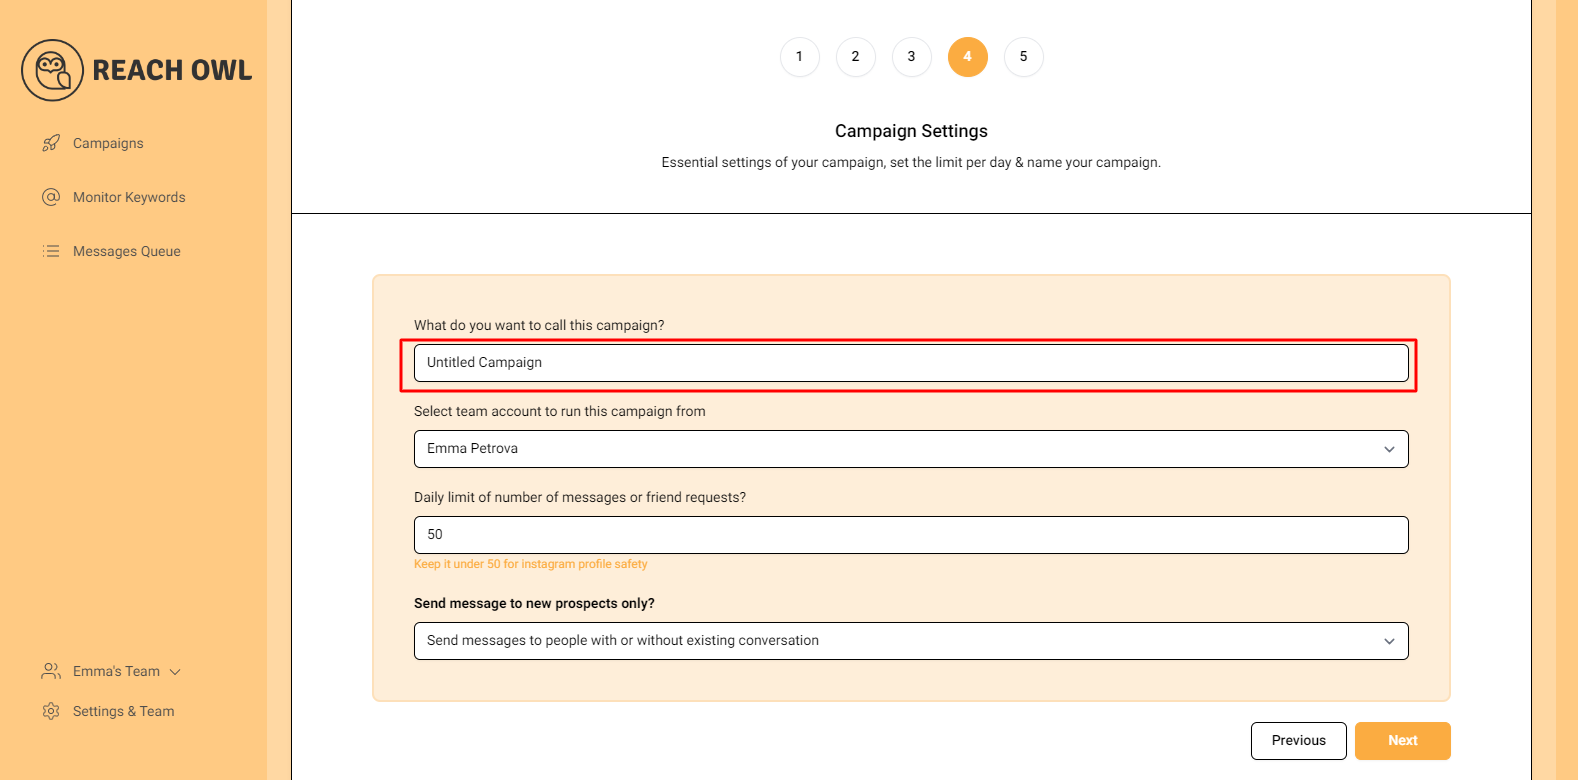
Choose a descriptive name for your campaign that will help you identify it easily in the future.
Step 8: Select the Account to Run Your Campaign

Choose the account from which you want to run the message campaign.
Step 9: Set Up a Daily Limit on the Number of Messages
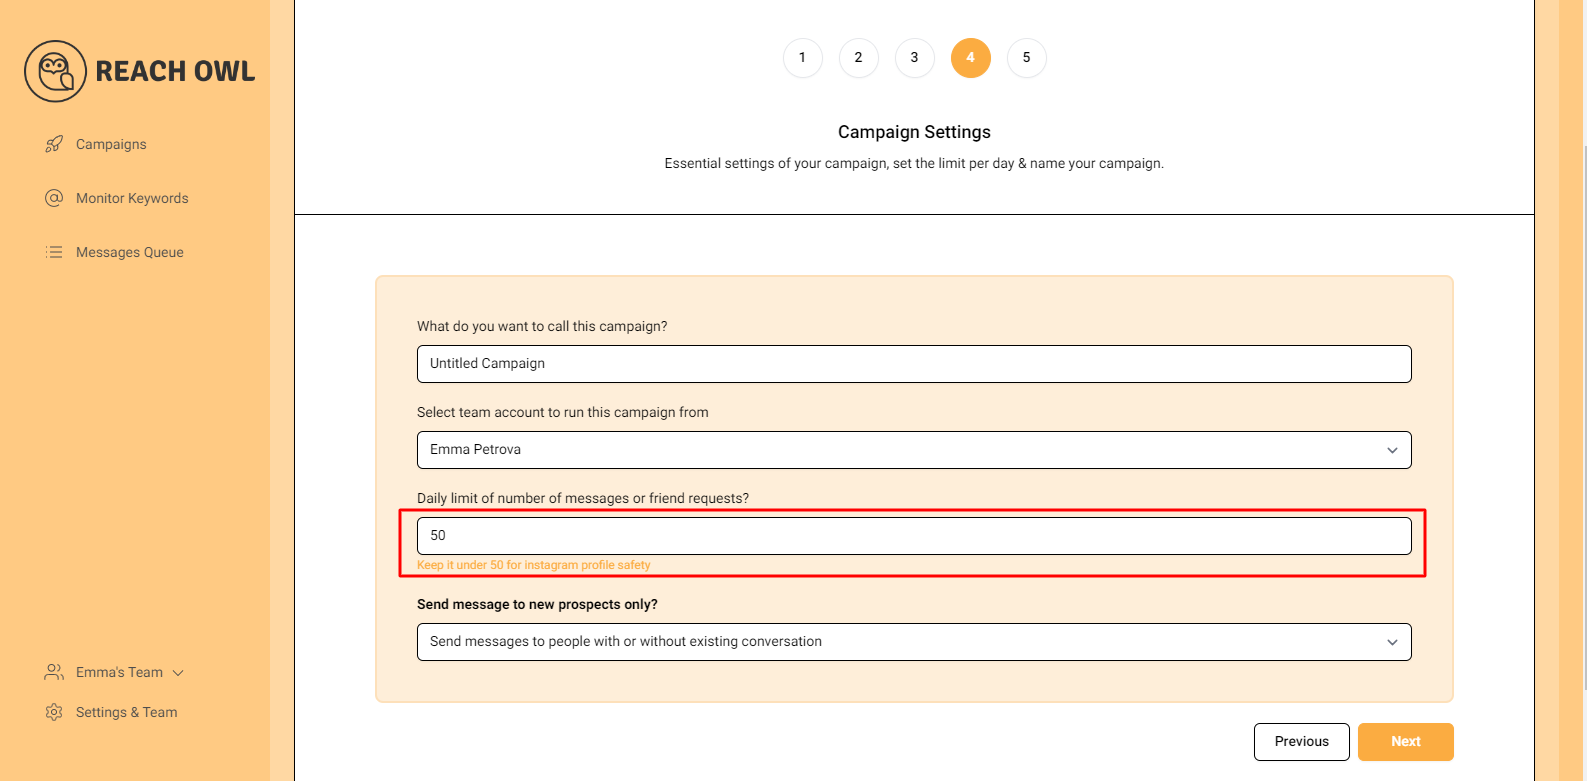
If you want to control the number of messages sent per day, you can set a daily limit.
Step 10: Send messages to new prospects only?
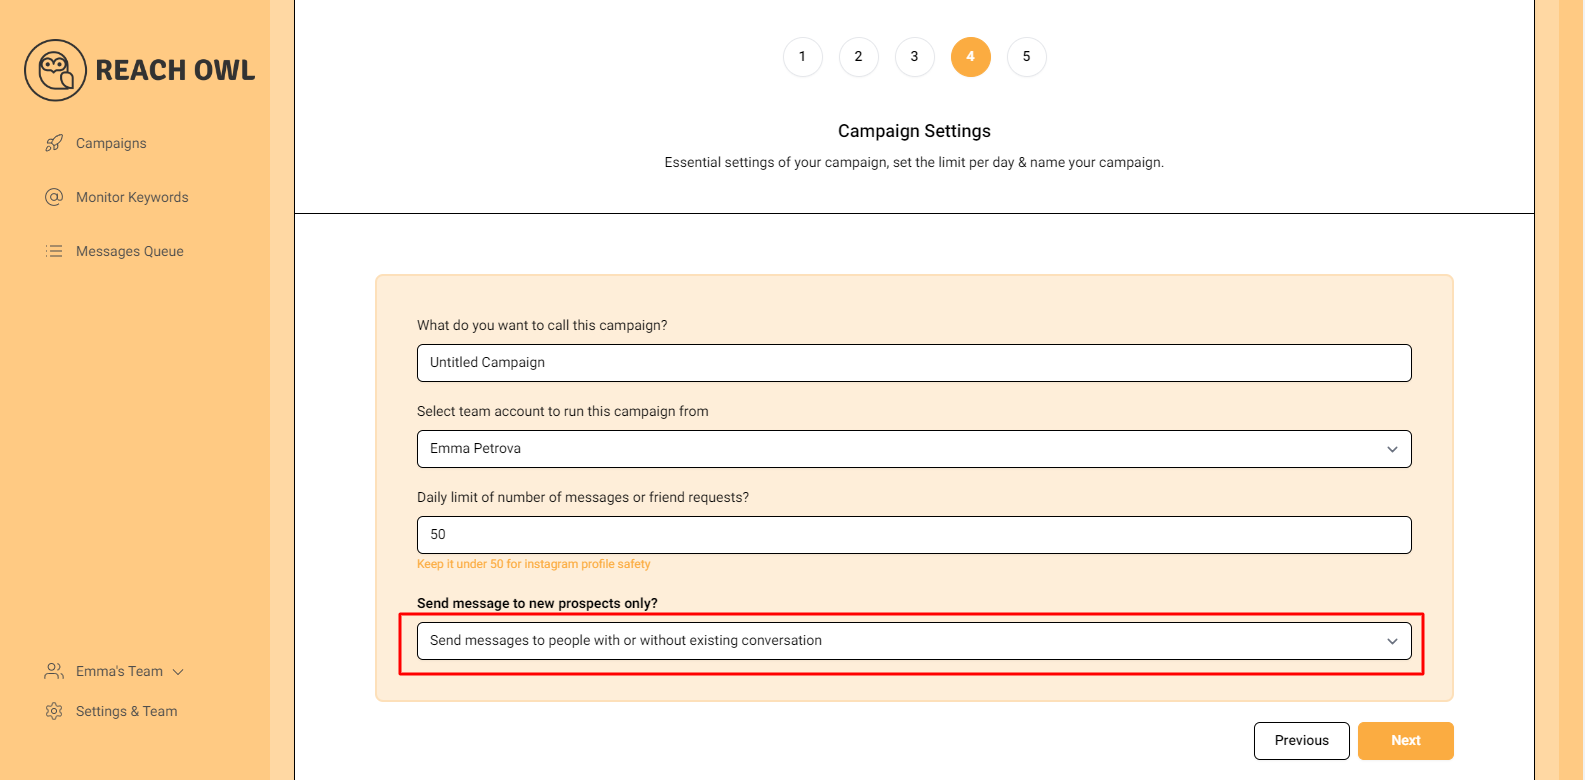
You can choose whether you want to send the campaigns to new people or to the people you already have conventions with.
Step 11: Click Next
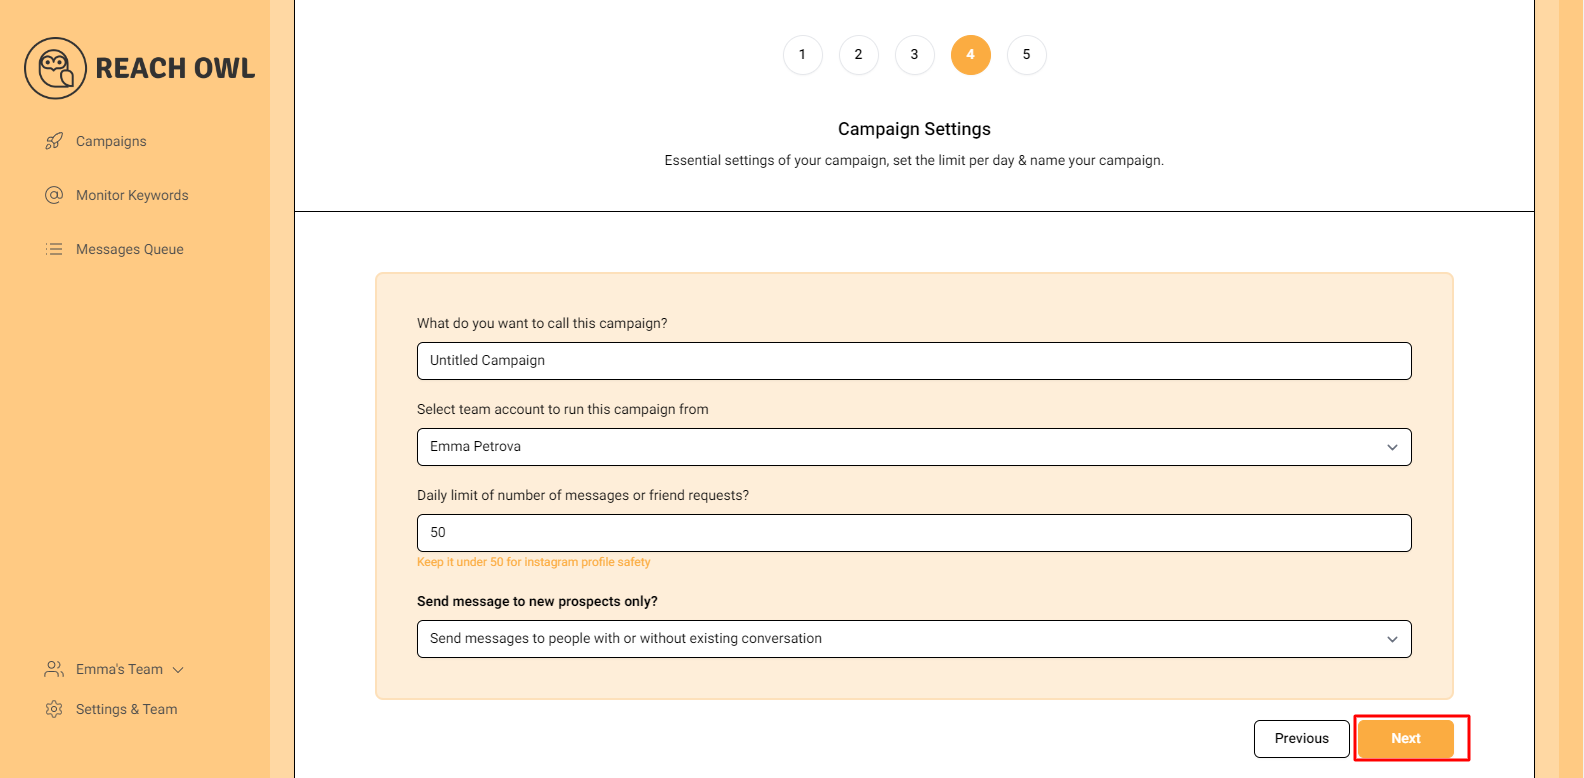
After filling out the options, click on next.
Step 12: Compose the Message

Now it’s time to craft your message sequence. Use the name variable, denoted by double curly braces ({{name}}), to personalise the messages with the recipient’s name.
Step 13: Add Multiple Messages
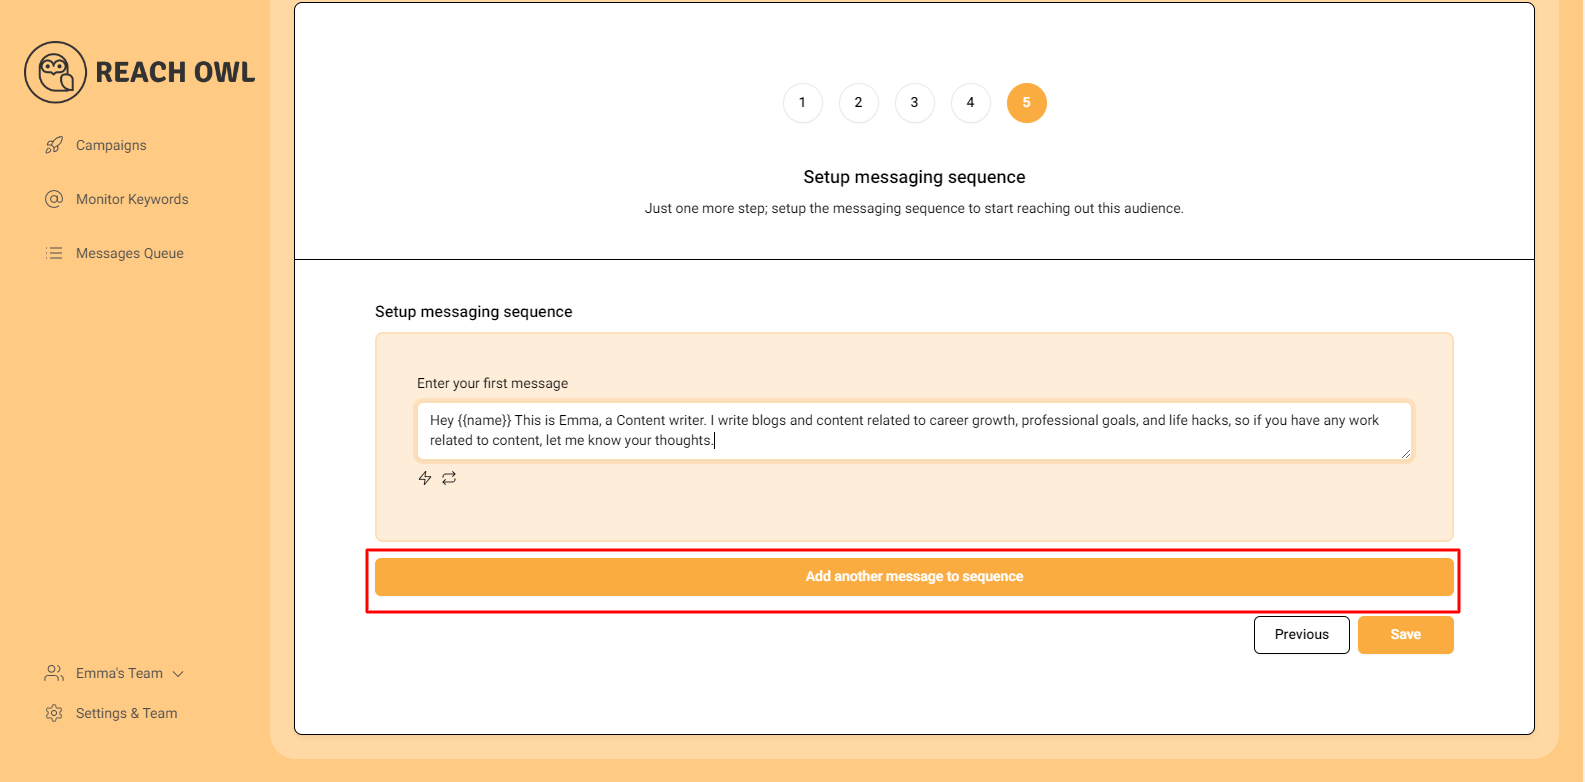
Click on “Add another message to the sequence” and create additional compelling messages that resonate with your target audience.
Step 14: Set Up the Messaging Sequence
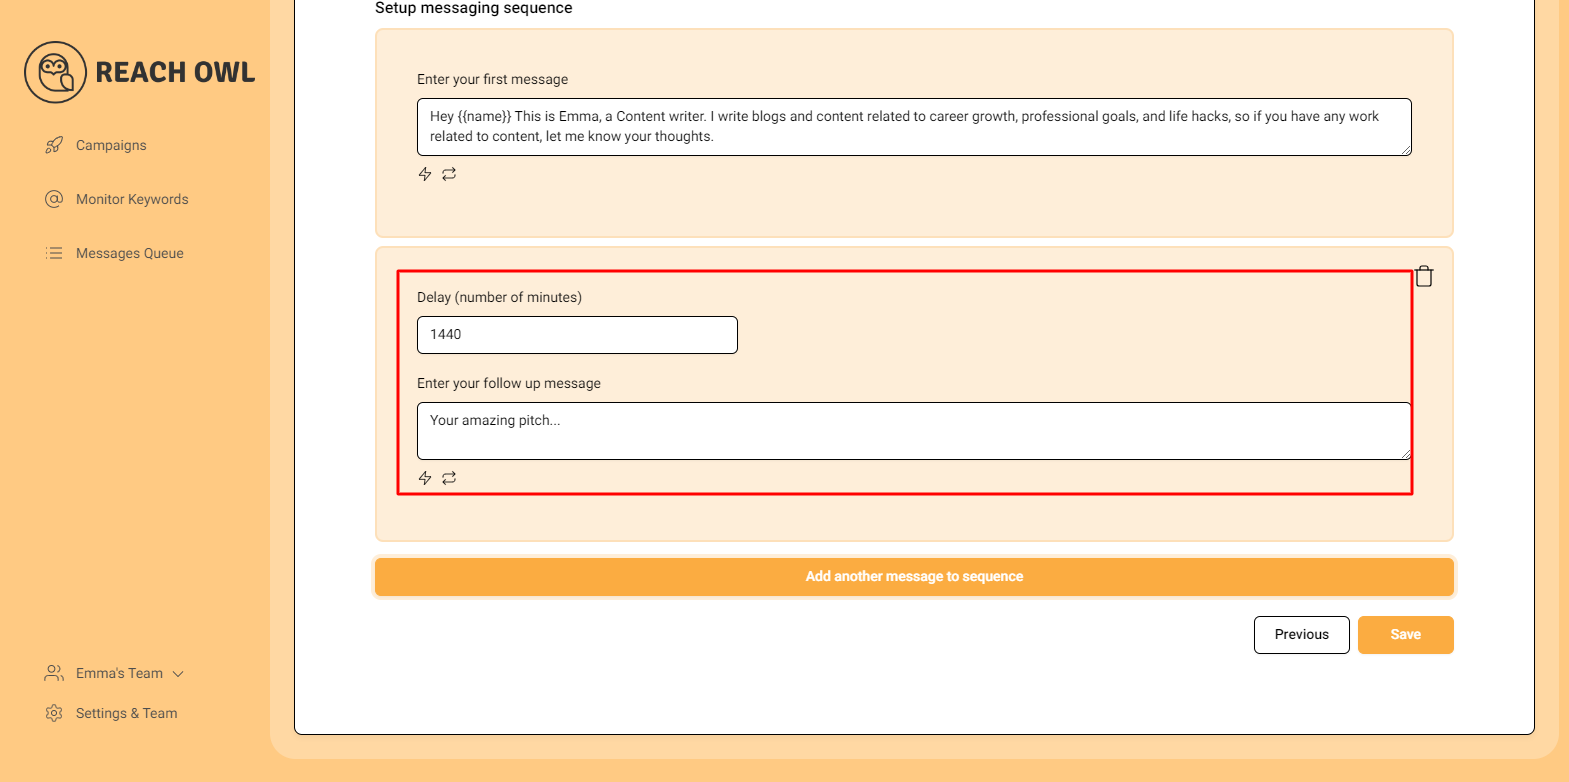
Craft a follow-up message and set a delay (e.g., a specific number of minutes) between each message in the sequence. This staggered approach helps ensure that your messages are not perceived as spam.
Once you’ve fine-tuned your messaging sequence, click “Save” to preserve your campaign settings.
Step 15: Start Your Campaign

Finally, you’re ready to start your messaging campaign! Click on “Start My Campaign” to initiate the outreach process.
Step 16: Monitor and Manage

As your campaign progresses, ReachOwl will keep you updated on its status. You can view the audience followers who have been contacted and make adjustments as needed.
Conclusion
Take advantage of this automation tool to establish connections, increase engagement, and expand your brand’s online presence. With ReachOwl’s features at your disposal, you can optimize your social media outreach efforts and achieve your marketing objectives.
Best of luck with your campaigns!