Efficiently managing conversations across your team can be challenging, but with ReachOwl, it’s easy.
Here’s a step-by-step guide on how ReachOwl allows a main account to manage all team members’ conversations in one place.
Step 1: Access Team Settings
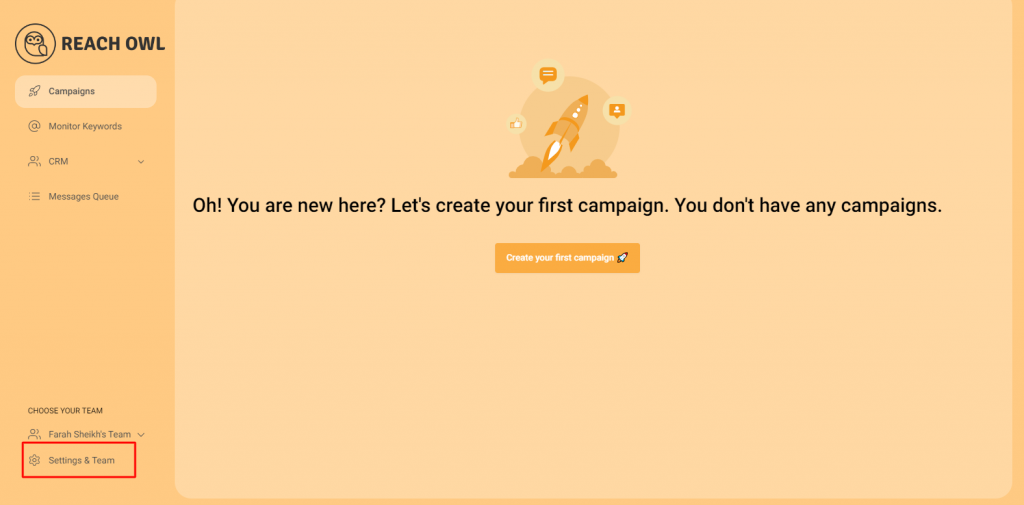
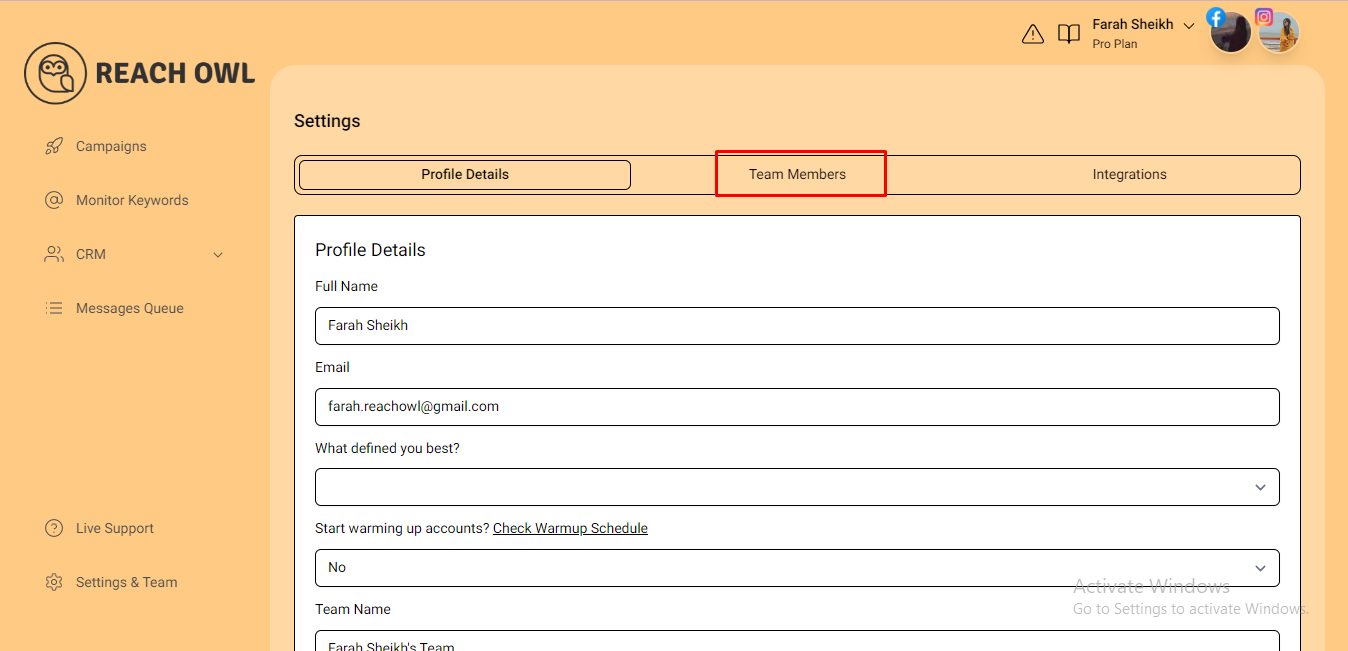
Start by going to the settings. Click on the “Settings & Team” option, then proceed to the “Team Member” section.
Step 2: Auto-Generate Team Members
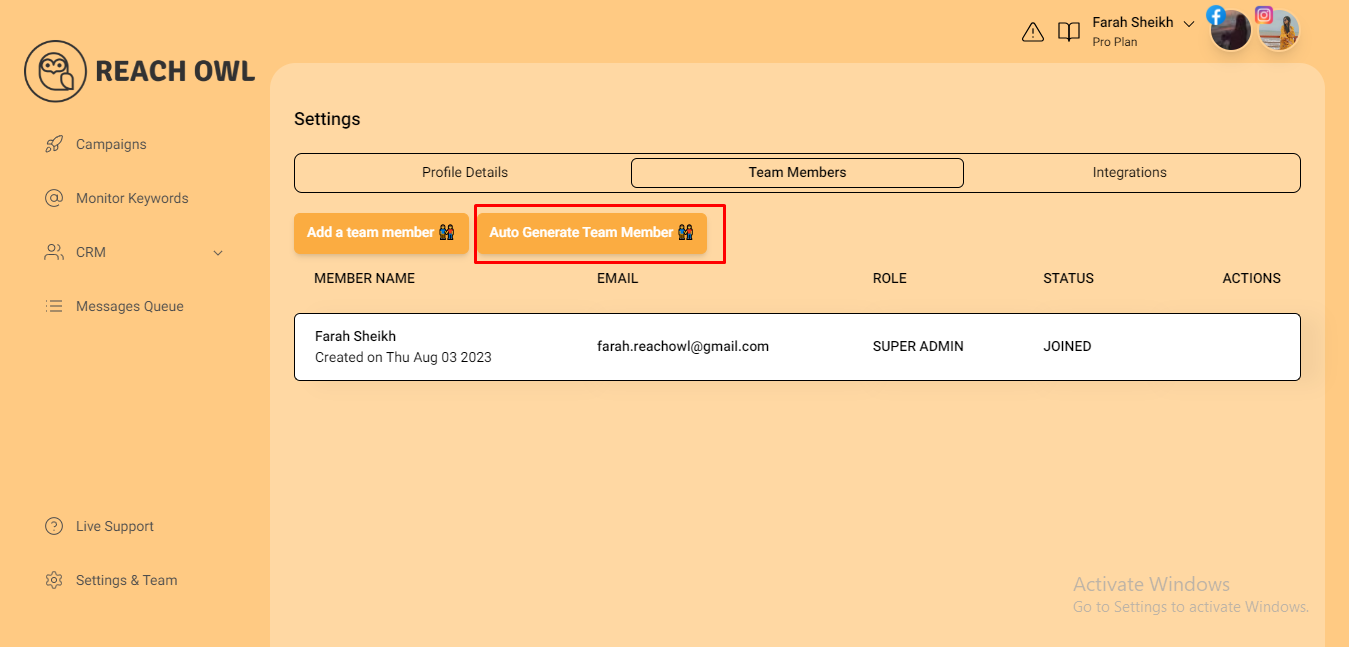
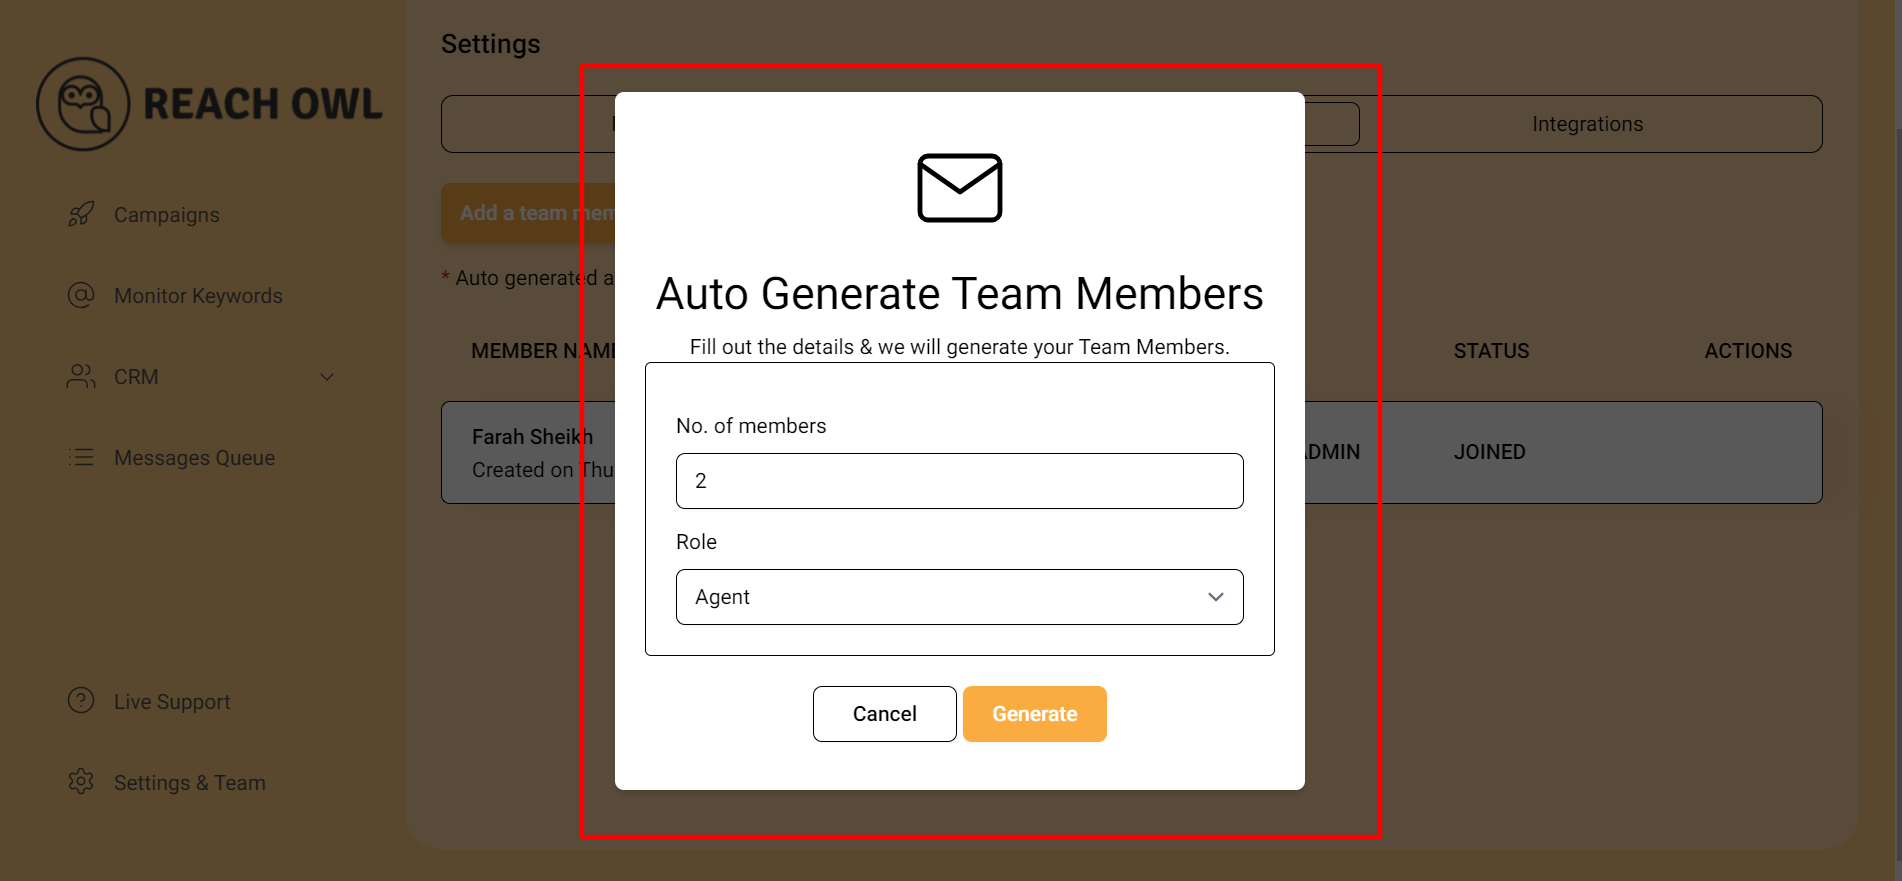
Click on the “Auto-Generate Team Members” button. Fill out the necessary details, such as the number of members you want to add and their roles (e.g., super admin, agent).
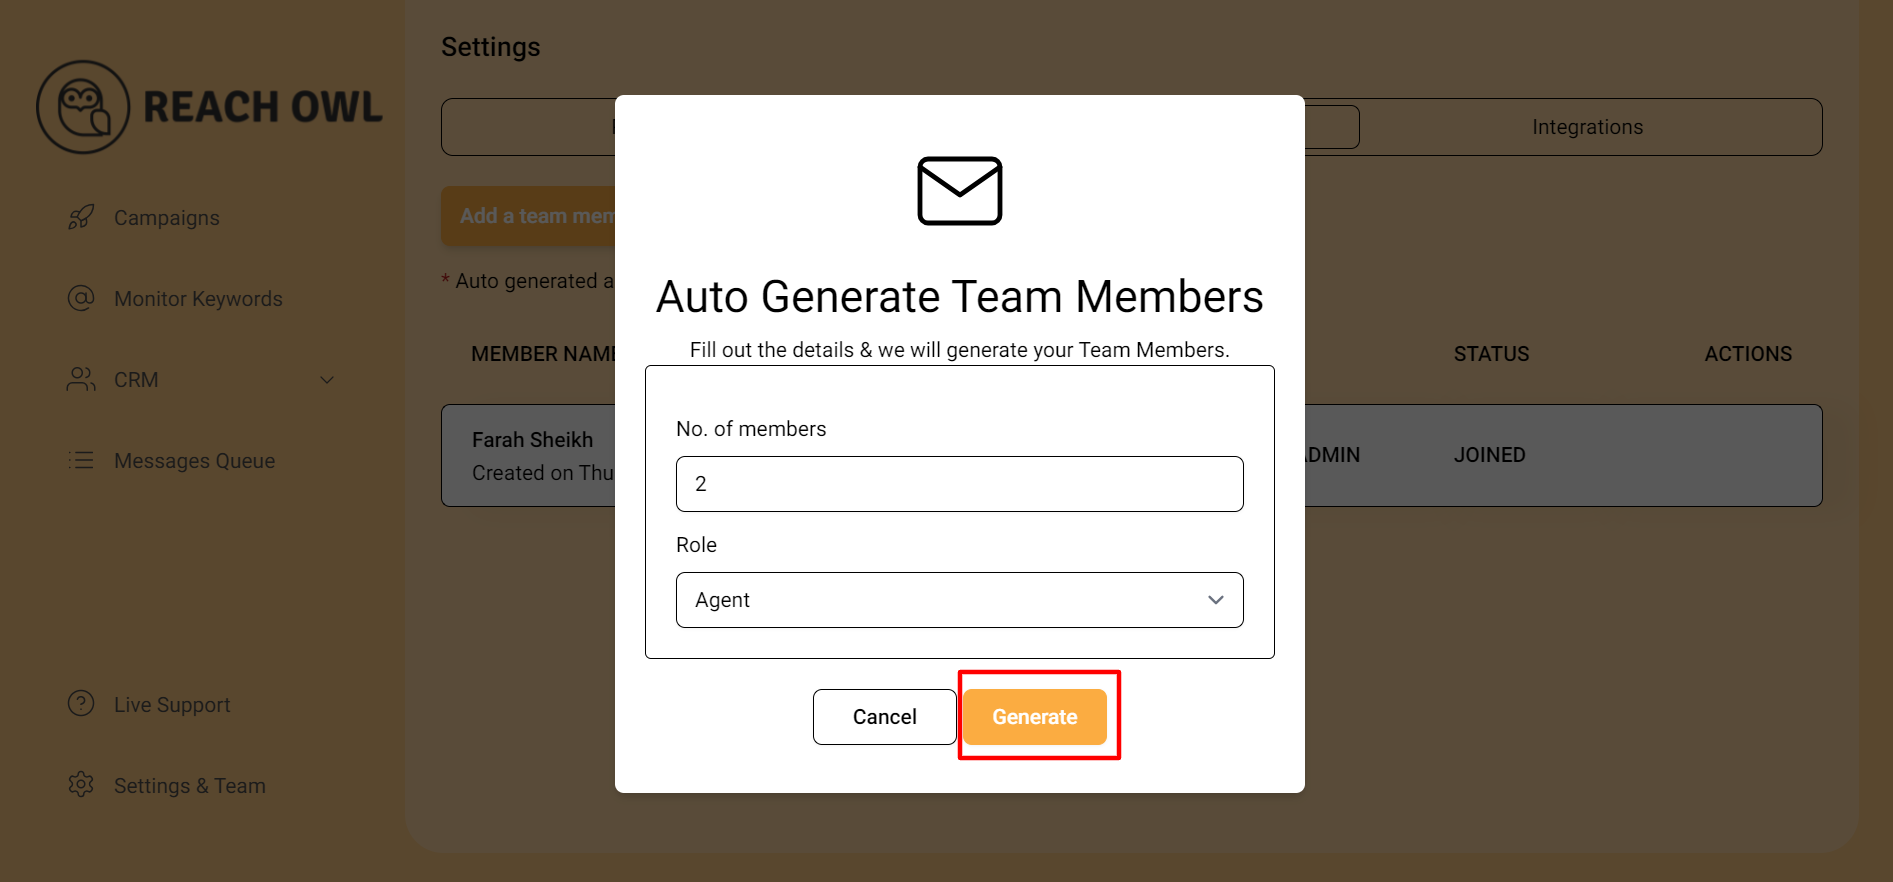
Once all details are filled in, click the “Generate” button.
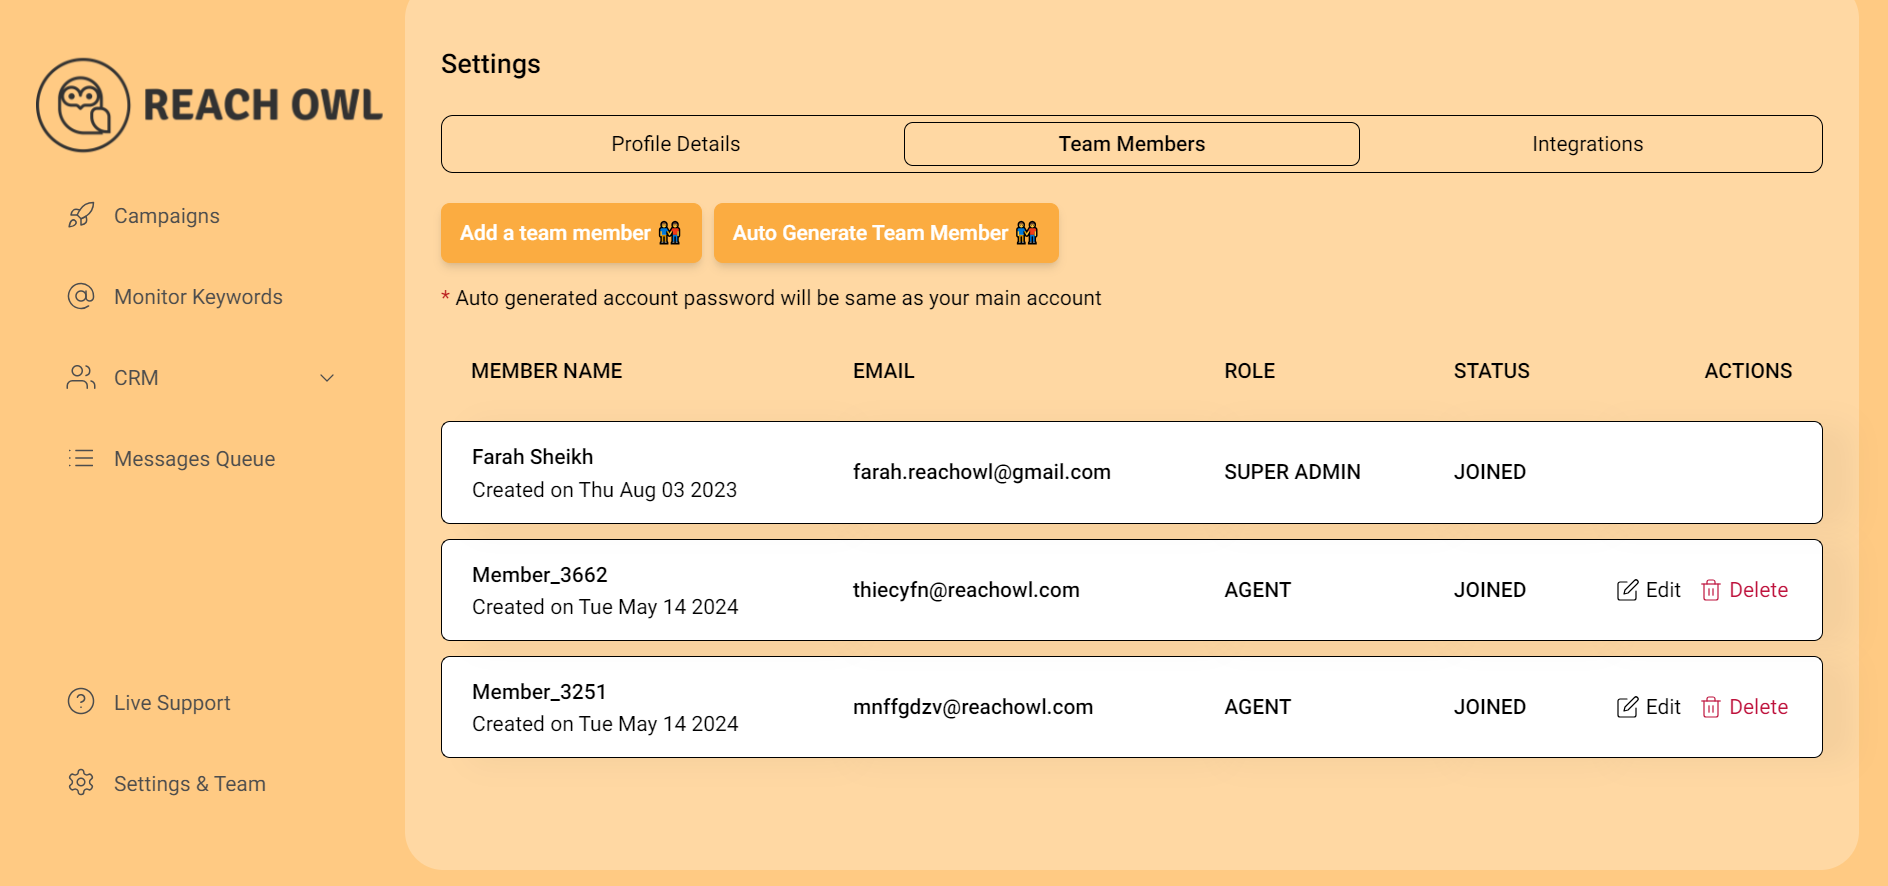
Once the process is complete, you will see a list of your team members displayed on the screen, showing their names, email IDs, roles, statuses, and available actions.
Step 3: Log In and Connect Social Accounts
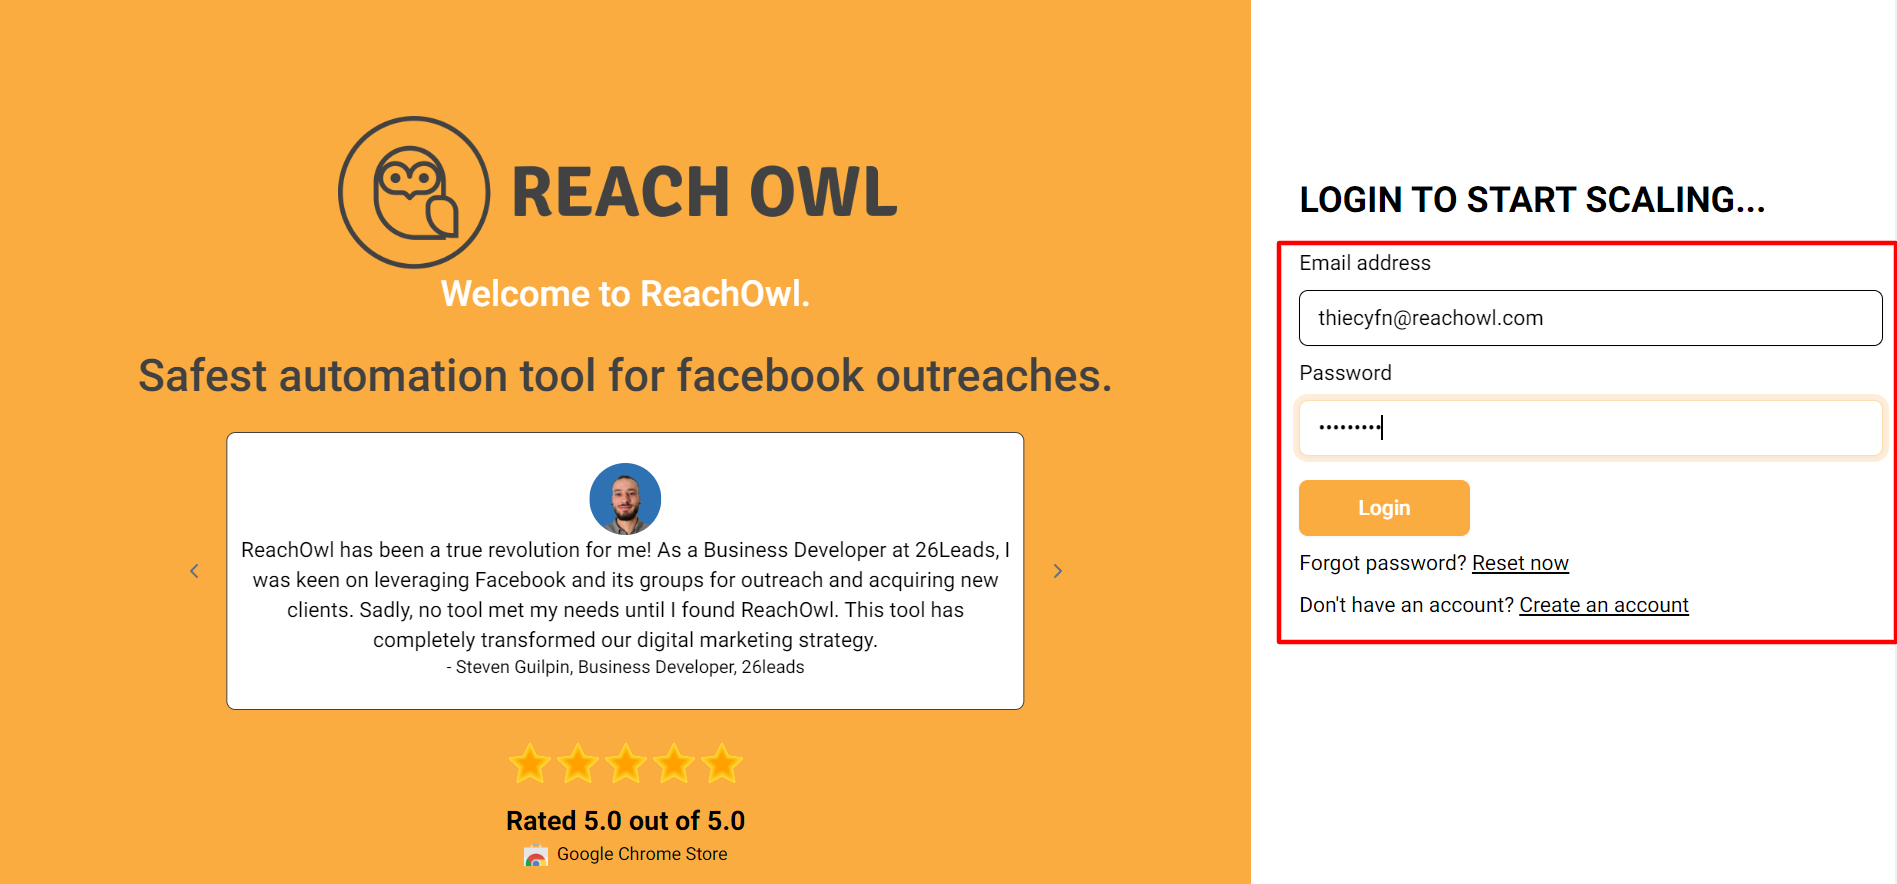
Log in to any of the generated team accounts using the same password as the main account. Open another browser window to do this. Connect both social accounts (Facebook and Instagram) to the team member account.
Step 4: Switch to a Team Member
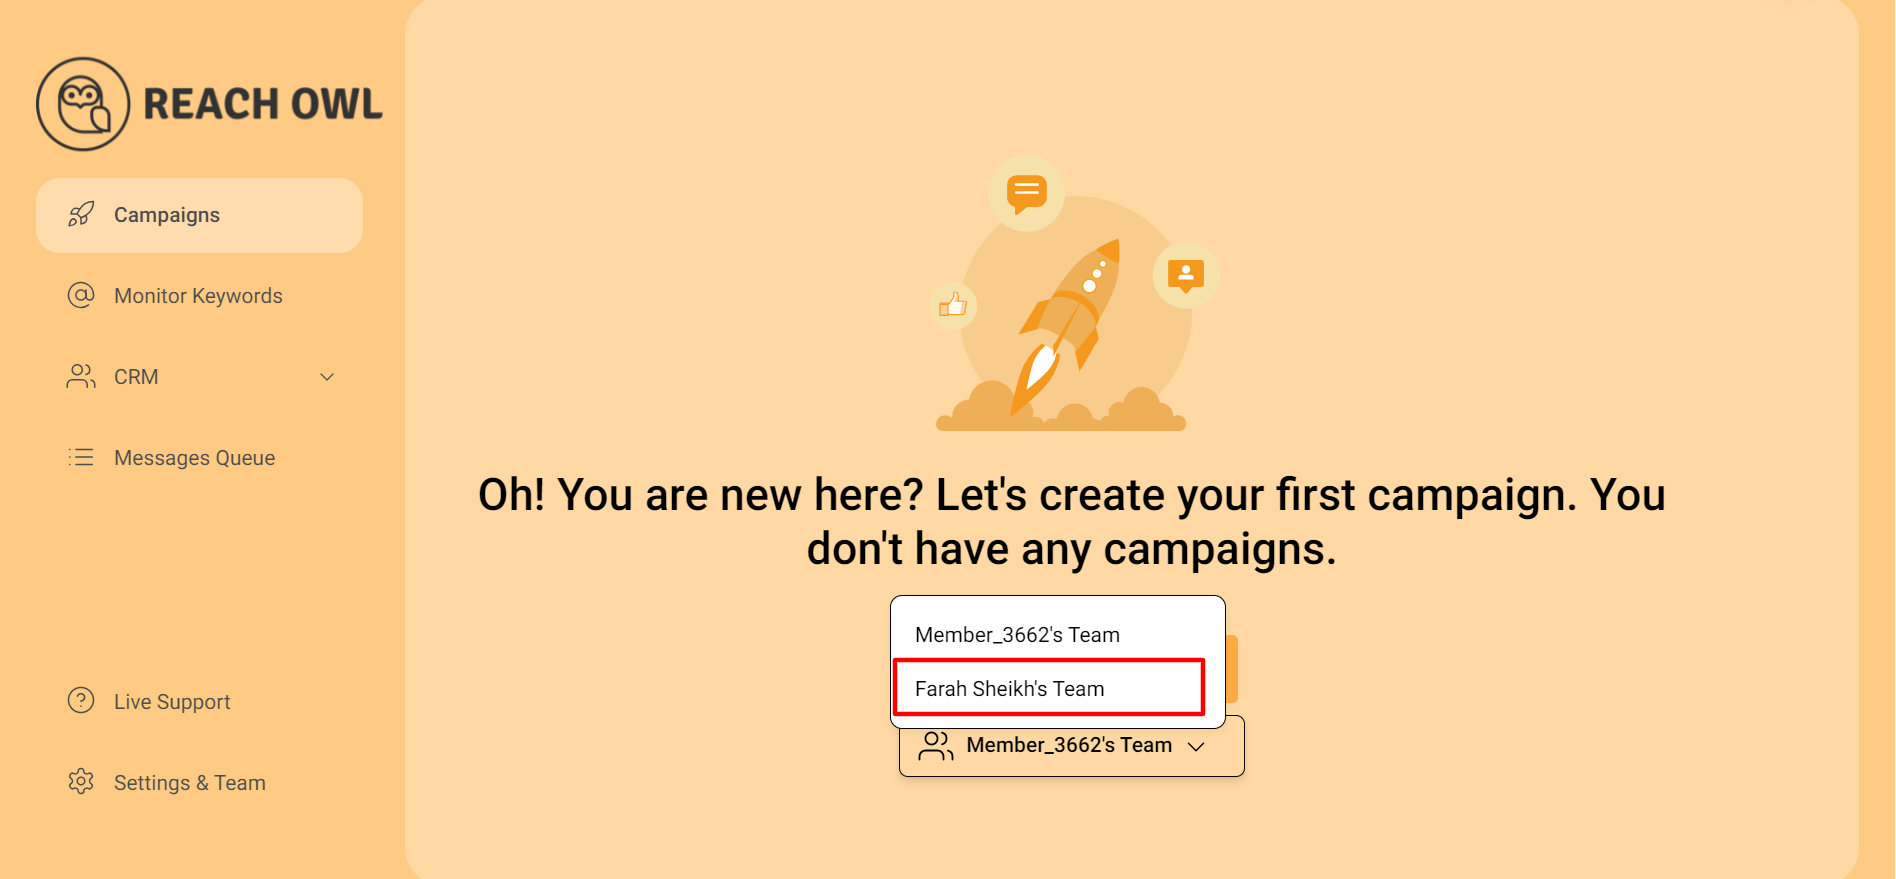
Select a team member, such as Farah Sheikh, to switch to their account.
Step 5: Campaign Creation

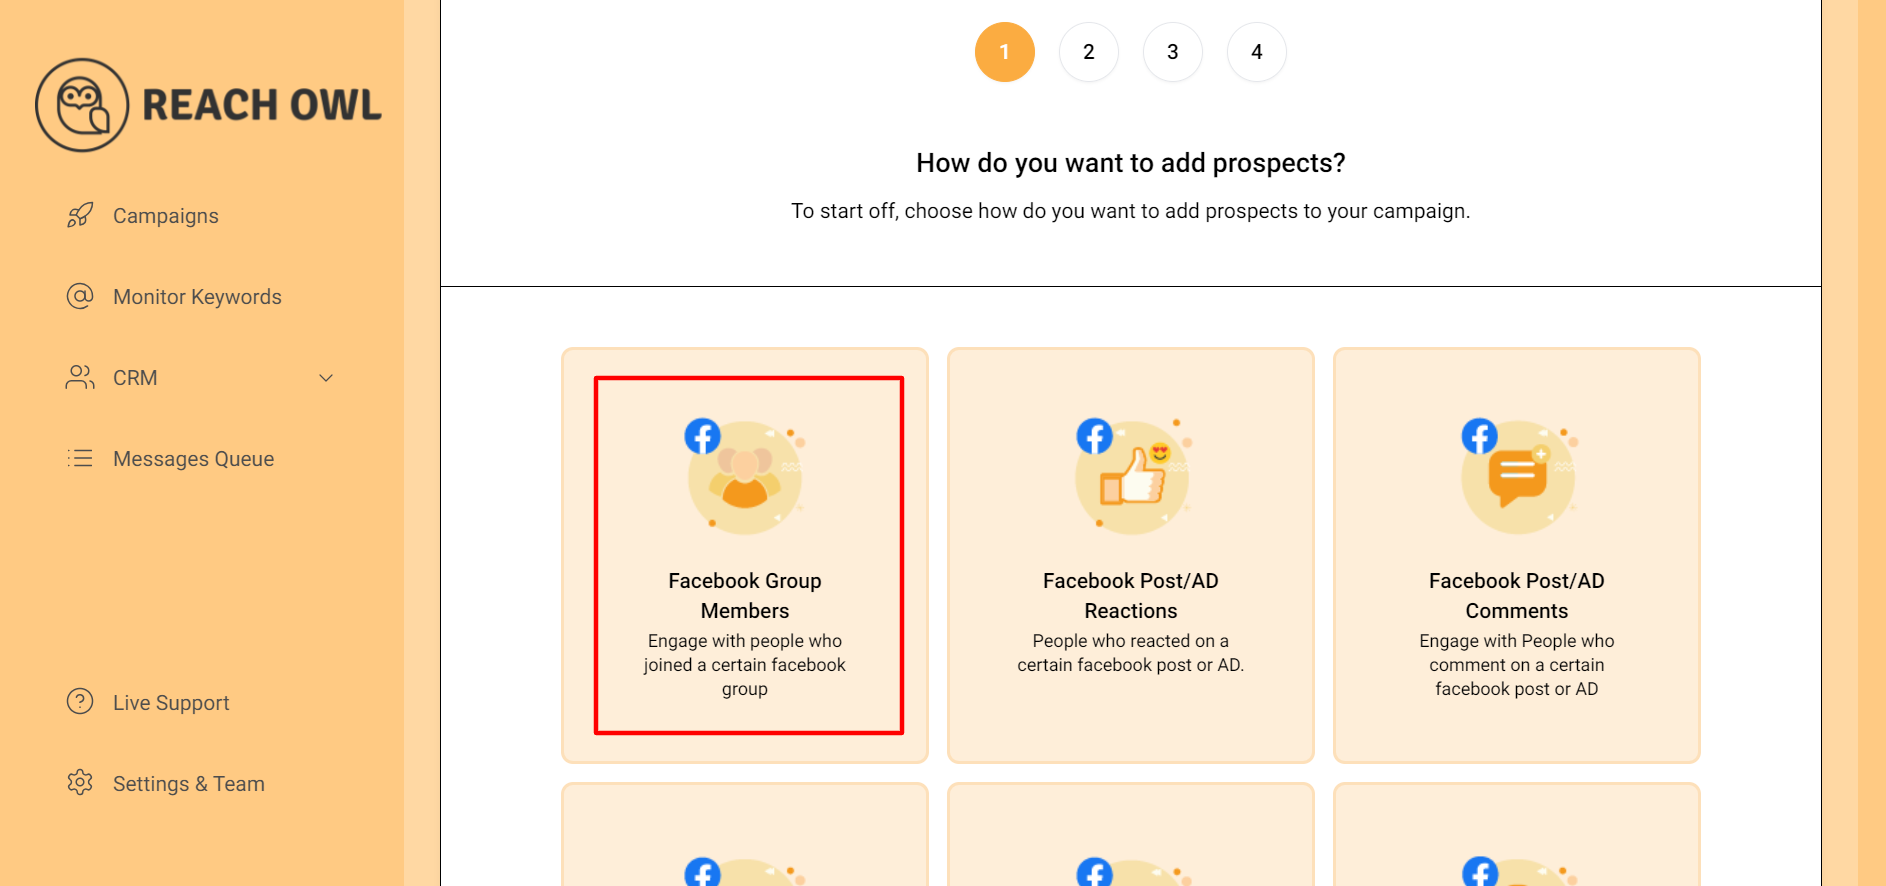
Now create a campaign and choose “Facebook Group Members.”.
Step 6: Select the Facebook Group
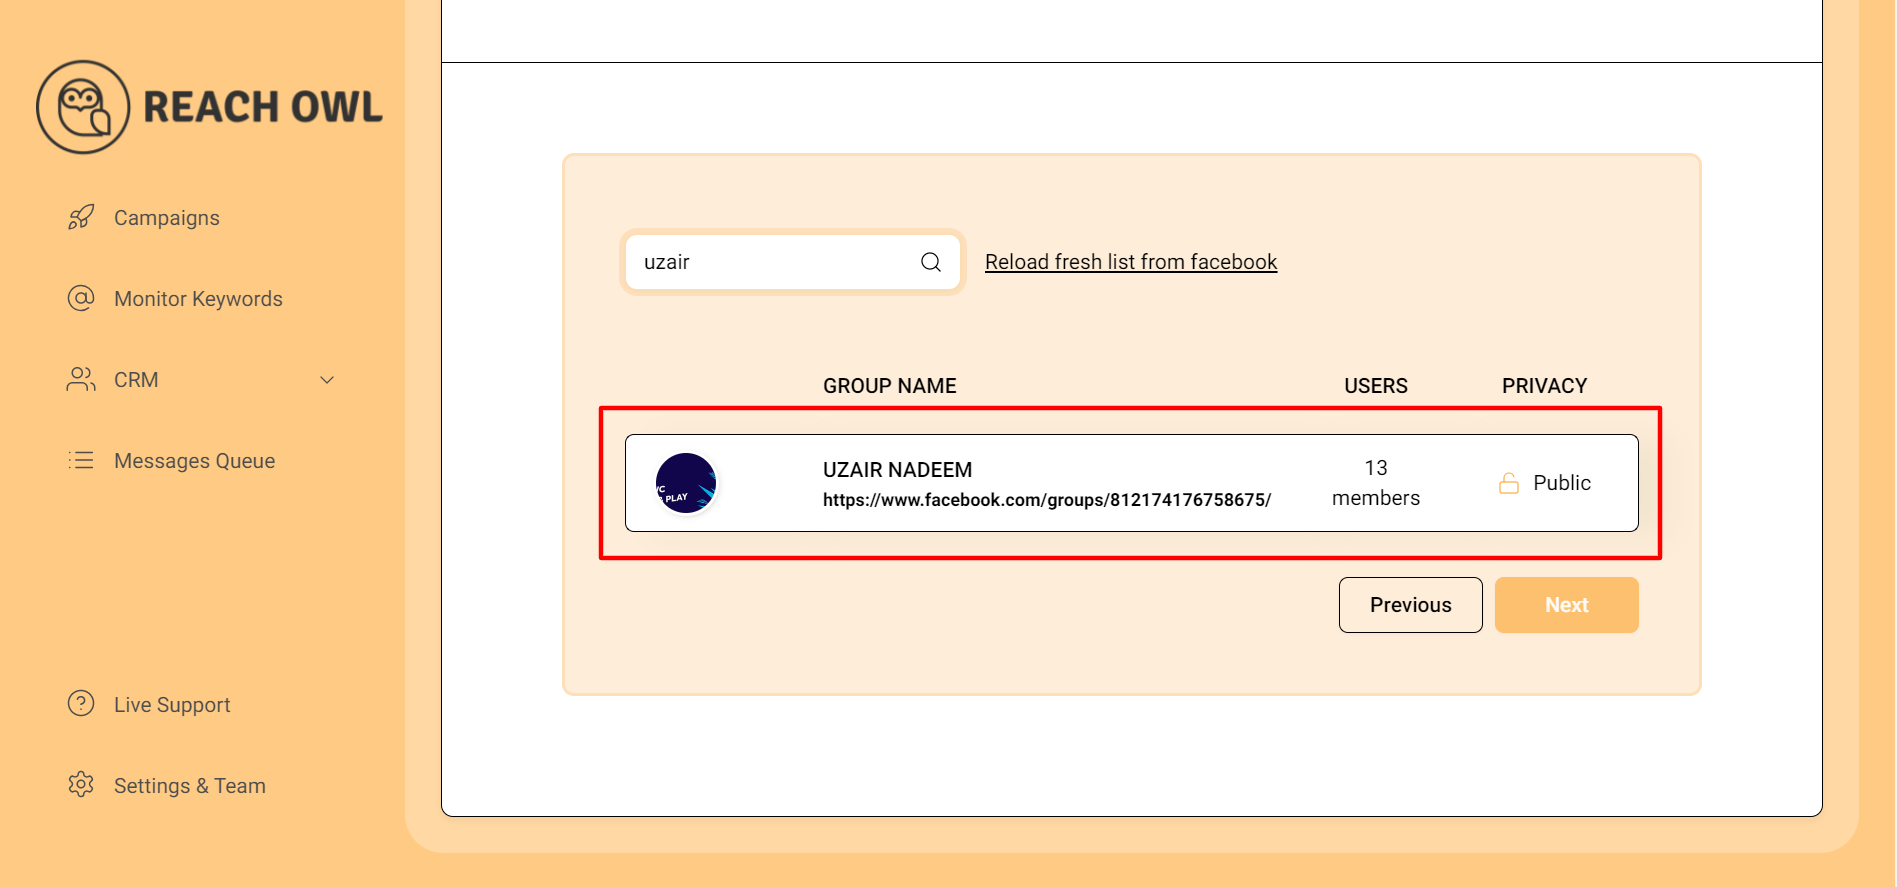
Ensure that both the main account and the team member are part of the same Facebook group.
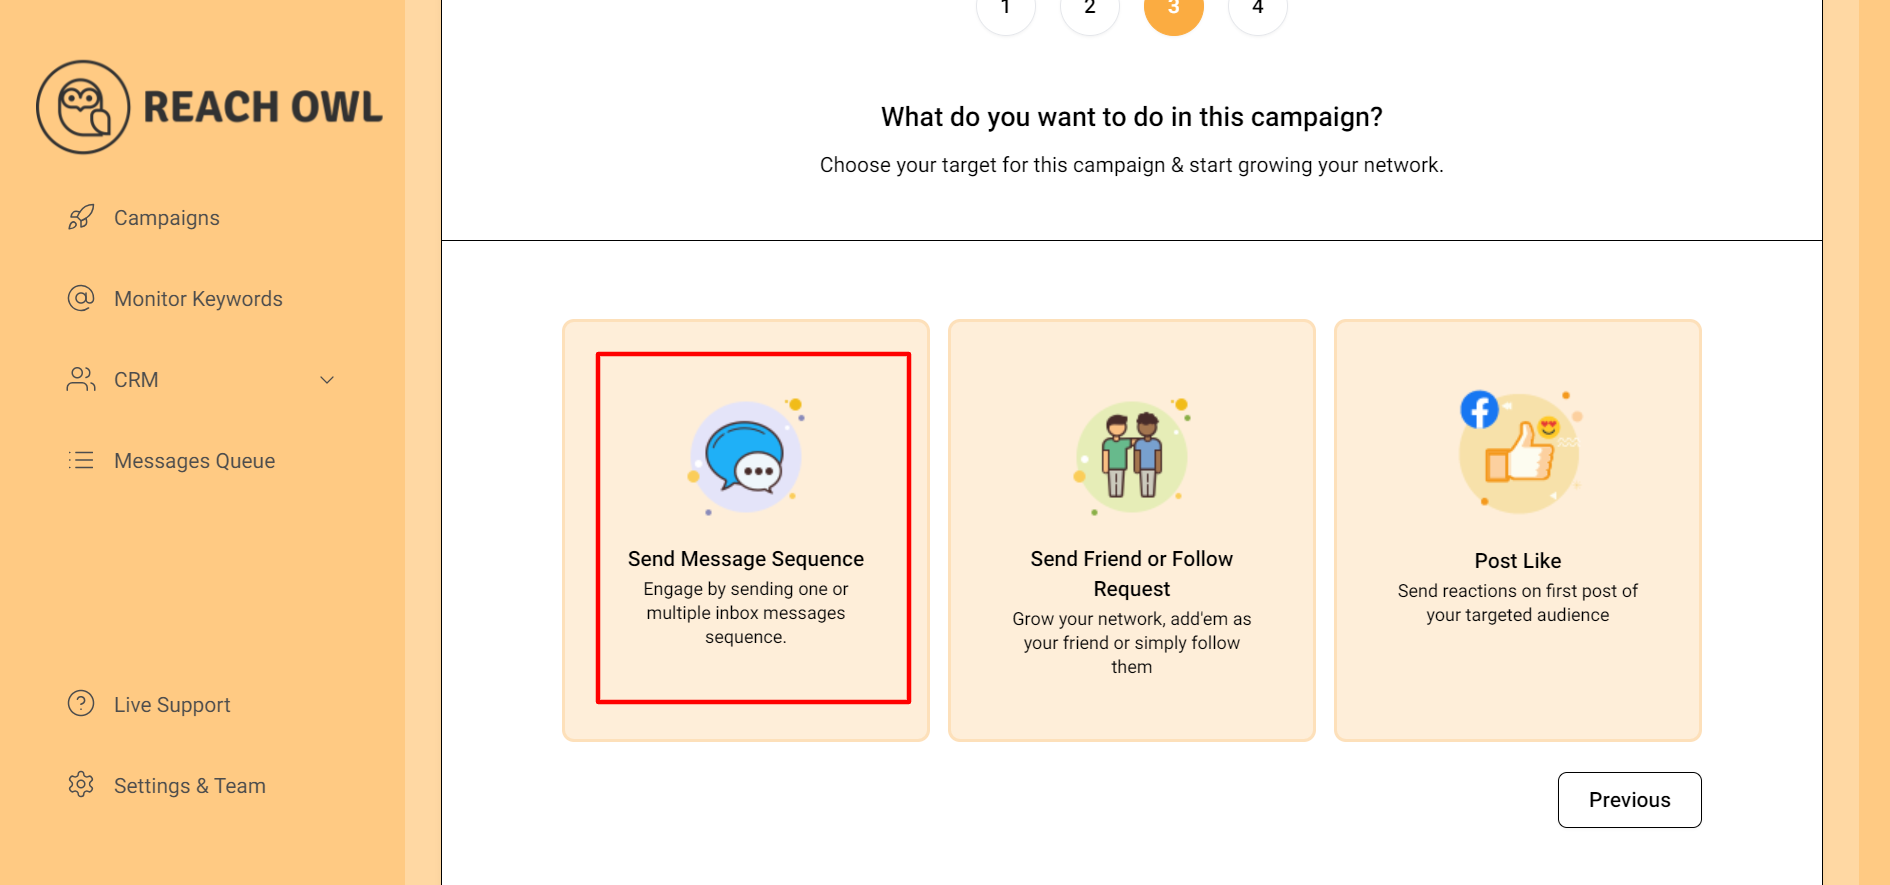
Select the “Message Sequence” option.
Step 7: Name the Campaign
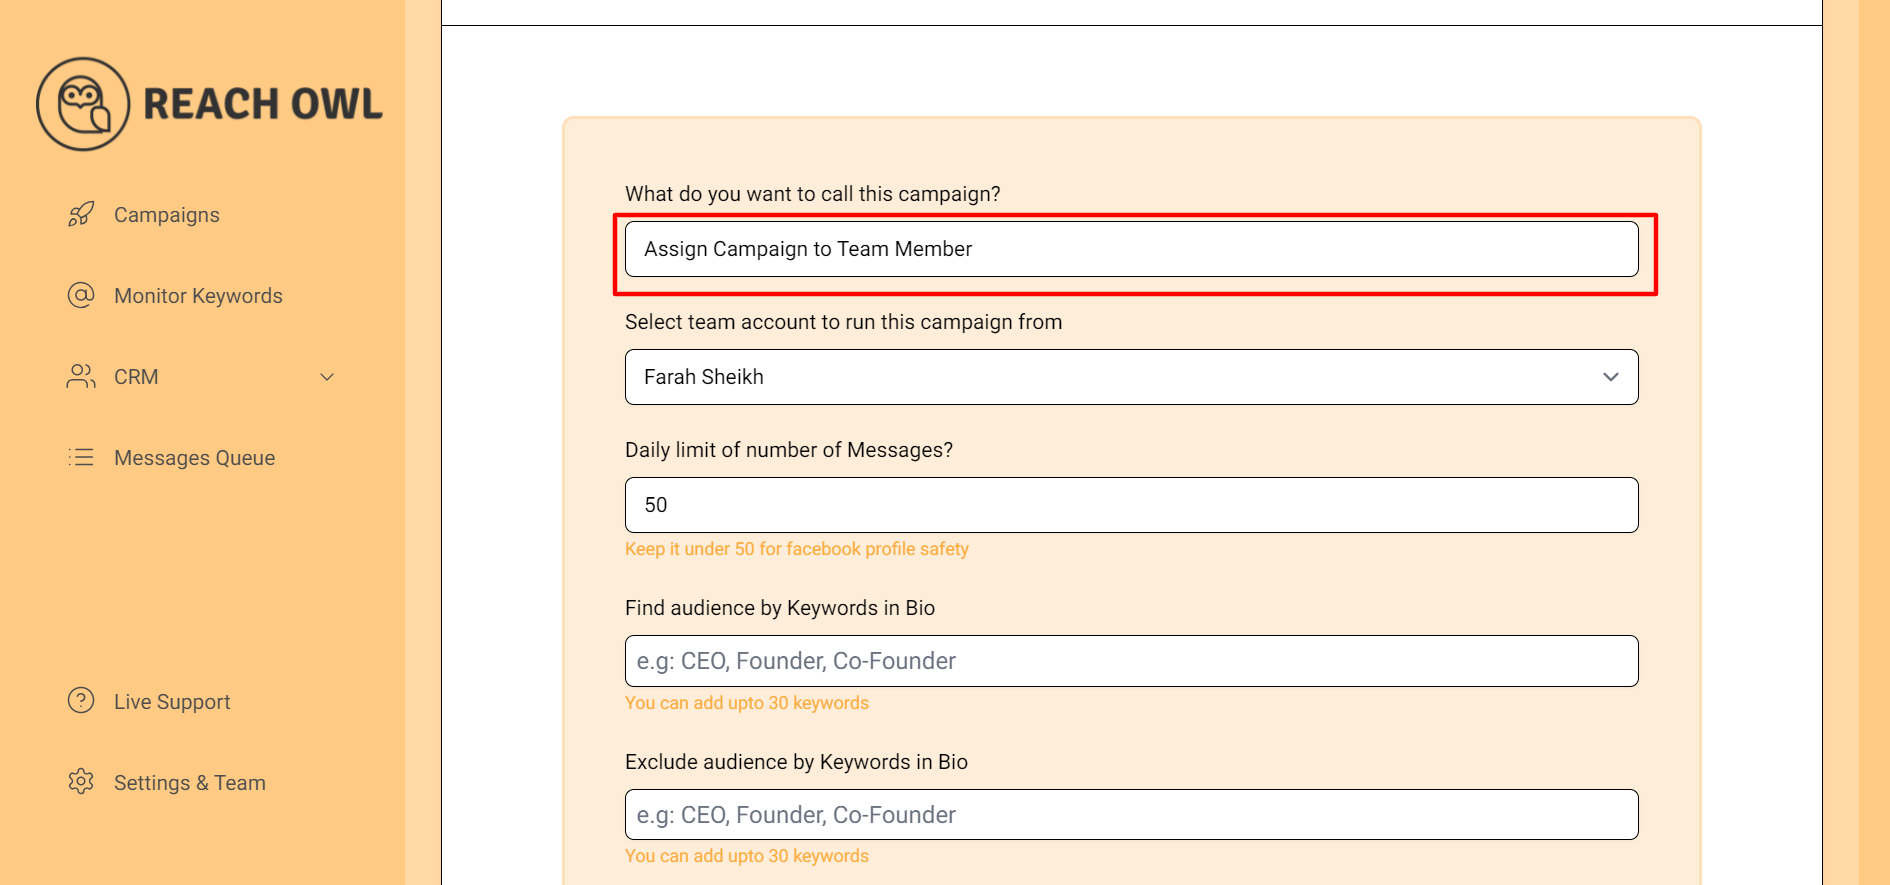
Name your campaign, for example, “Assign Campaign to Team Member.”
Step 8: Select the Team Account for the Campaign
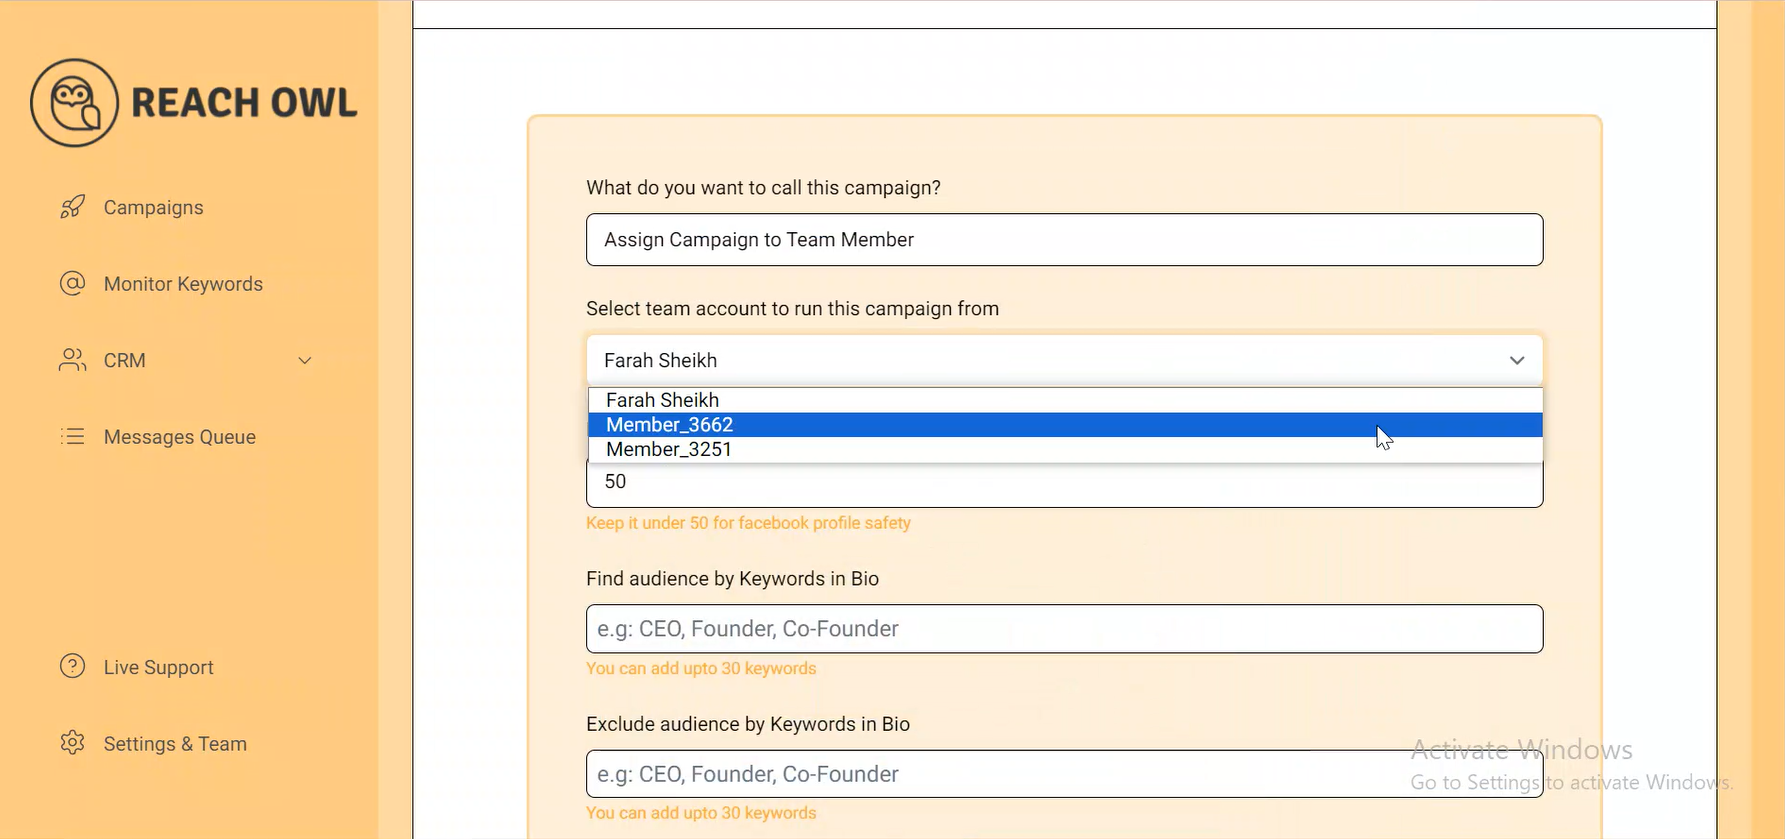
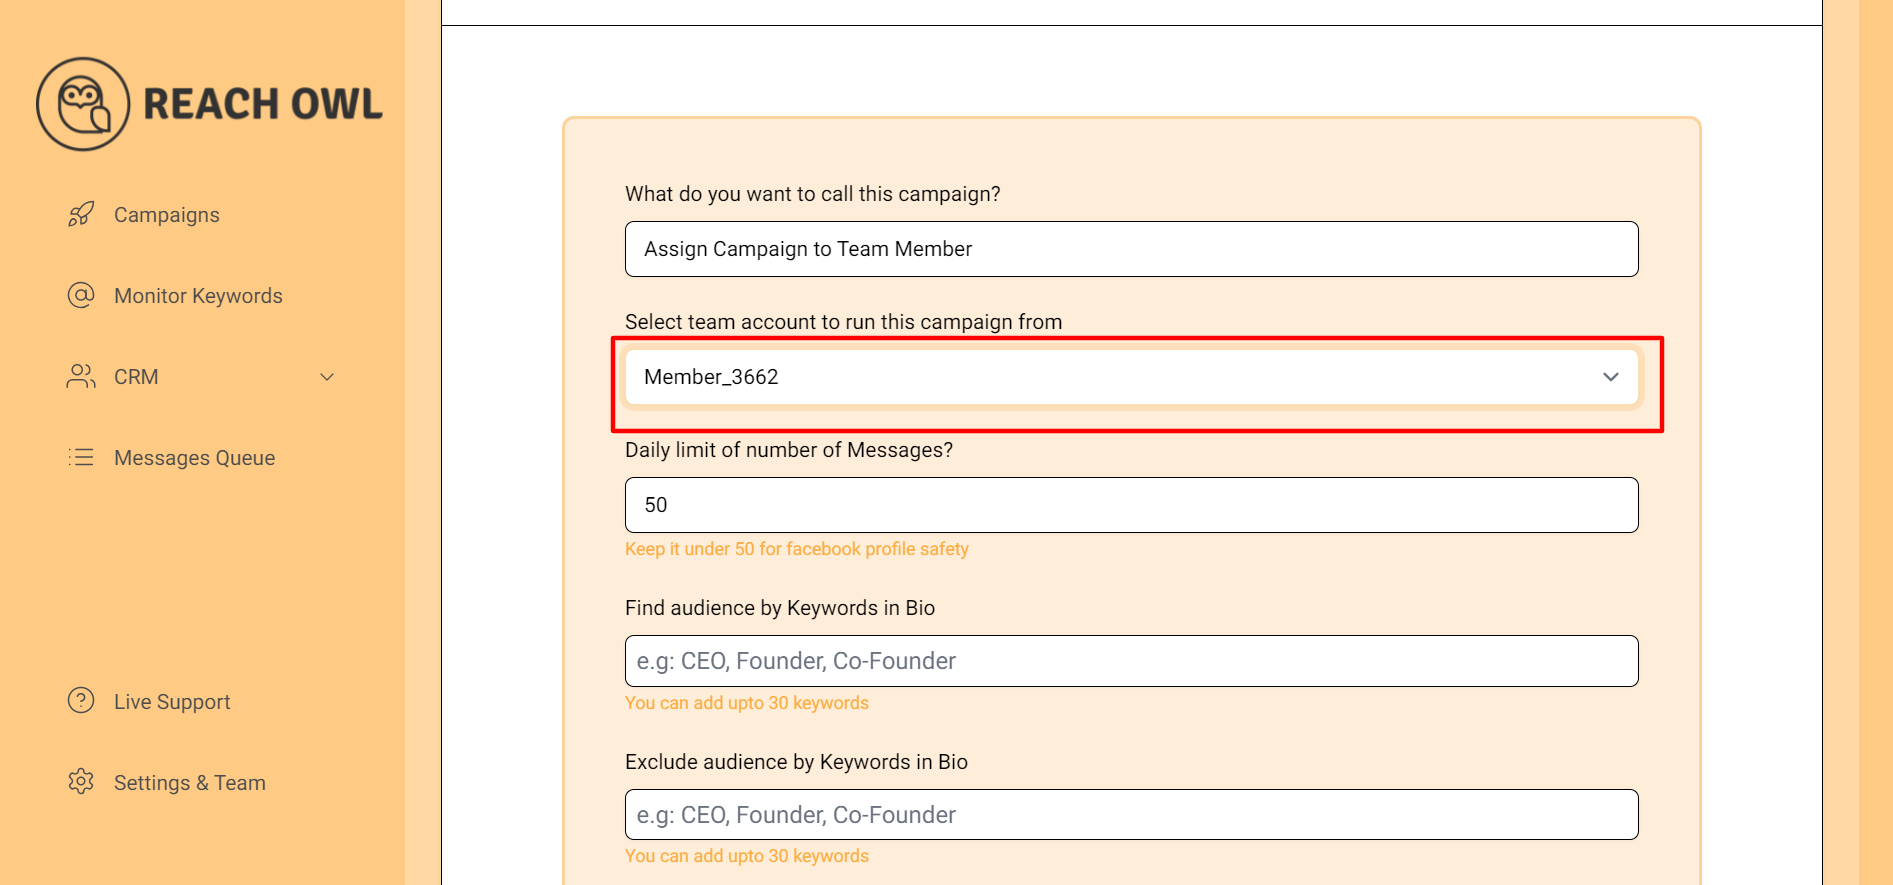
Choose the team account to run the campaign from. Click on “Select team account to run this campaign from” and choose the executor of the campaign.
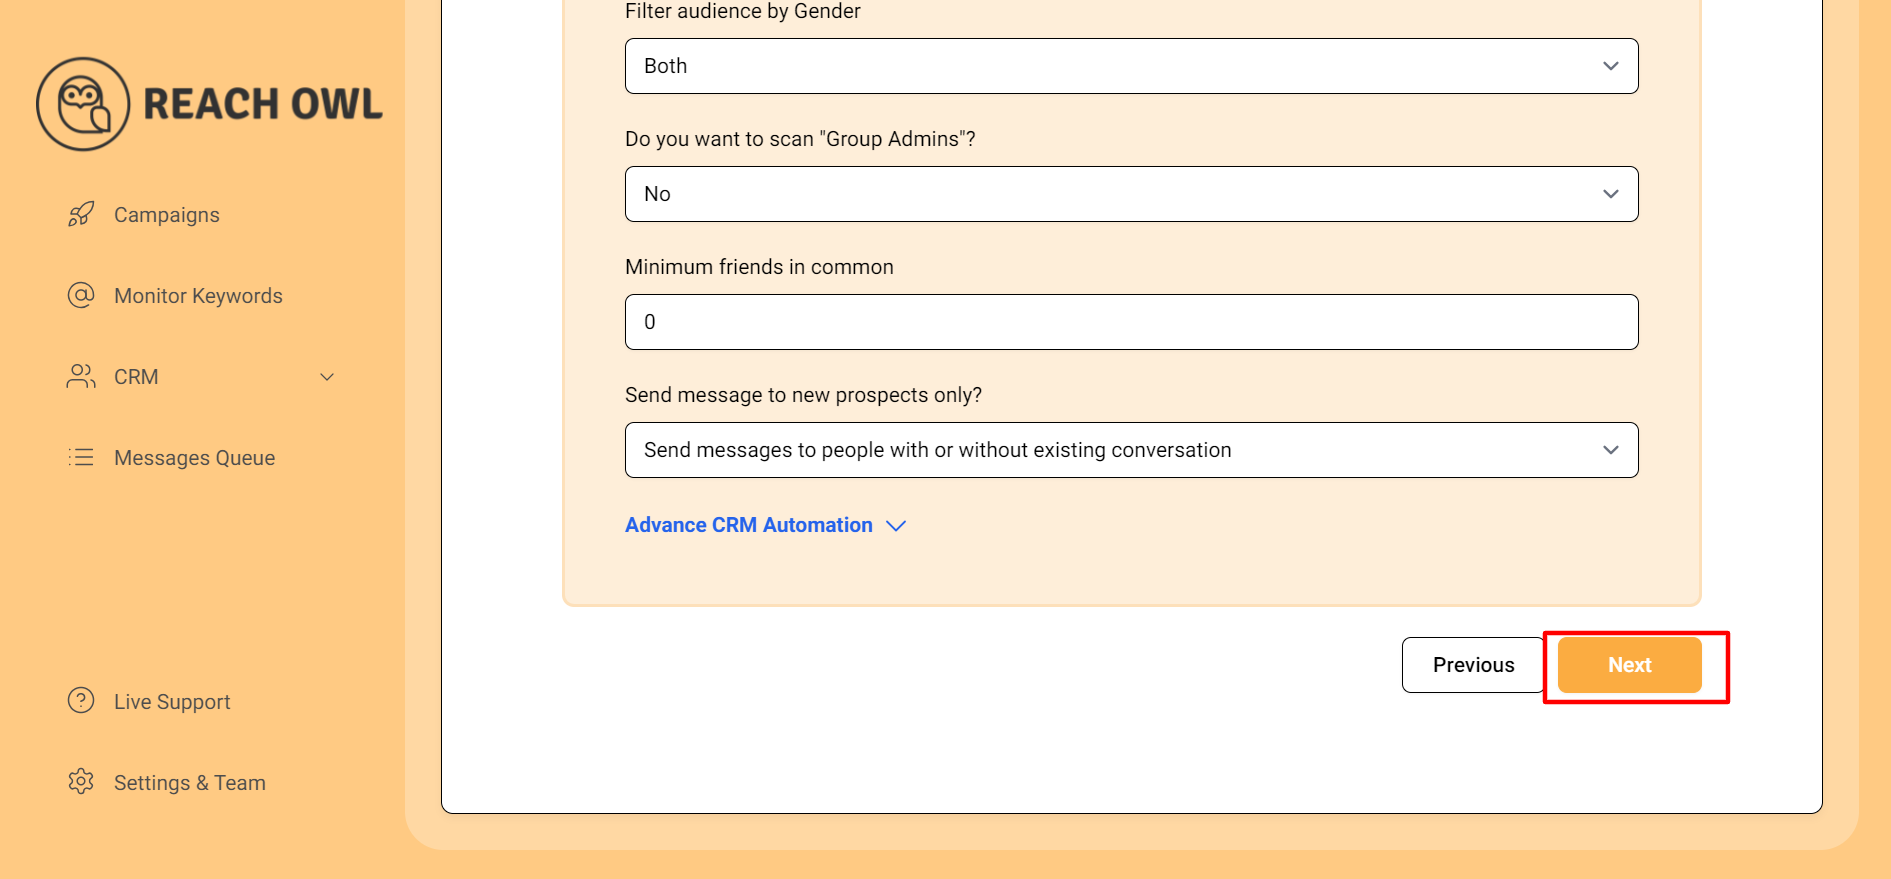
Fill in the necessary details and click “Next” to proceed.
Step 9: Compose the Message
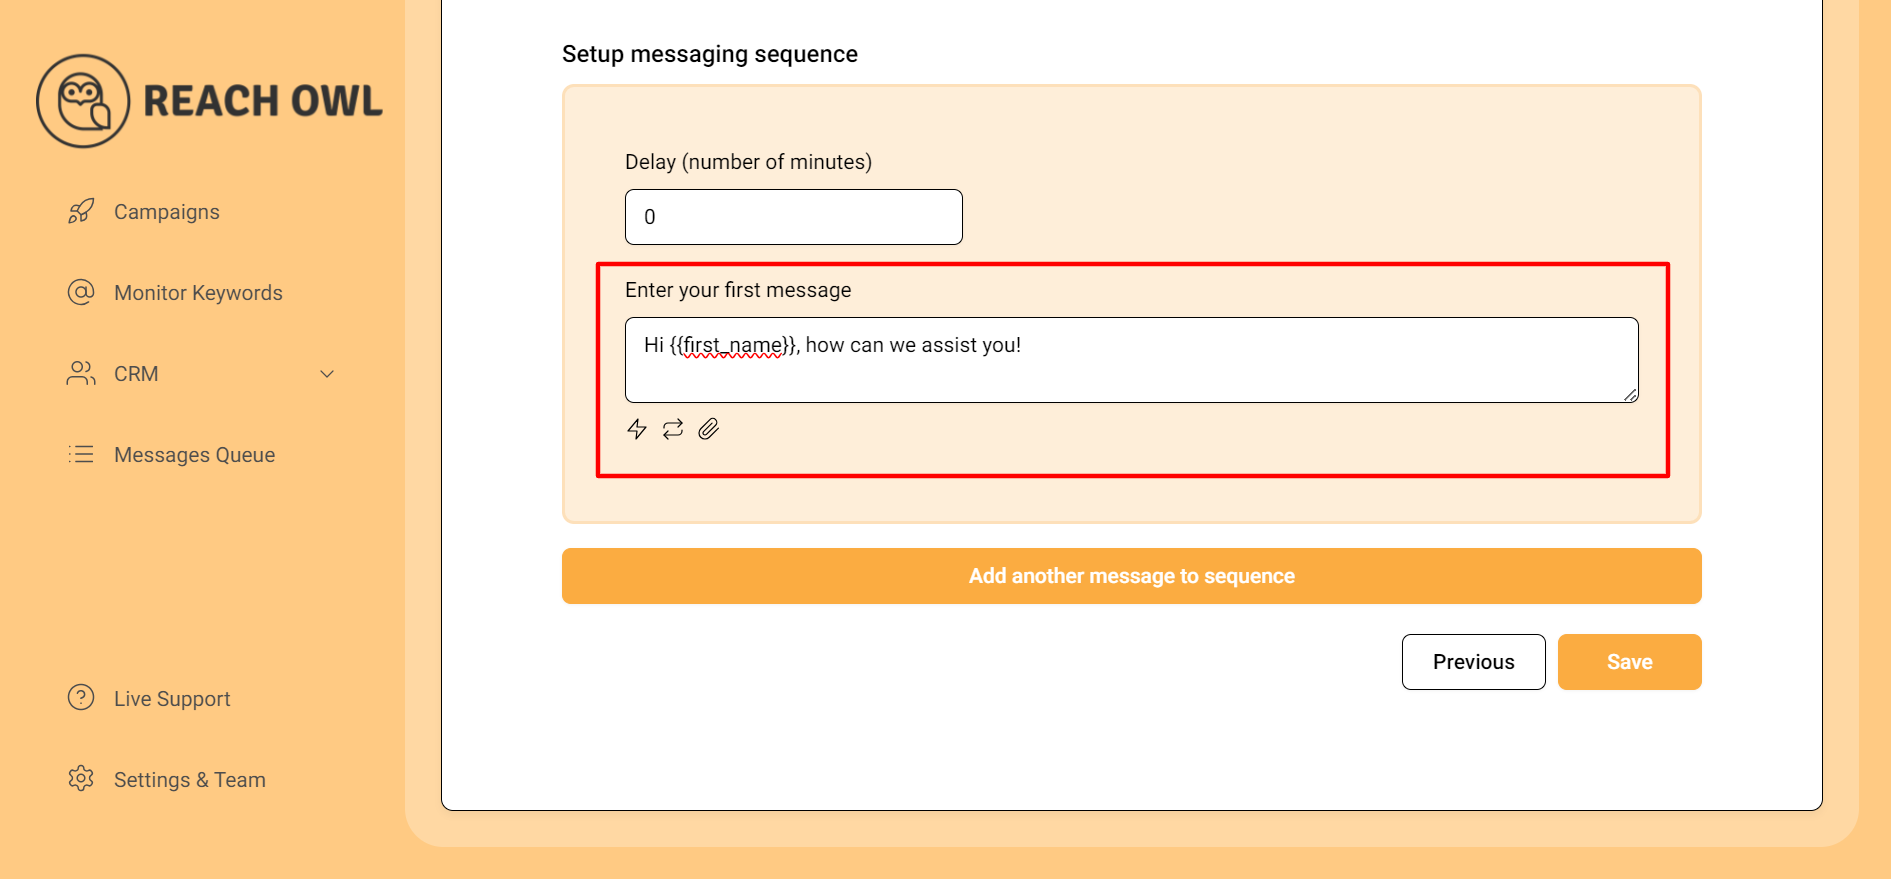
Craft your messages using the name variable (denoted by double curly braces {{name}}) to personalize the messages with the recipient’s name.
Step 10: Save and Start Your Campaign
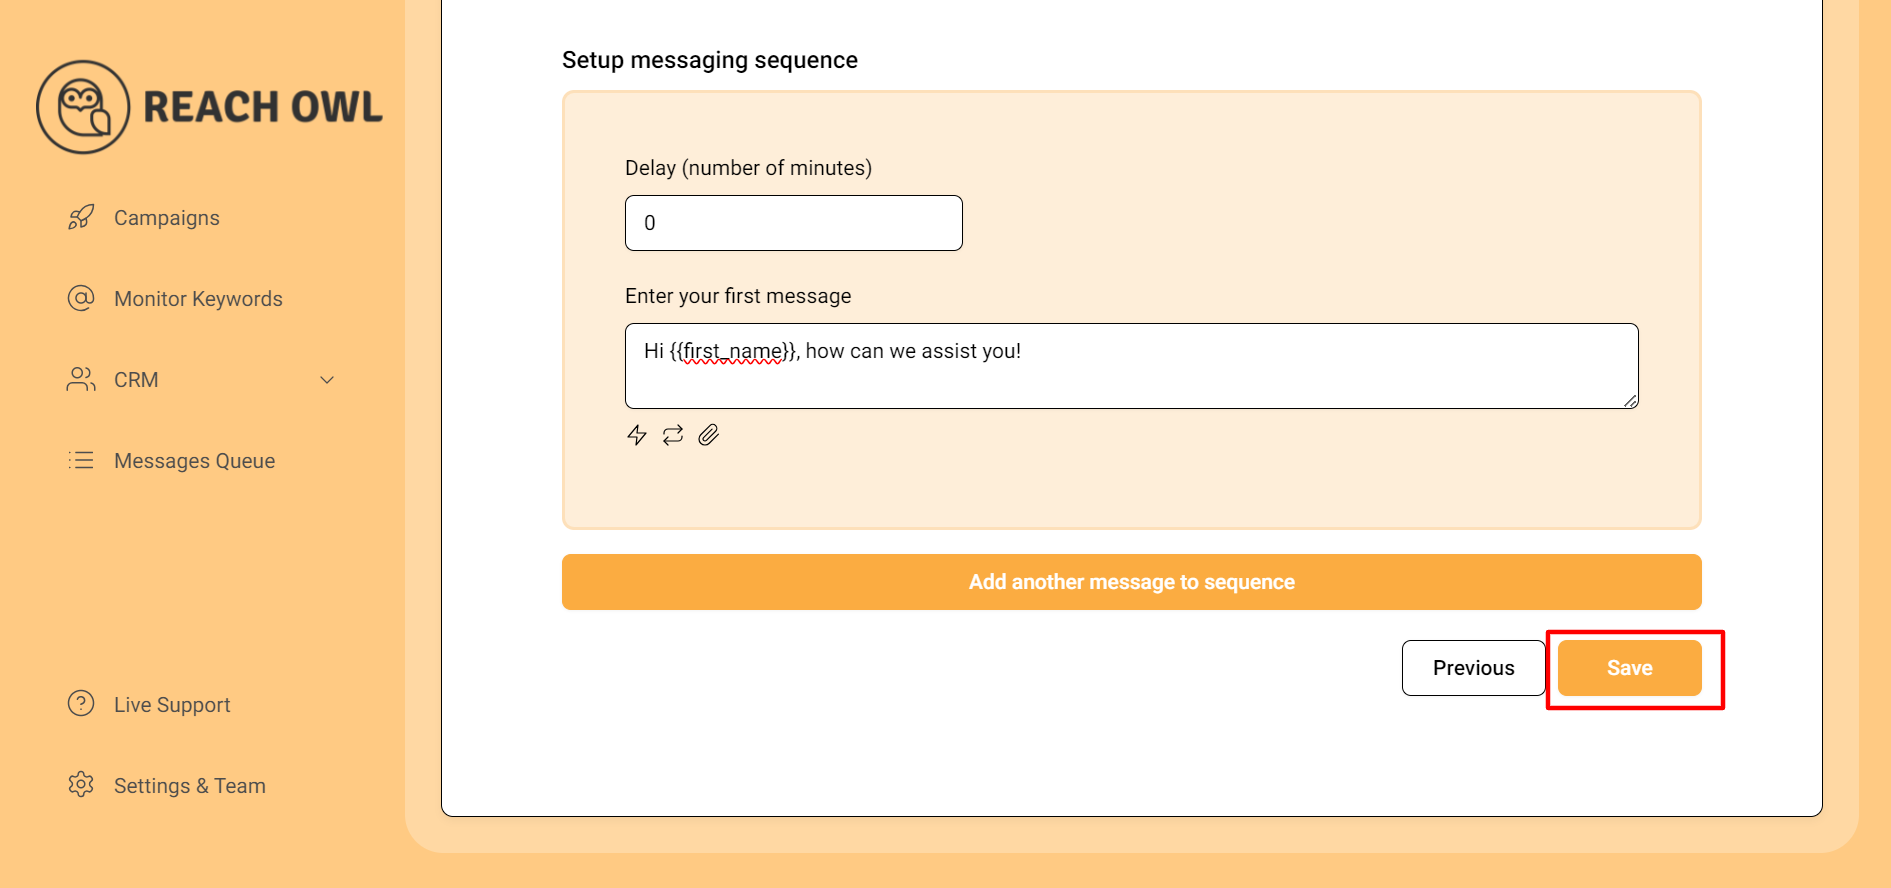
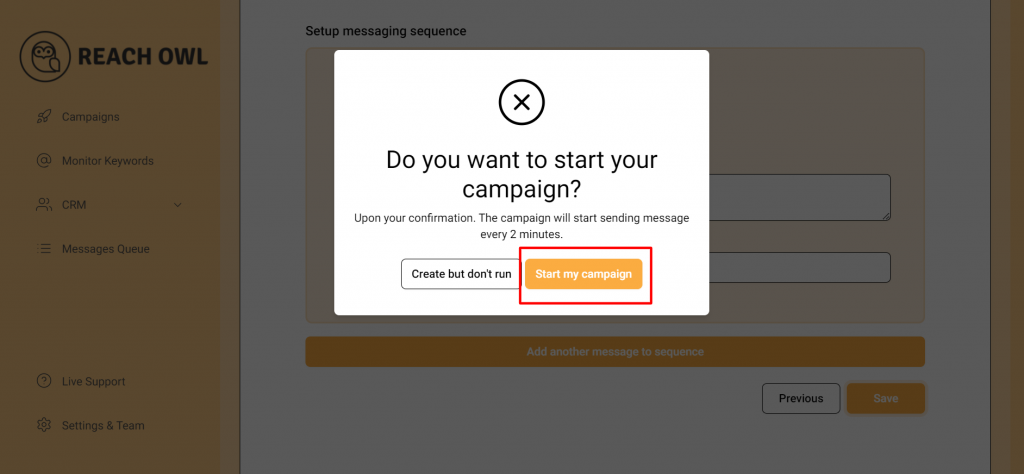
Click “Save” and start your campaign.
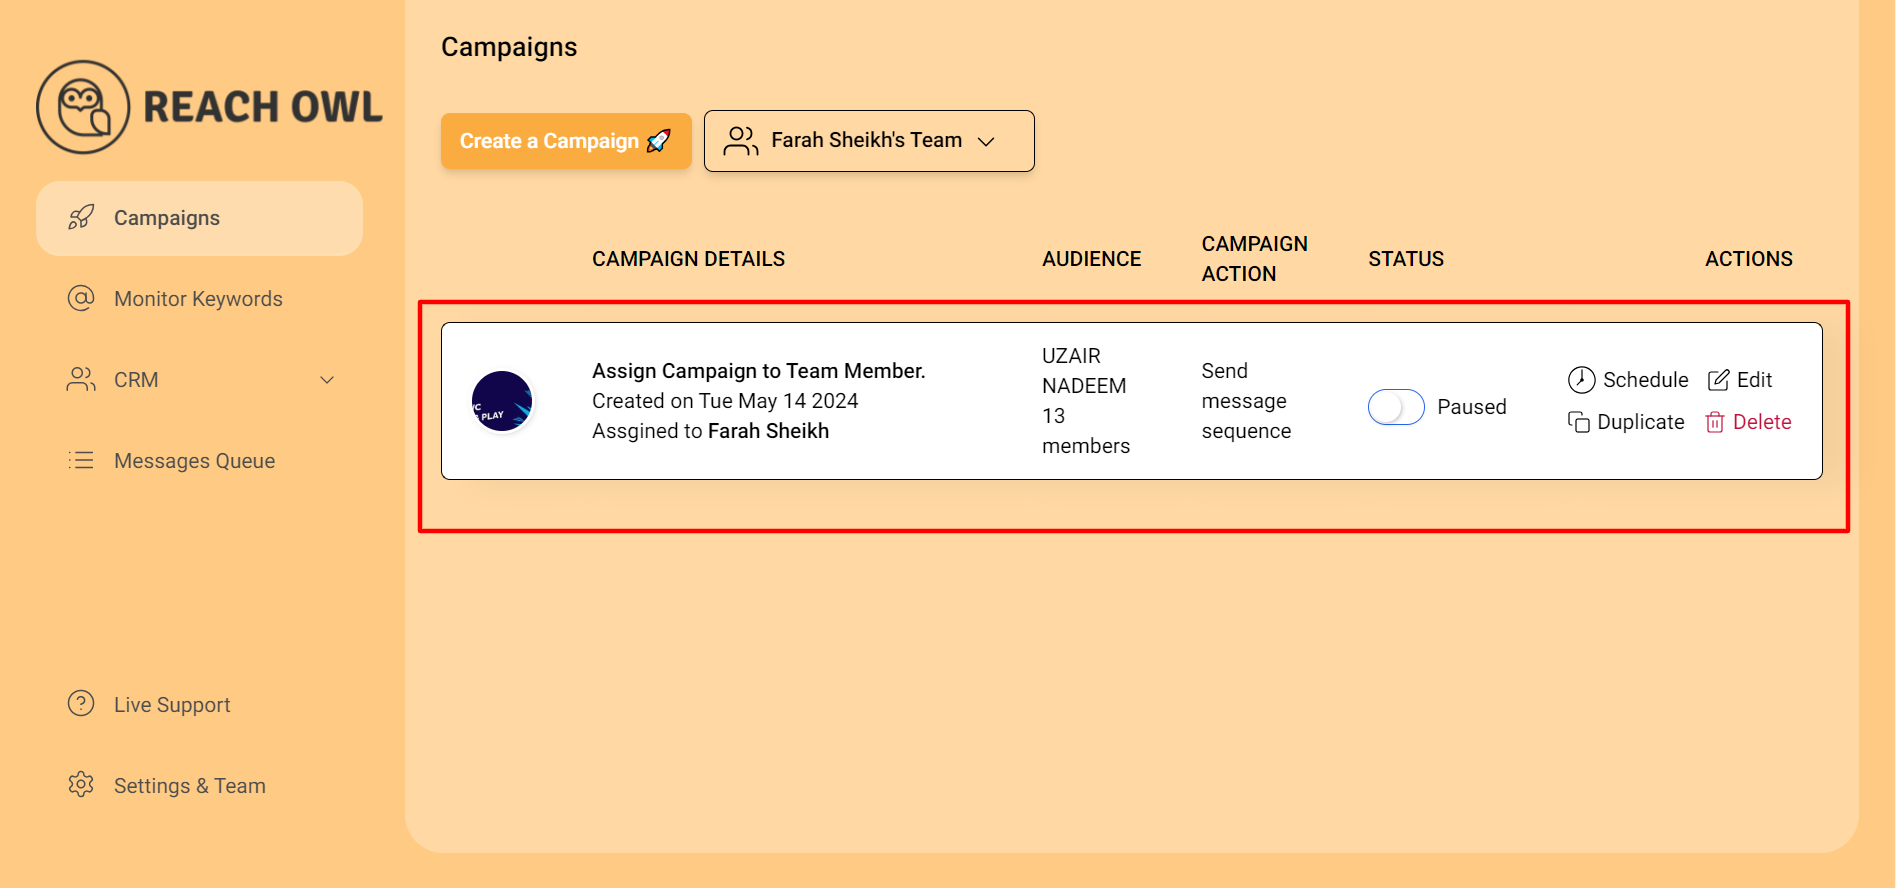
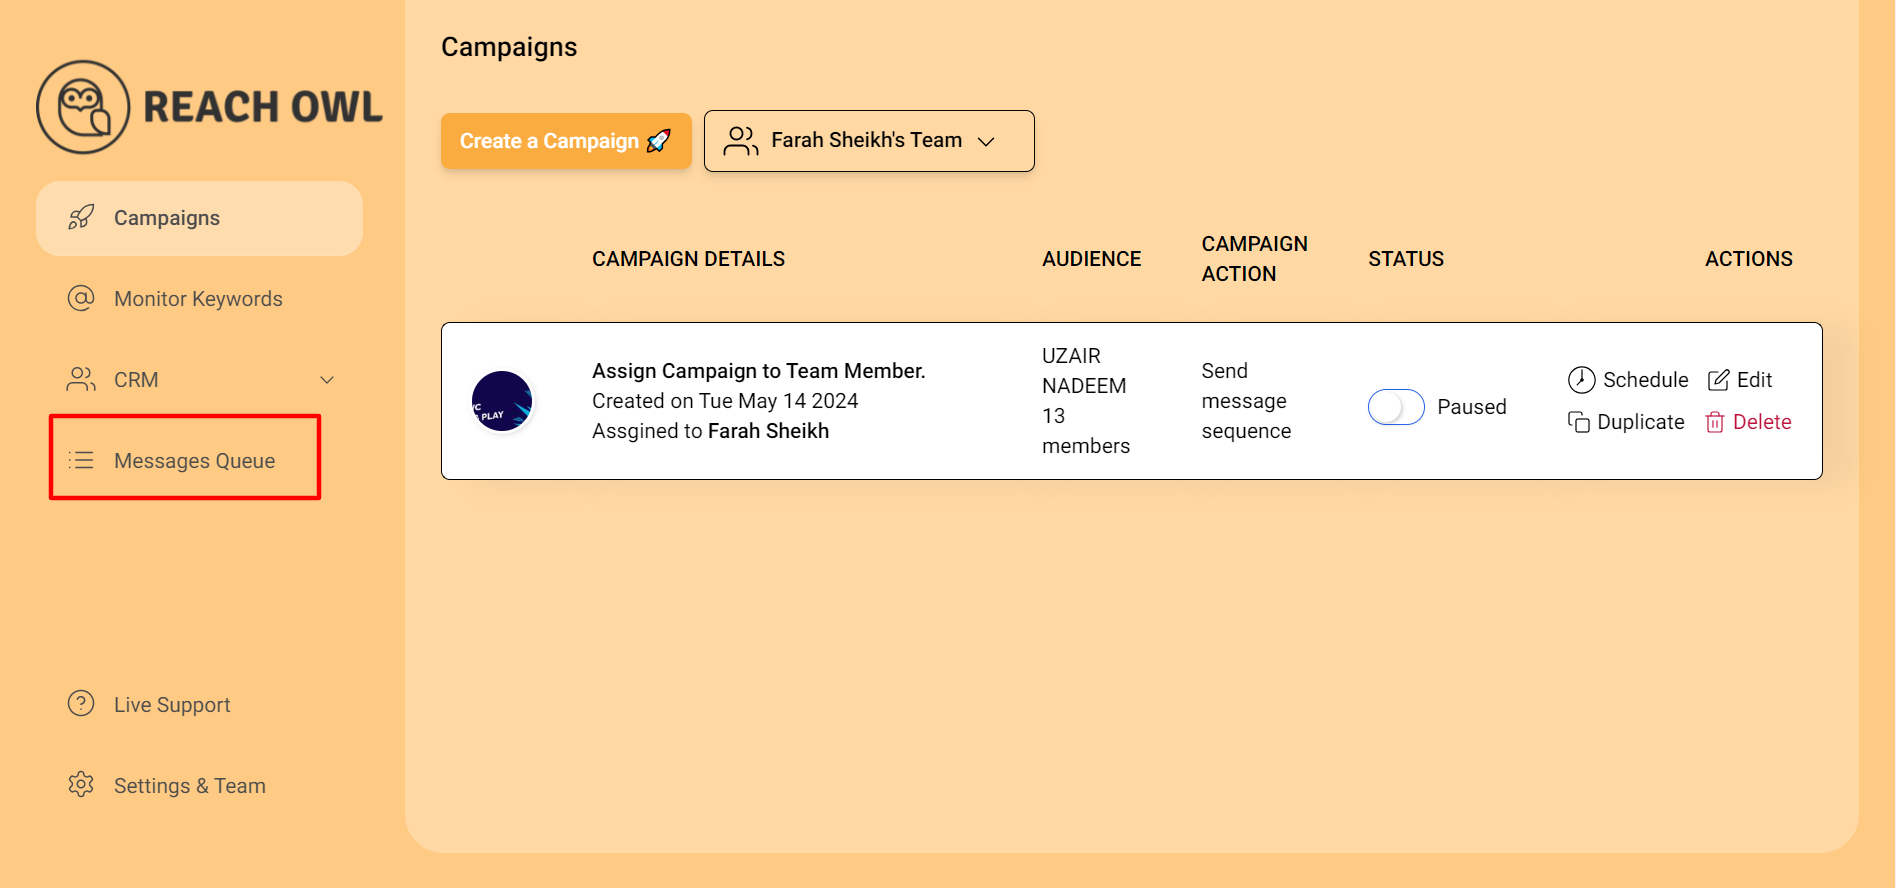
Step 11: Monitor the Campaign
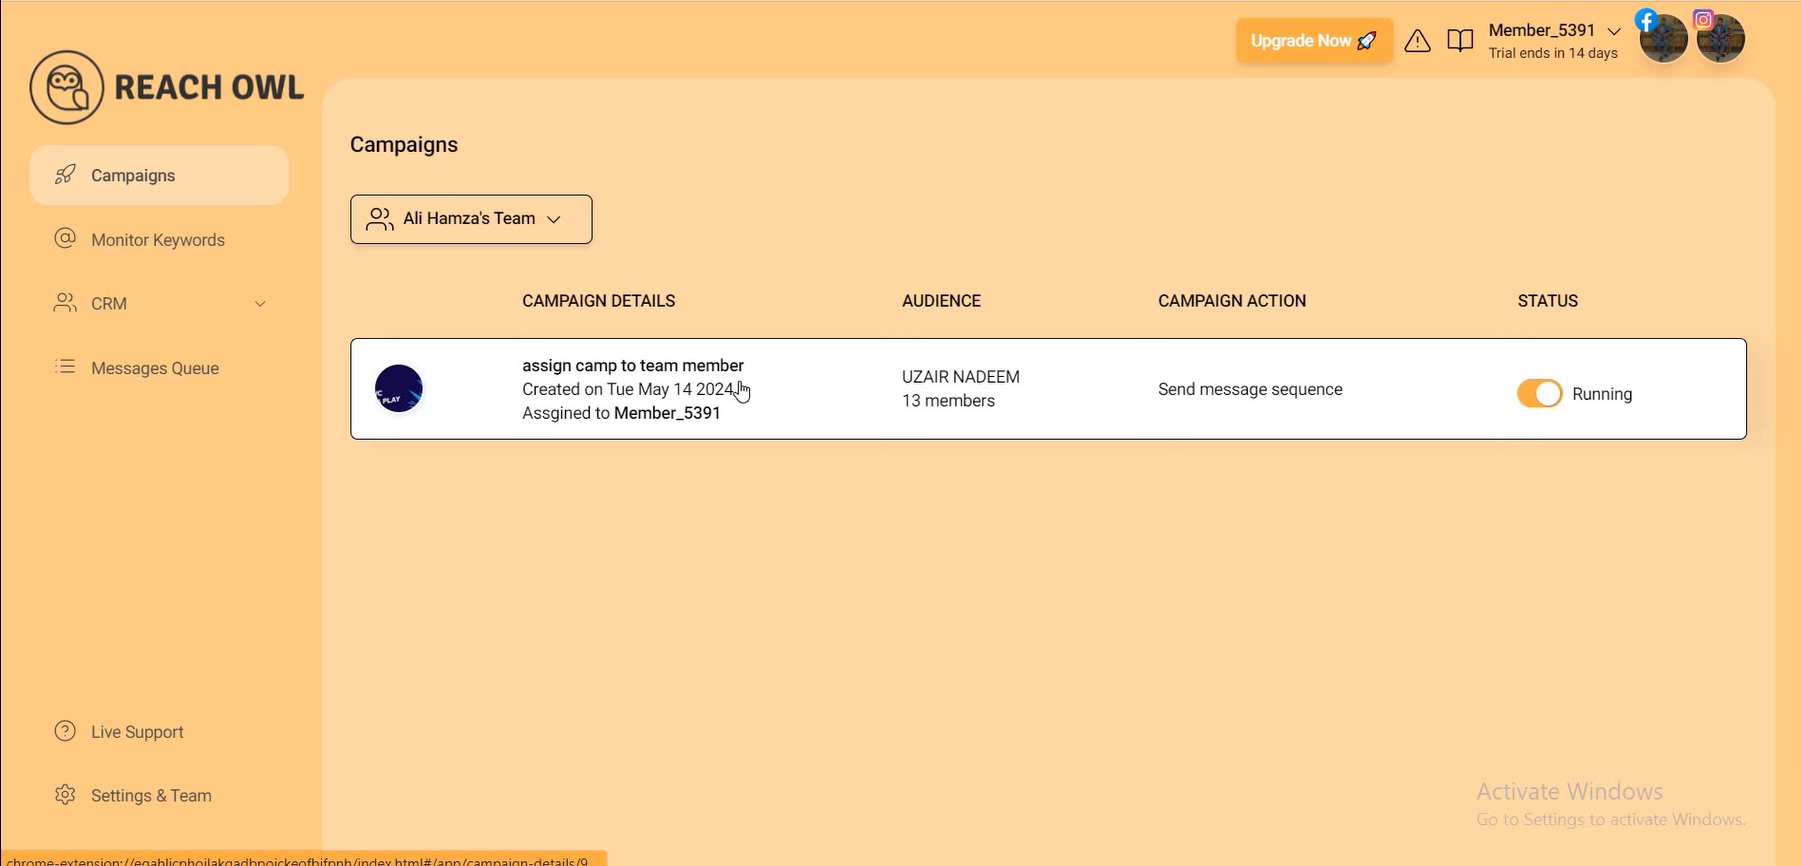
Go to the team member account and head to the campaign section. The assigned campaign will appear on the team member dashboard.
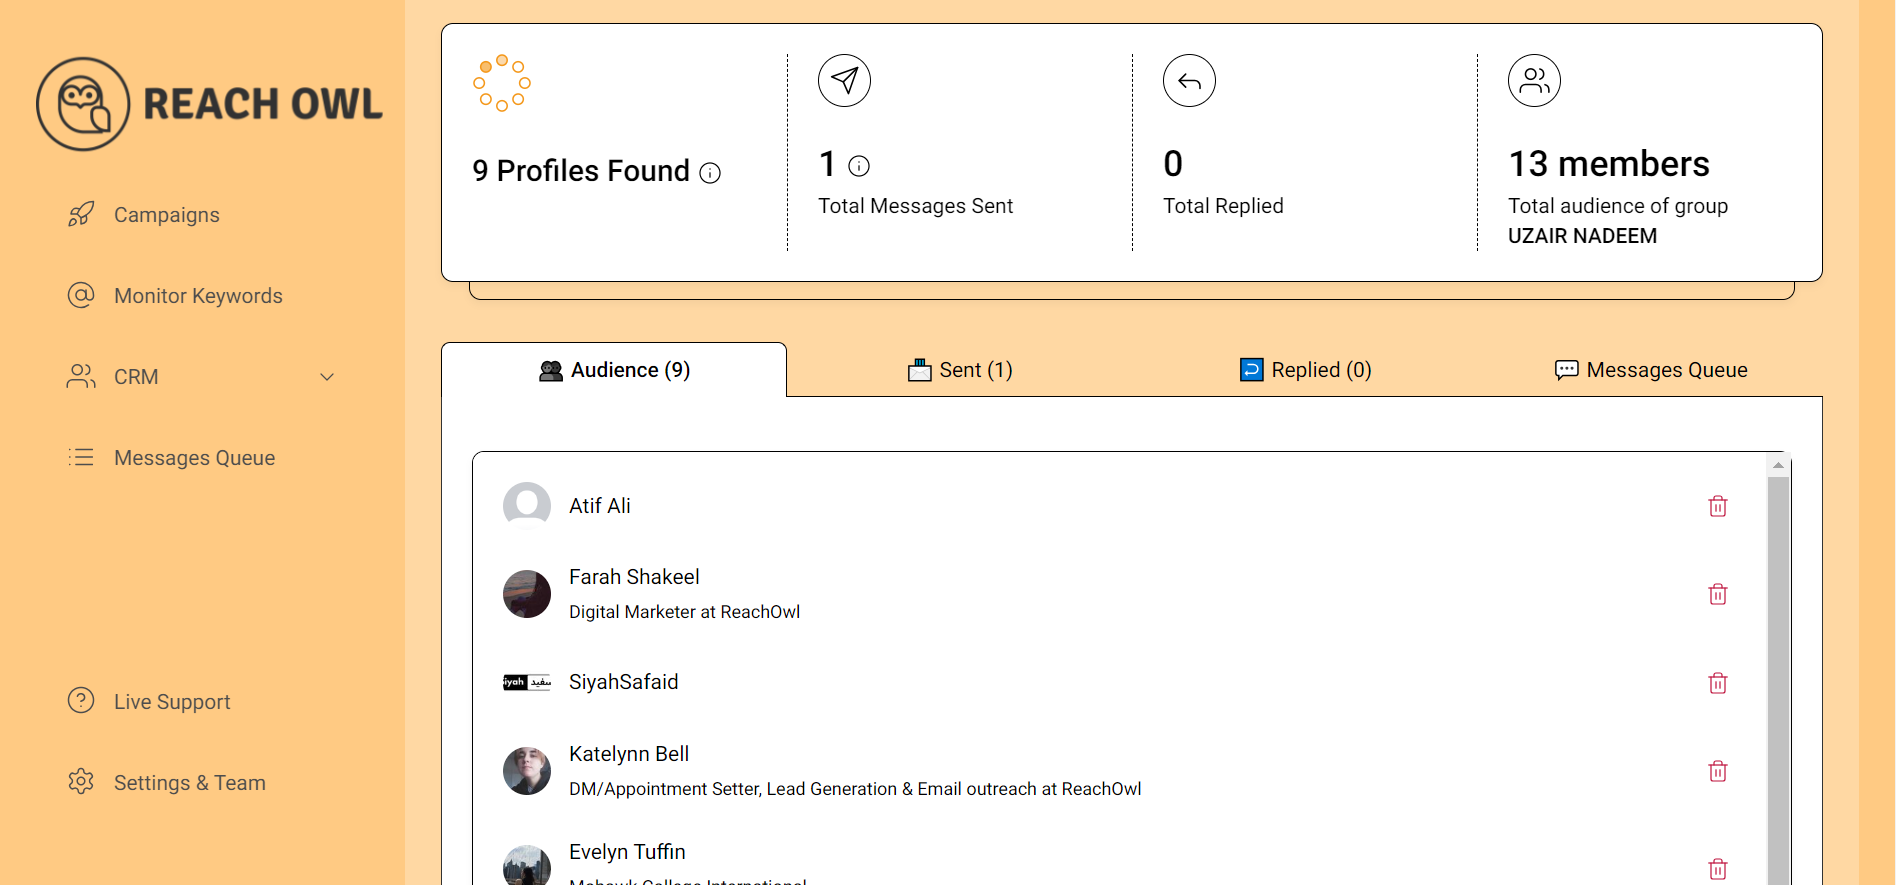
Monitor the campaign to ensure messages are being sent.
Step 12: Send Messages from Main Account
Switch back to the main account to send messages for the assigned campaign. The messages will be delivered through the team member’s social profile.
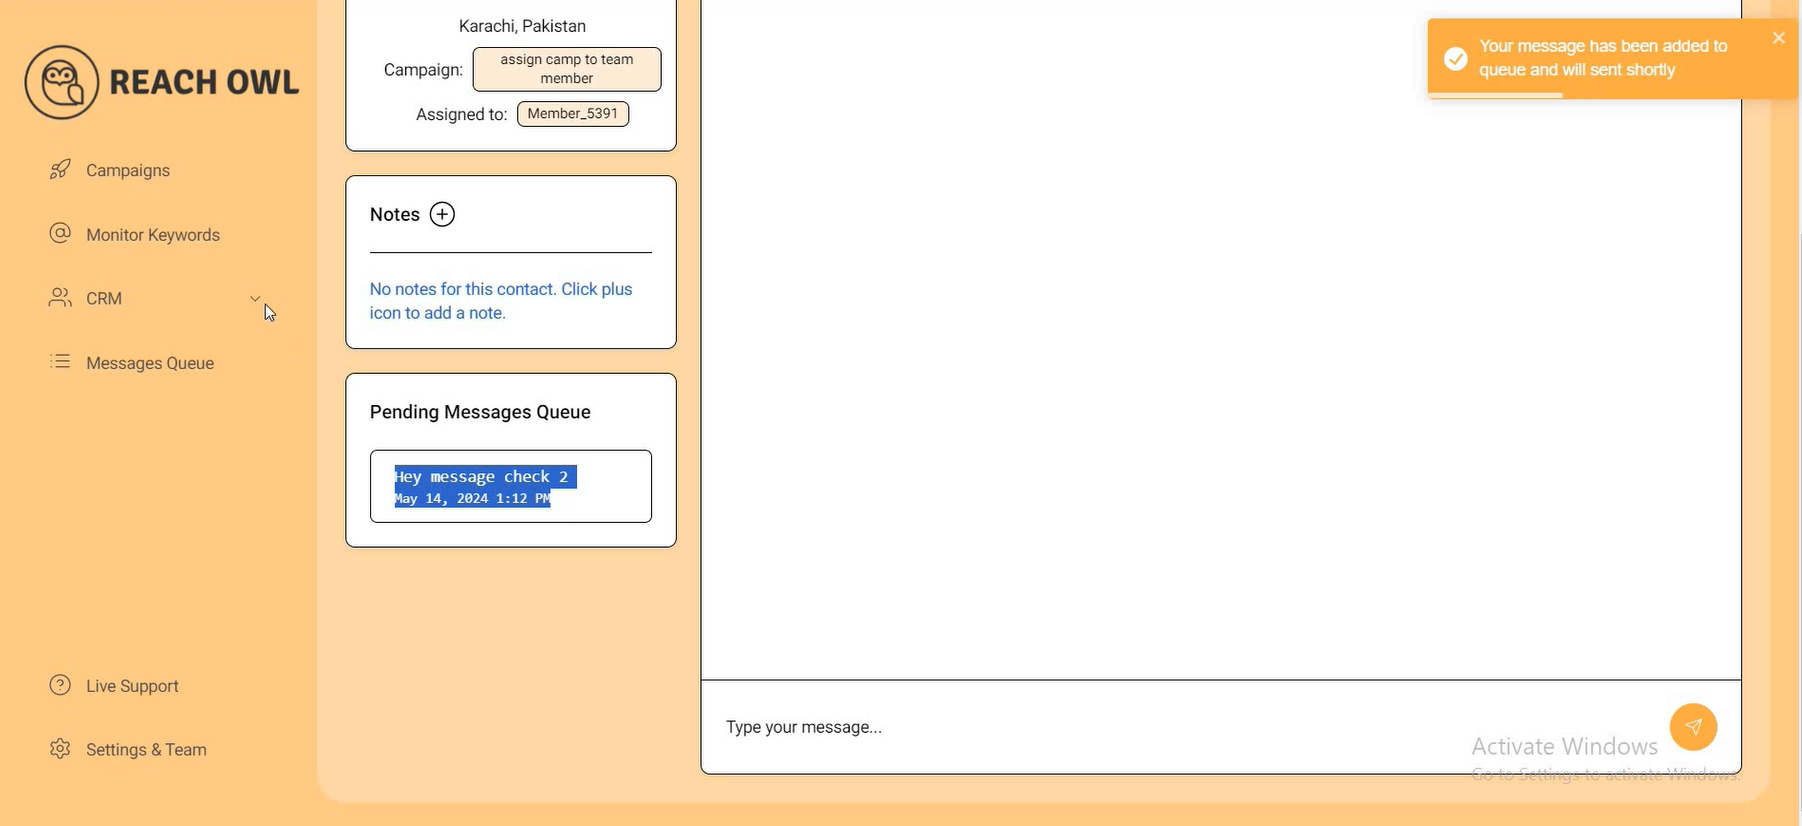
Step 13: Filter Contacts in CRM
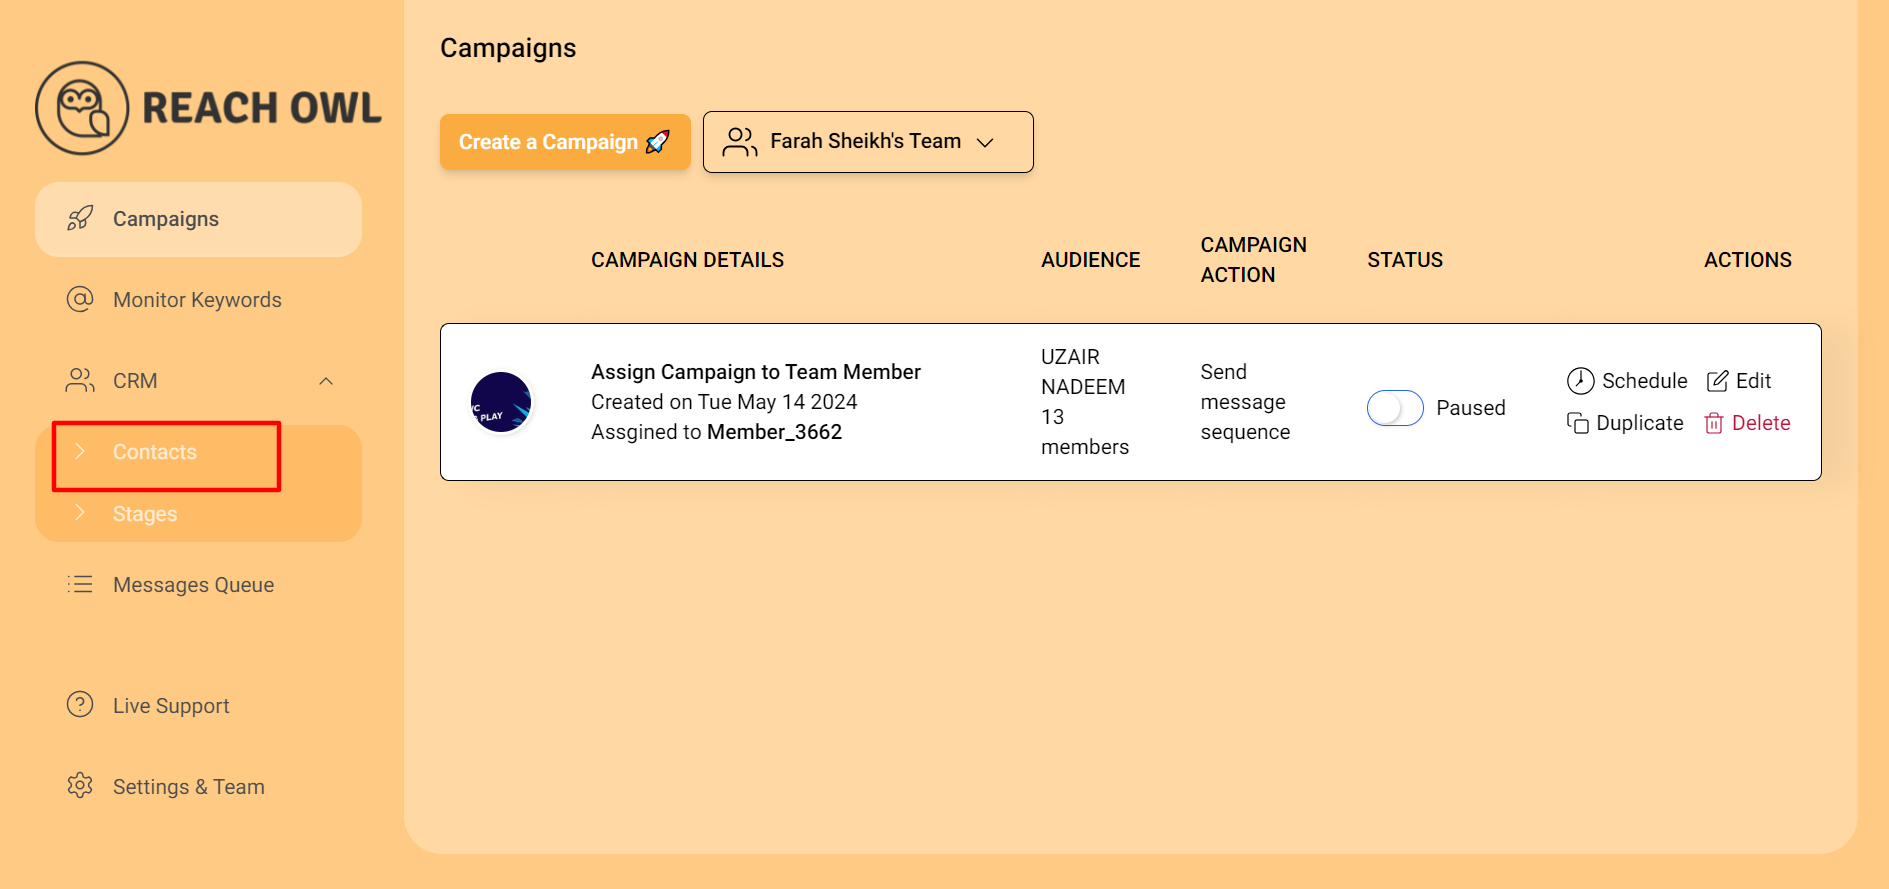
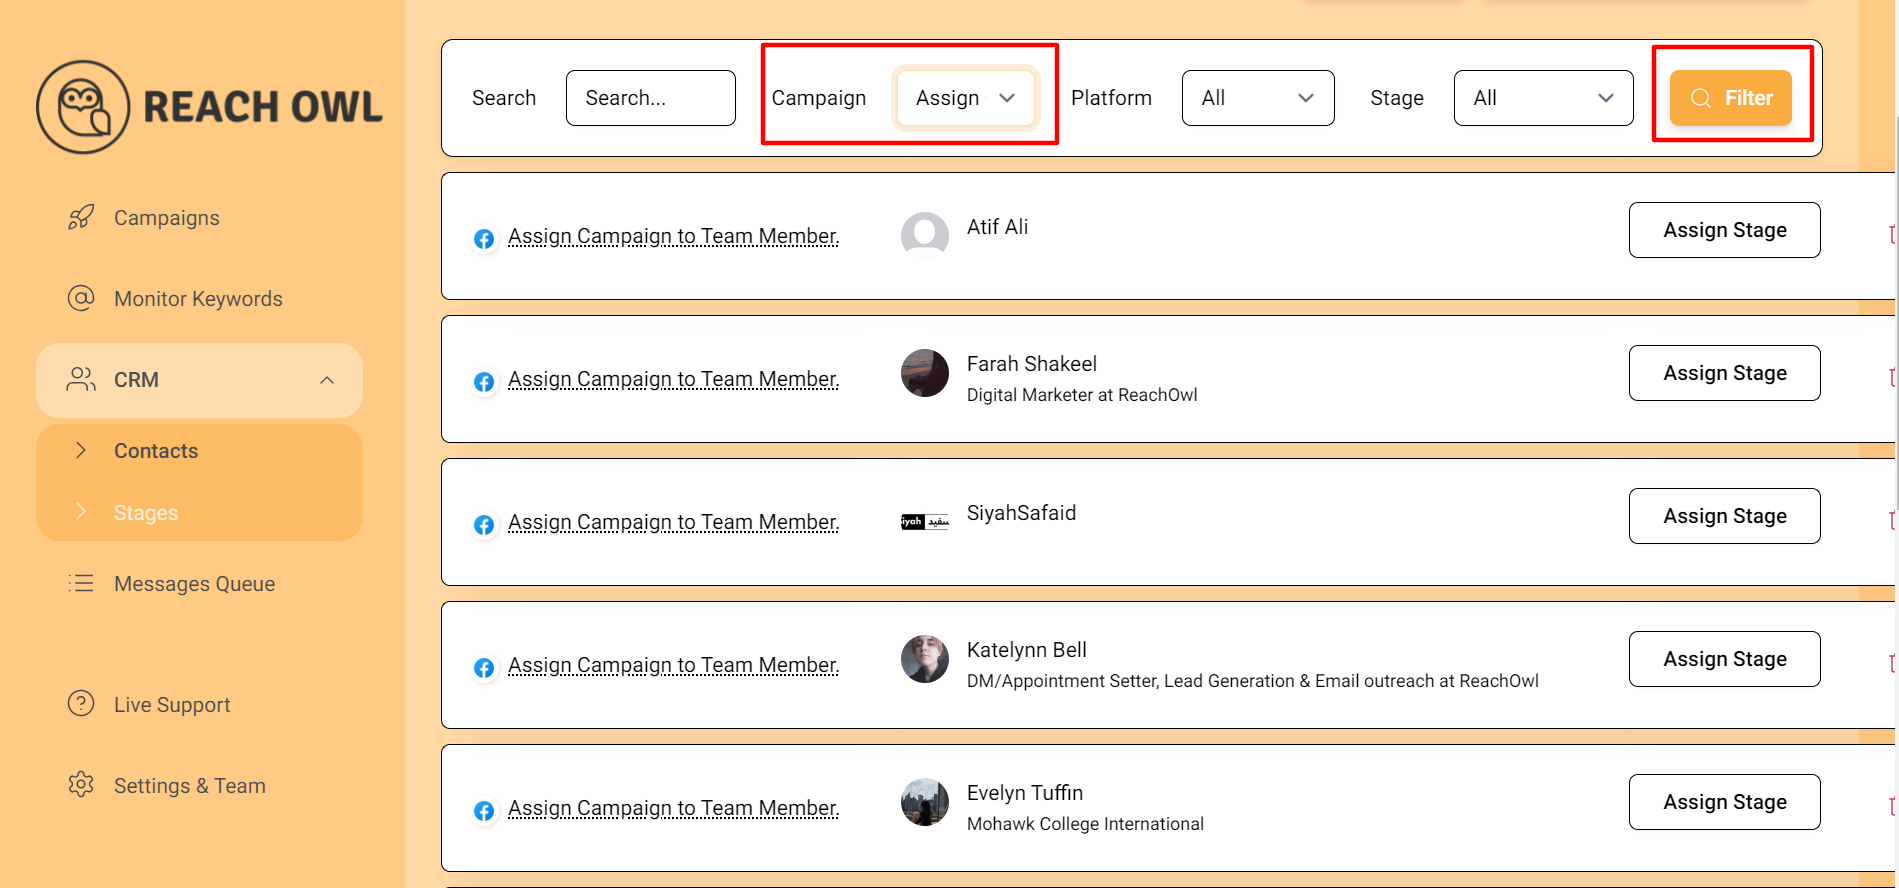
Navigate to the CRM section, go to contacts, choose the team member campaign, and click on the filter button.
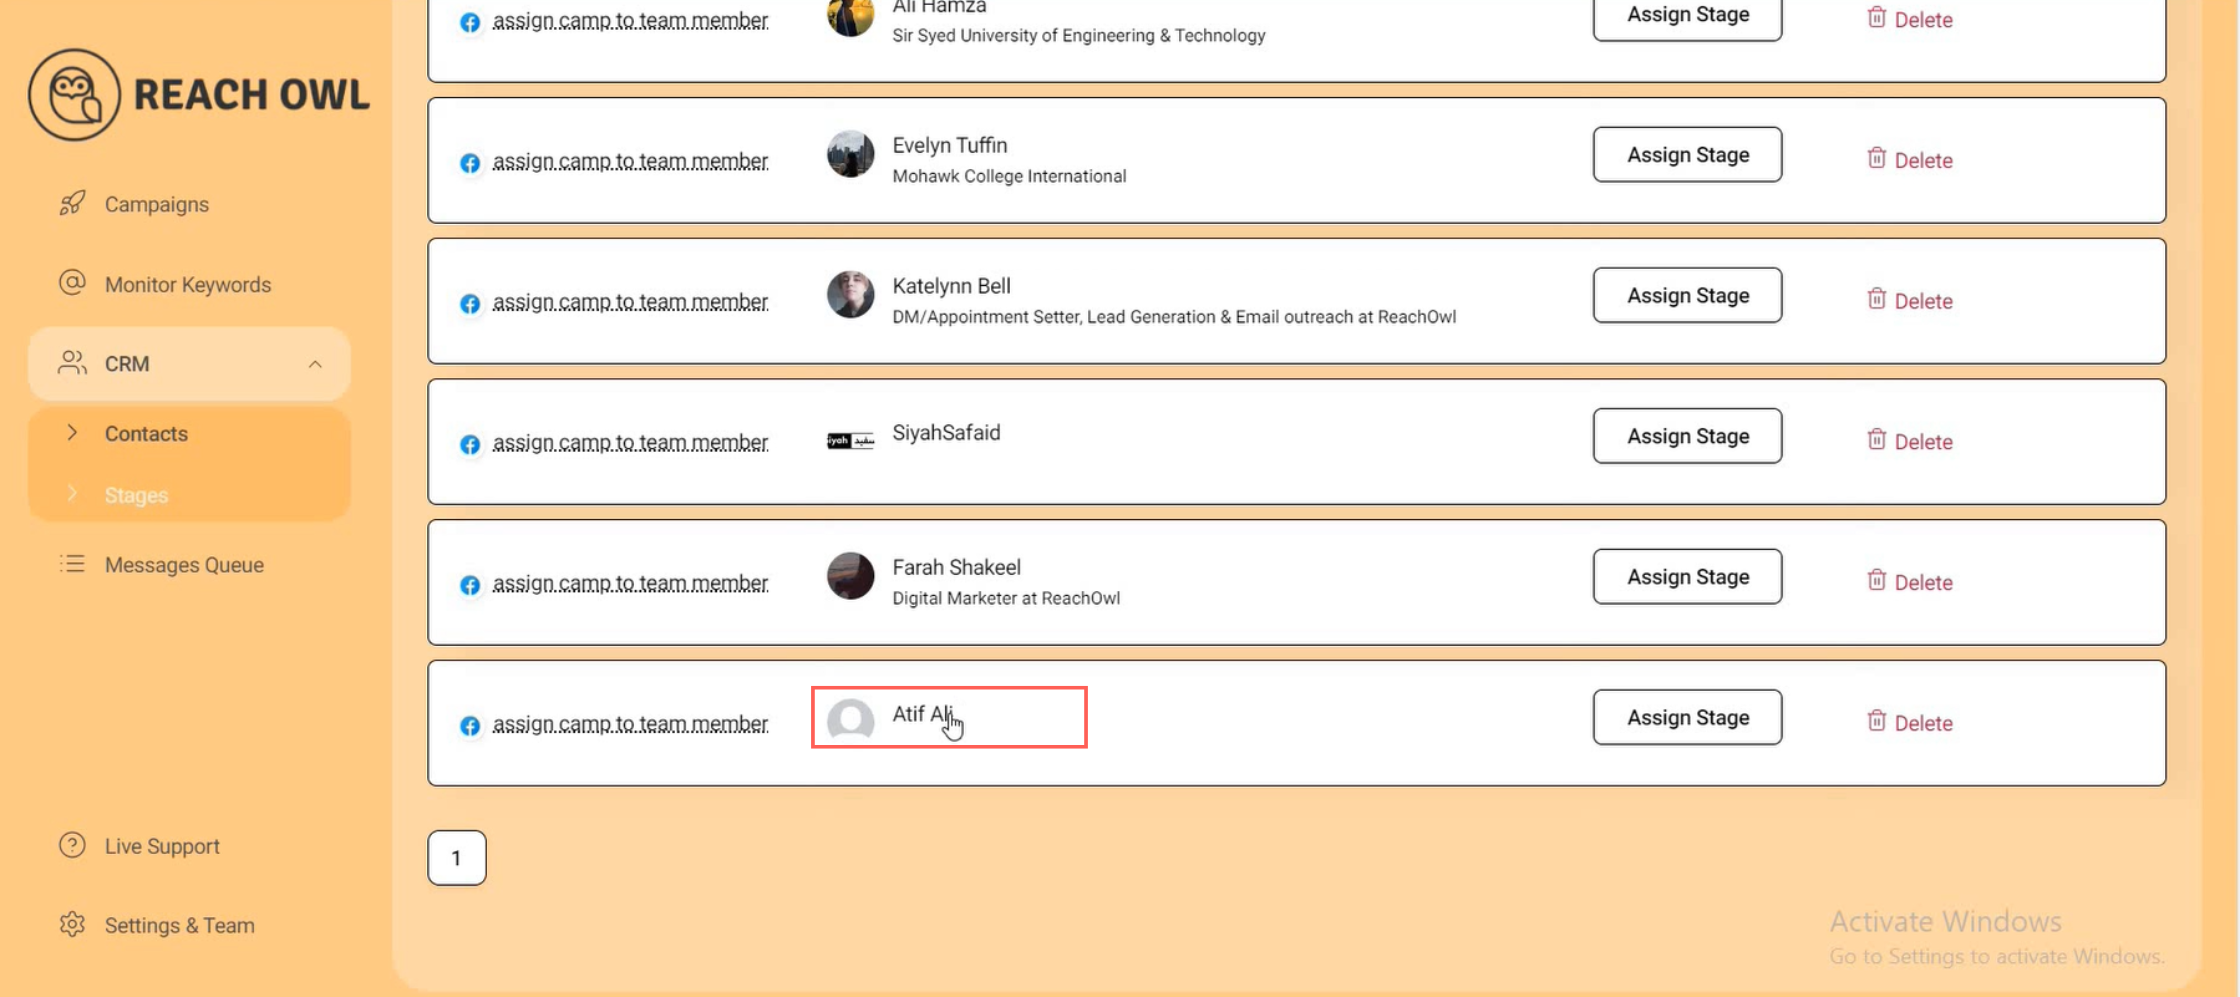
Click on any contact to see the inbox screen of that contact.
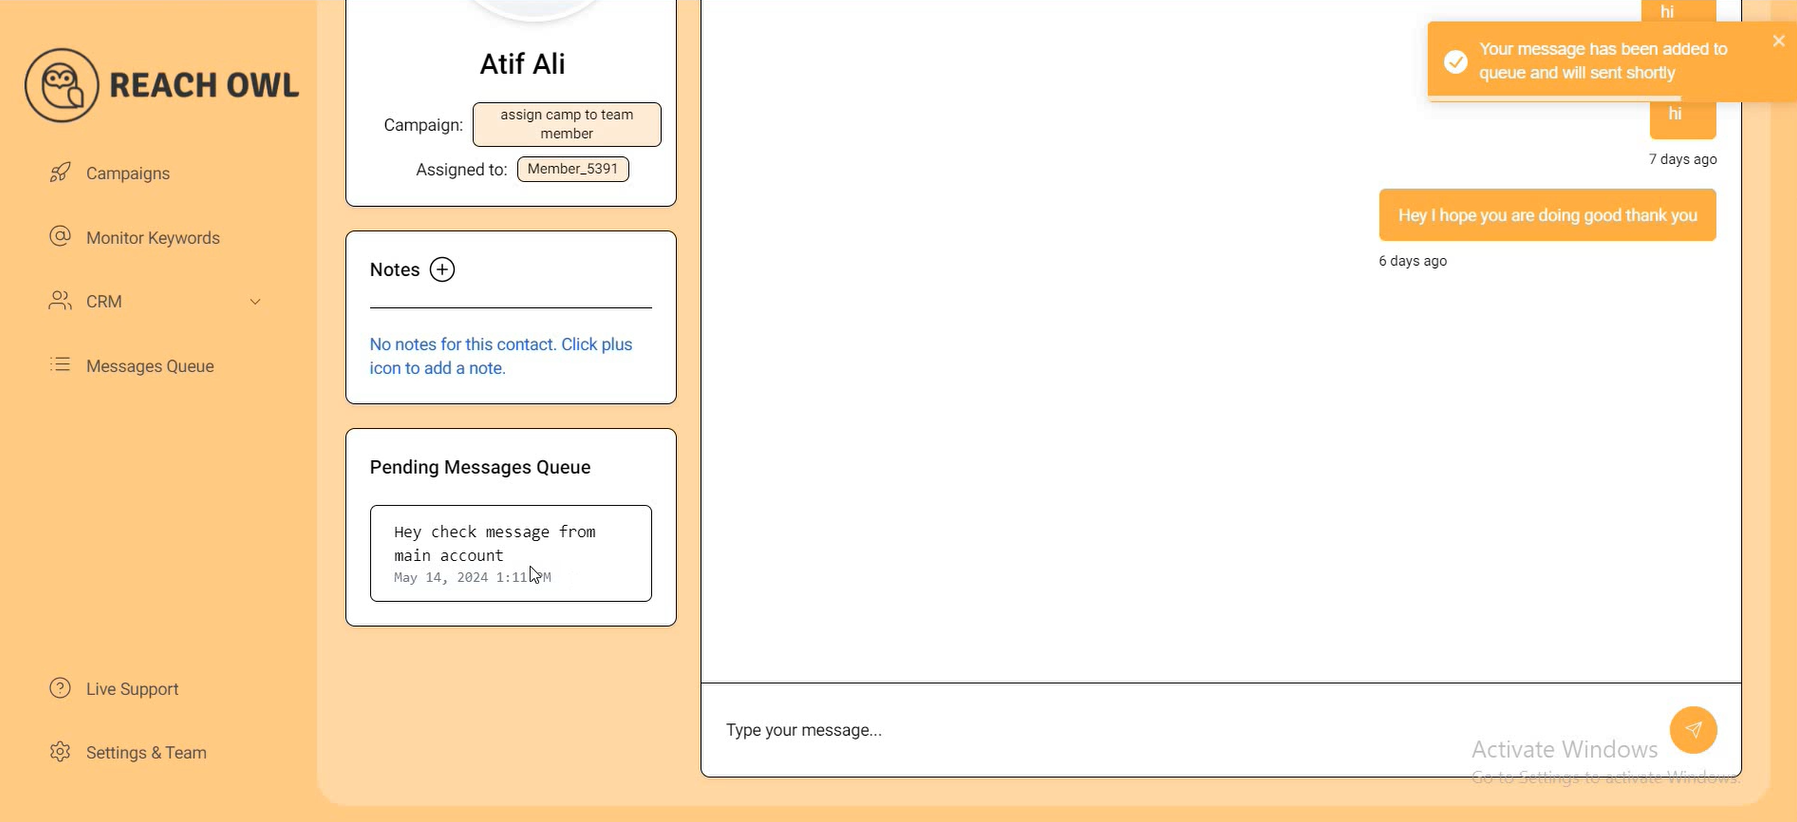
After clicking, you will see the inbox screen of that particular contact. Now, if you send any message, the message will go in the queue of the assigned team member’s message queue and will be delivered through the team member’s social profile.
Step 14: Check Past Conversations
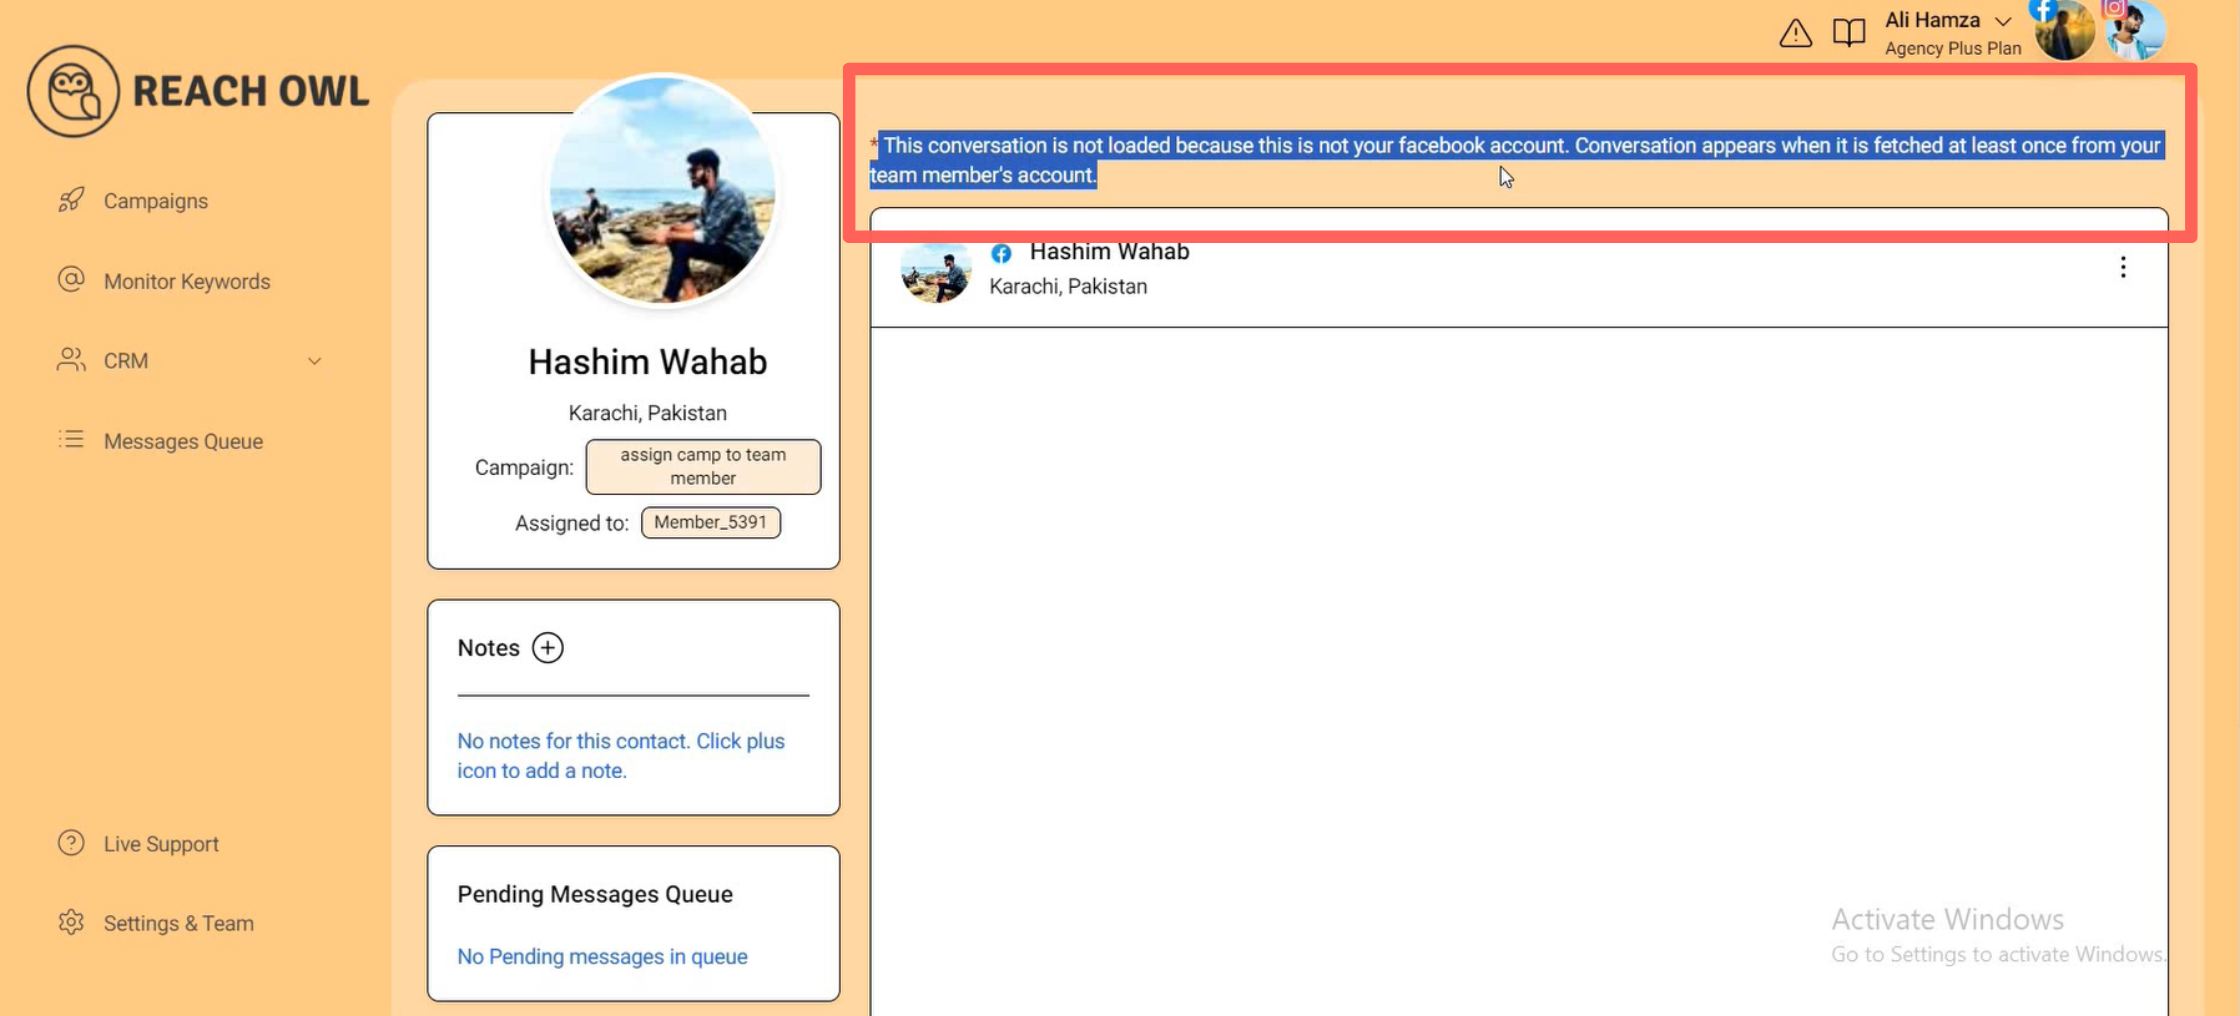
If the past conversation does not load, the message will not appear until the team member has interacted with the contact.
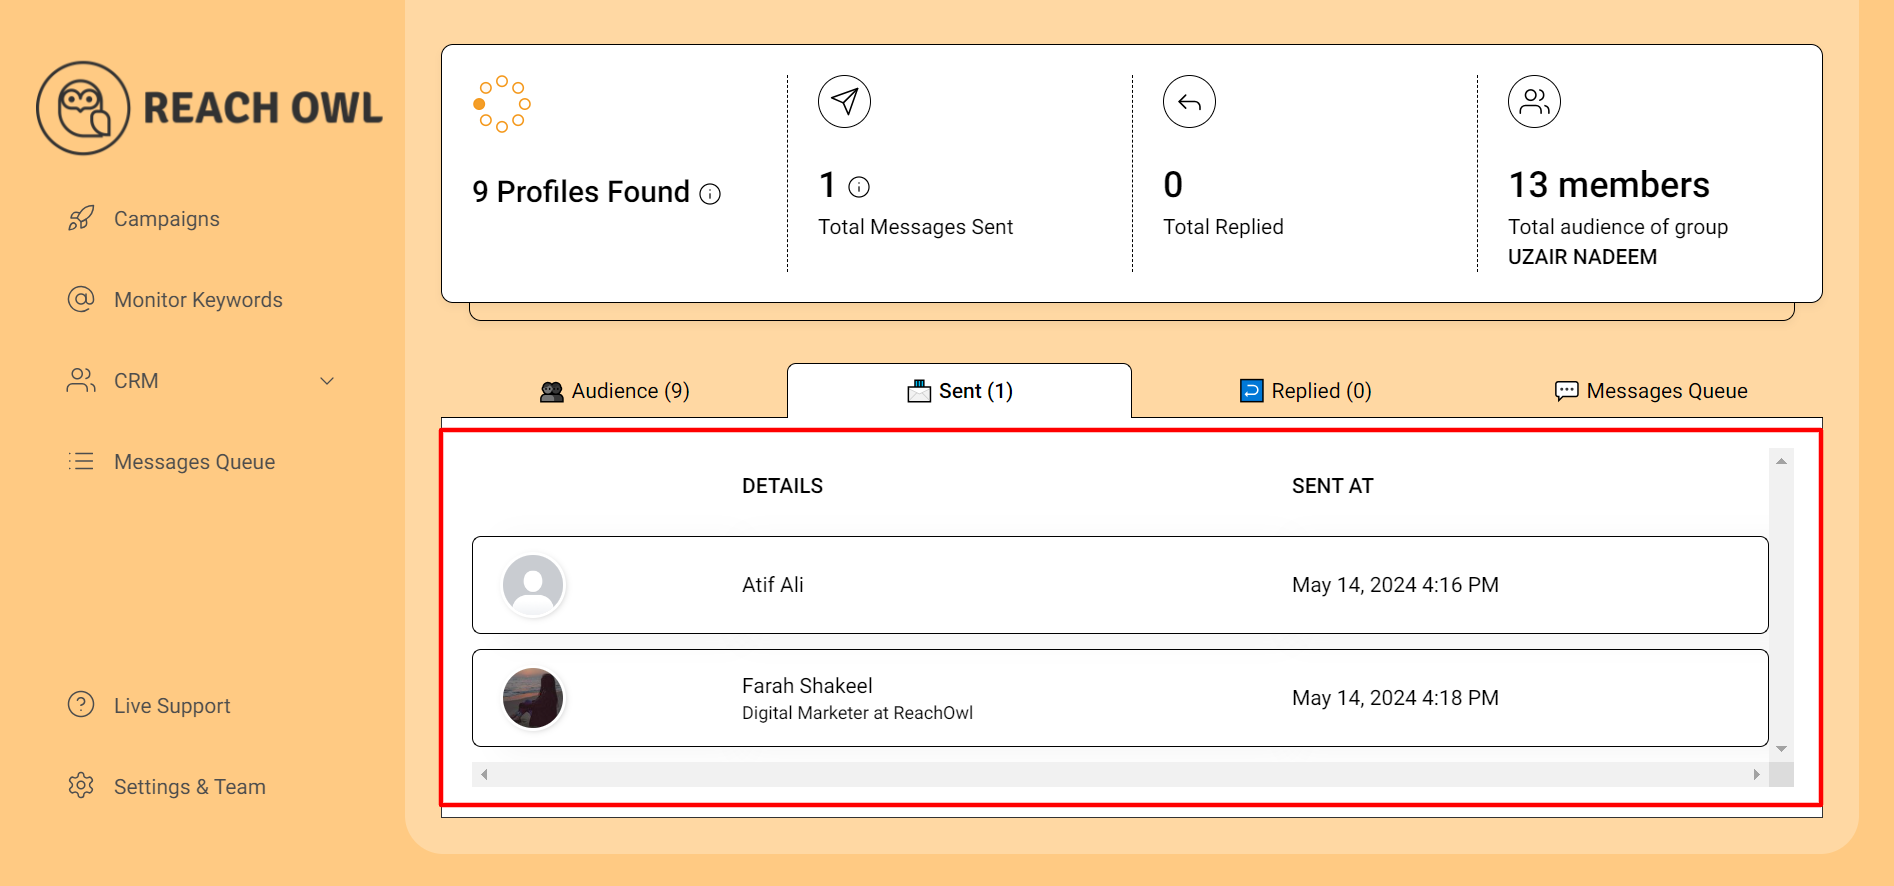
Step 15: Verify Message Queue
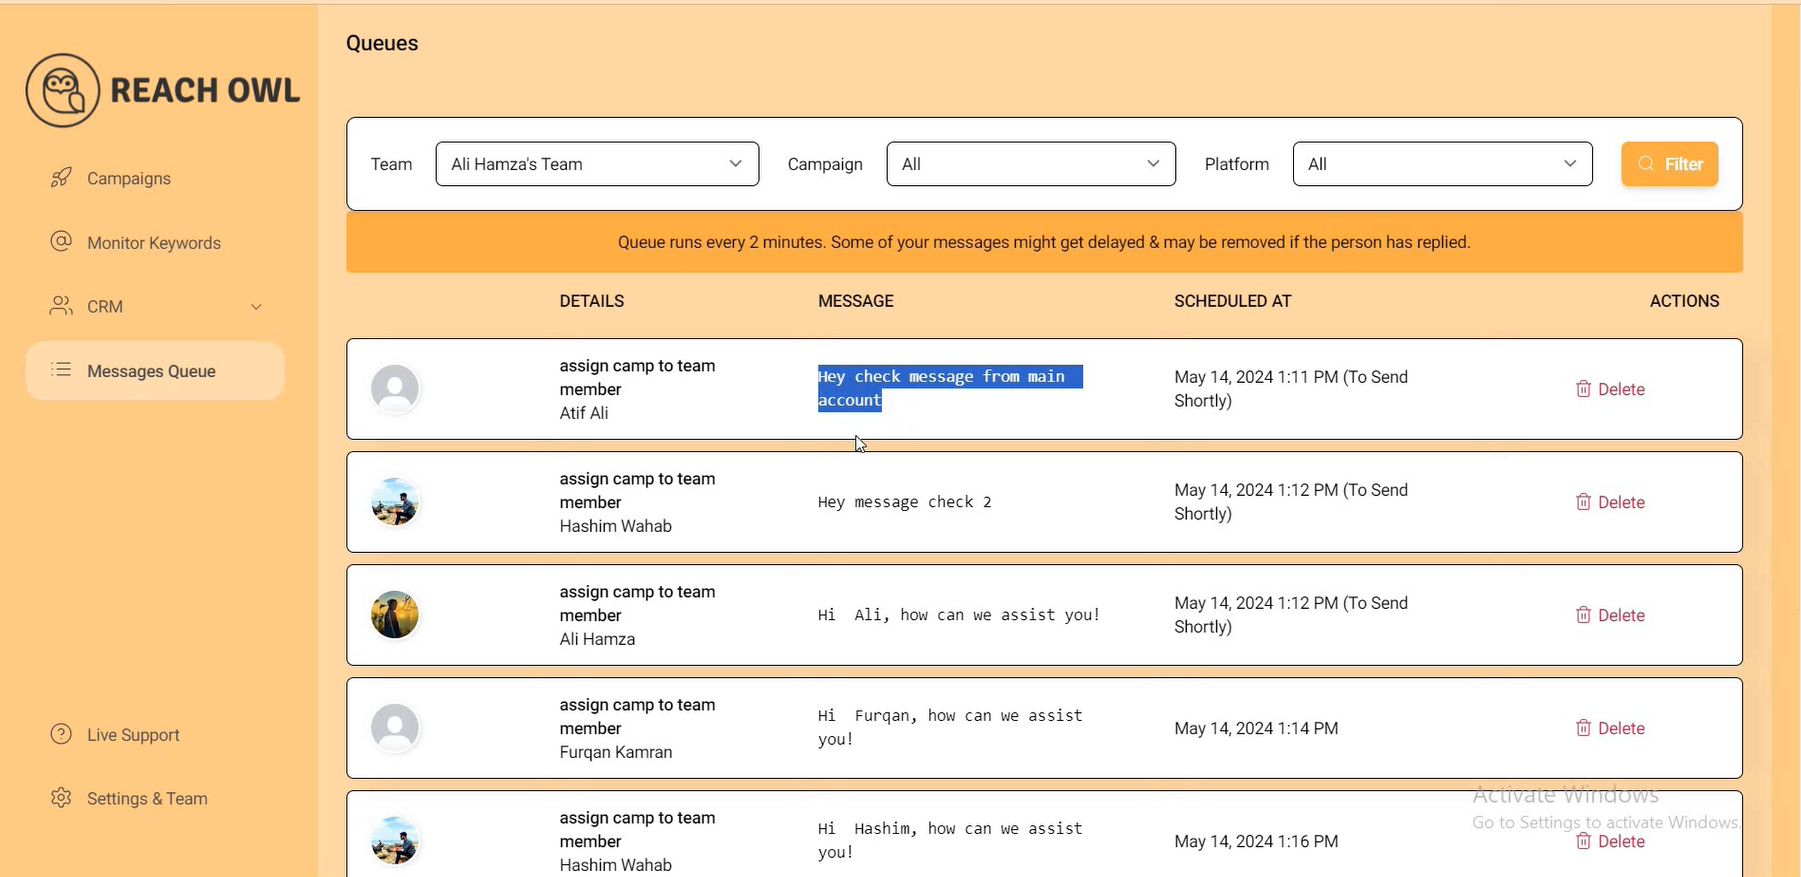
Check the message queue in the team member’s account to ensure messages from the main account are queued properly on the team member queue.
Step 16: Cross-Check Sent Messages
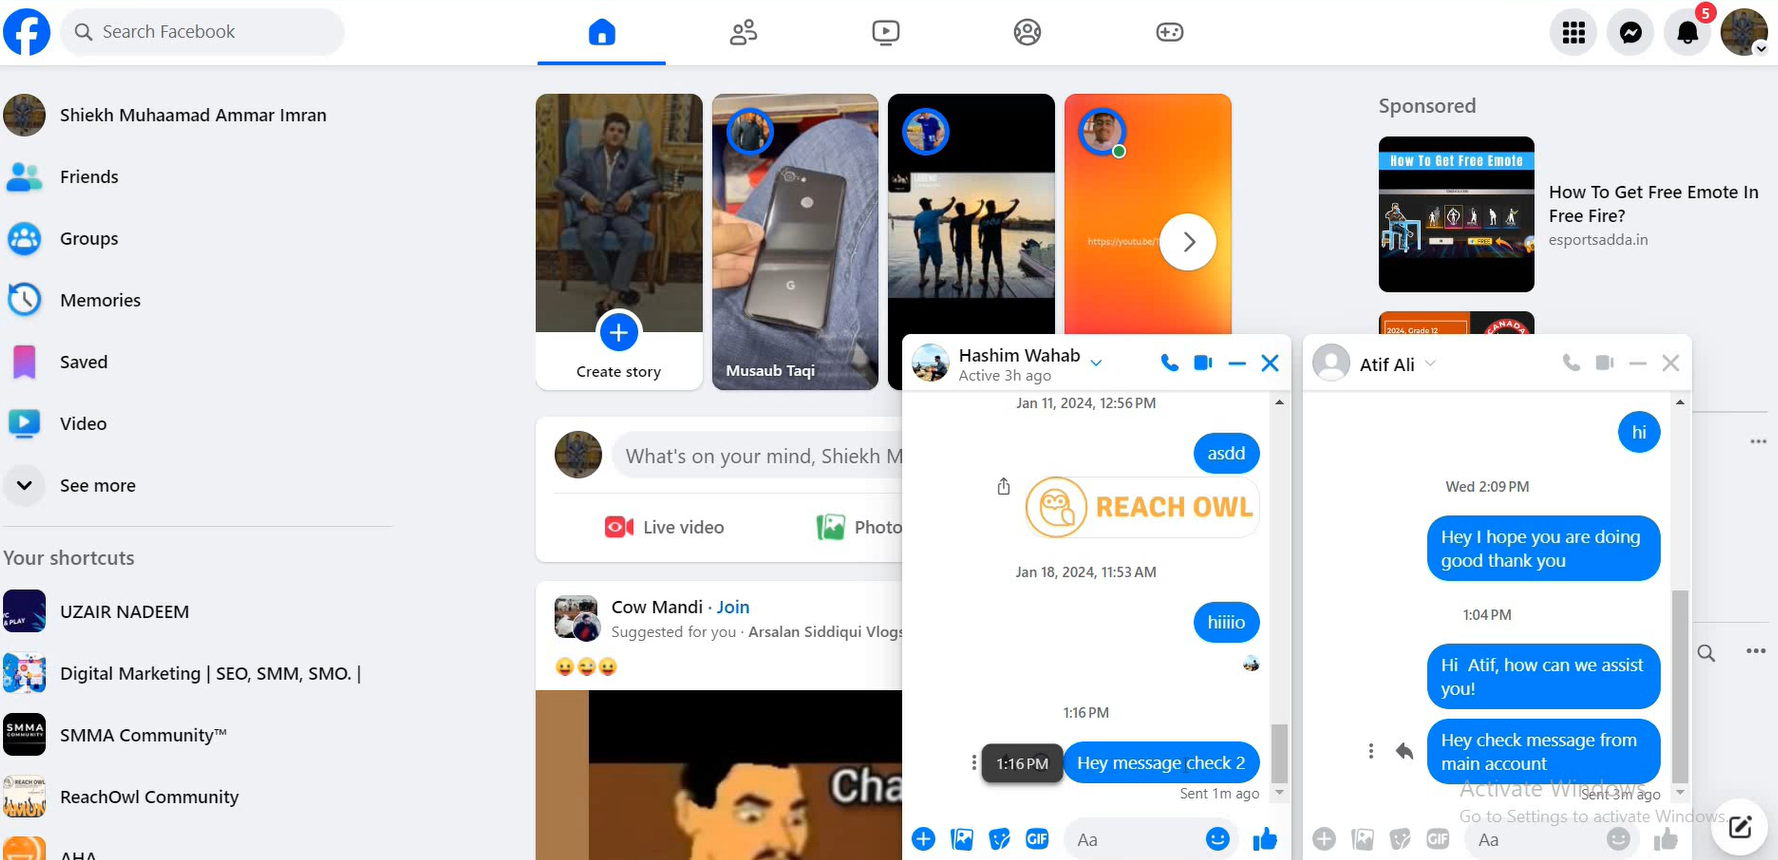
Verify that all messages in one place sent from the main account were delivered from the team member’s social profile by checking the team member’s Facebook account.
By following these steps, you can effectively manage and monitor all your team members’ conversations from one place using ReachOwl. This makes communication easier and helps keep all team activities organised and tracked efficiently.