ReachOwl is committed to offering users an efficient and versatile platform for their outreach campaigns. In line with this, they’ve introduced an upgrade to the CSV profile feature, allowing you to include more variables in your CSV files, thereby enhancing your campaign’s personalization and impact.
Let’s go through how this feature works.
Step 1: Getting Started
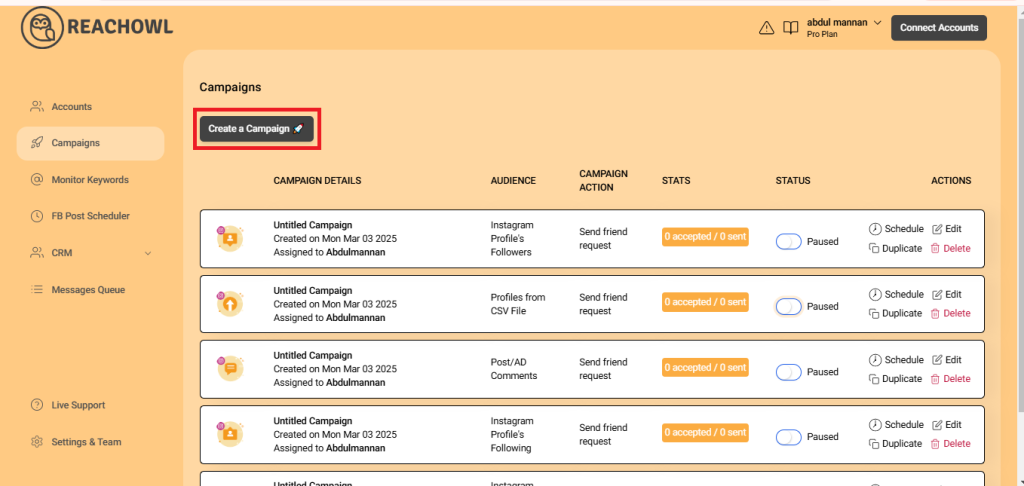
Initiate your campaign by selecting the “Create Campaign” option in your ReachOwl dashboard.
Step 2: Upload Your CSV File
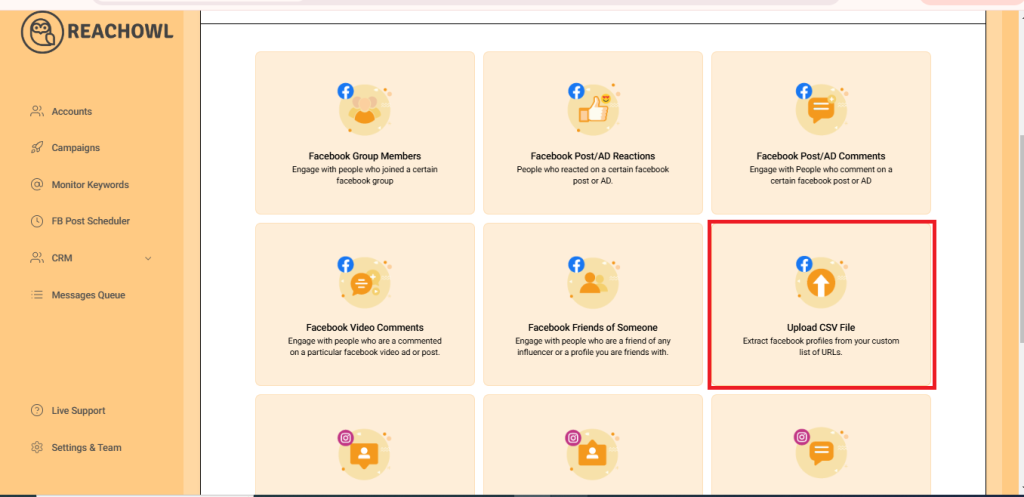
Scroll down in the campaign creation options and click on “Upload CSV file.”
Step 3: Adding Variables to Your CSV File

Click on the “Choose File” option to select and upload your CSV file containing Facebook profile URLs.
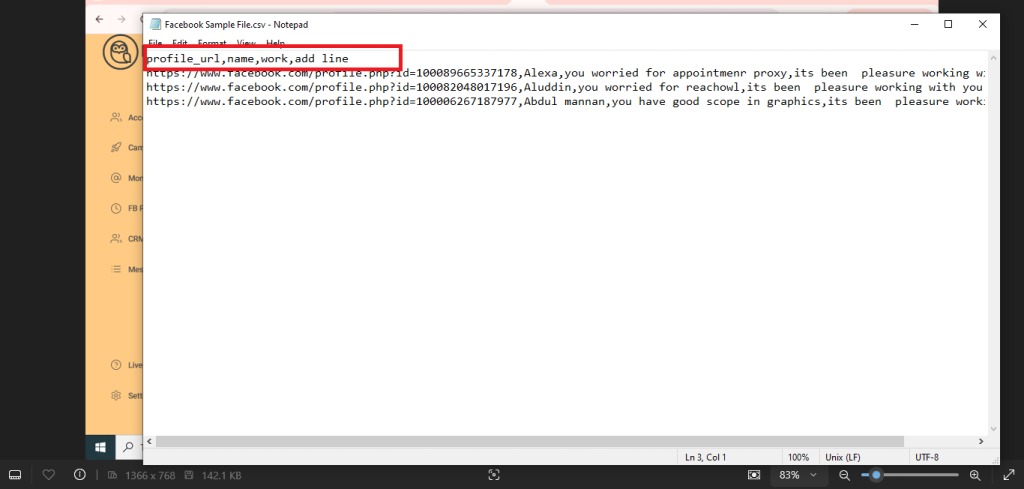
Now, you can enhance your CSV by adding more variables.
Note: If you don’t define a name column in the CSV, ReachOwl will automatically use the username from everyone’s Facebook URL. So you need to either put the full name in a column labeled ‘name’, or you can separate the first name and last name.
Step 4: Proceed to the Next Step
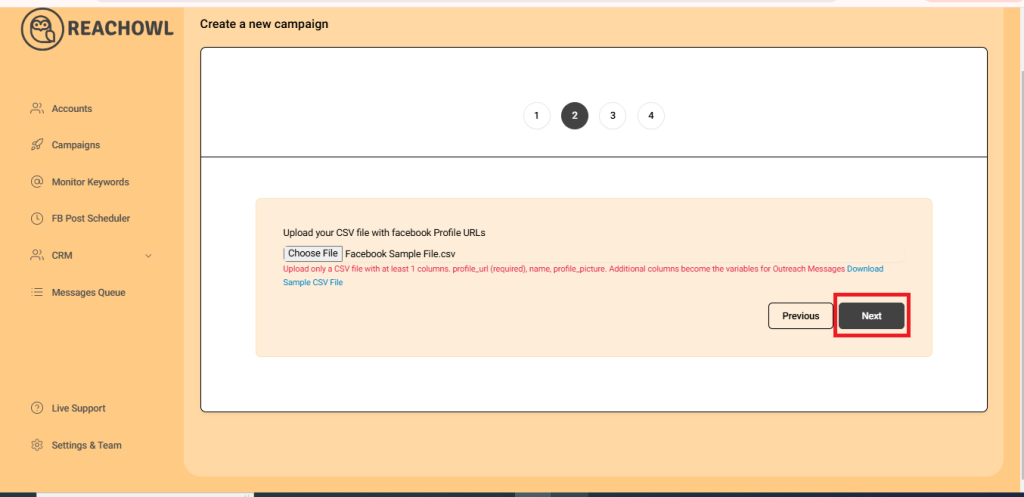
After successfully uploading the CSV file, click “Next” to continue with your campaign setup.
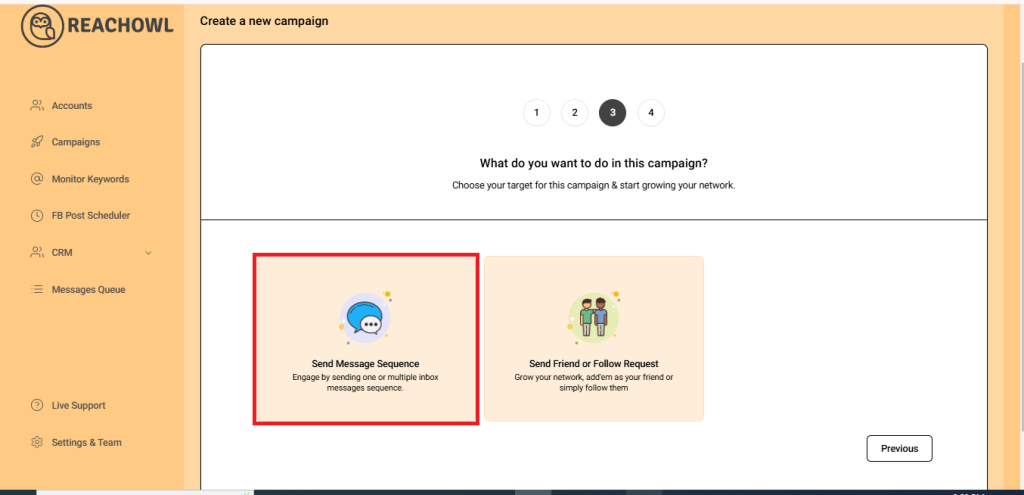
Step 5: Selecting the Campaign Type
Step 6: Completing Campaign Settings
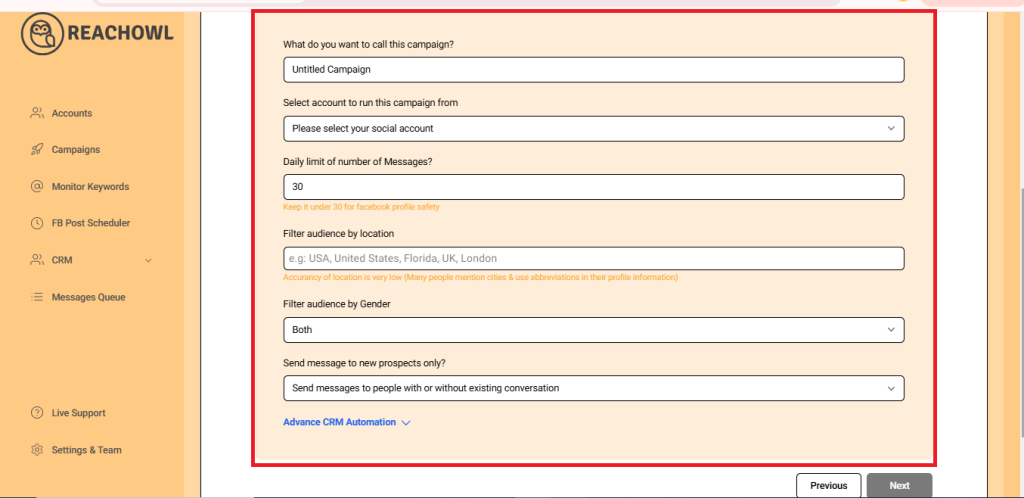
Now, fill in the rest of the campaign details as required.
Step 7: Saving Your Campaign
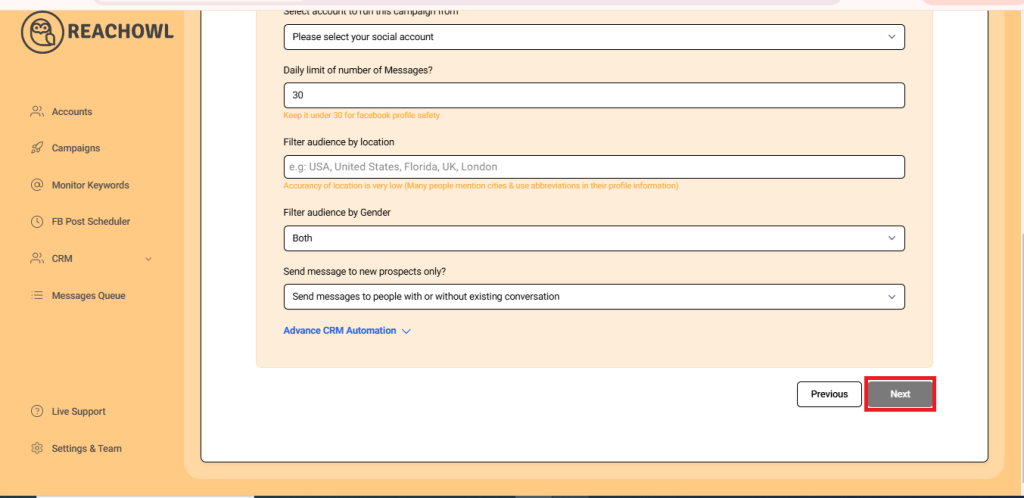
Click ‘Save’ to preserve your campaign settings.
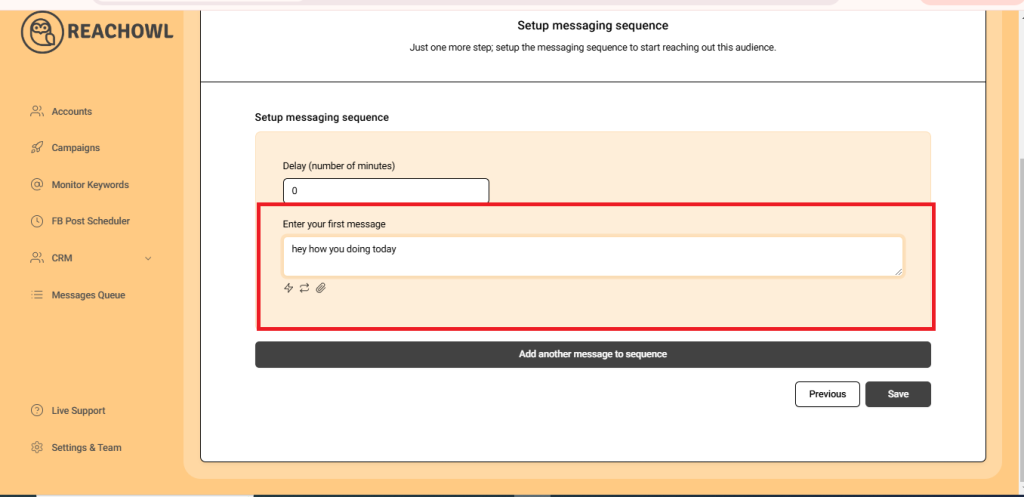
Step 8: Crafting a Personalized Message Sequence
Here’s where the enhanced feature comes into play: You can now add more variables to your messaging sequence using ReachOwl’s intuitive interface.
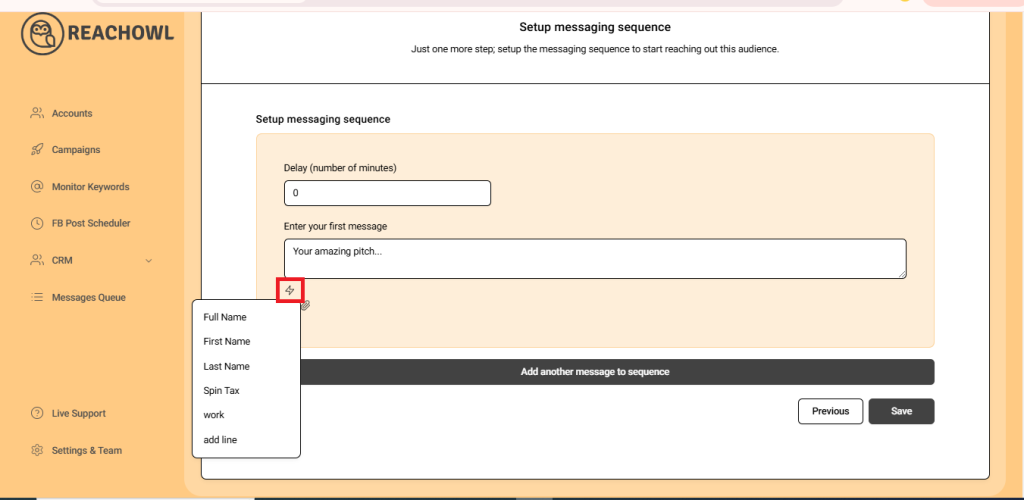
- Utilize the name variable, denoted by double curly braces ({{name}}), to personalize your messages with the recipient’s name.
- To expand the use of variables, click on the sign where variable initialization begins.
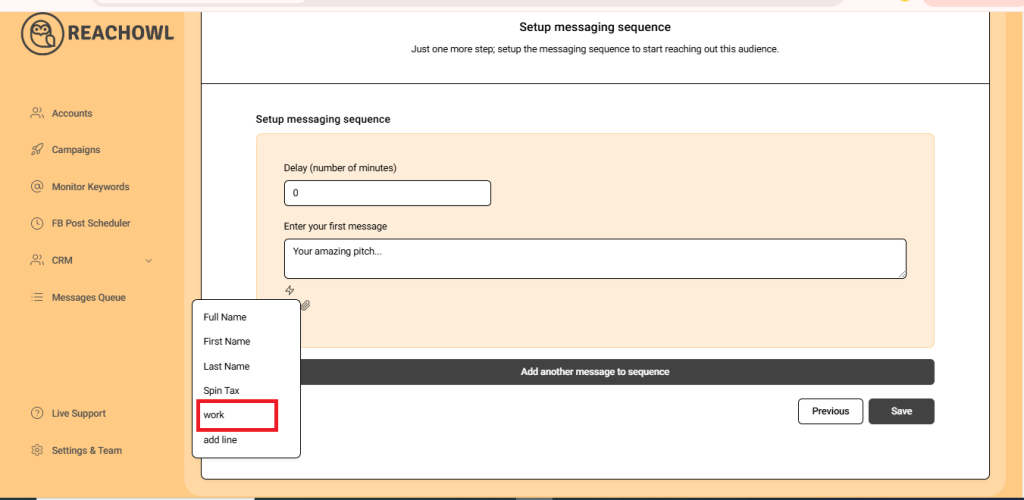
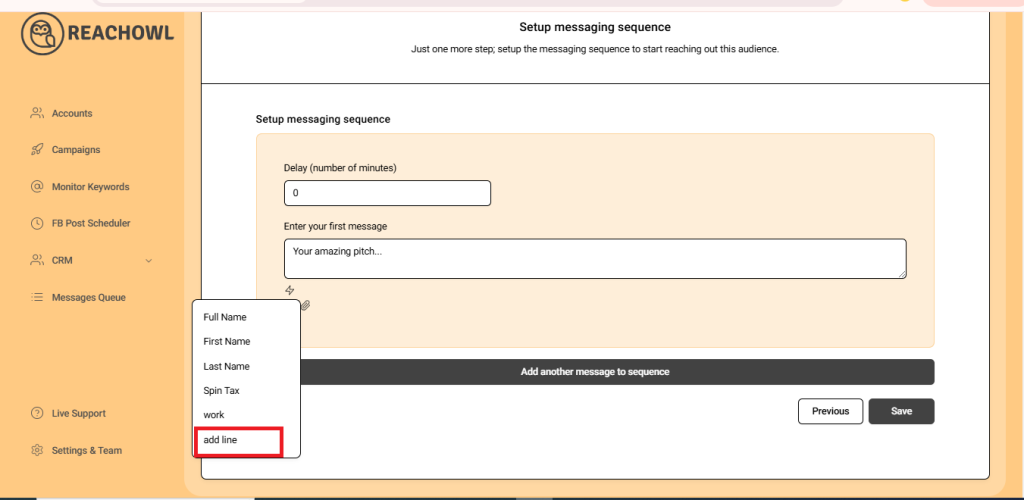
- You will have multiple options. Click on the variables you want to initialize for your CSV campaign.
Step 9: Save your Campaign
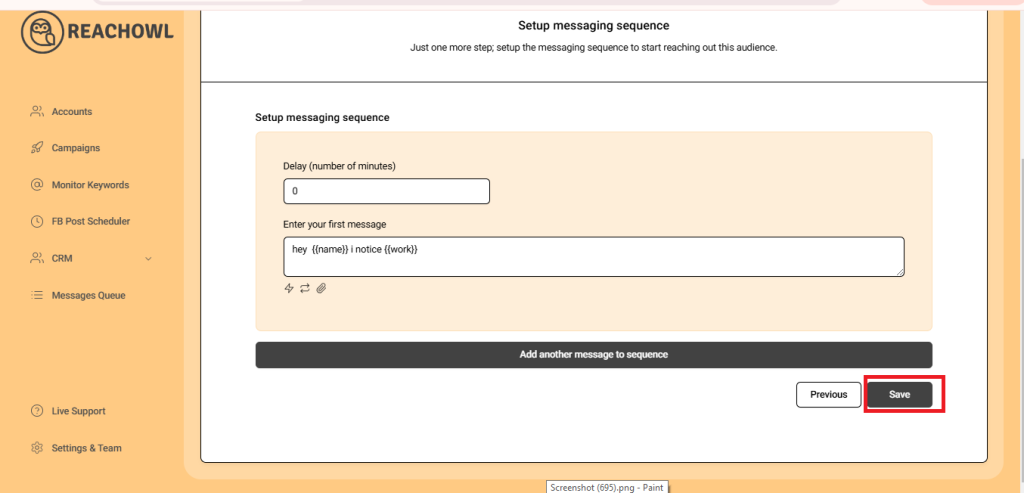
Once you’ve set up your variables in the messaging sequence, click “Save” to ensure your campaign settings are preserved.
Step 10: Initiating Your Campaign
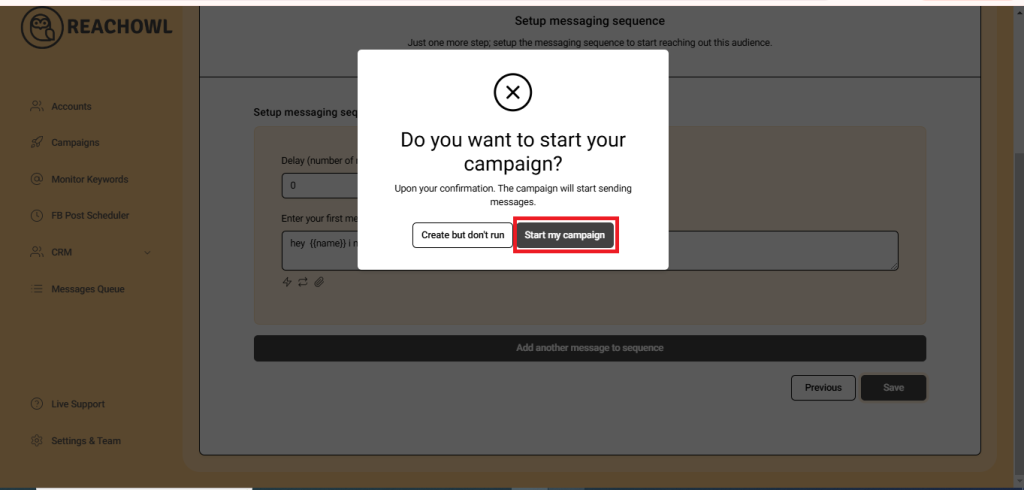
Click on “Start My Campaign” to set your outreach process in motion.
Step 11: Monitor and Manage
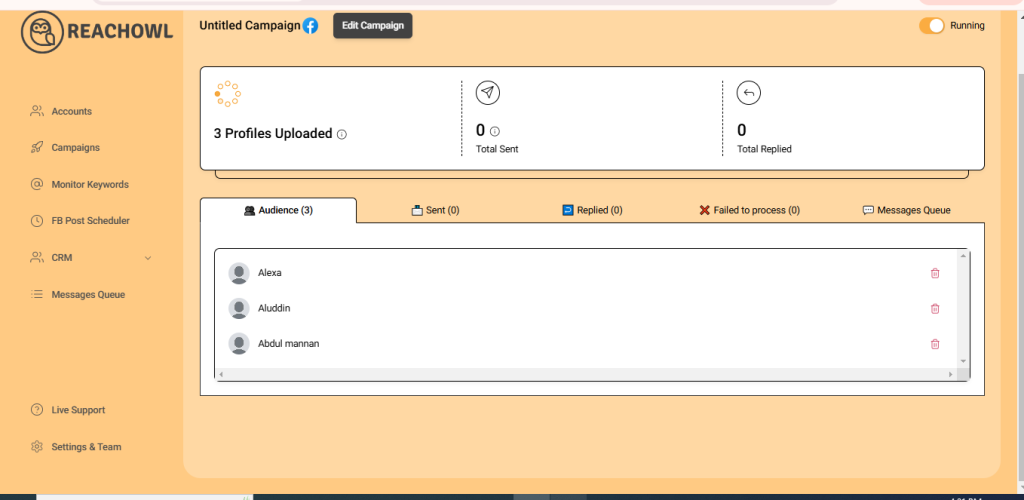
As your campaign progresses, you can conveniently access your message by clicking on the message queue. Here, you’ll see the variables you’ve added, providing you with control and visibility throughout your campaign.
Conclusion
ReachOwl’s new feature empowers users to create highly personalized and effective outreach campaigns. With the ability to add more variables to your CSV files, you can tailor your messages to a greater degree, enhancing your chances of making meaningful connections.
This latest upgrade is a testament to ReachOwl’s commitment to providing its users with a powerful and versatile outreach tool.
So, go ahead, explore this feature, and make your outreach campaigns more effective than ever.