Effective outreach and relationship management require a well-structured approach. With ReachOwl’s advanced CRM and stage automation features, you can optimize your outreach efforts and ensure seamless communication with your contacts.
Here’s how to leverage these capabilities:
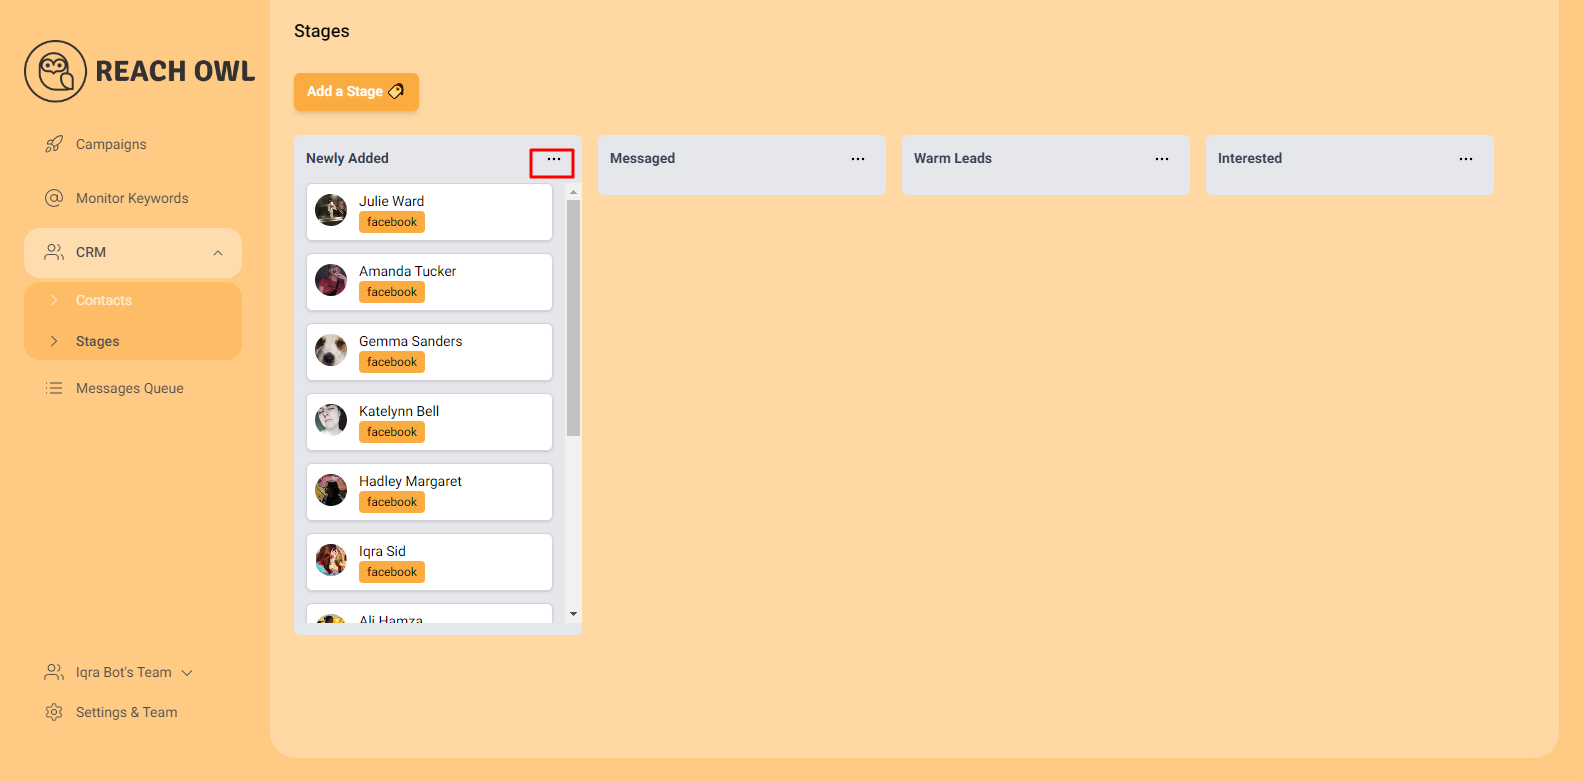
Step 1: Access CRM Stages

Begin by logging into your ReachOwl account. From the CRM dropdown menu, select ‘Stage.’ This will open up the CRM Stages interface.
Step 2: Set Up Your Pipeline Stages
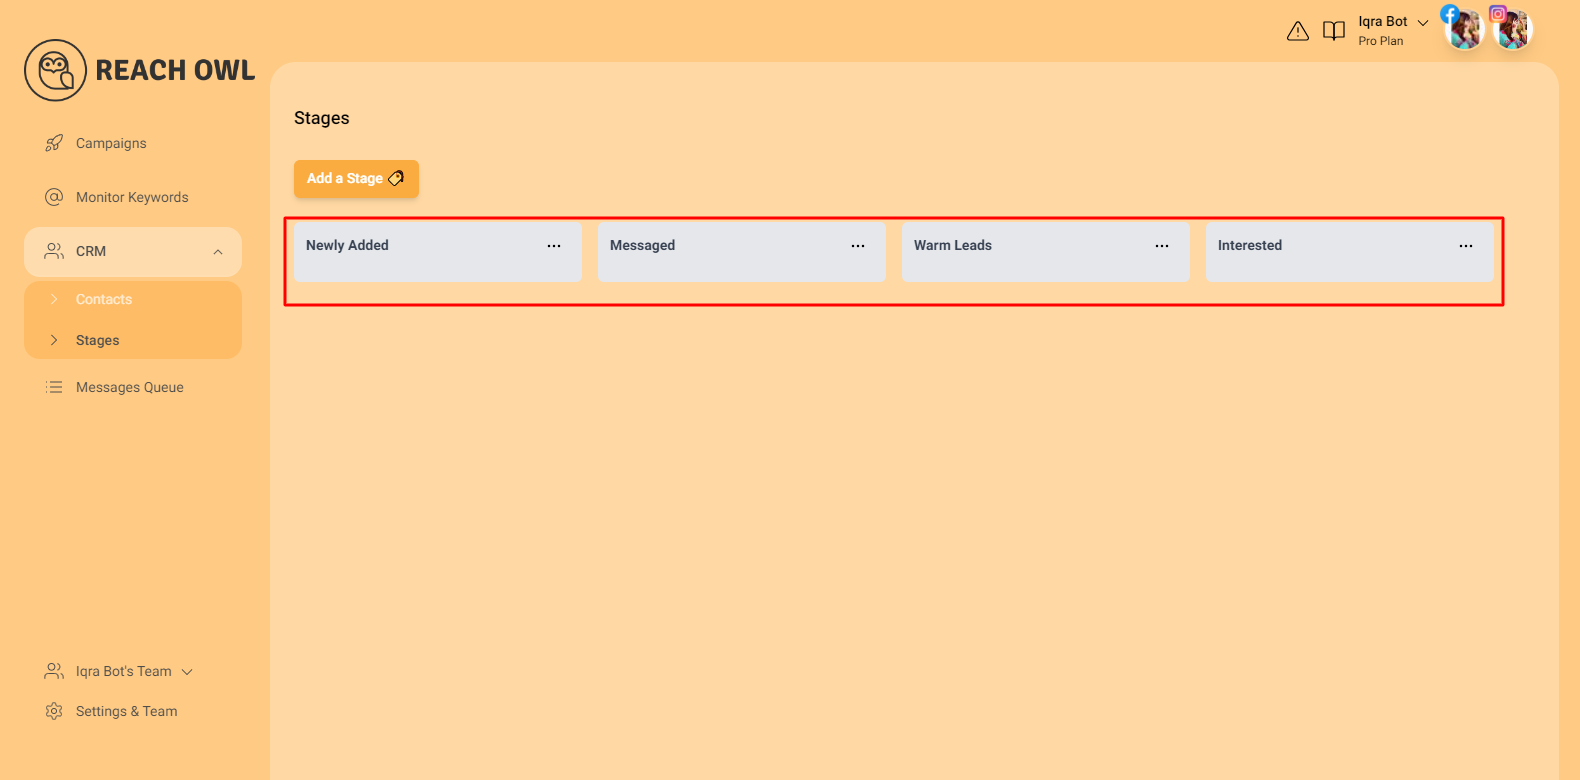
In the CRM Stages interface, you can set up your pipeline stages. These stages can be named according to your preferences, such as ‘Newly Added,’ ‘Messaged,’ ‘Warm Leads,’ ‘Interested,’ or any labels that reflect your campaign’s progression.
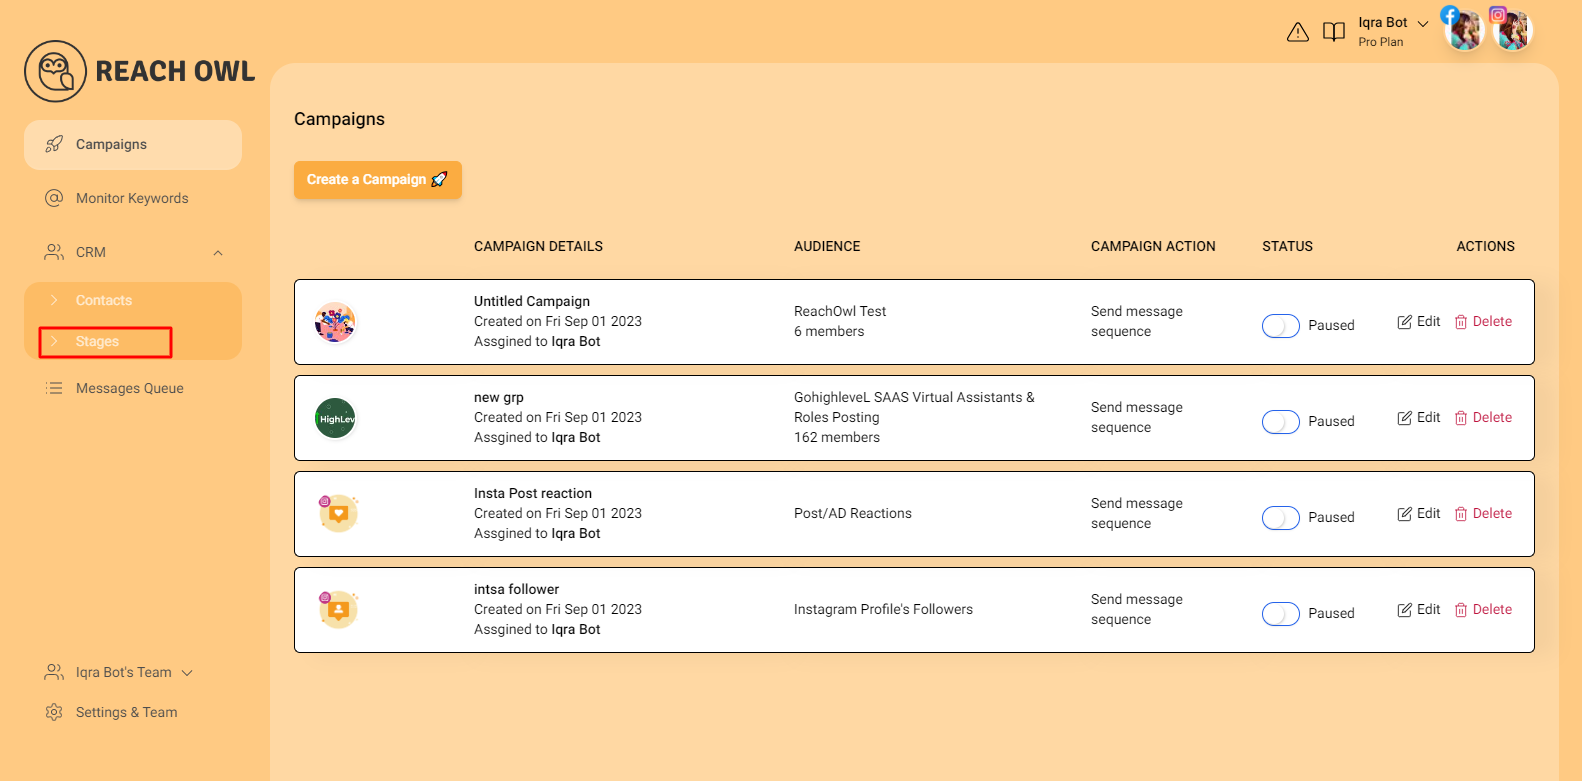
Step 3: Create a campaign
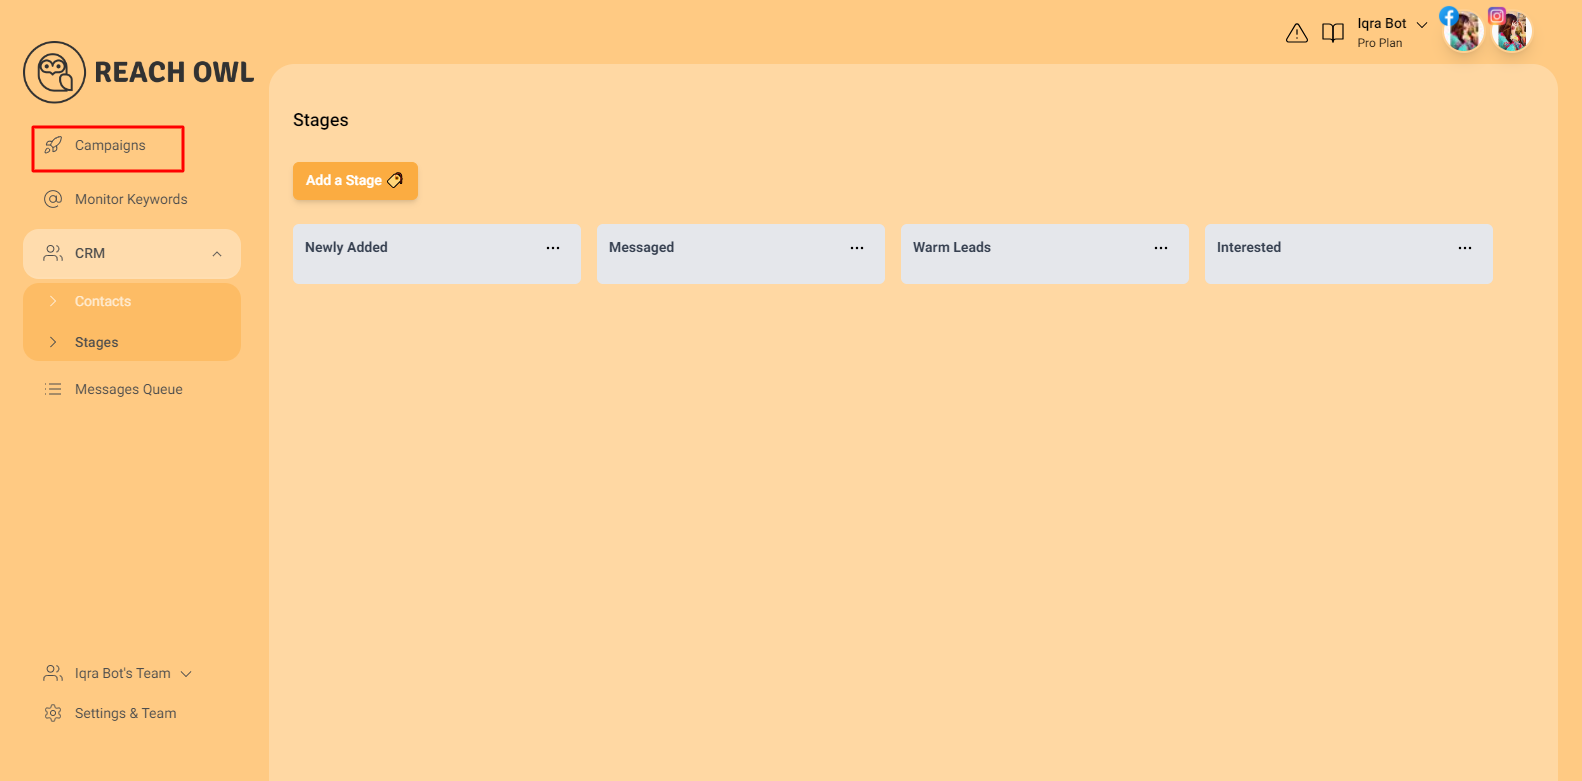

To apply your stages effectively, you’ll need to create a campaign. Click on the ‘Campaign’ option and click on create campaign.
Step 4: Access Your Facebook Groups
 click on “Facebook Group Members,” and you’ll see that ReachOwl already accesses all the Facebook groups linked to your account.
Step 5: Select the Target Facebook group
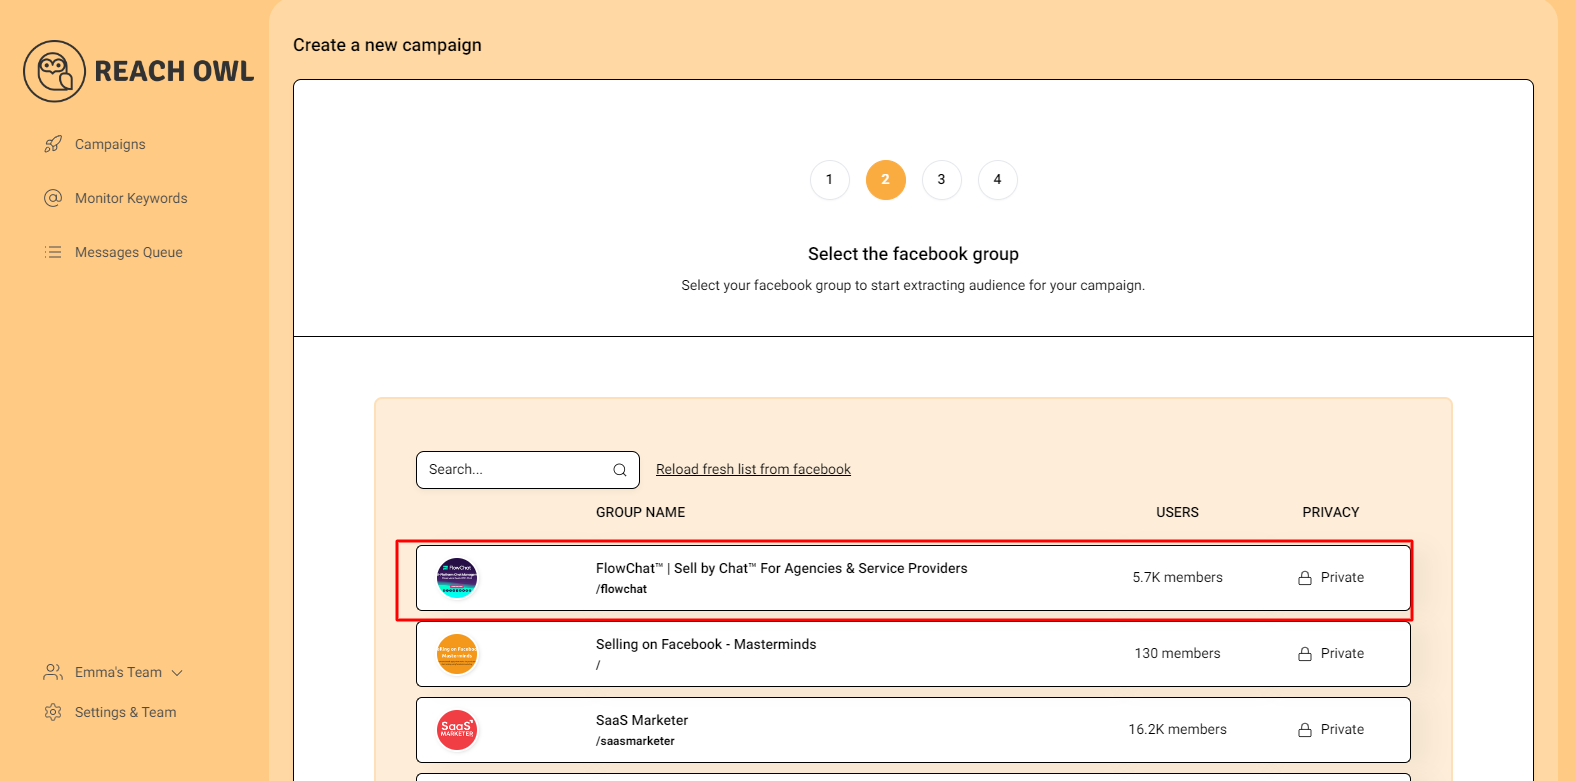
From the list of your Facebook groups, choose the one you want to target for your messaging campaign.
Step 6: Option for Message Sequence

Choose the “Message Sequence” option to craft a series of messages that resonate with your target audience.
Step 7: Name Your Campaign
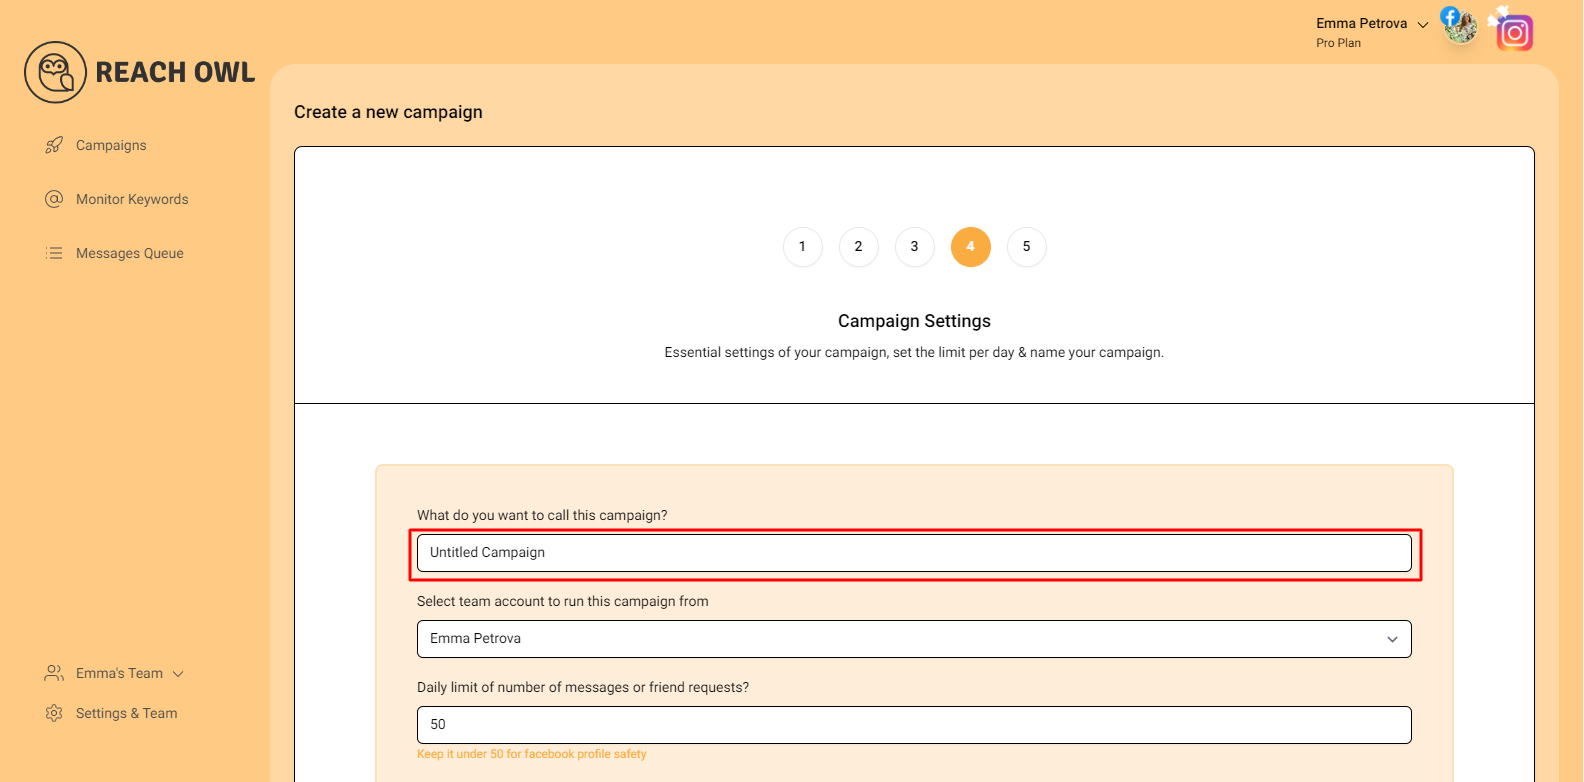
Give your campaign a name that helps you easily identify its purpose and content.
Step 8: Select the Account to Run Your Campaign
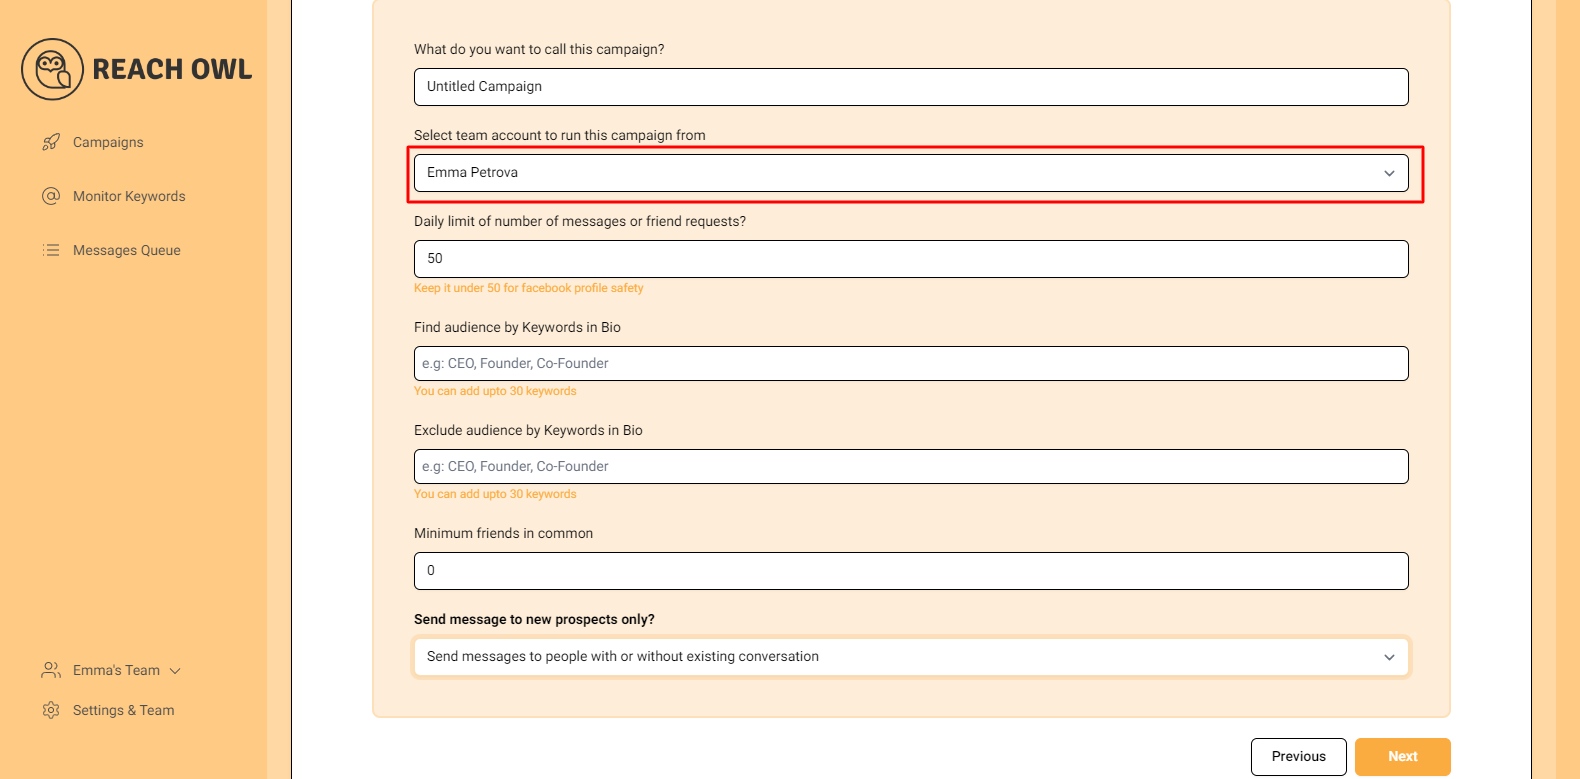
Choose the account from which you want to run the message campaign.
Step 9: Set Up a Daily Limit on the Number of Messages
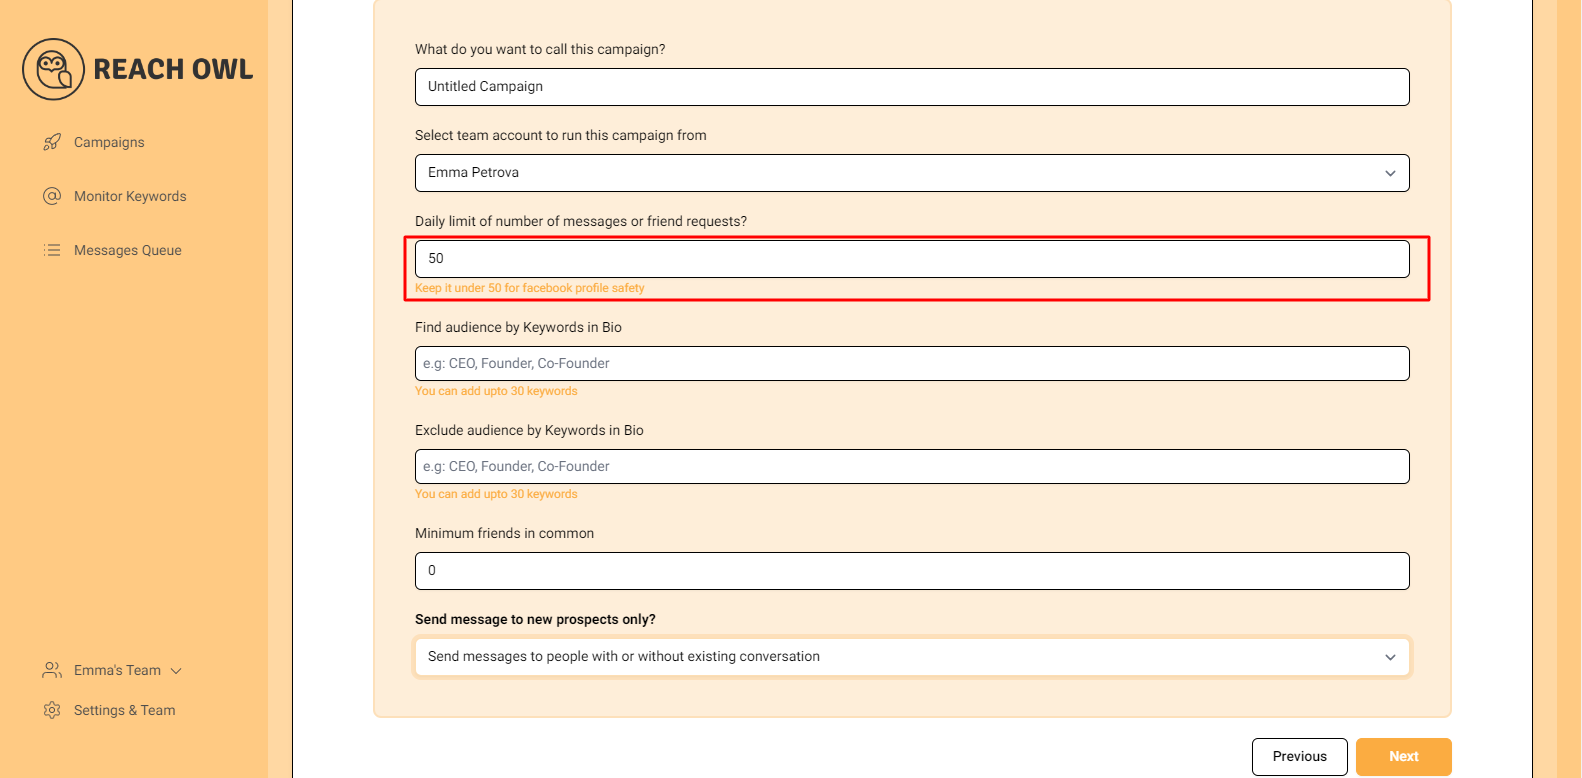
If you want to control the number of messages sent per day, you can set a daily limit.
Step 10: Define Your Audience

Determine the keywords you want to target in the bio to identify potential recipients. For example, CEO, Founder, Entrepreneur, Business Owner, etc.
Step 11: Exclude Audiences with Certain Words
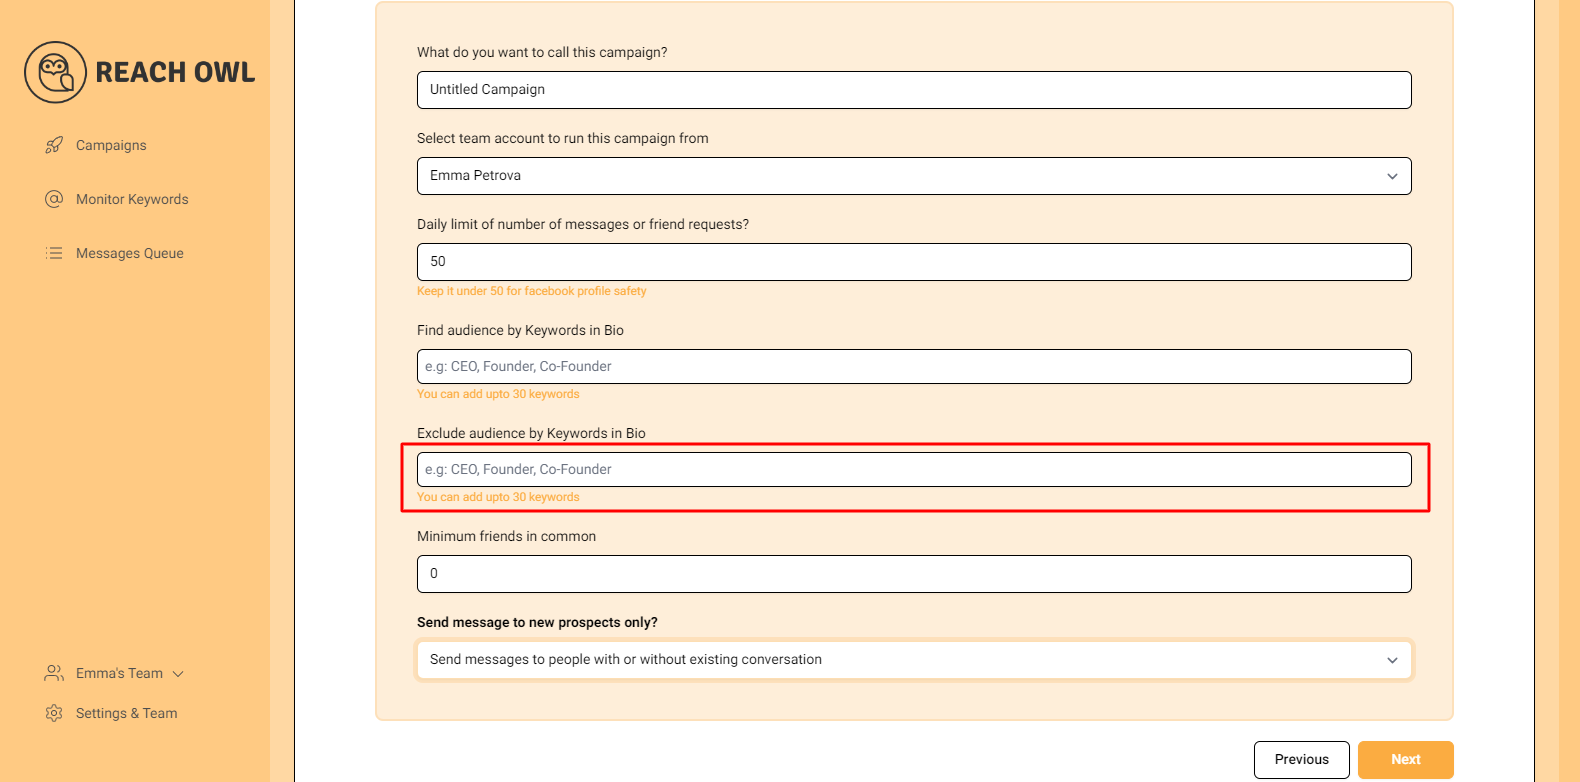
Identify the keywords that indicate you want to exclude certain groups from the campaign. For instance, a freelancer, student, intern, etc.
Step 12: Set the Minimum Number of Friends in Common
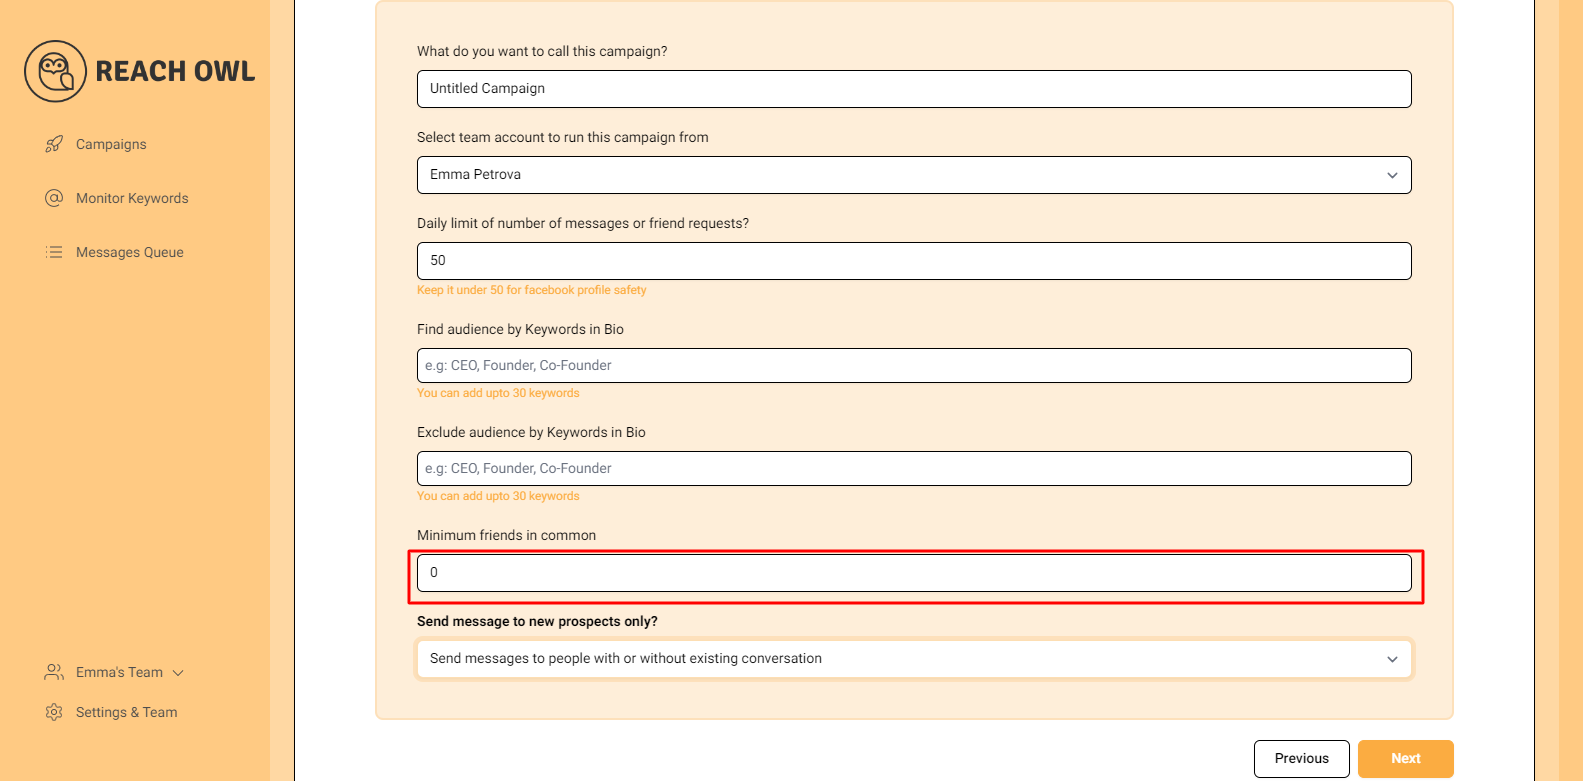
You can choose to establish a minimum number of friends in common that are required to send the messaging campaign.
Step 13: Send messages to new prospects only?
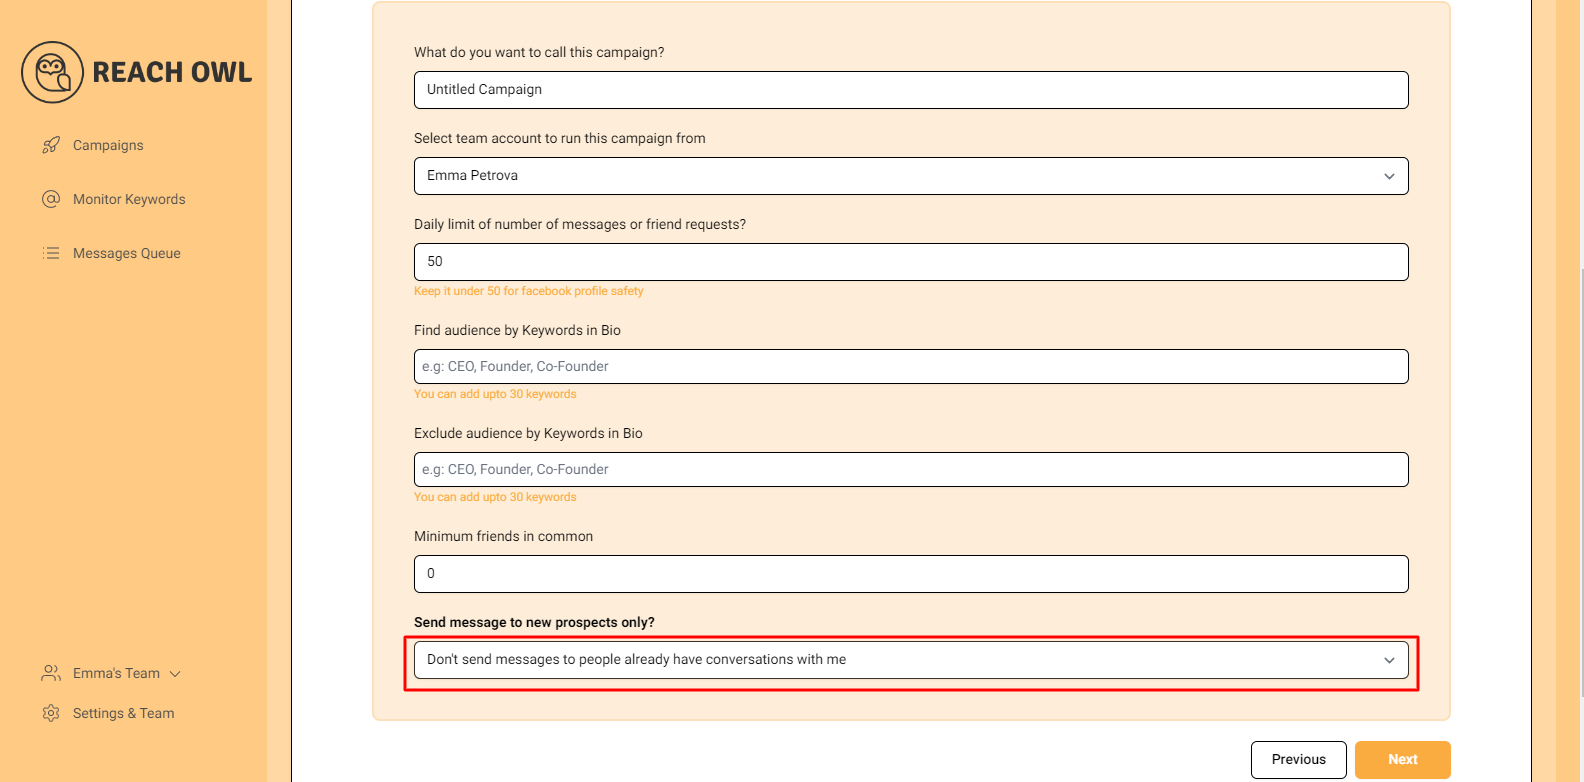
You can choose whether you want to send the campaigns to new people or to the people you already have conventions with.
Step 14: Access Advanced CRM Automation
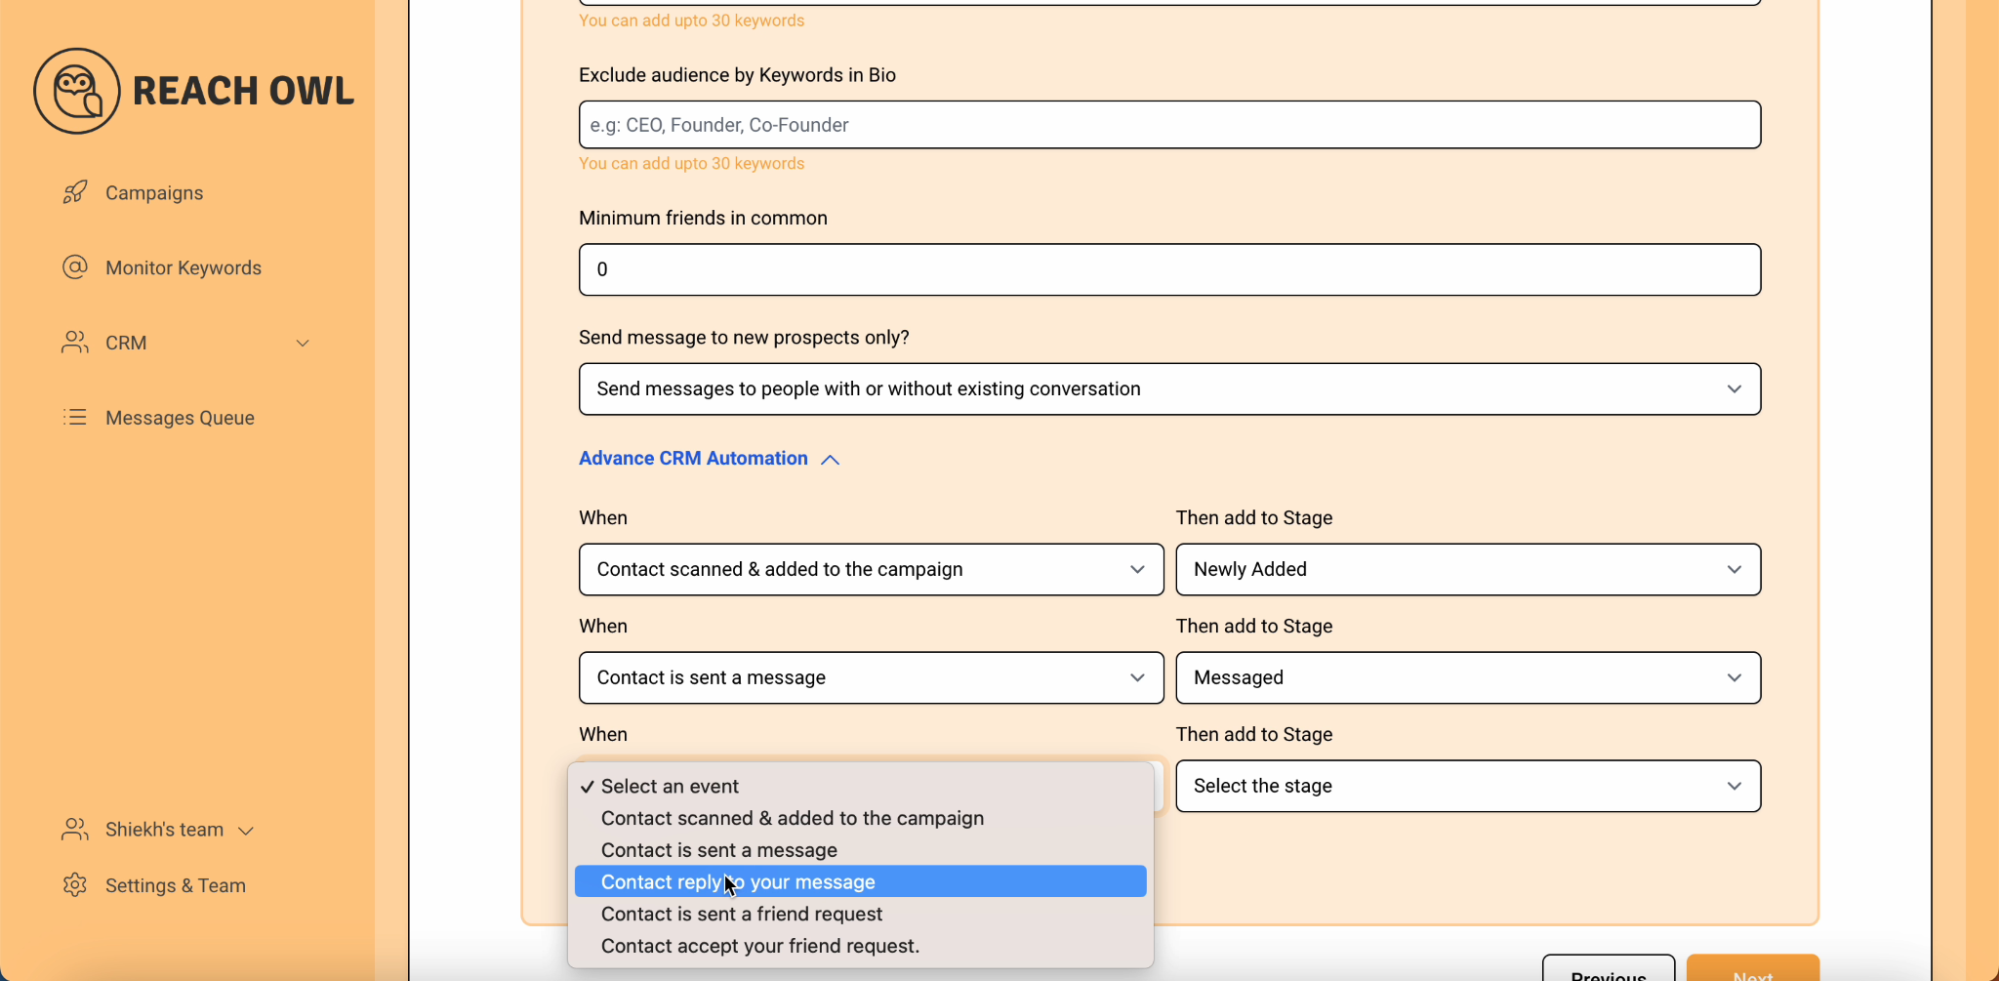
Scroll down to find the Advanced CRM Automation section.
- Define Contact Scanned and Added. Set the stage for a contact when they’re scanned and added to the campaign.
- Add to Stage. Automatically move the contact to the “Newly Added” stage.
- Contact Has Sent a Message. Add the event when a contact sends a message.
- Add to Stage. Automatically move the contact to the “Messaged” stage.
- Contact Reply to Your Message. Set the event for when a contact replies to your message.
- Add to Stage. Automatically move the contact to the “Warm Leads” stage.
Step 15: Proceed to Next

Continue to the next step of campaign setup.
Step 16: Compose the Message

Craft personalized messages using the recipient’s name variable ({{name}}).
Step 17: Add Multiple Messages

Enhance your message sequence by adding multiple engaging messages.
Step 18: Set Up the Messaging Sequence
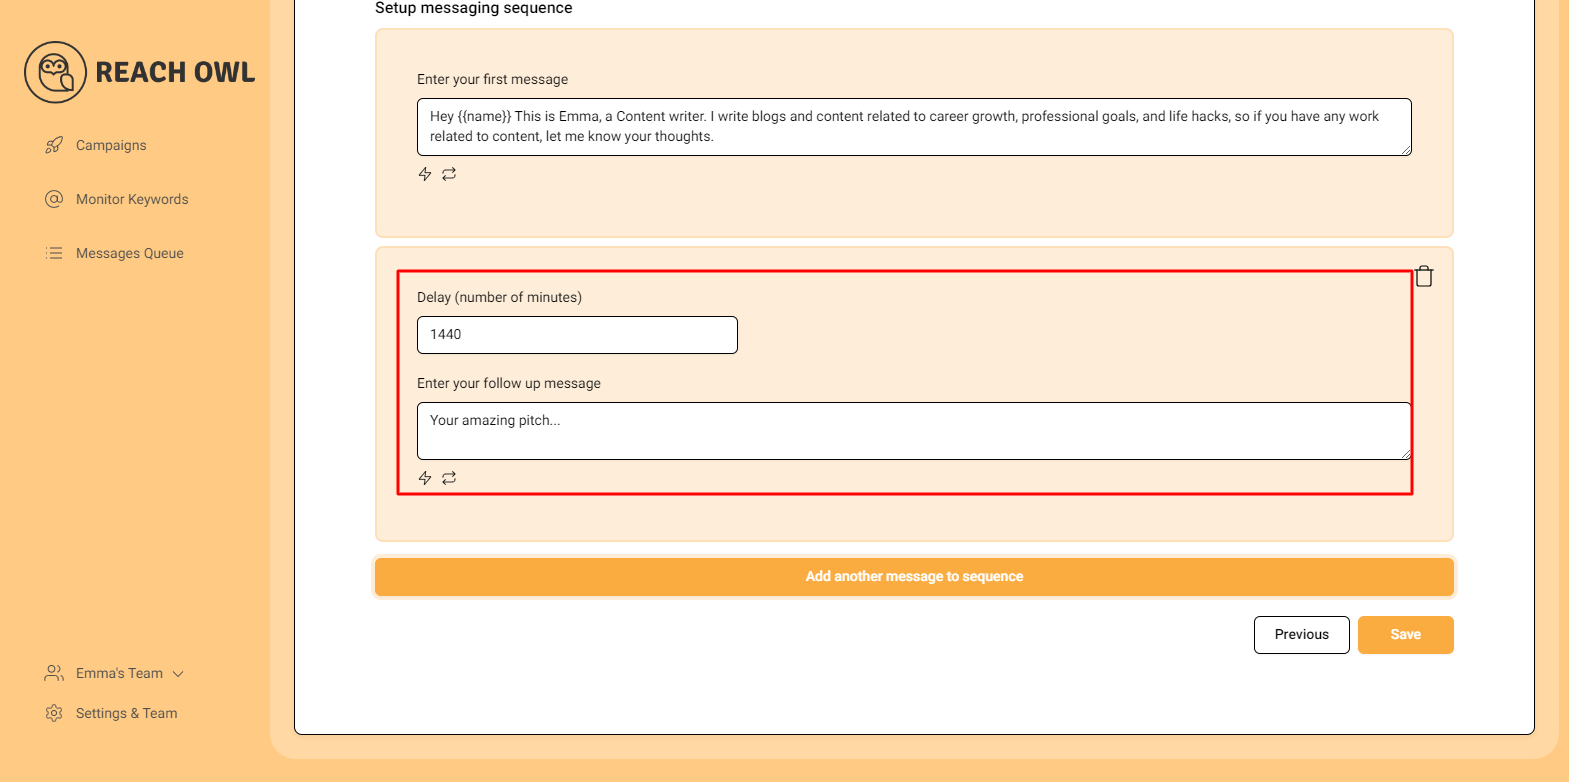
Craft follow-up messages and stagger delays between each to ensure effectiveness.
Step 19: Save Your Campaign
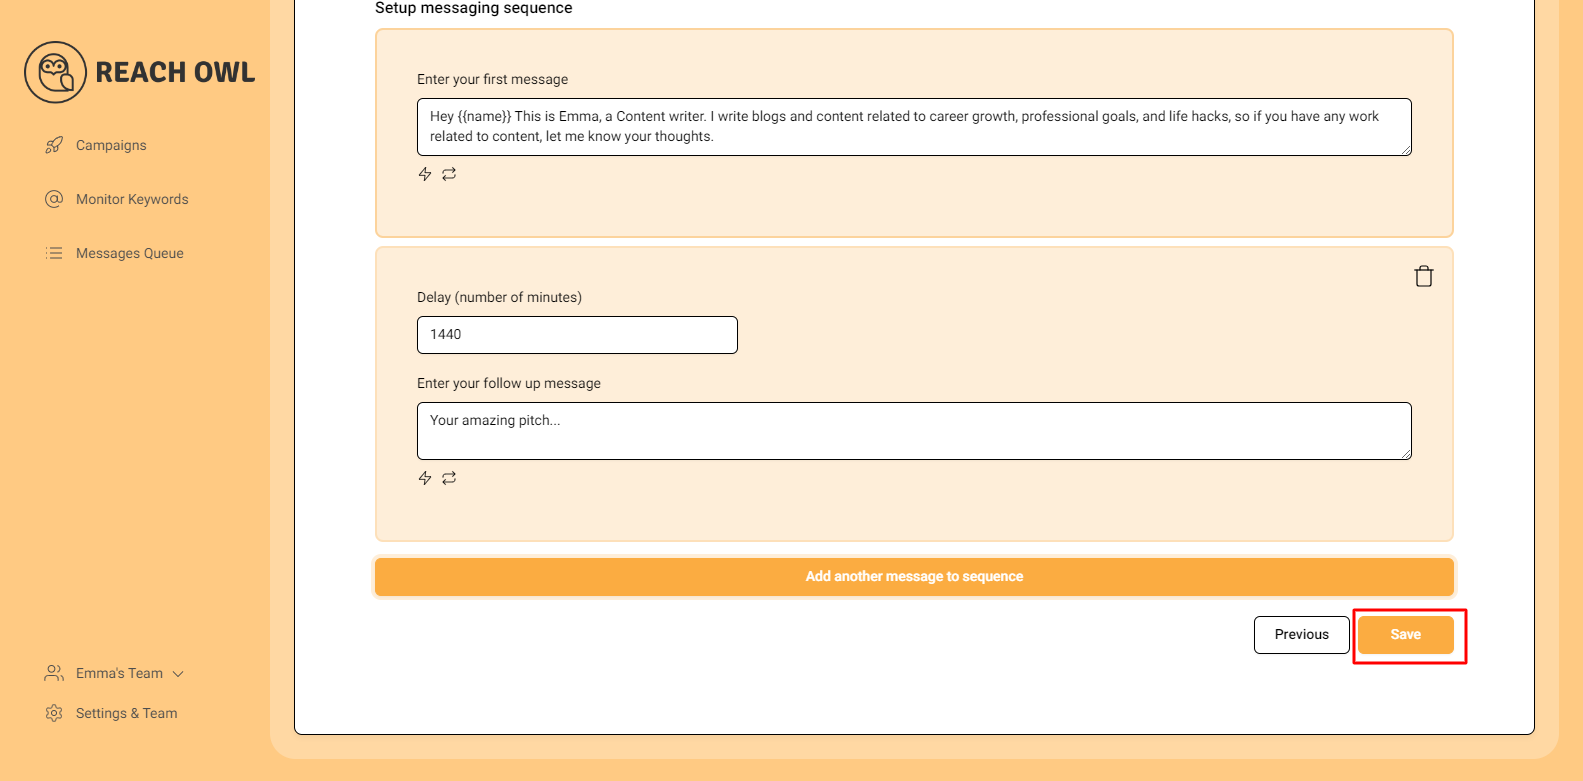
Preserve your campaign settings by clicking “Save.”
Step 20: Start Your Campaign
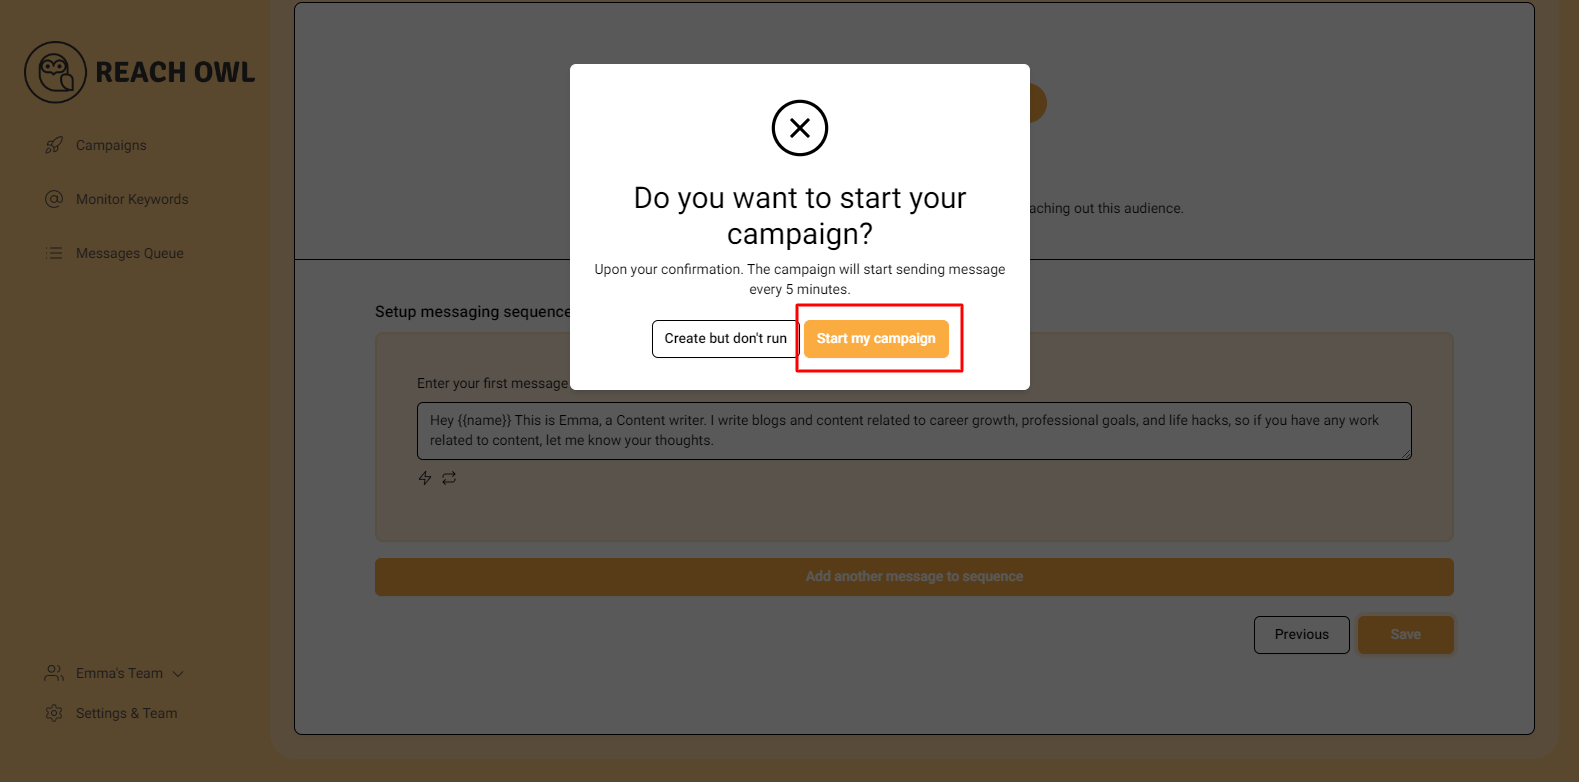
Initiate your messaging campaign by clicking “Start My Campaign.”
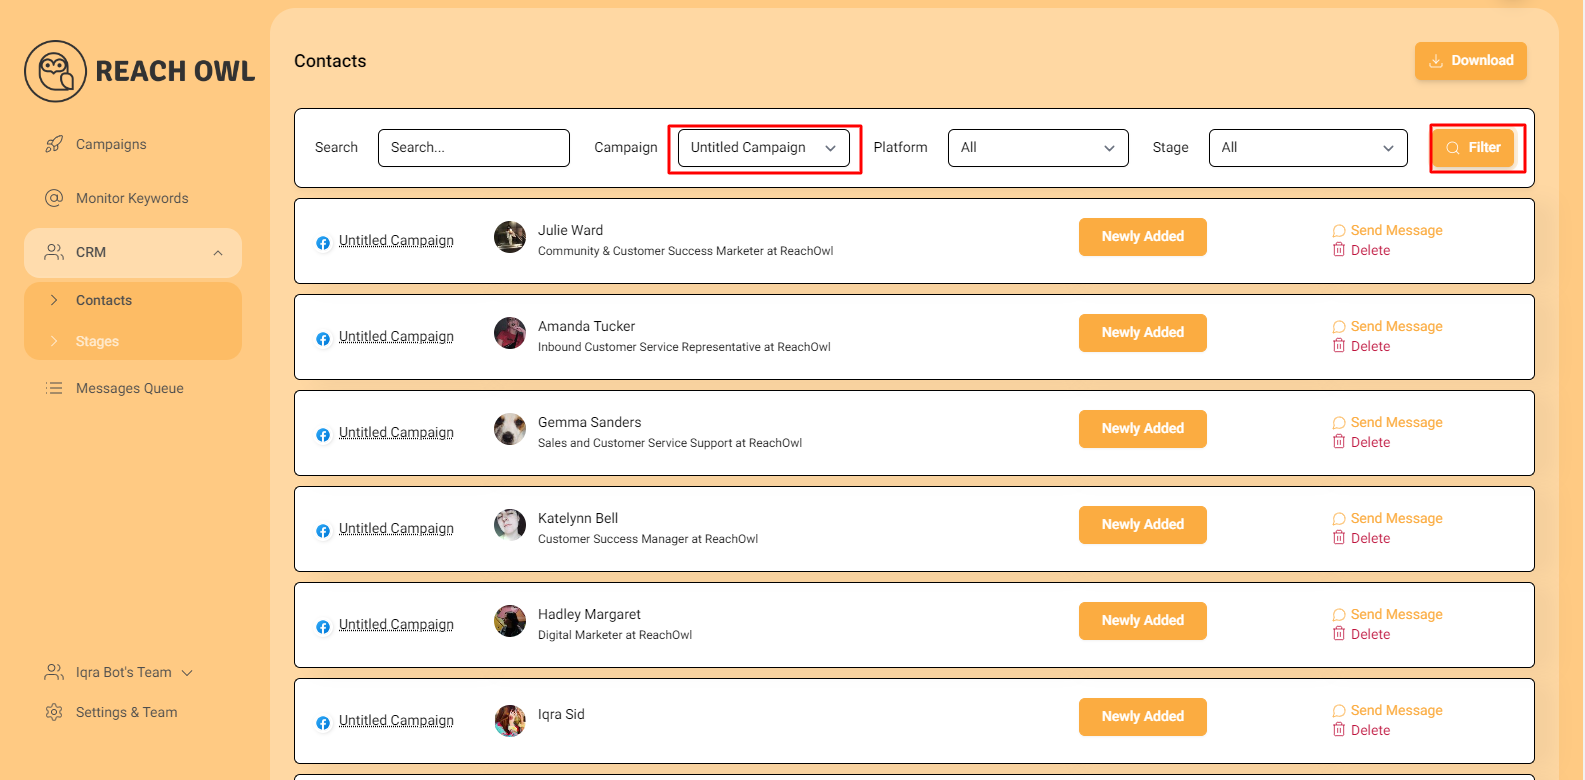
Step 21: Utilize CRM Insights

Access the CRM section to view your audience list and their assigned stages.
Step 22: Filter Contacts by Campaign

Step 23: Download Your Filtered List
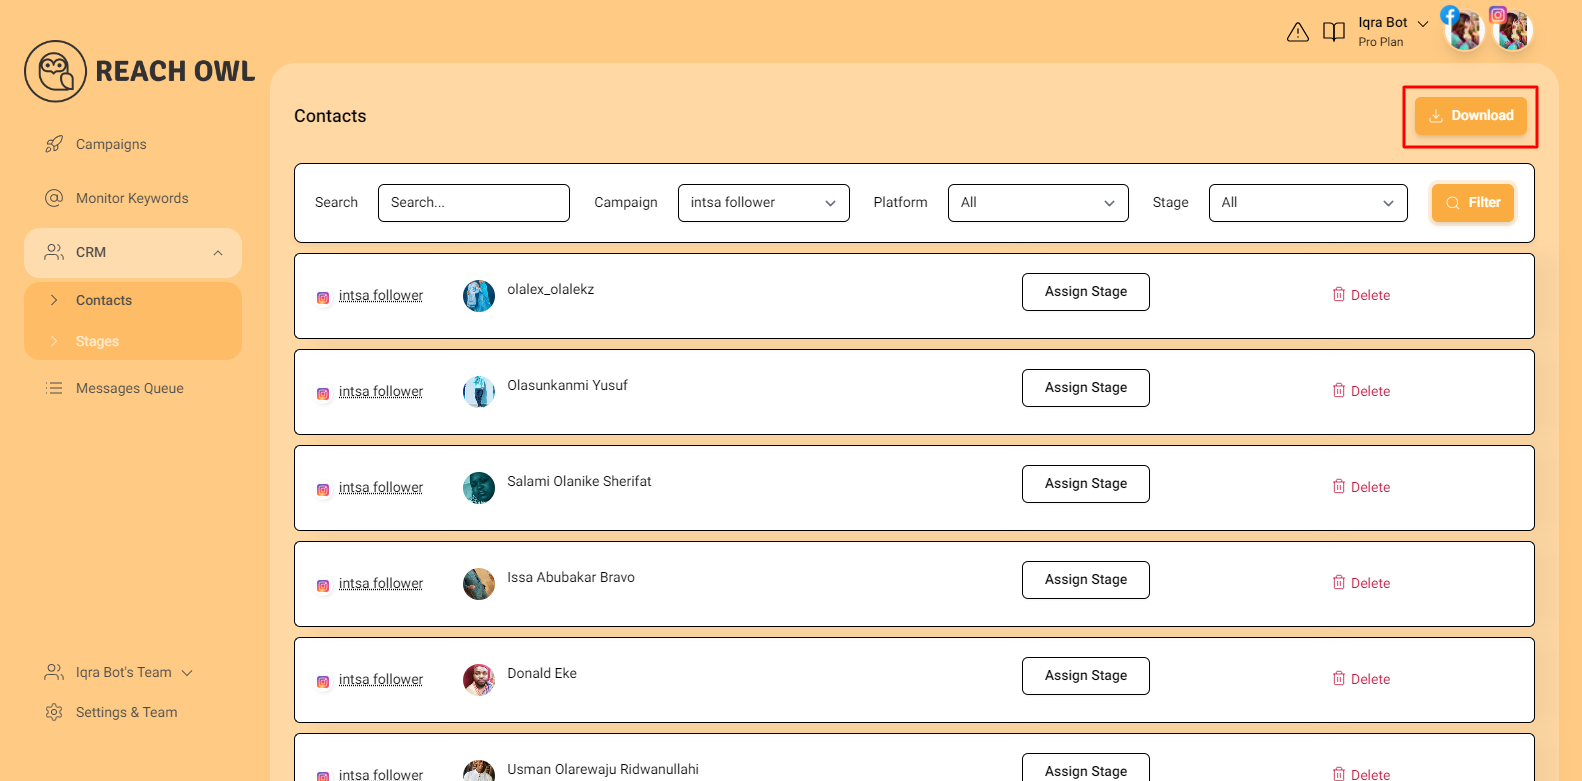
Once you’ve refined your list to include only the contacts you want, it’s incredibly simple to download it. Look for the ‘Download’ button, usually located prominently on the page. Clicking this button allows you to save your filtered list for future reference or outreach.
Step 24: Stage changed

As soon as someone sends a message or reply the stage will be changed automatically.
Step 25: Stage option
Go back to CRM to scroll down and click on stage option
Step 26: Assign a Template message
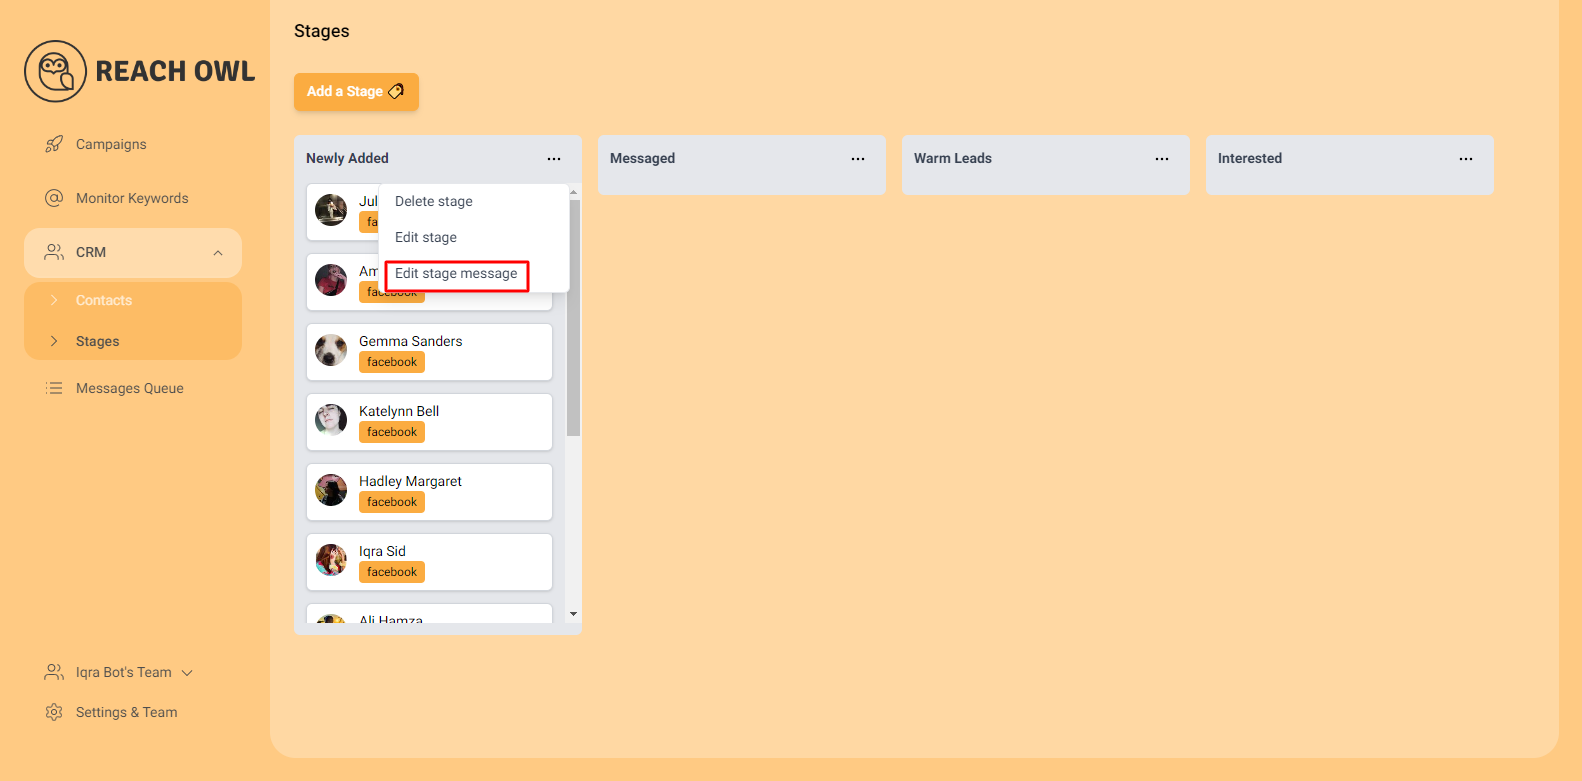
You can assign a template message for each stage by just clicking the 3 dot and click on edit stage message
Step 27: Select a Message Template
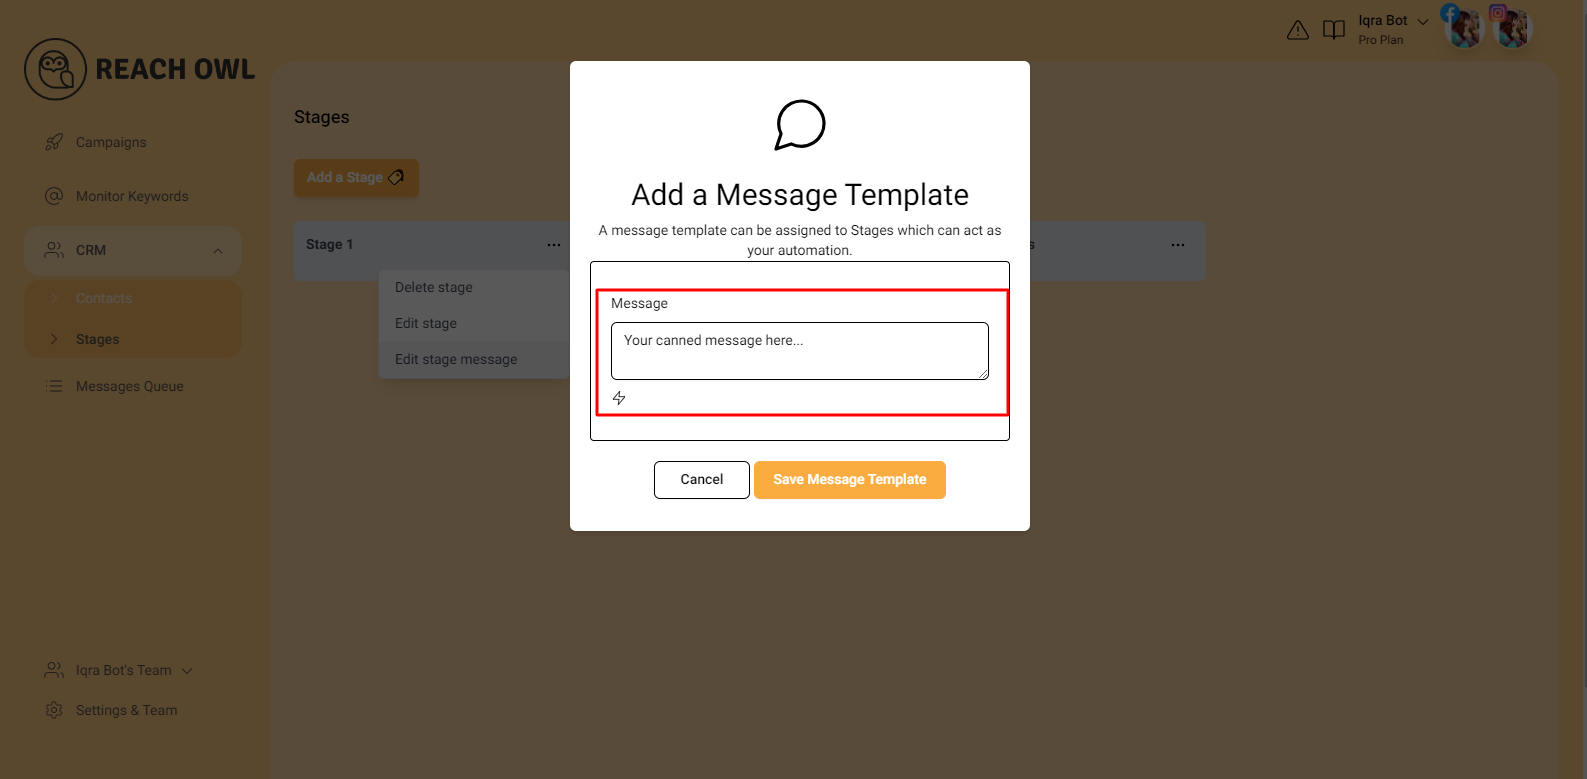
Choose an appropriate message template from your library or create a new one. Customization is the key to effective communication.
Step 28: Save Your Message Template
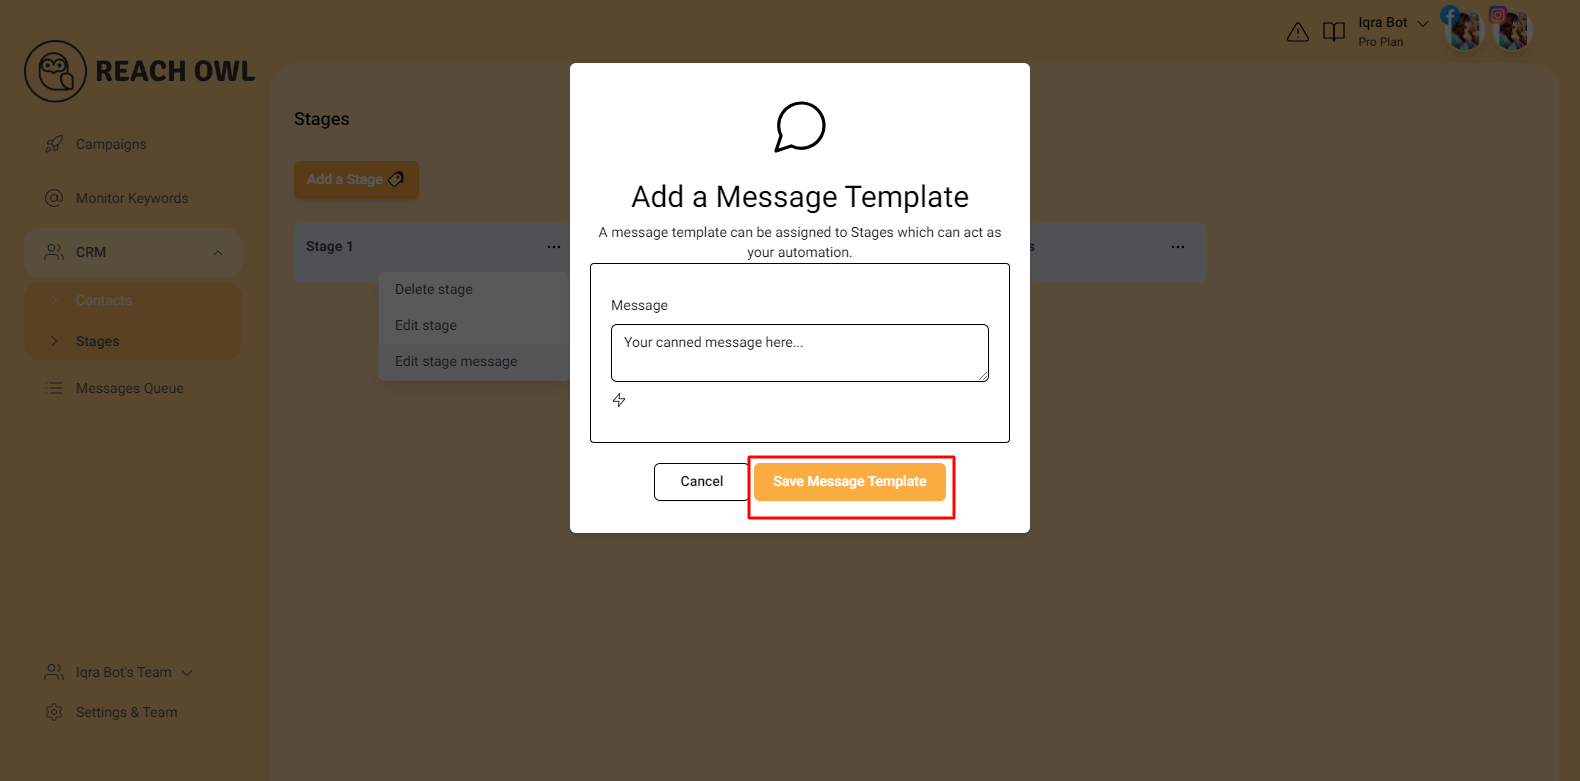
After adding or editing your message template, be sure to click ‘Save.’ Now your stage is equipped with a message template that will be sent to contacts in that stage.
Step 29: Contact List
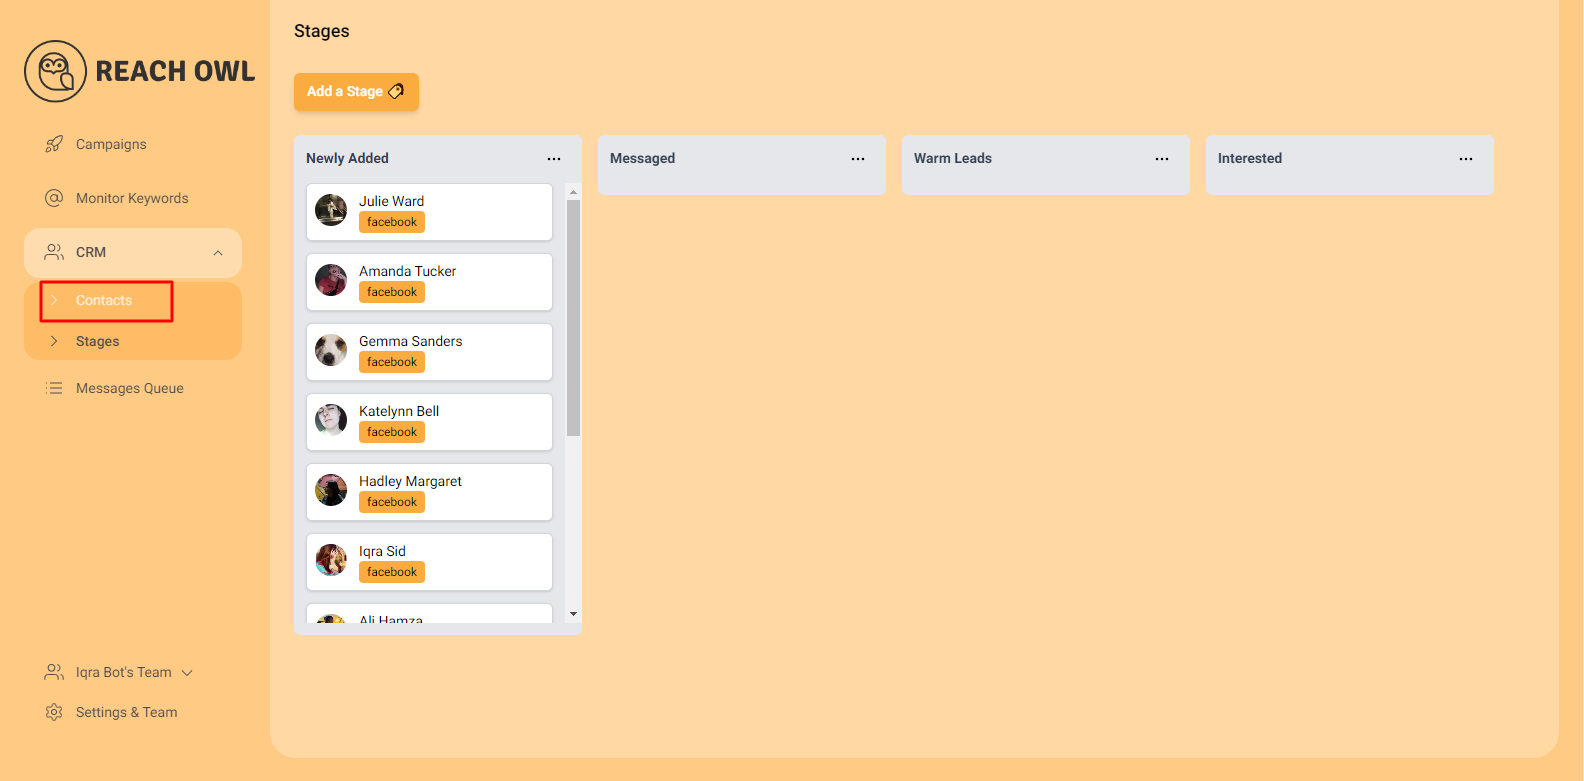
Go back to your contact list by clicking contact option
Step 30: Select profile

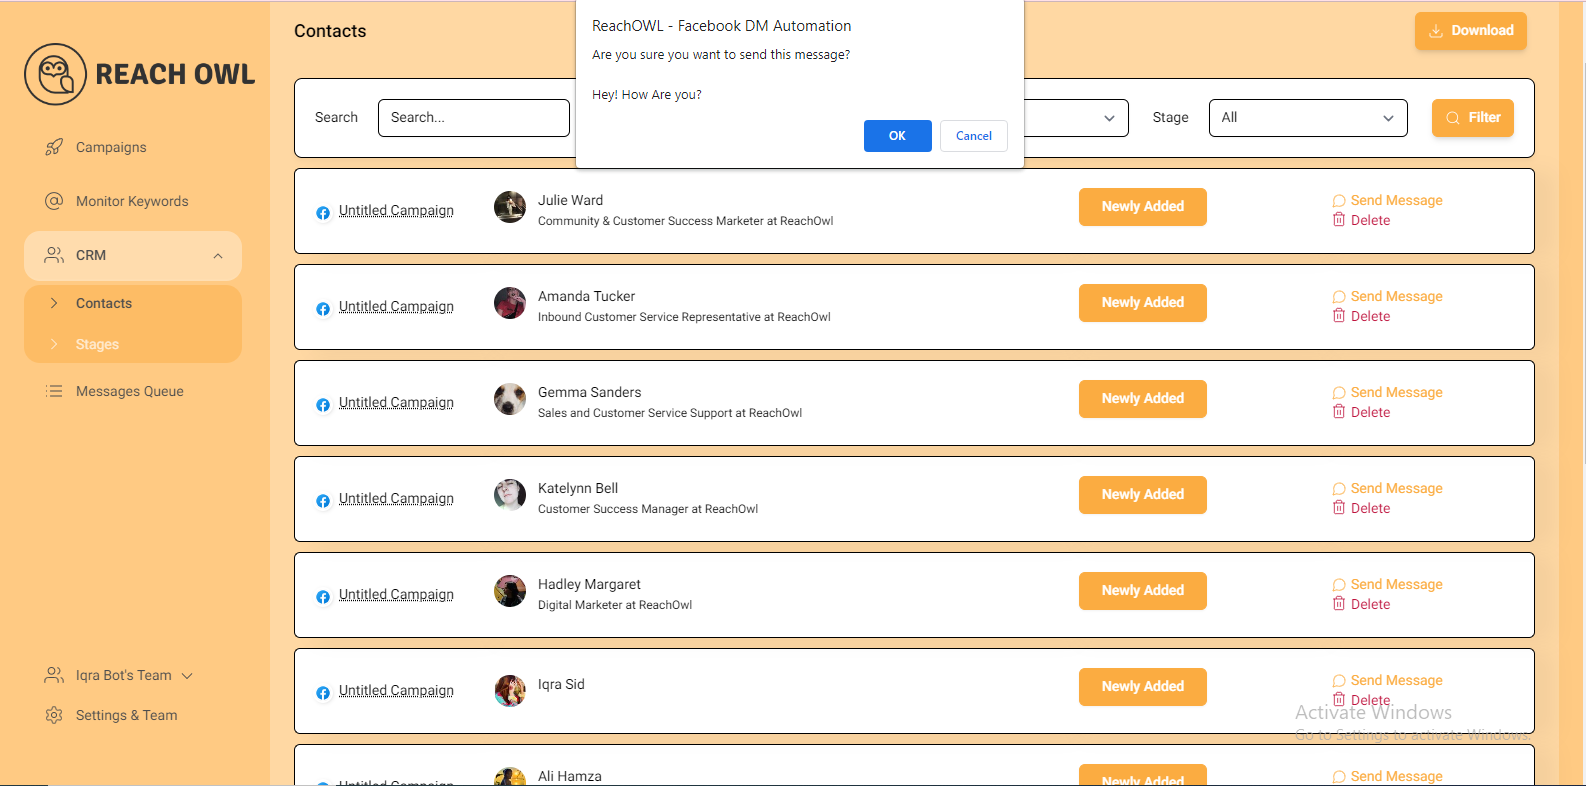
select the profile you want to send message then click on send message option you will get option and click on ok button
Step 31: Send Message


Select the profile you will see the profile their name, bio and eventually their conversation history
Step 32: Compose Your Message
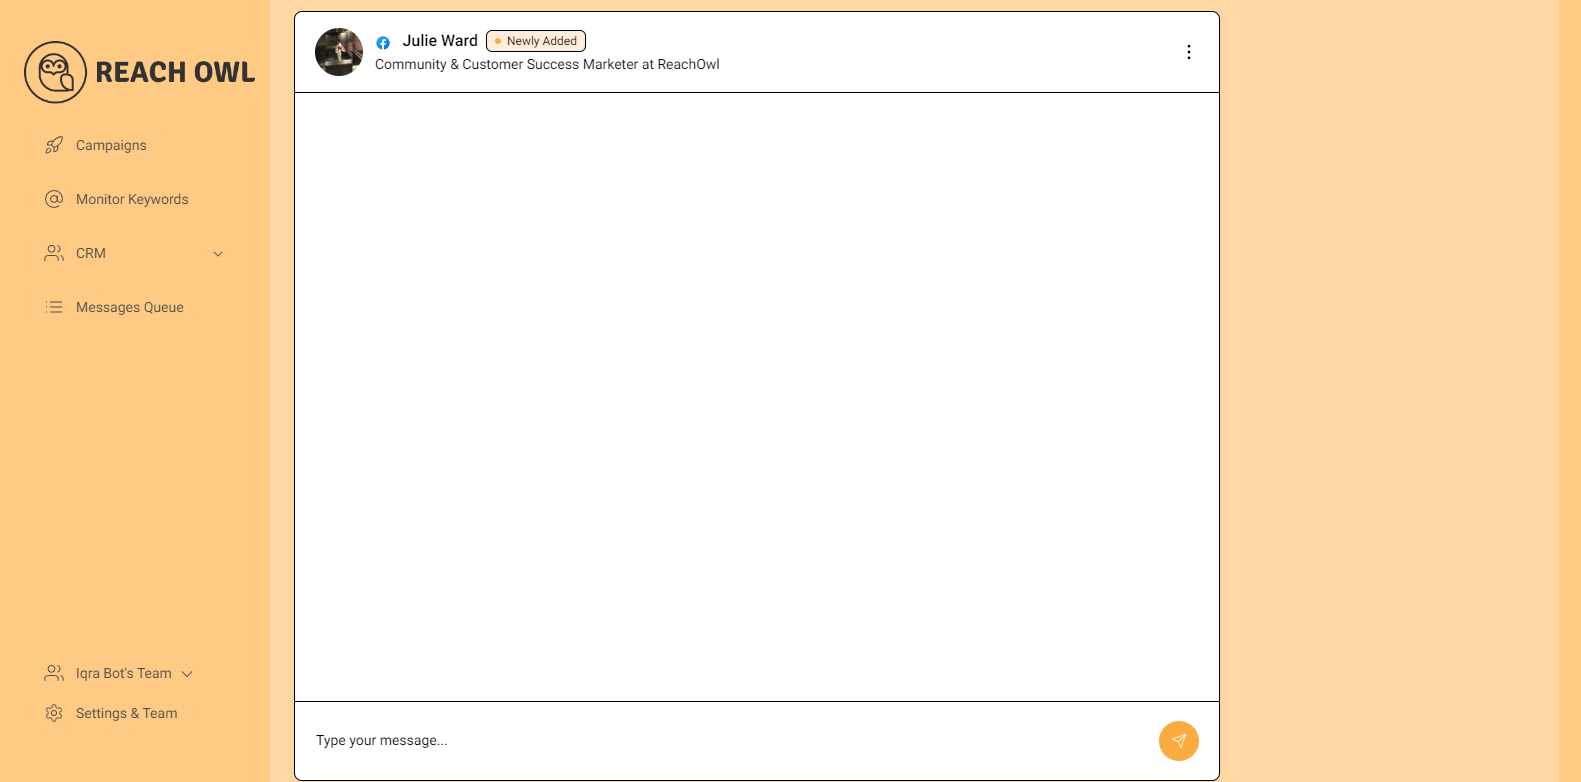
Craft your message for the selected contact. Use this opportunity to introduce yourself, share your objectives, or simply start a meaningful conversation. The message editor allows you to personalize your content.
Step 33: Send your message
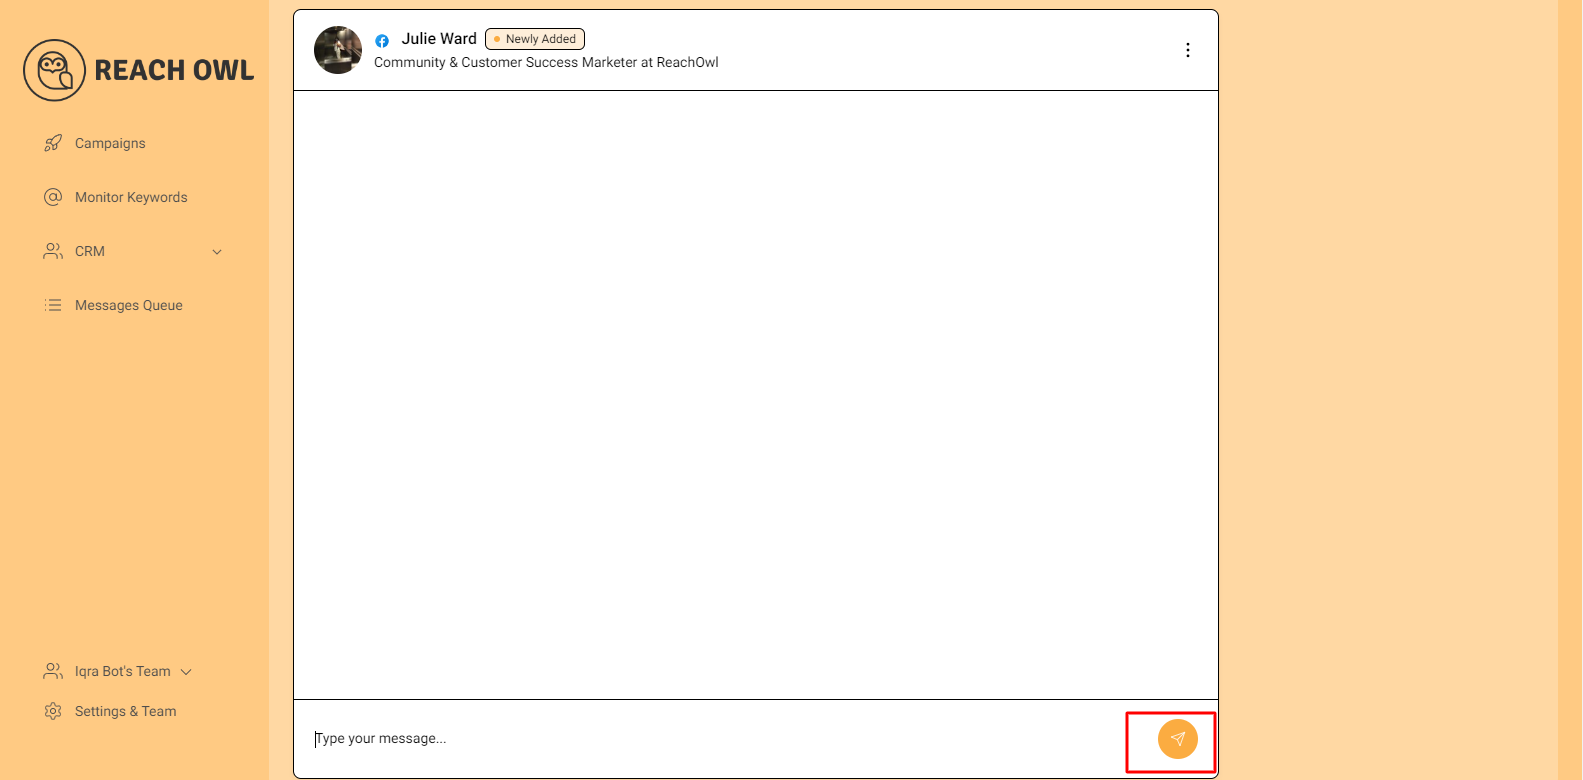
After composing your message, click the “Send” button to dispatch it to your chosen contact. Your message will be delivered directly to the recipient’s ReachOwl inbox.
Step 34: Add Notes and Save
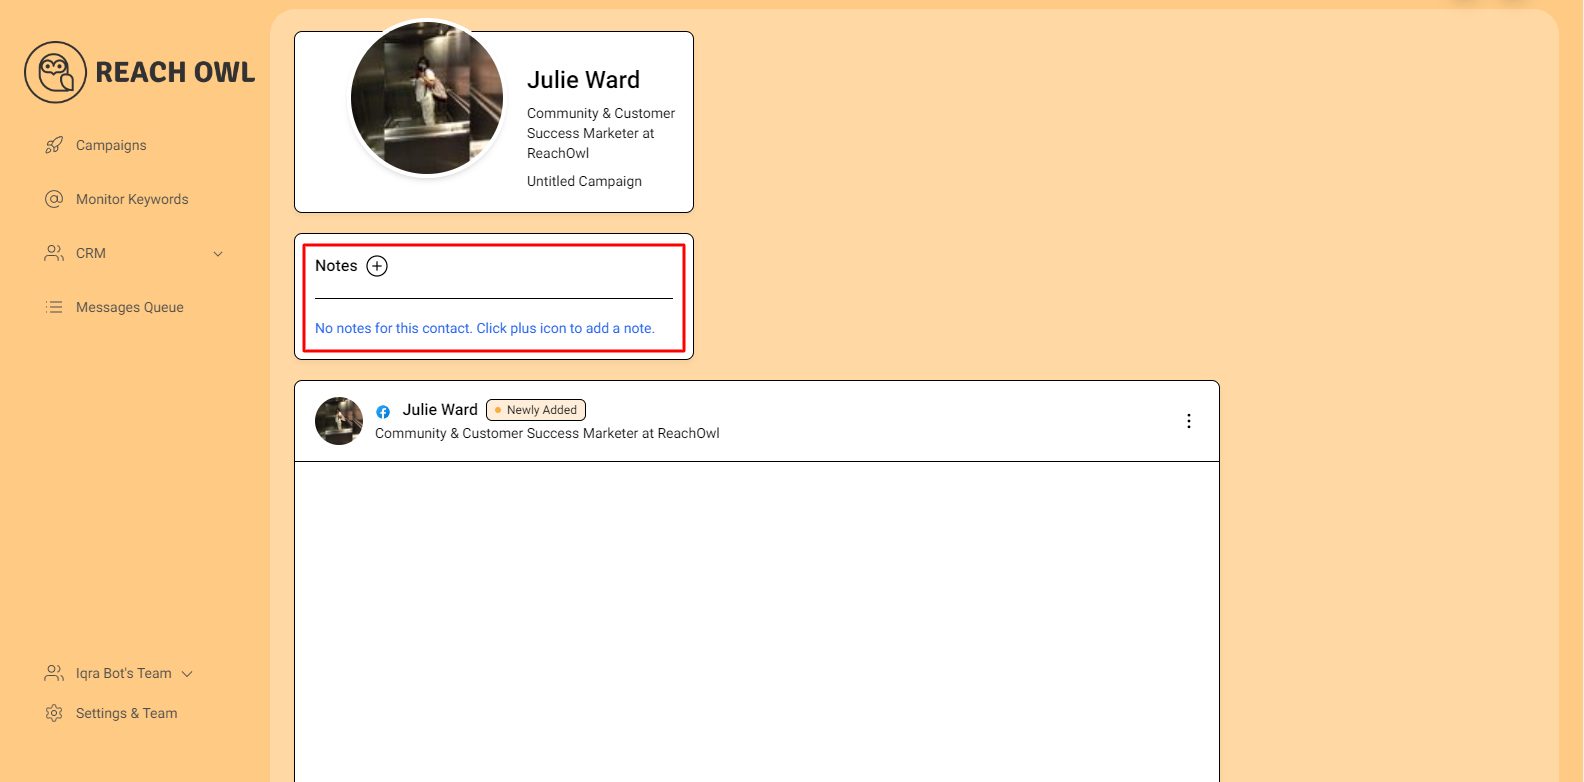
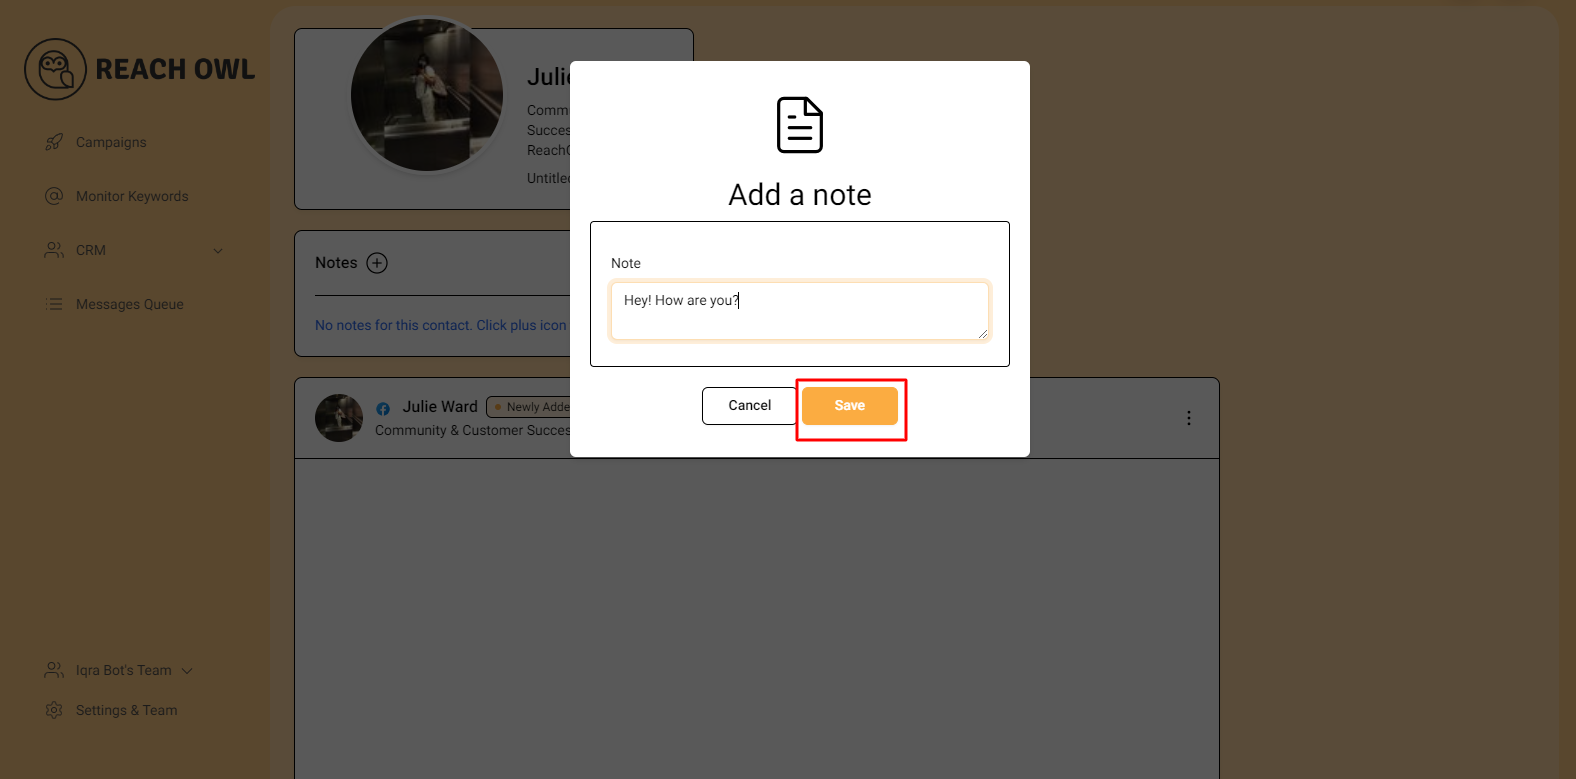
Enhance your contact records by adding notes to capture important details of your interaction. These notes can include key points from your conversation, future follow-up ideas, or any relevant information. Save these changes for future reference.
Conclusion
By mastering ReachOwl’s Advanced CRM and Stage Automation features, you’ll have a systematic approach to outreach, ensuring efficient communication with your contacts and ultimately boosting your campaign’s effectiveness.
So, take advantage of these tools to elevate your outreach game and achieve your goals with ease!