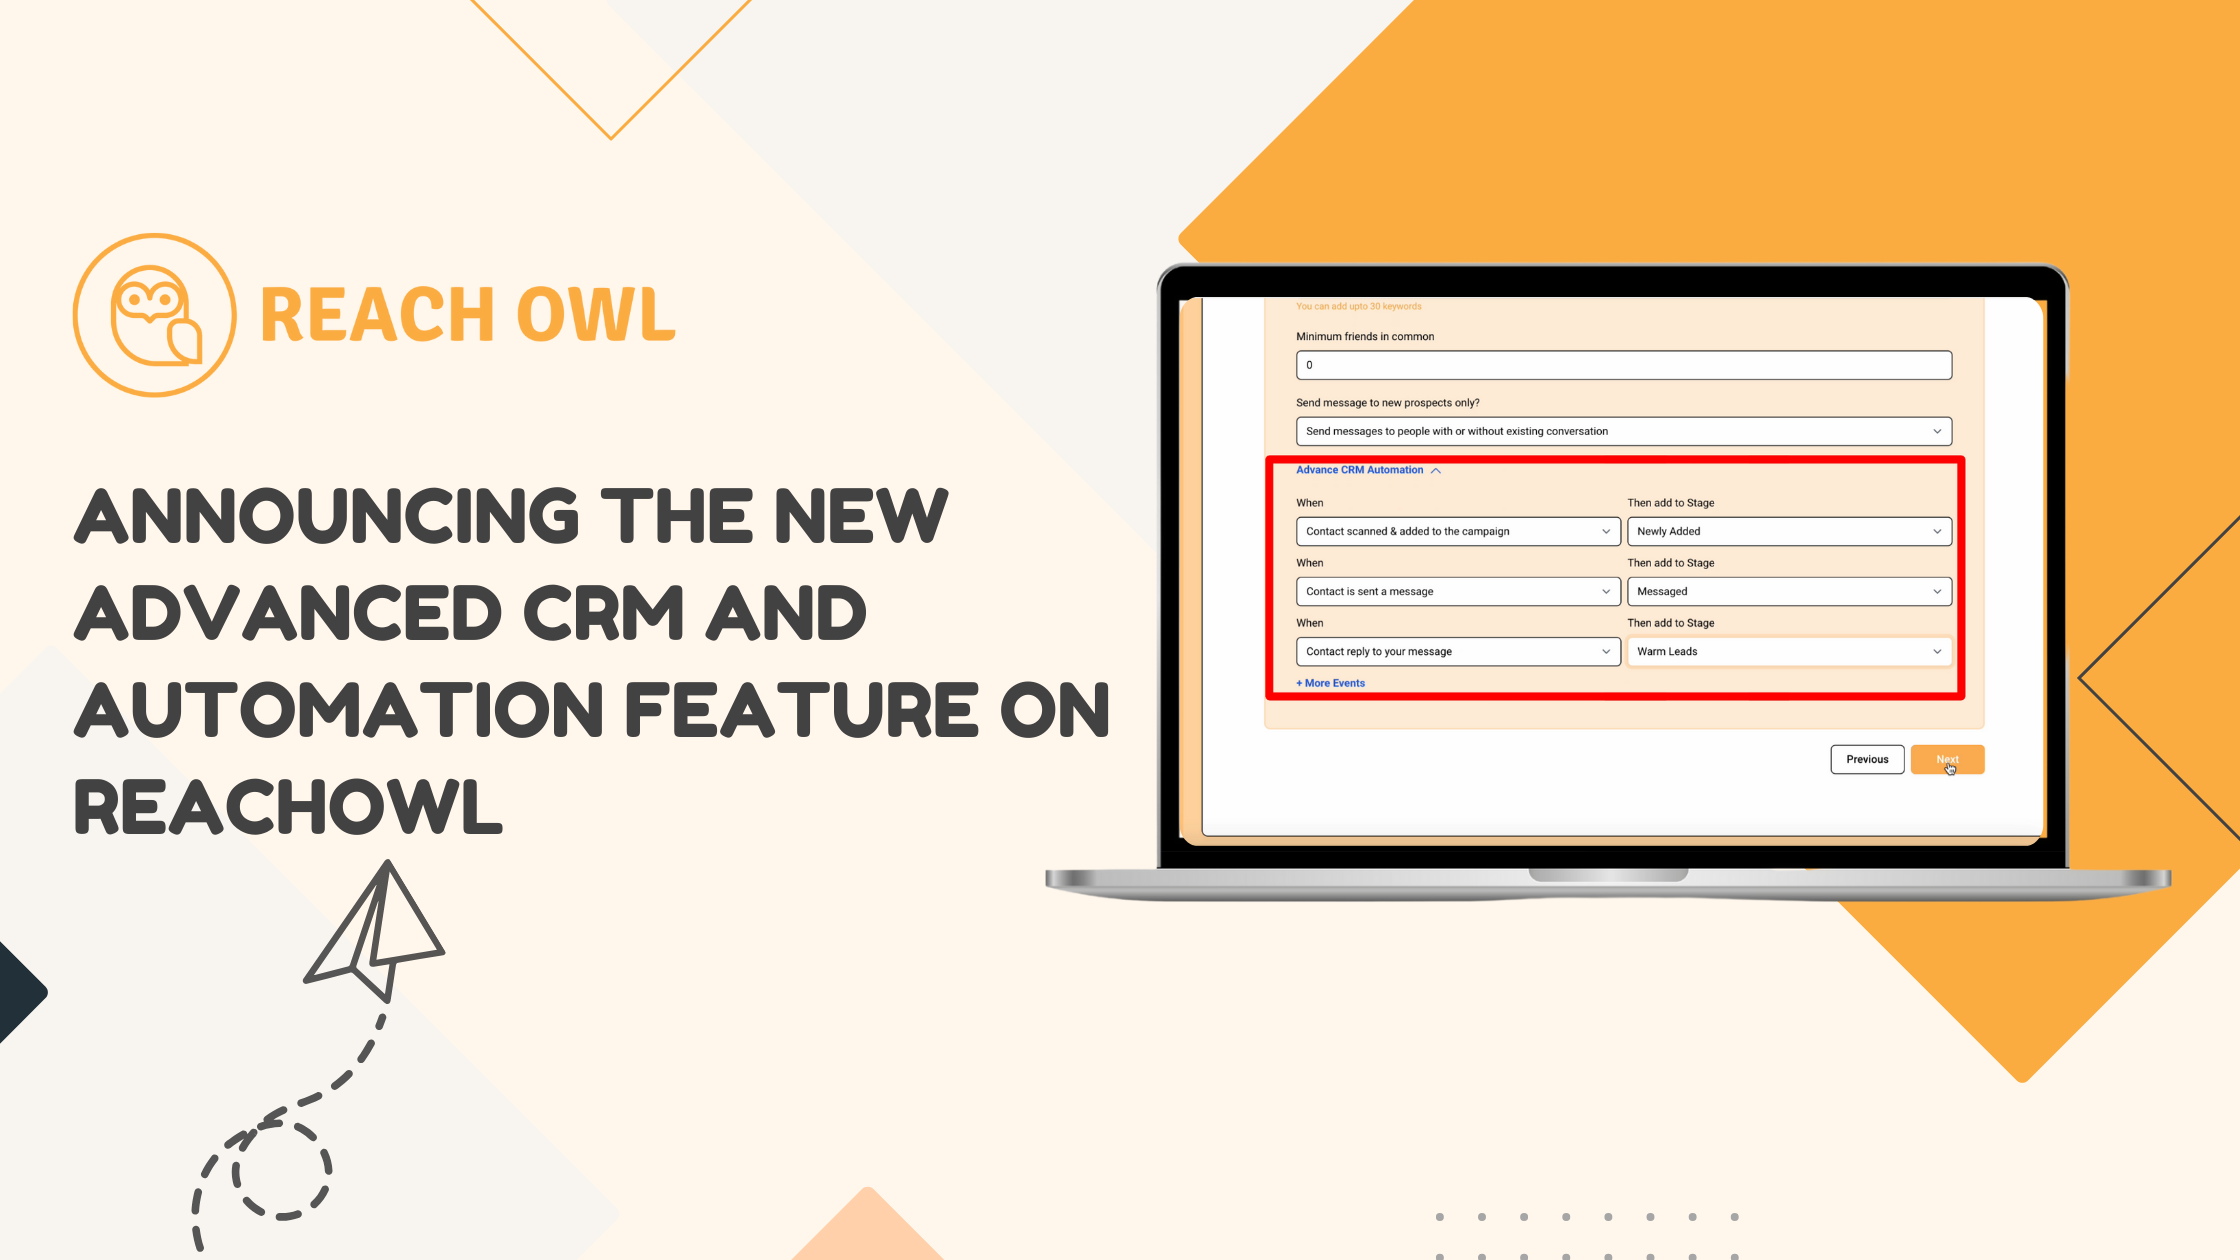
We’re excited to introduce a game-changing addition to the ReachOwl toolkit: the Advanced CRM and Automation feature. Designed to optimize your customer relationship management and campaign automation, this feature empowers you to optimize your outreach efforts and nurture meaningful connections like never before.
Let’s dive into how you can leverage this feature to its fullest potential.
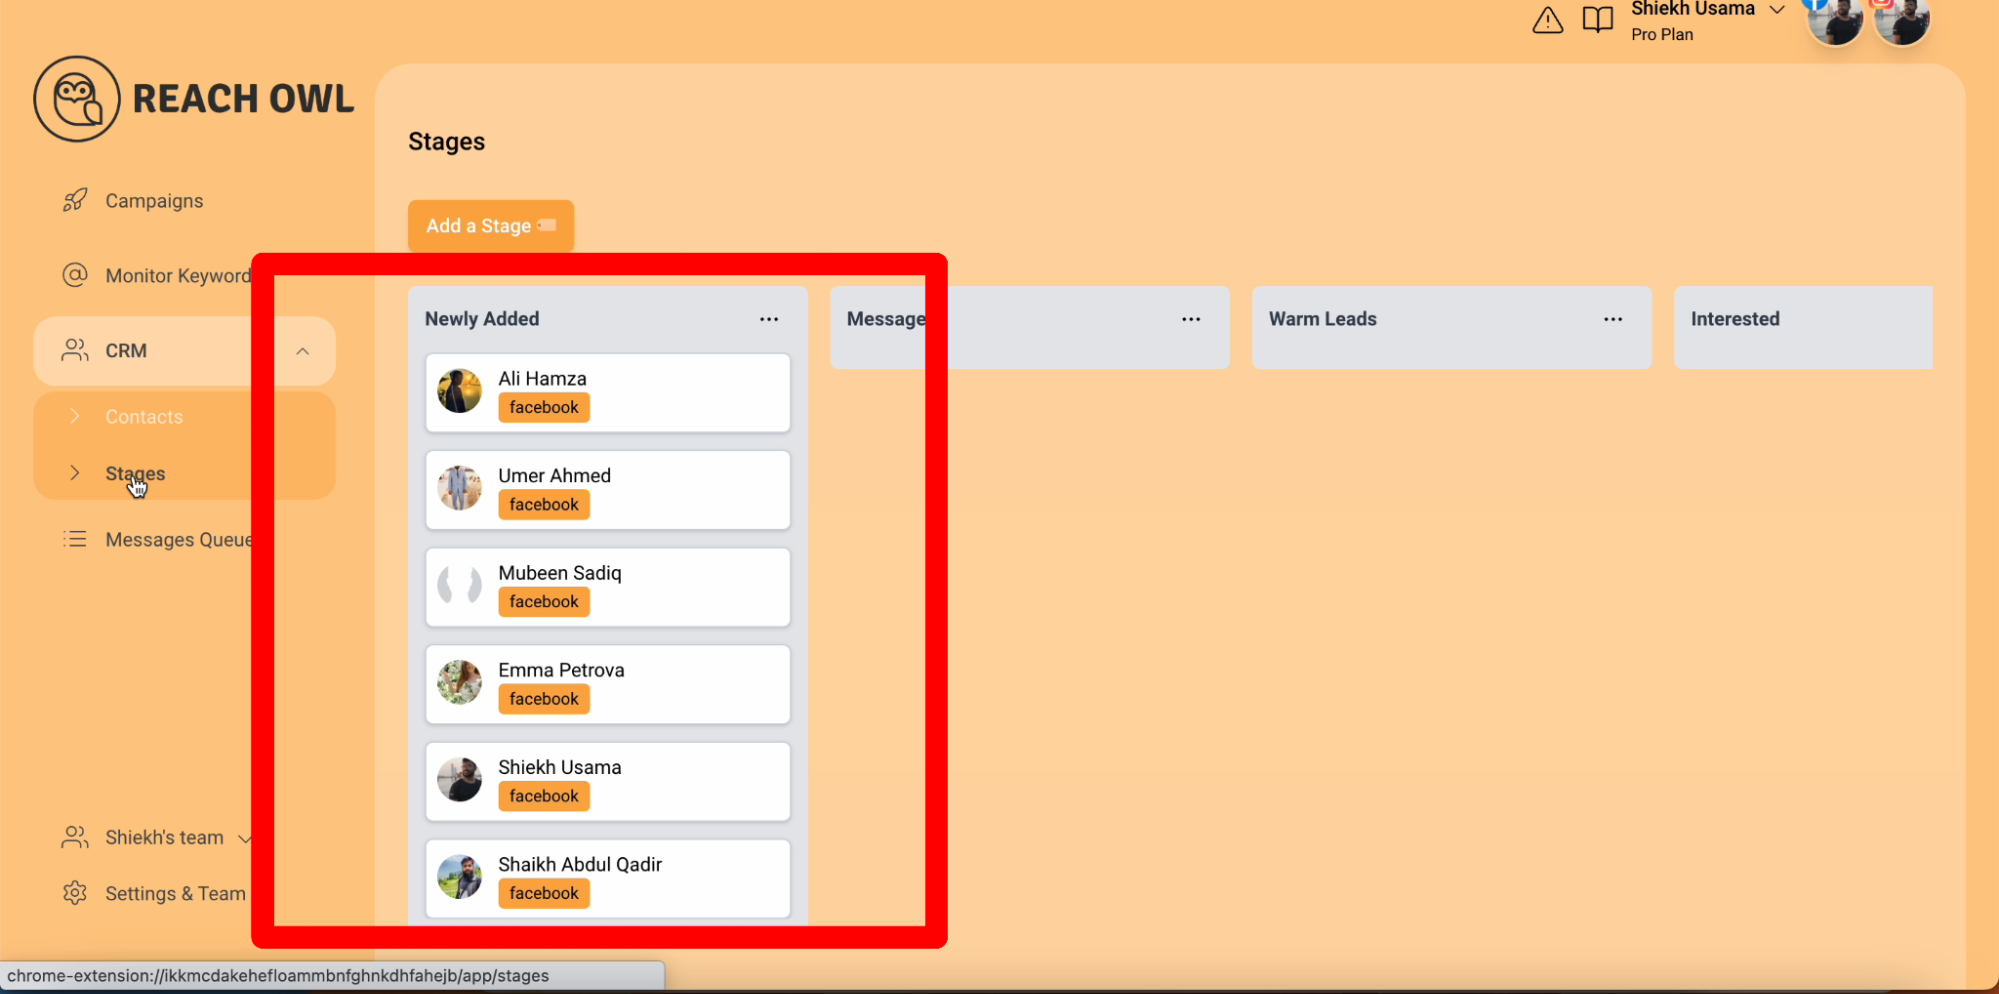
Step 1: Setup Your Pipeline Stages

The foundation of Advanced CRM begins with defining your pipeline stages. These stages will serve as milestones for your leads’ journey, helping you organize and priorities your interactions.
Step 2: Name Your Stages
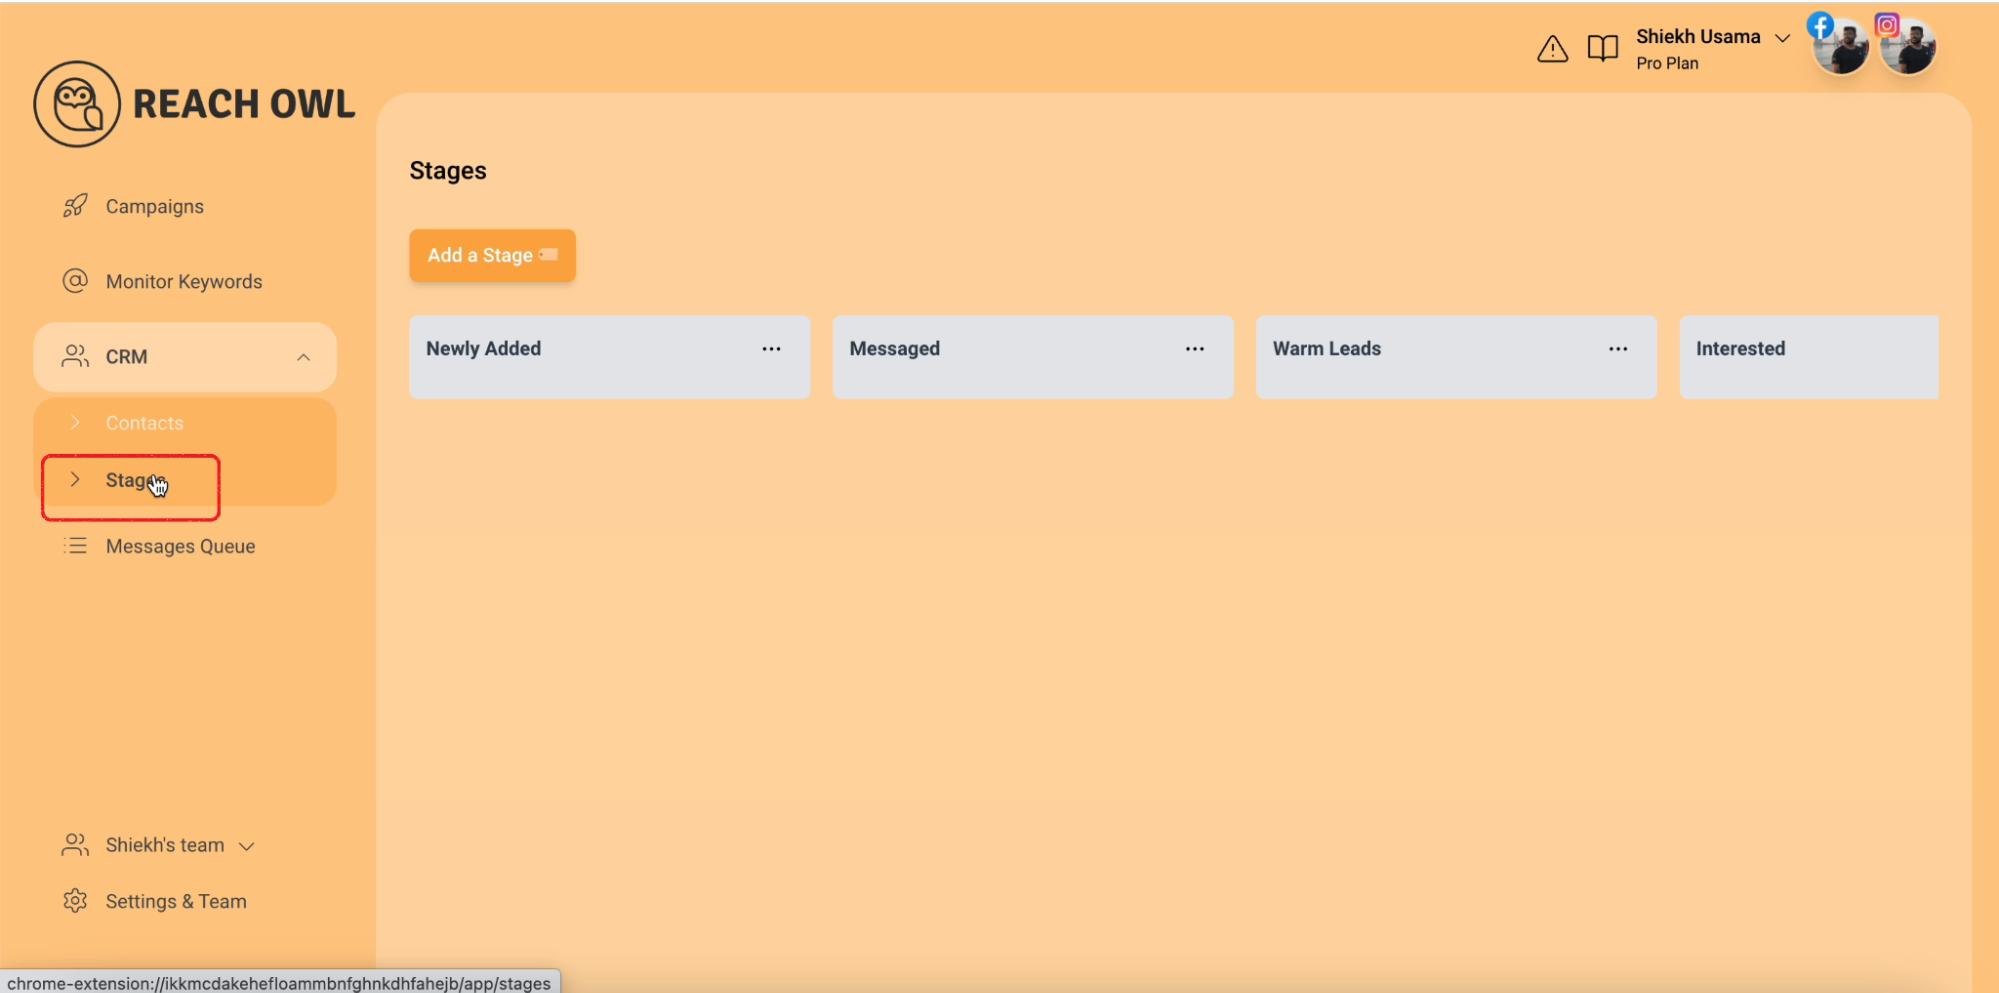
Label each pipeline stage to reflect the progression of your leads, such as “Newly Added,” “Messages,” “Warm Leads,” and “Interested.”
Step 3: Create a Campaign and Demonstrate CRM Automation
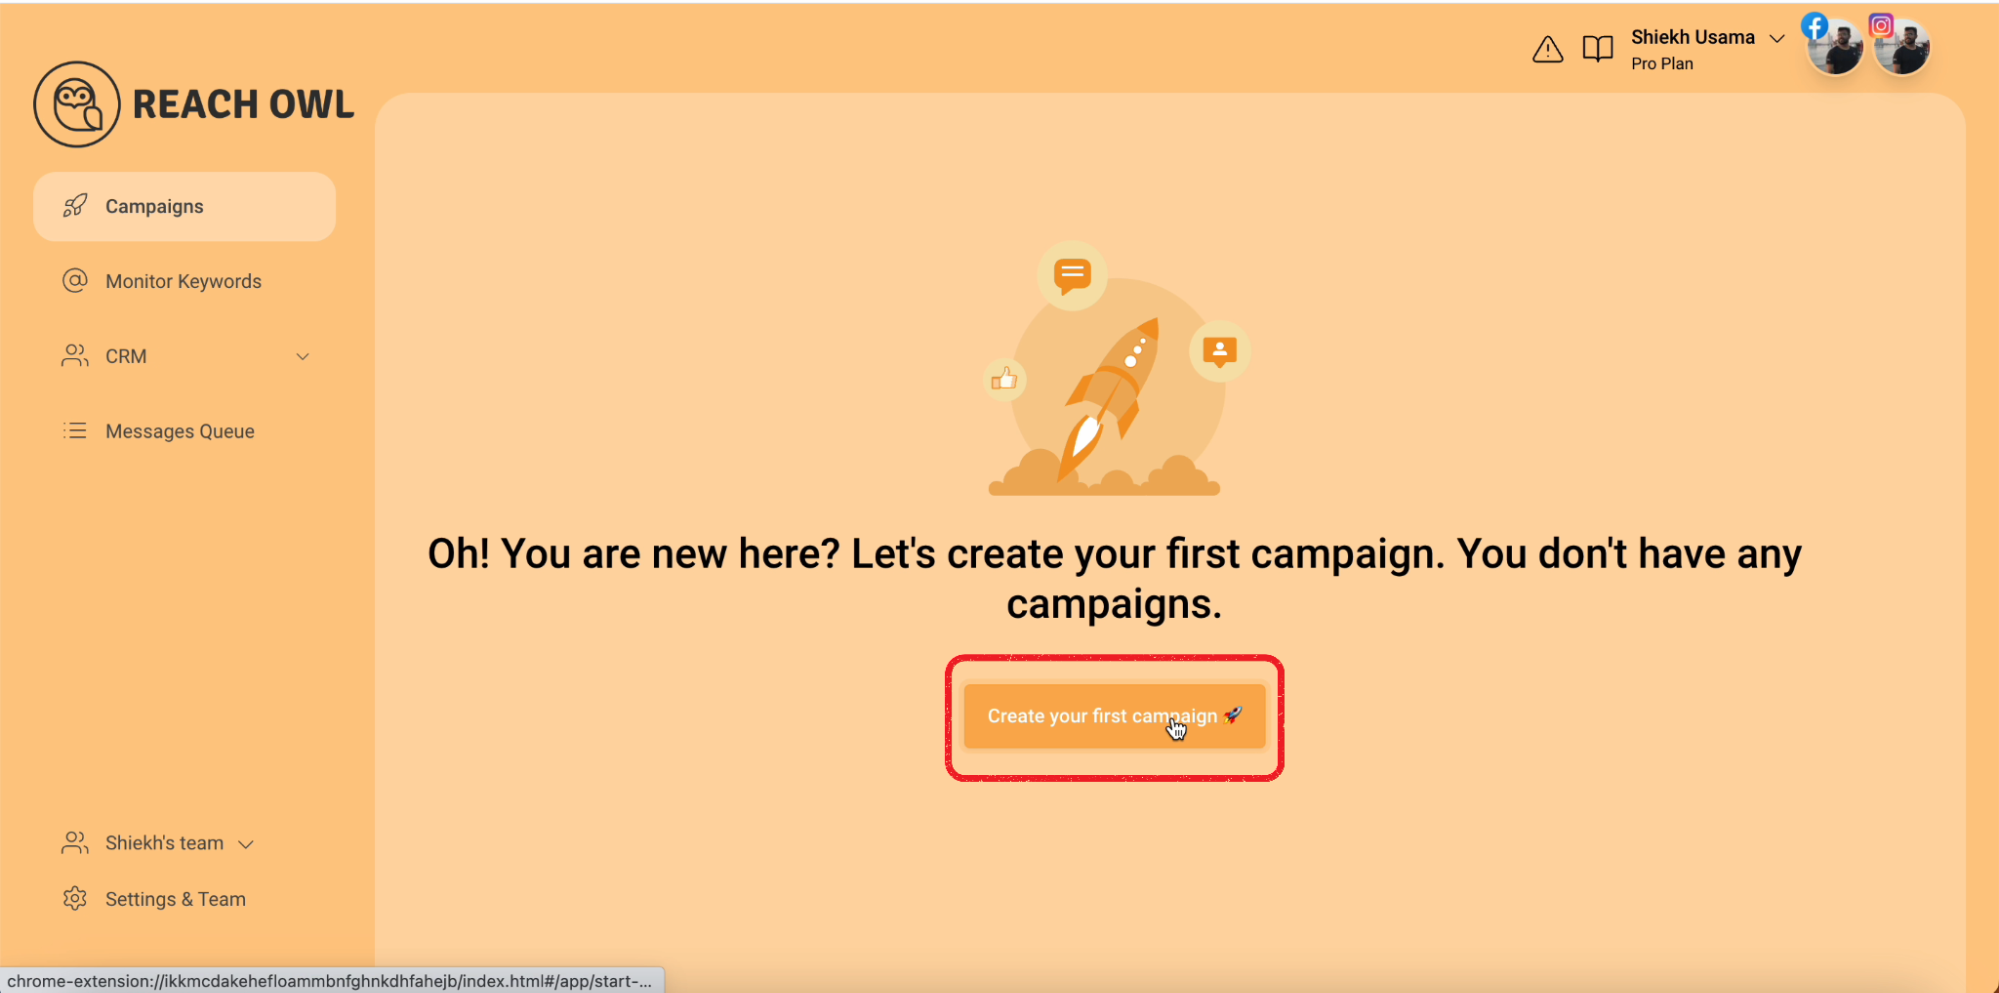
Kick off your journey by creating a campaign that showcases the prowess of Advanced CRM and Automation.
Step 4: Choose Facebook Group Members
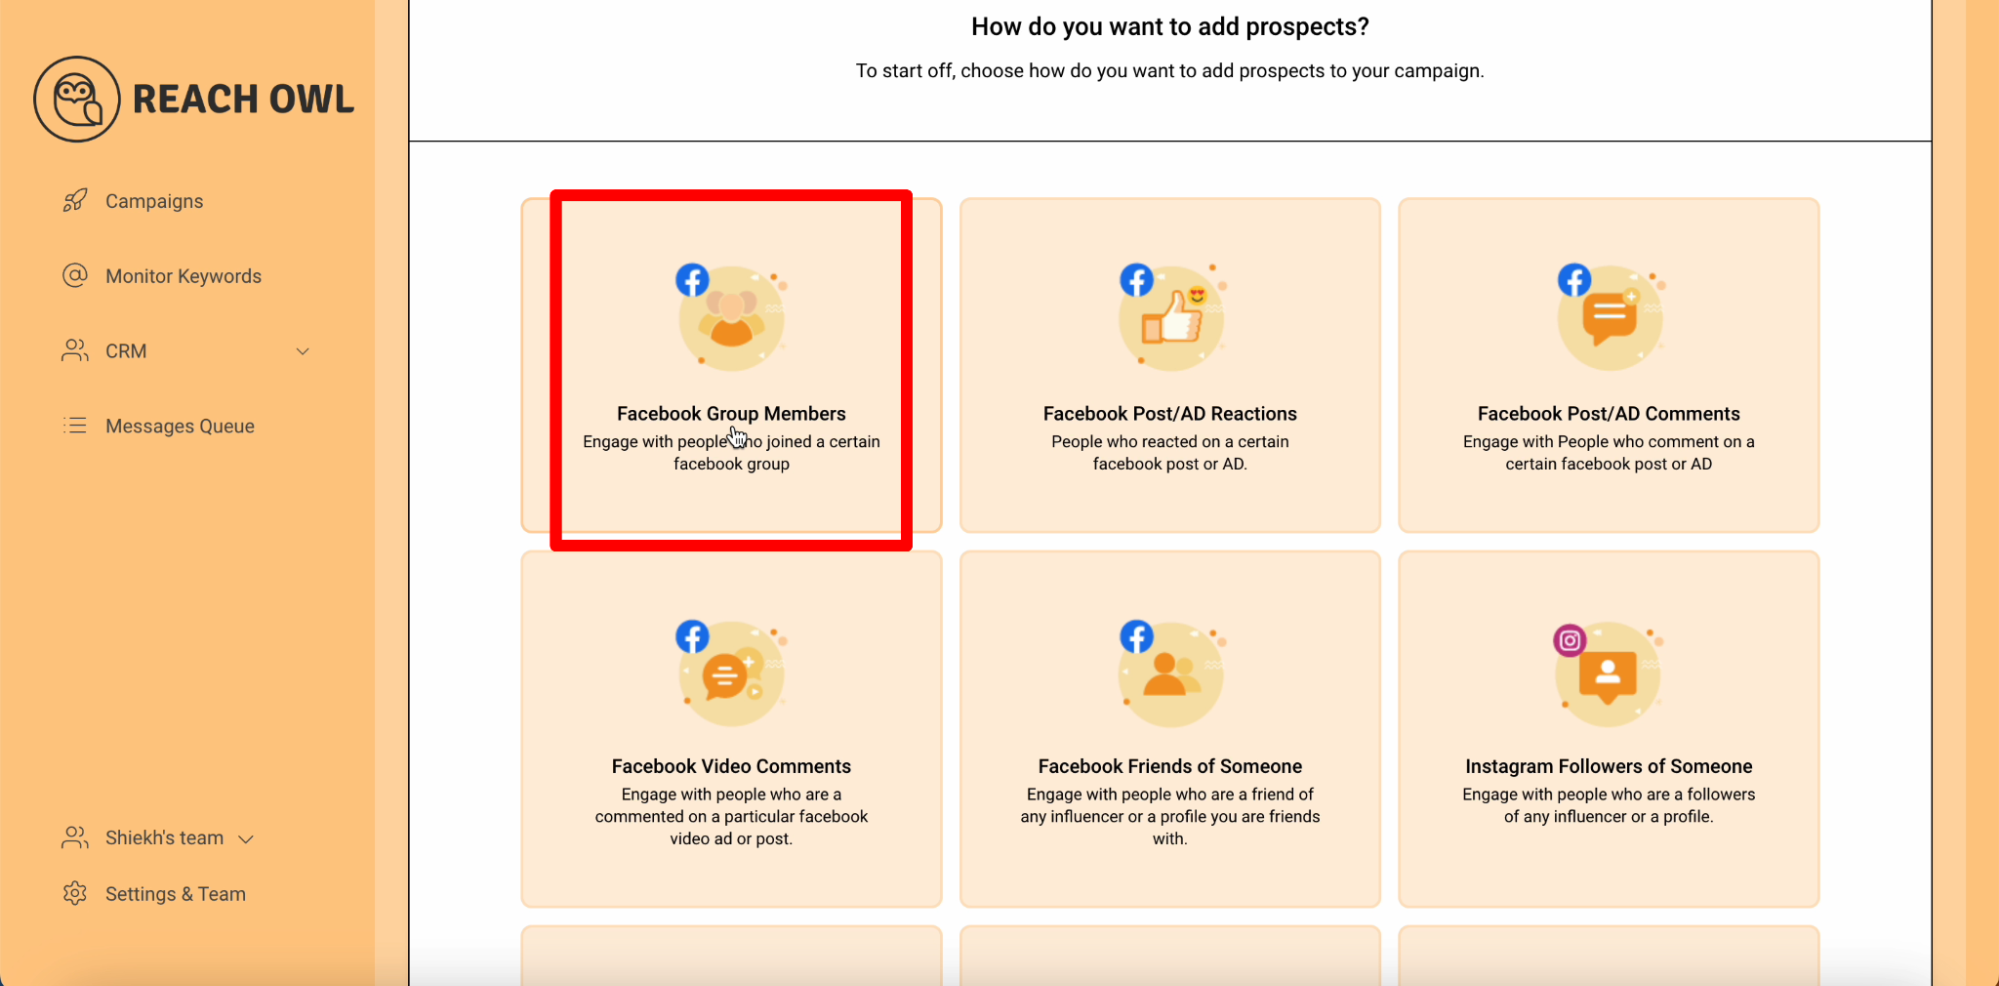
Select the option to target members of a specific Facebook group—a wellspring of potential connections.
Step 5: Select the Group
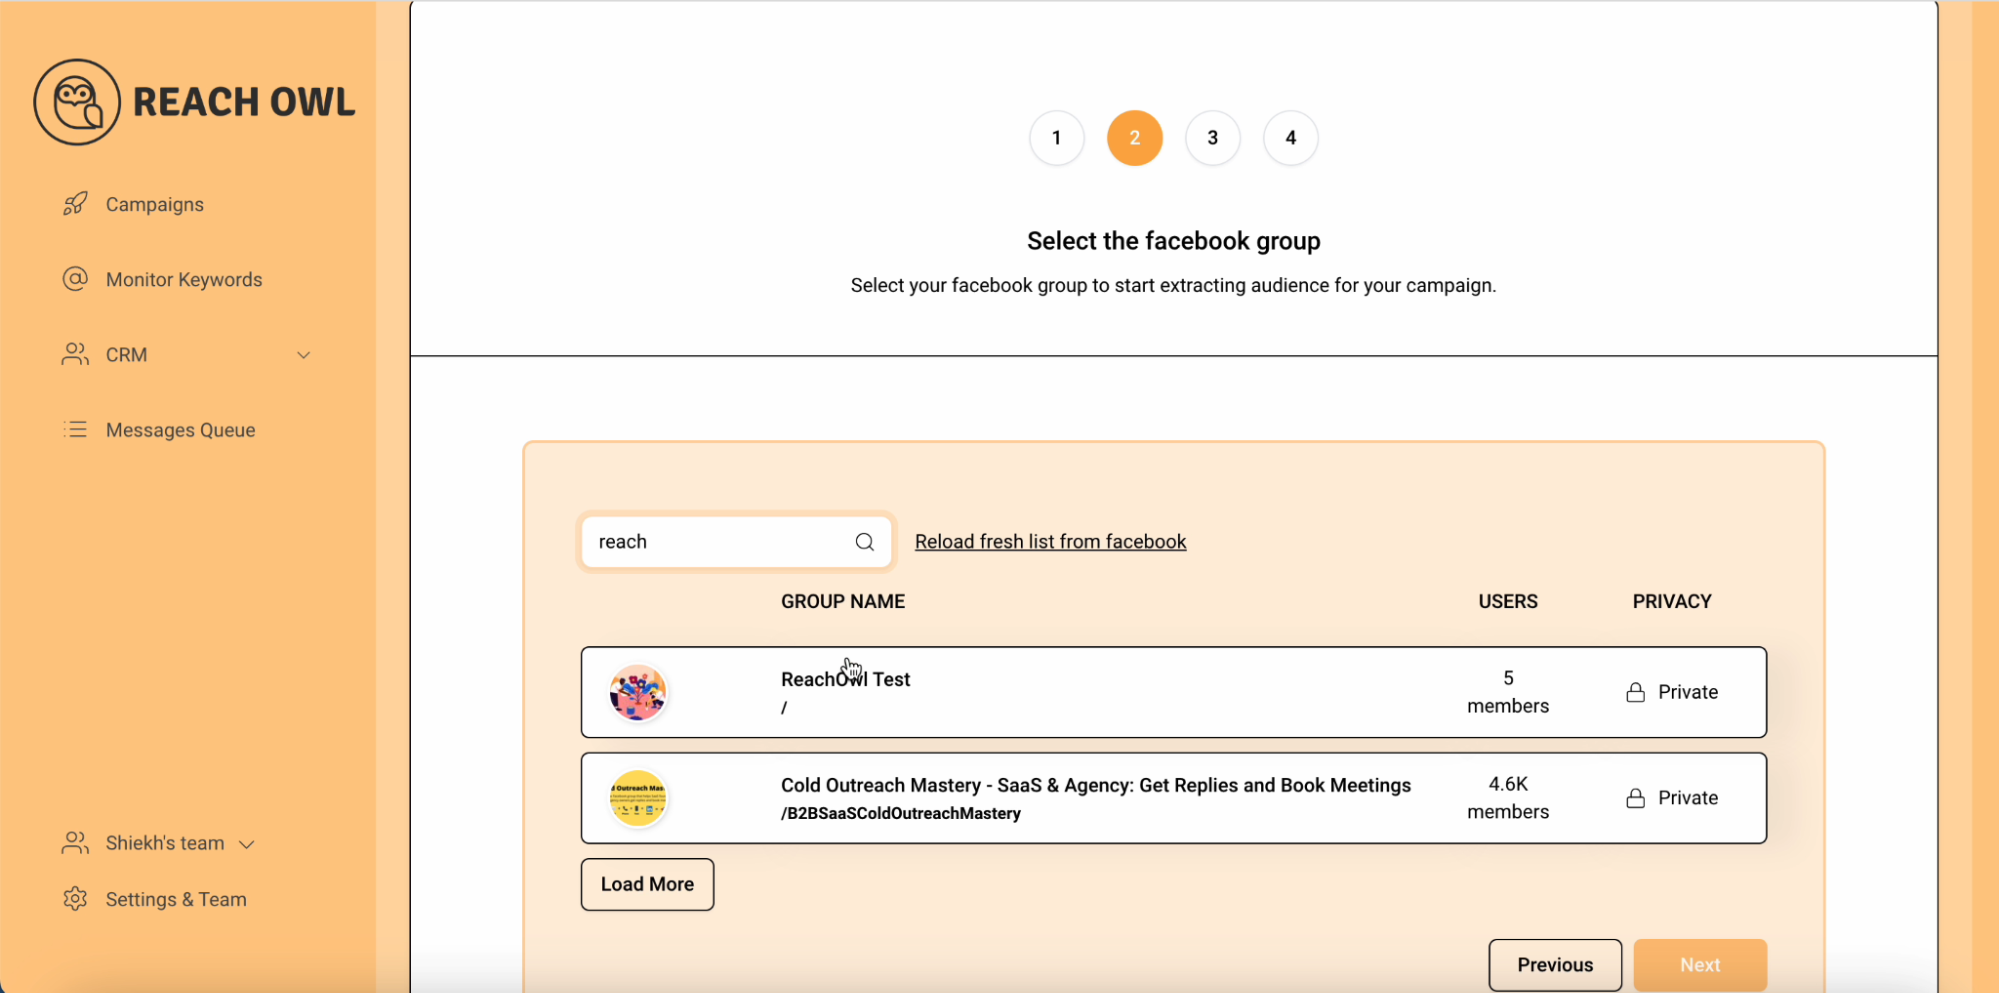
Identify the target Facebook group from which you wish to engage potential leads.
Step 6: Opt for Message Sequence
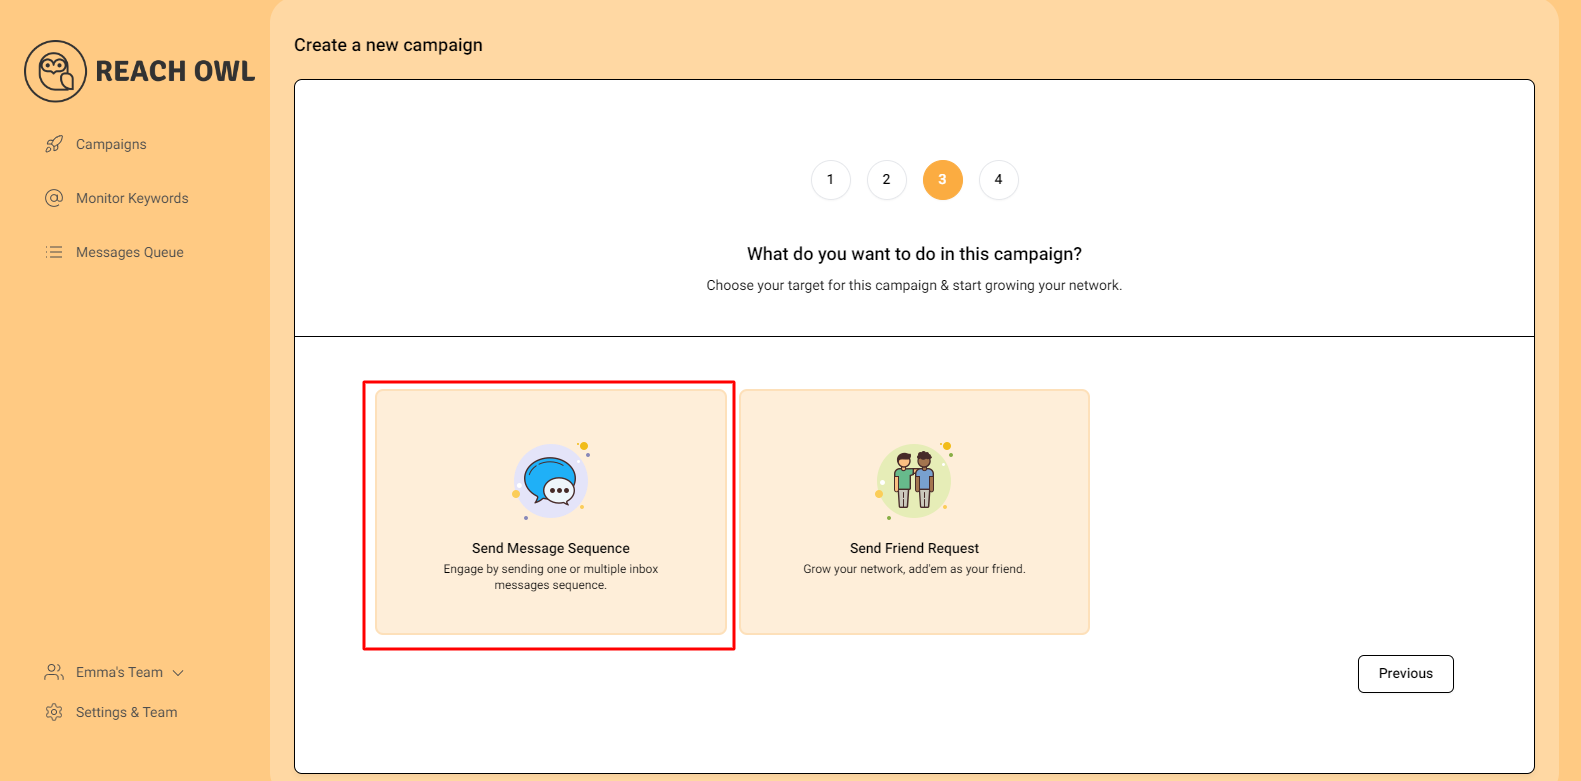
Choose the “Message Sequence” option to craft a series of messages that resonate with your target audience.
Step 7: Name Your Campaign

Give your campaign a name that helps you easily identify its purpose and content.
Step 8: Select the Account to Run Your Campaign

Choose the account from which you want to run the message campaign.
Step 9: Set Up a Daily Limit on the Number of Messages
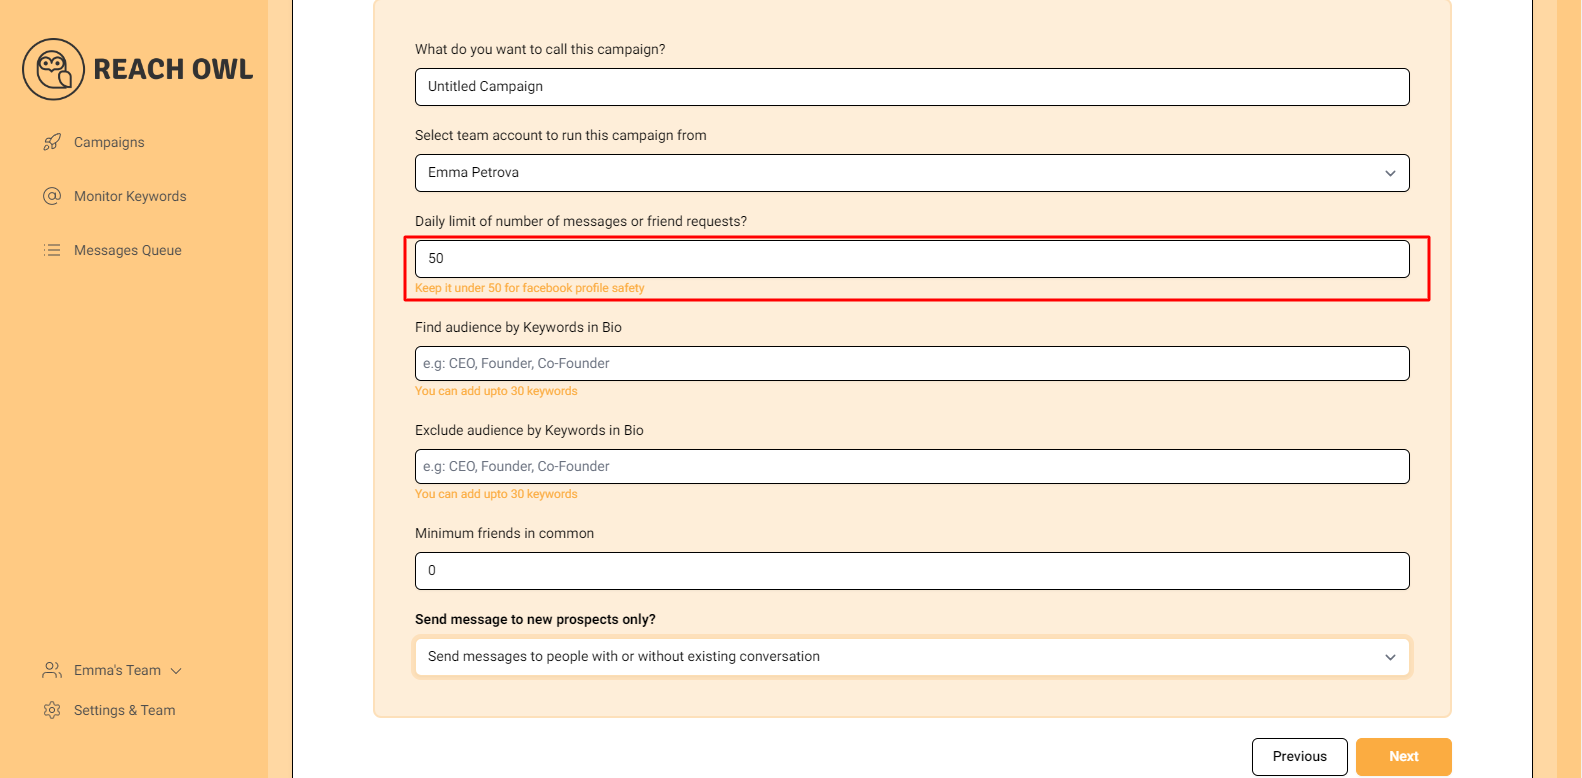
If you want to control the number of messages sent per day, you can set a daily limit.
Step 10: Define Your Audience

Determine the keywords you want to target in the bio to identify potential recipients. For example, CEO, Founder, Entrepreneur, Business Owner, etc.
Step 11: Exclude Audiences with Certain Words
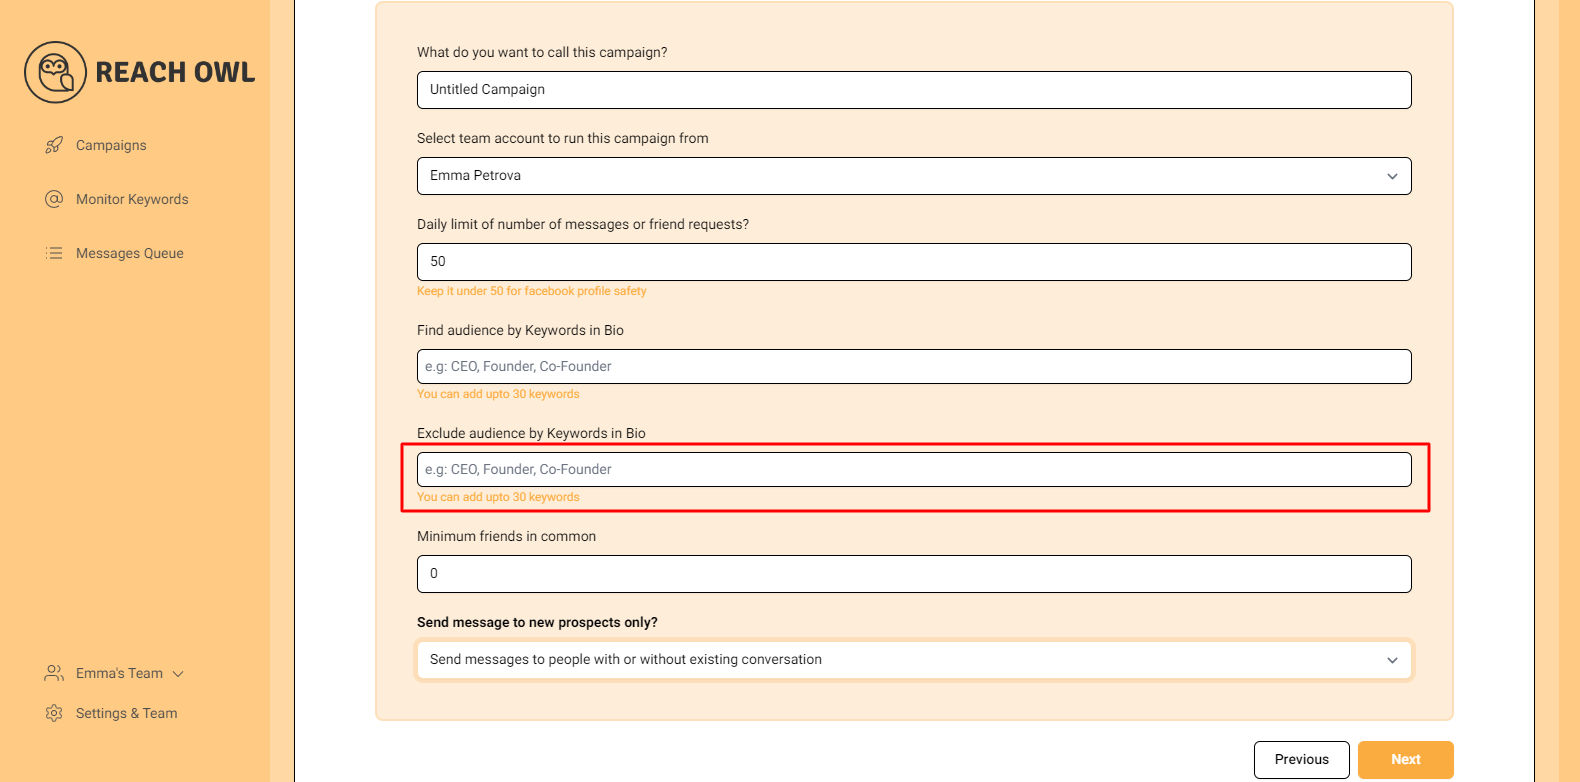
Identify the keywords that indicate you want to exclude certain groups from the campaign. For instance, a freelancer, student, intern, etc.
Step 12: Set the Minimum Number of Friends in Common
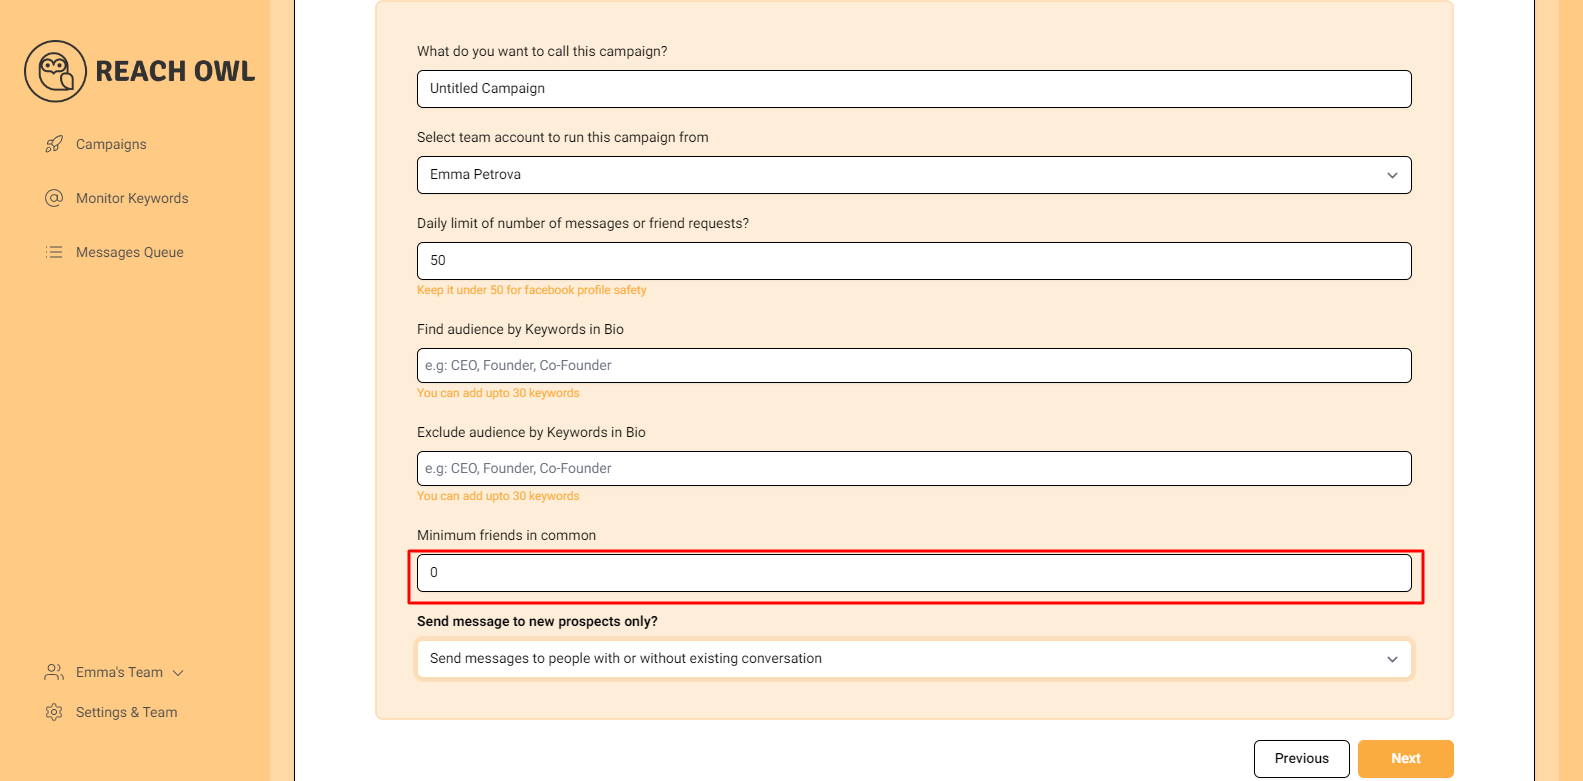
You can choose to establish a minimum number of friends in common that are required to send the messaging campaign.
Step 13: Send messages to new prospects only?
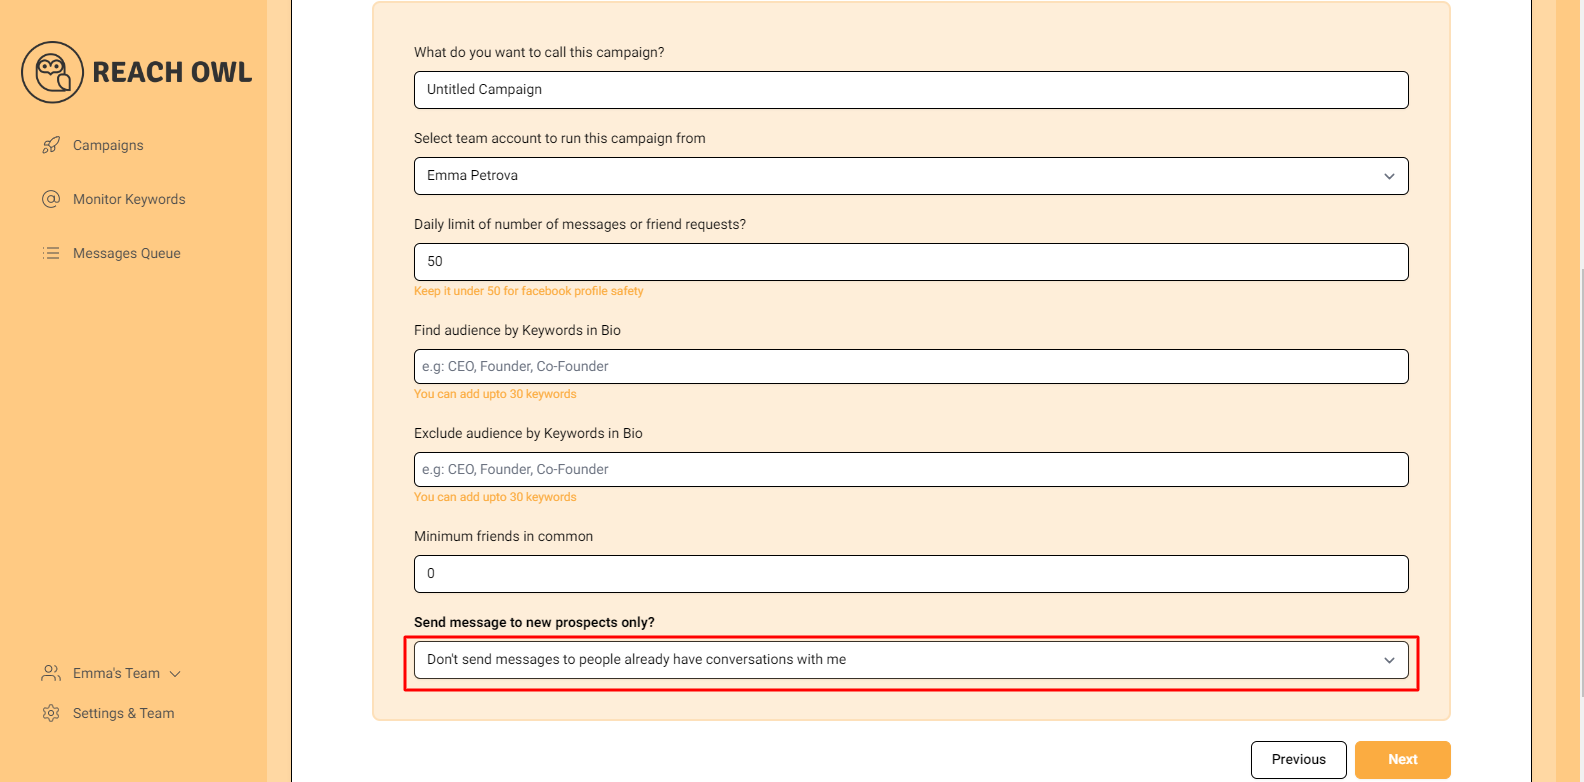
You can choose whether you want to send the campaigns to new people or to the people you already have conventions with.
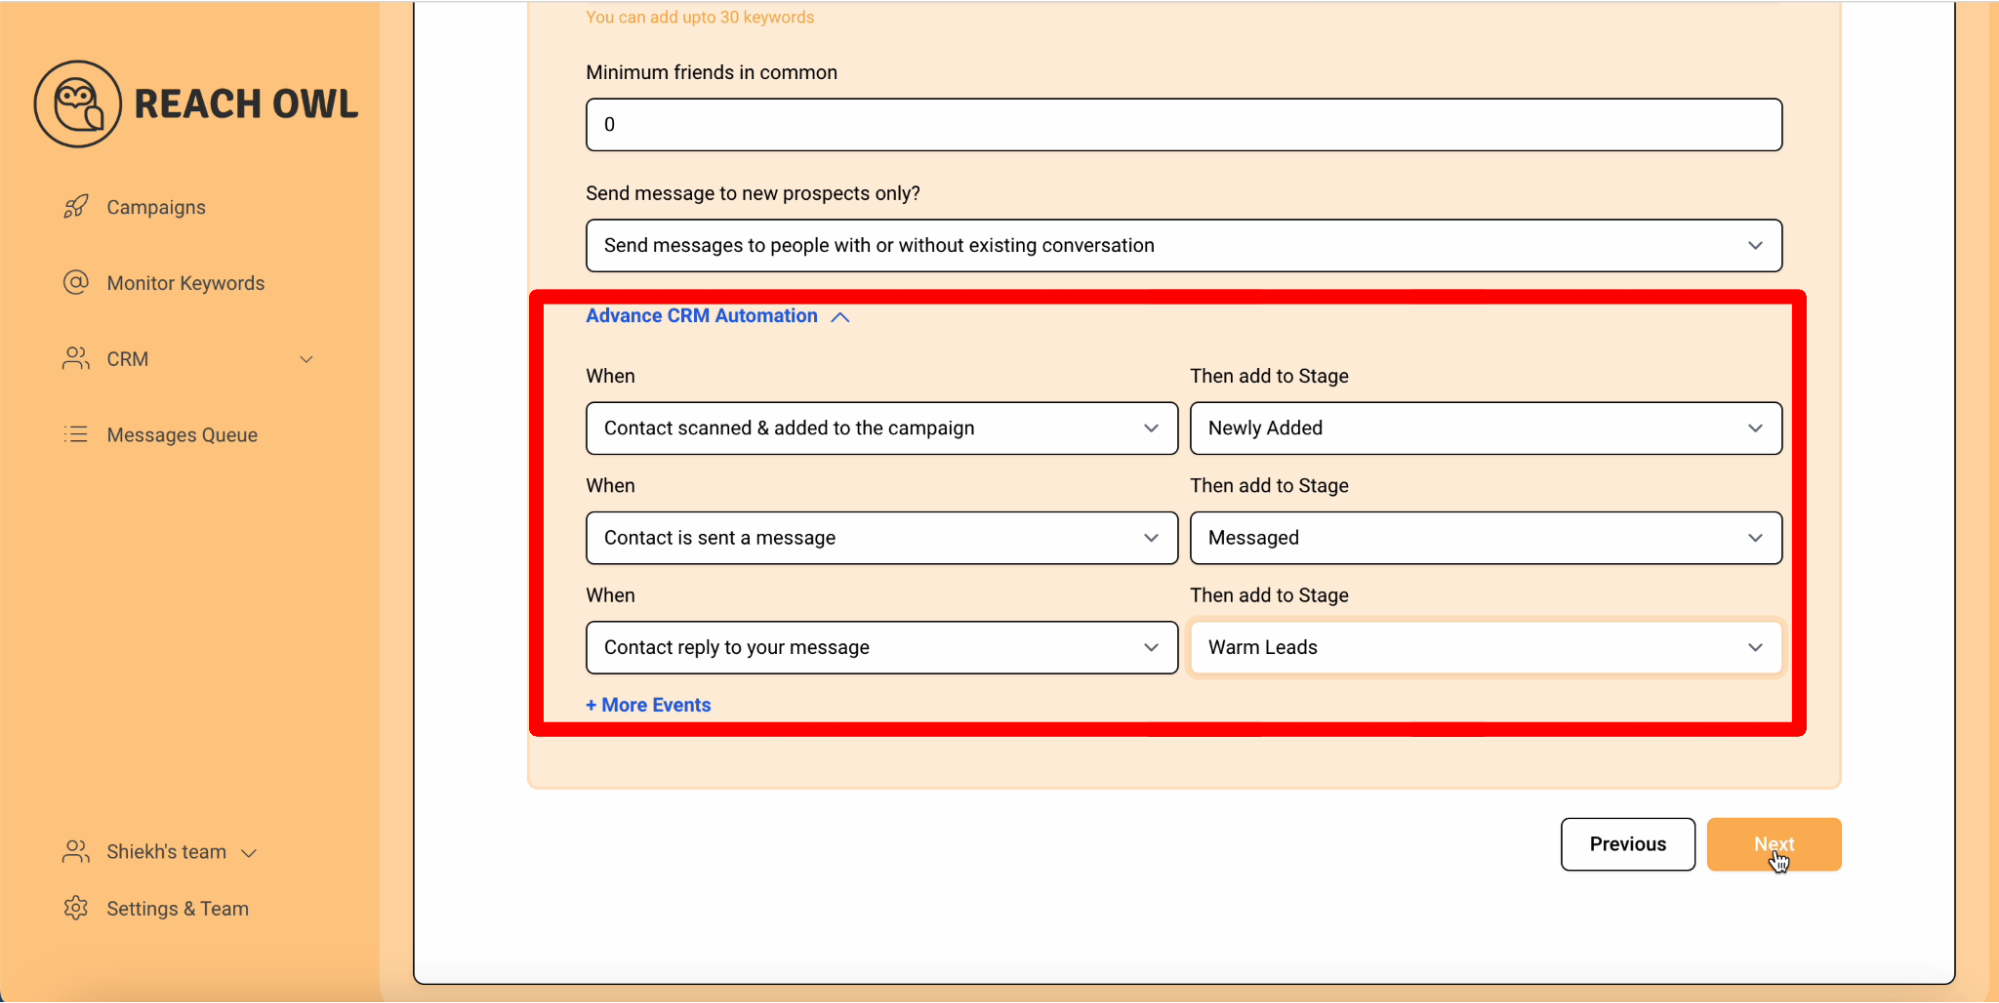
Step 14: Access Advanced CRM Automation
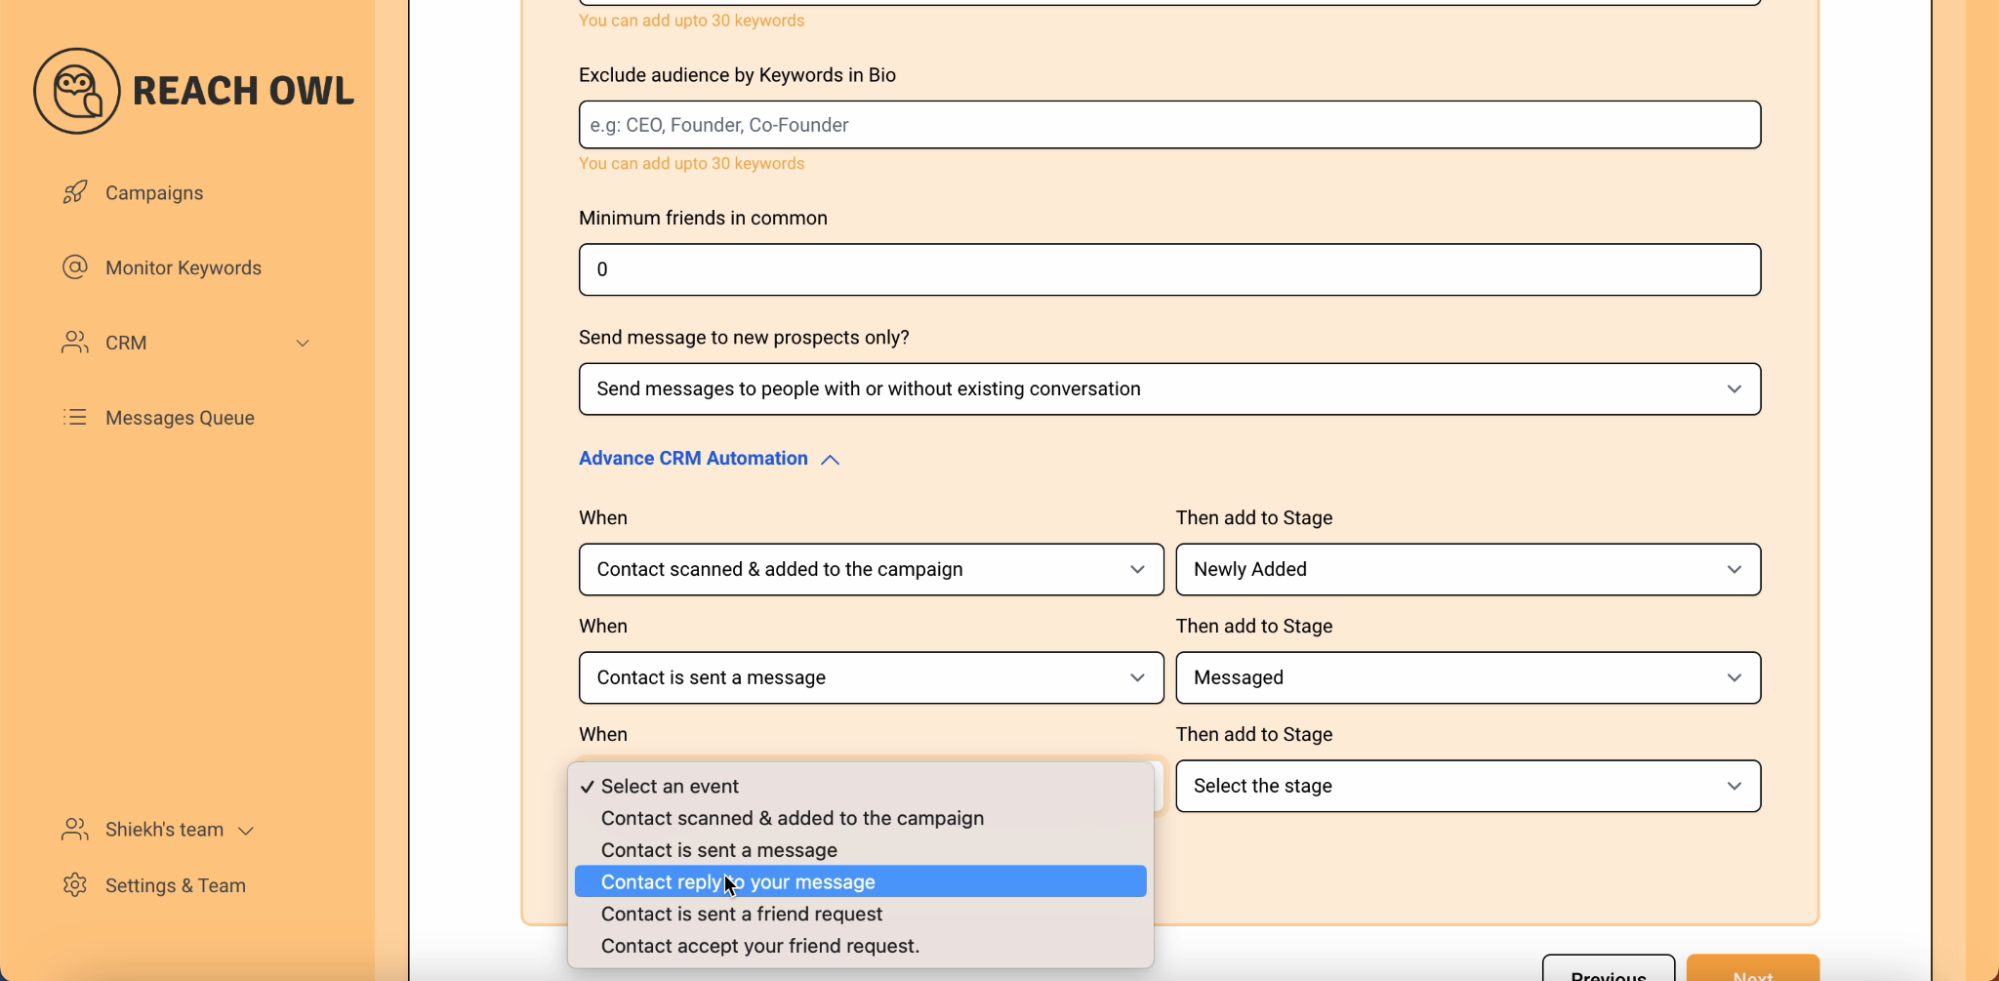
Scroll down to find the Advanced CRM Automation section.
- Define Contact Scanned and Added. Set the stage for a contact when they’re scanned and added to the campaign.
- Add to Stage. Automatically move the contact to the “Newly Added” stage.
- Contact Has Sent a Message. Add the event when a contact sends a message.
- Add to Stage. Automatically move the contact to the “Messaged” stage.
- Contact Reply to Your Message. Set the event for when a contact replies to your message.
- Add to Stage. Automatically move the contact to the “Warm Leads” stage.
Step 15: Proceed to Next
Continue to the next step of campaign setup.
Step 16: Compose the Message

Craft personalized messages using the recipient’s name variable ({{name}}).
Step 17: Add Multiple Messages

Enhance your message sequence by adding multiple engaging messages.
Step 18: Set Up the Messaging Sequence
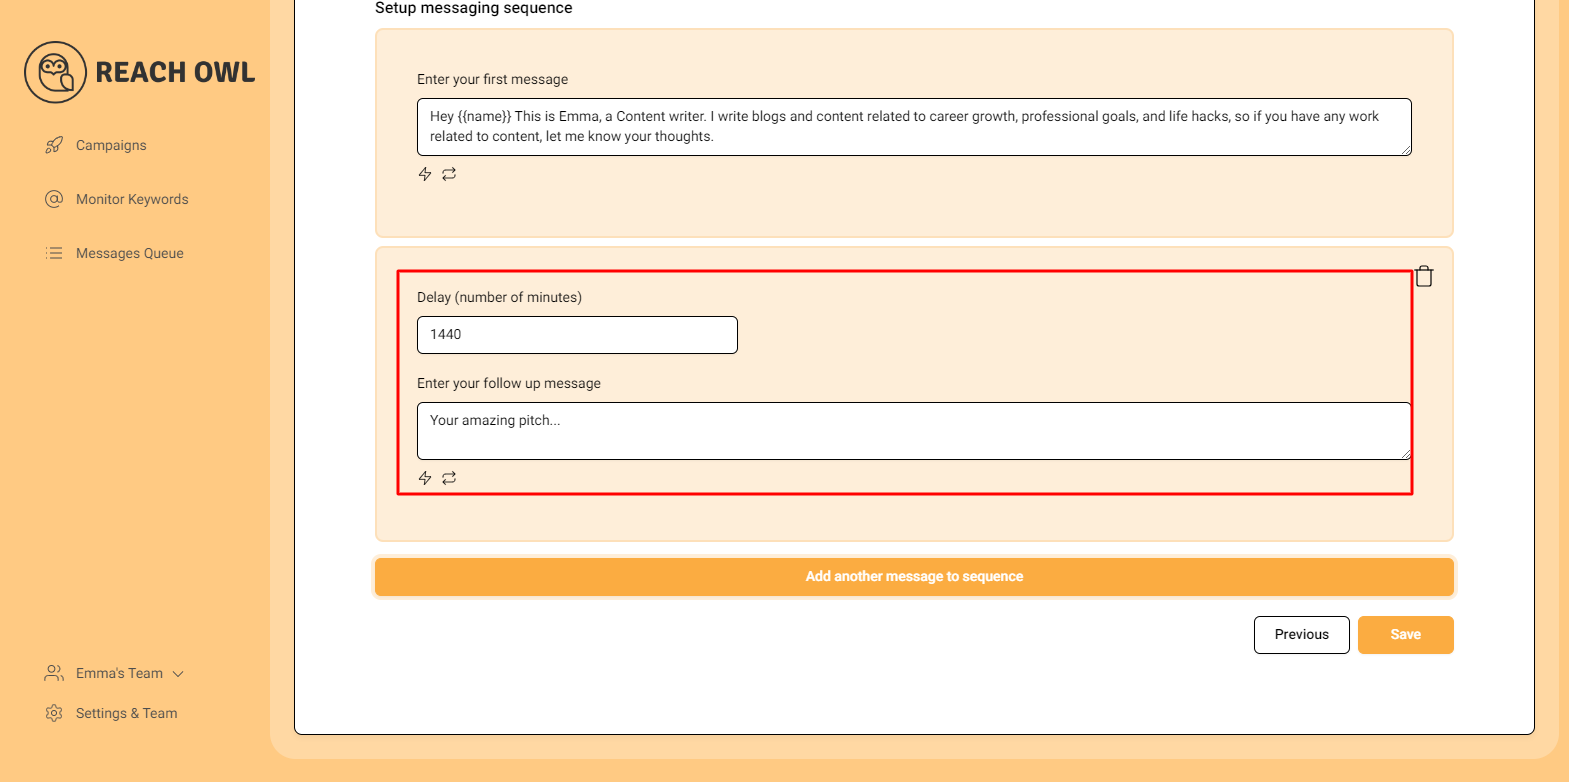
Craft follow-up messages and stagger delays between each to ensure effectiveness.
Step 19: Save Your Campaign

Preserve your campaign settings by clicking “Save.”
Step 20: Start Your Campaign
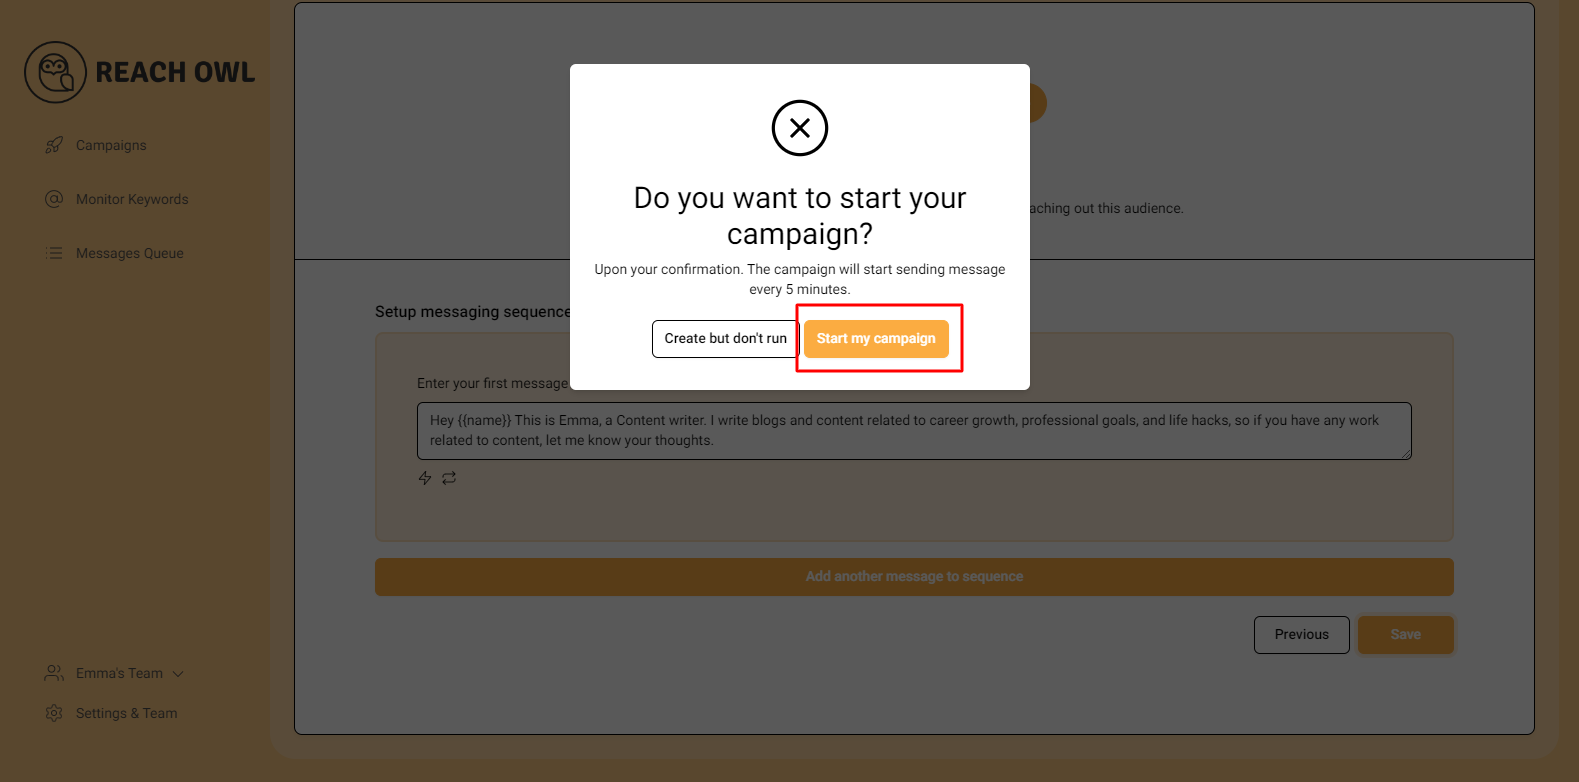
Initiate your messaging campaign by clicking “Start My Campaign.”
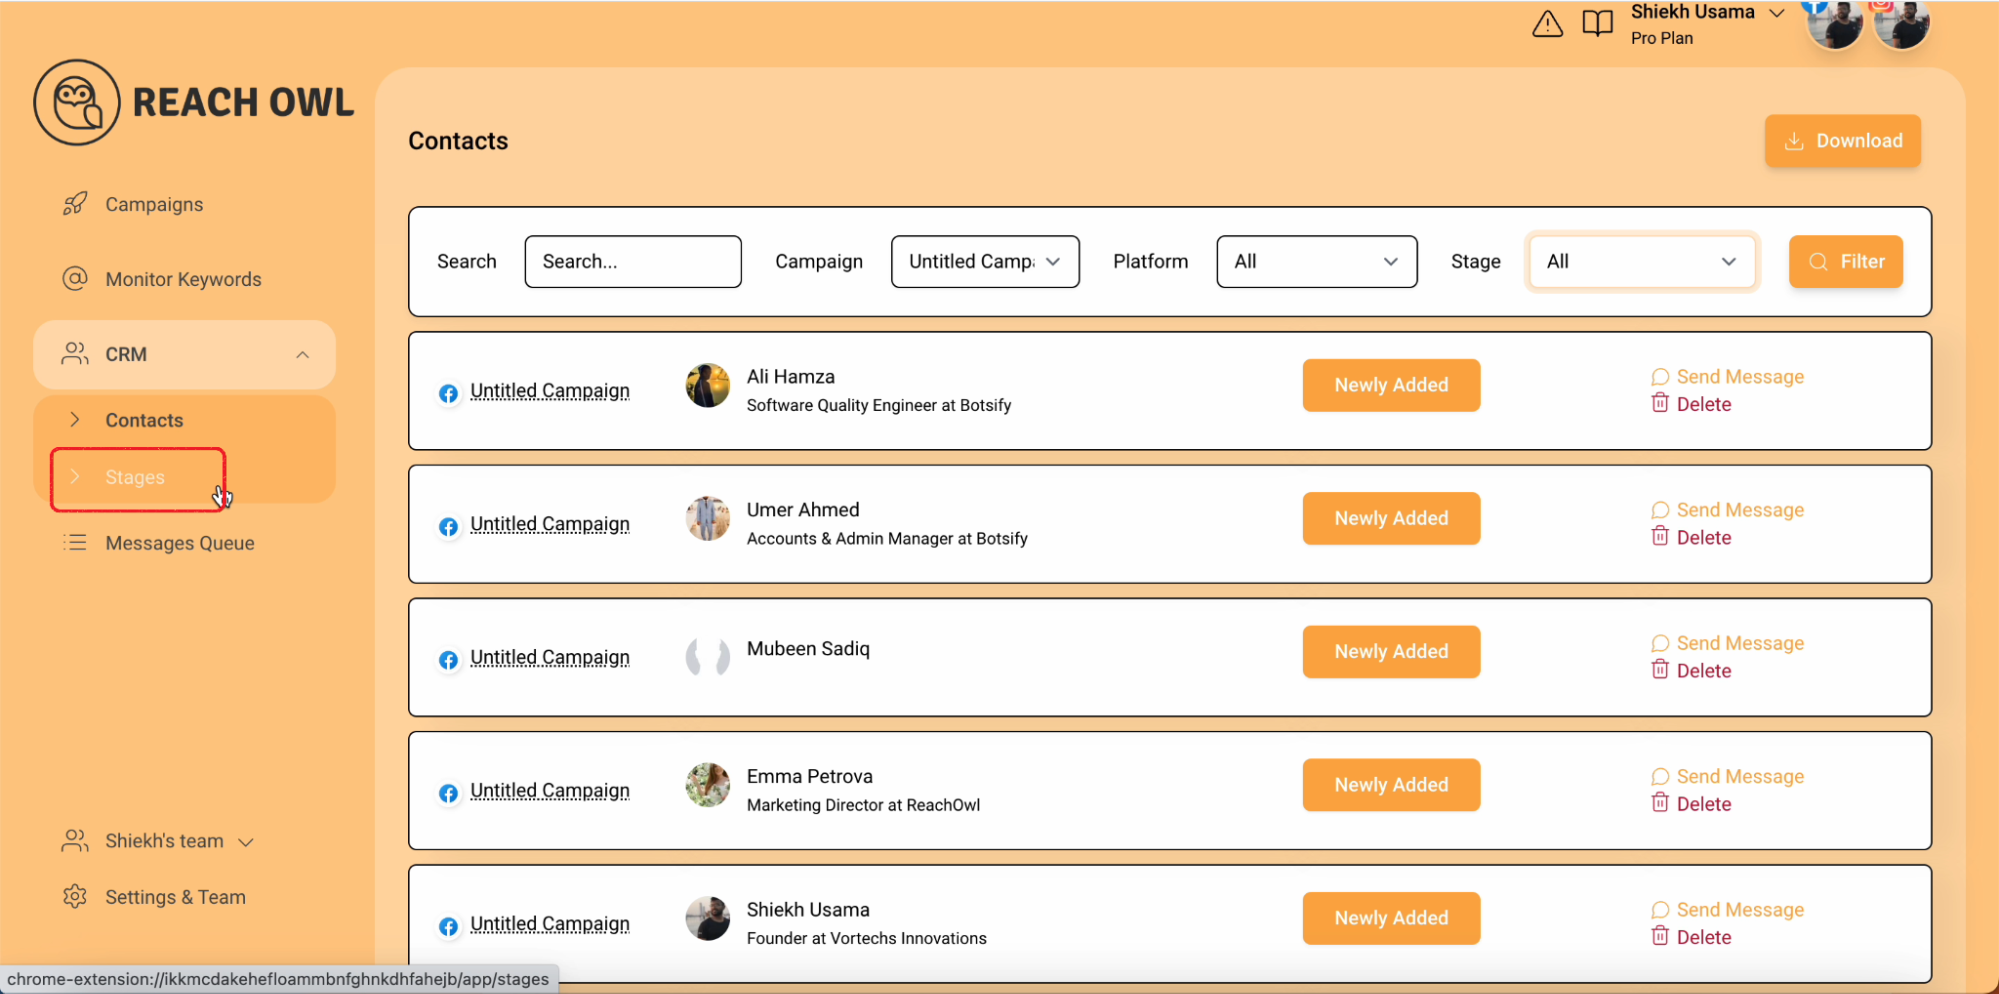
Step 21: Monitor and Manage

Monitor campaign progress and audiences using Advanced CRM’s comprehensive features.
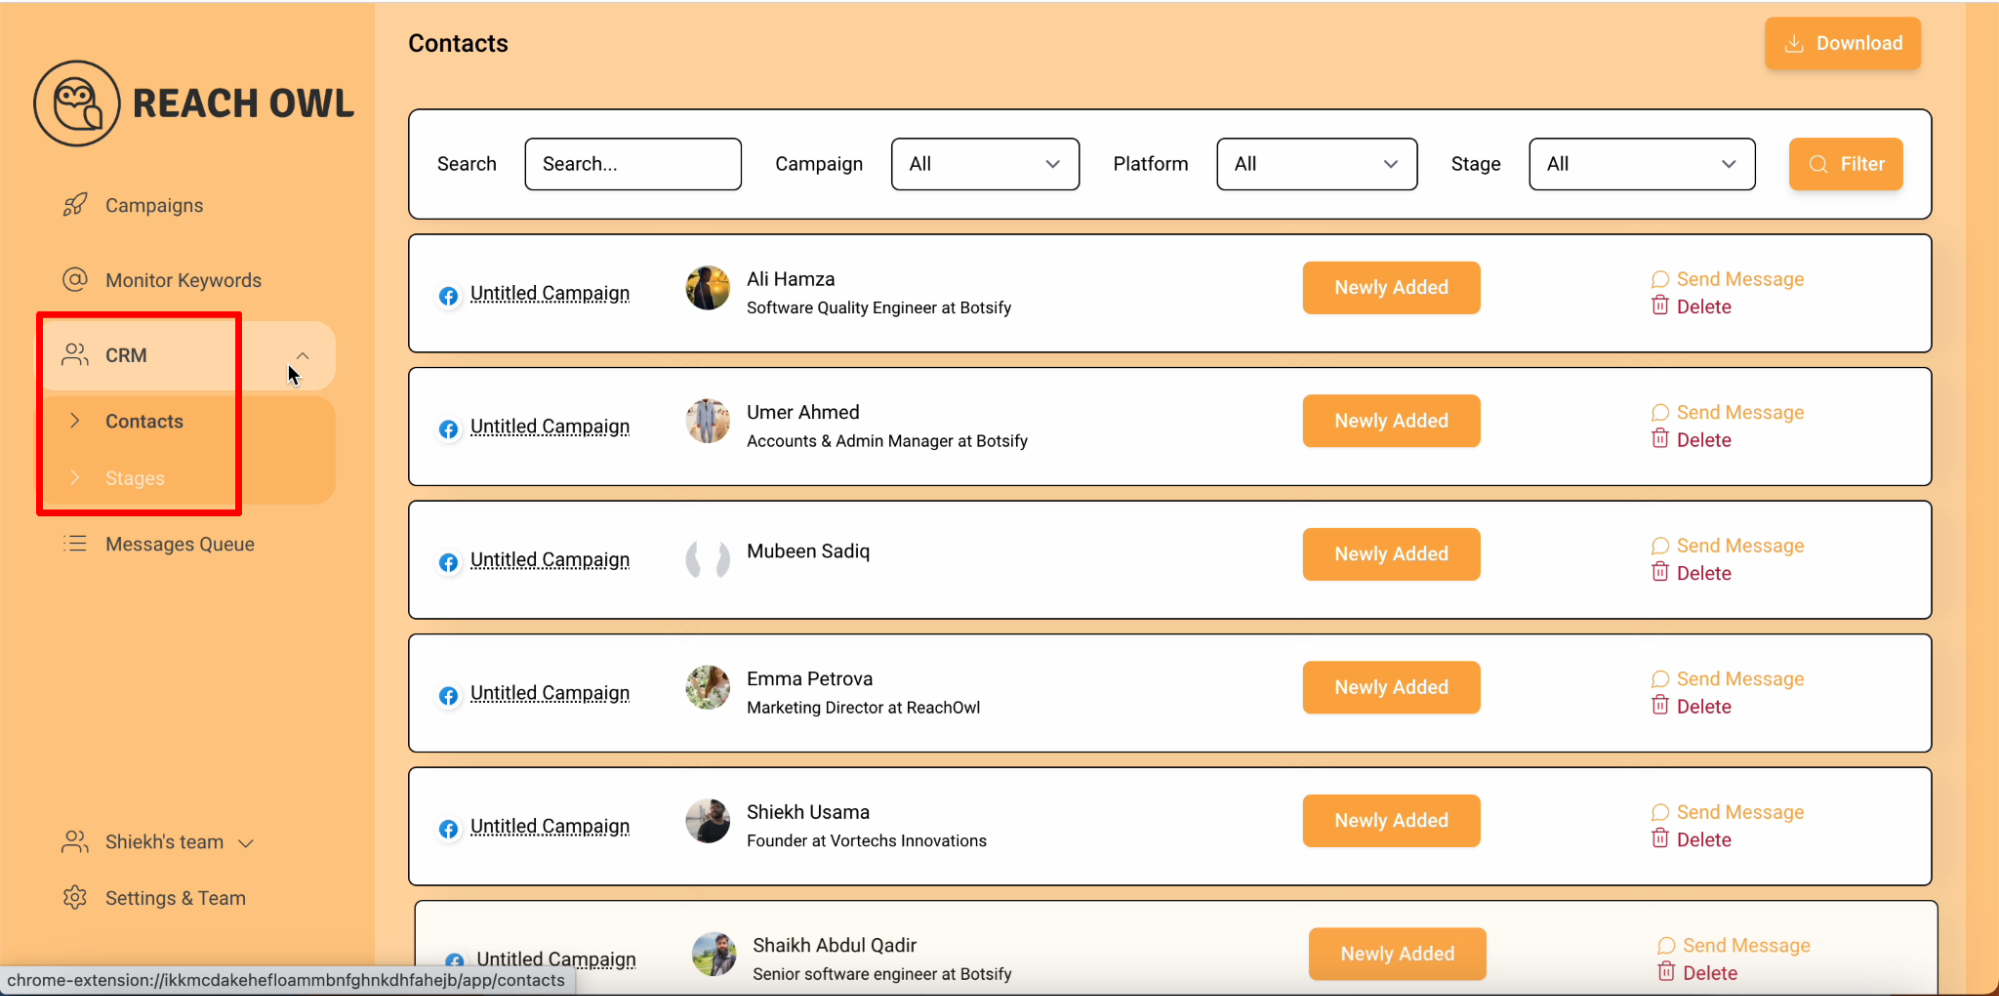
Step 22: Utilize CRM Insights
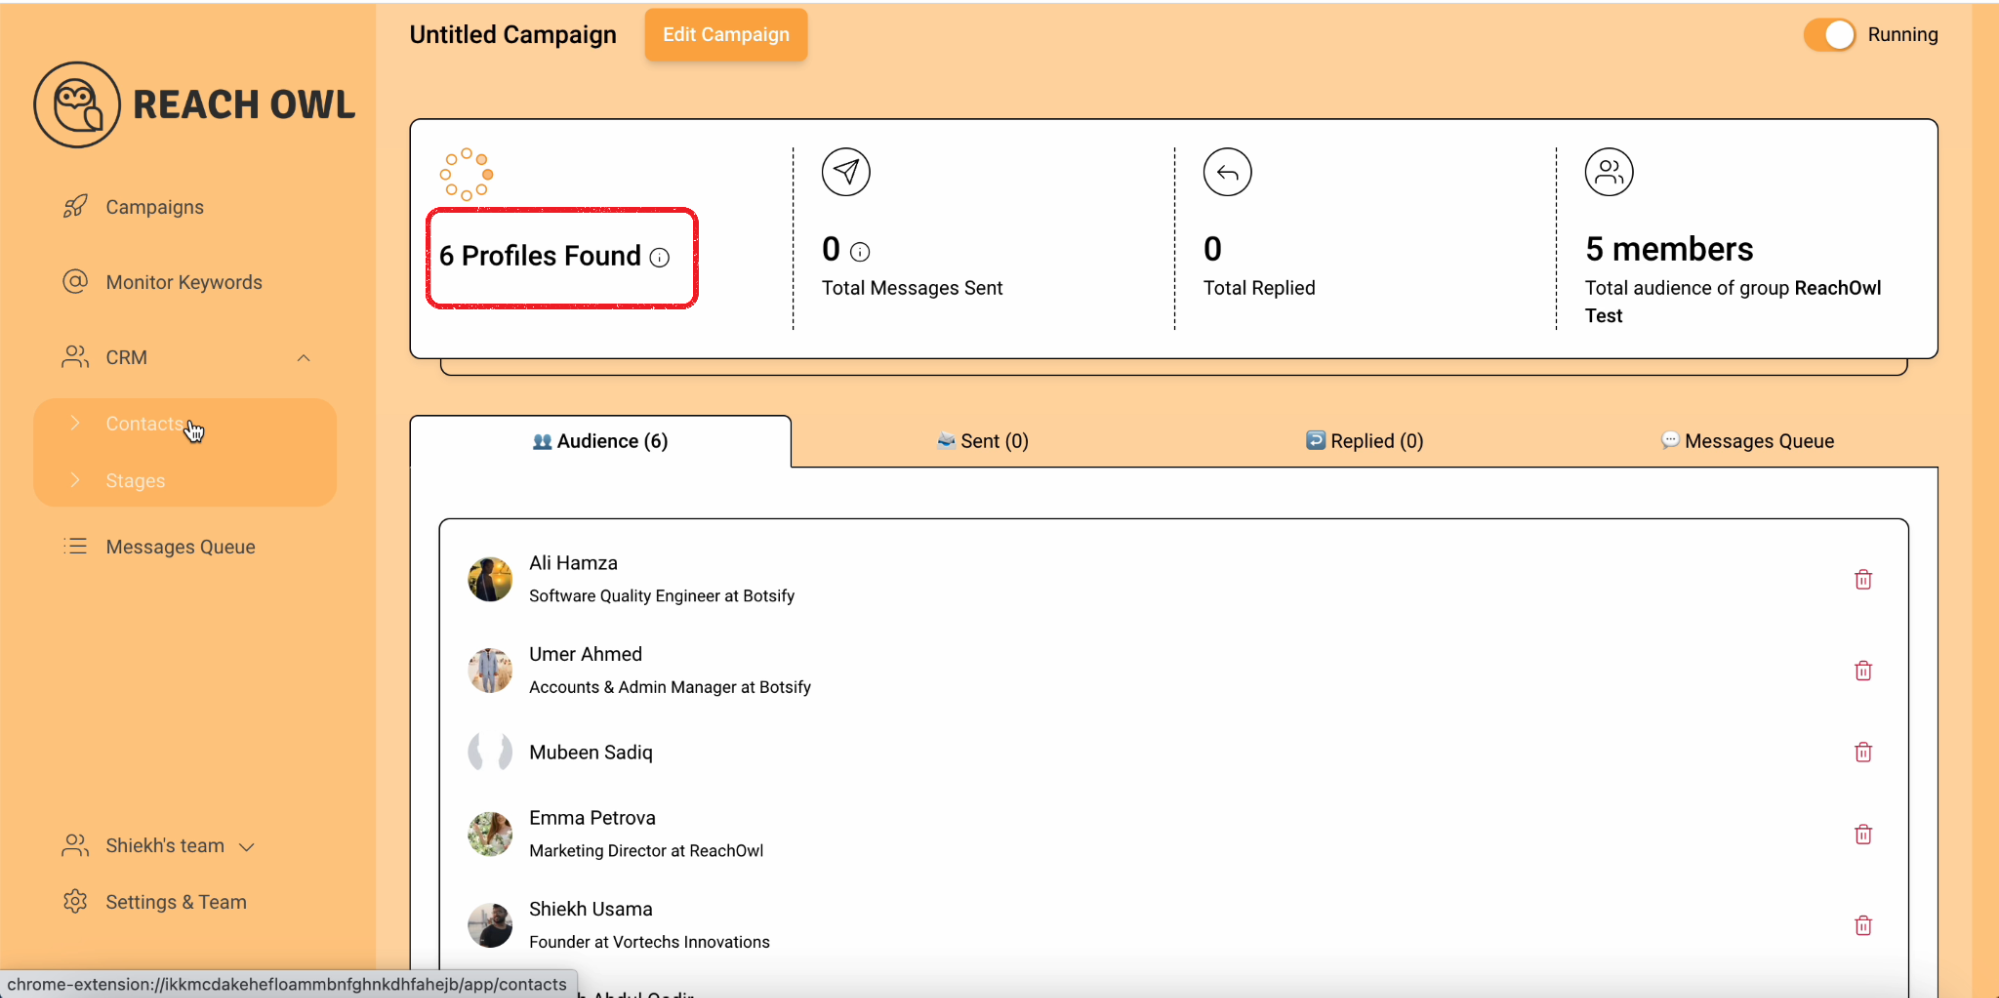
Access the CRM section to view your audience list and their assigned stages.
Step 23: Automate Template Messages
Automatically change stages when contacts send messages or replies.
Step 24: Personalize Templates
Assign personalized template messages to stages.
Step 25: Save Message Templates
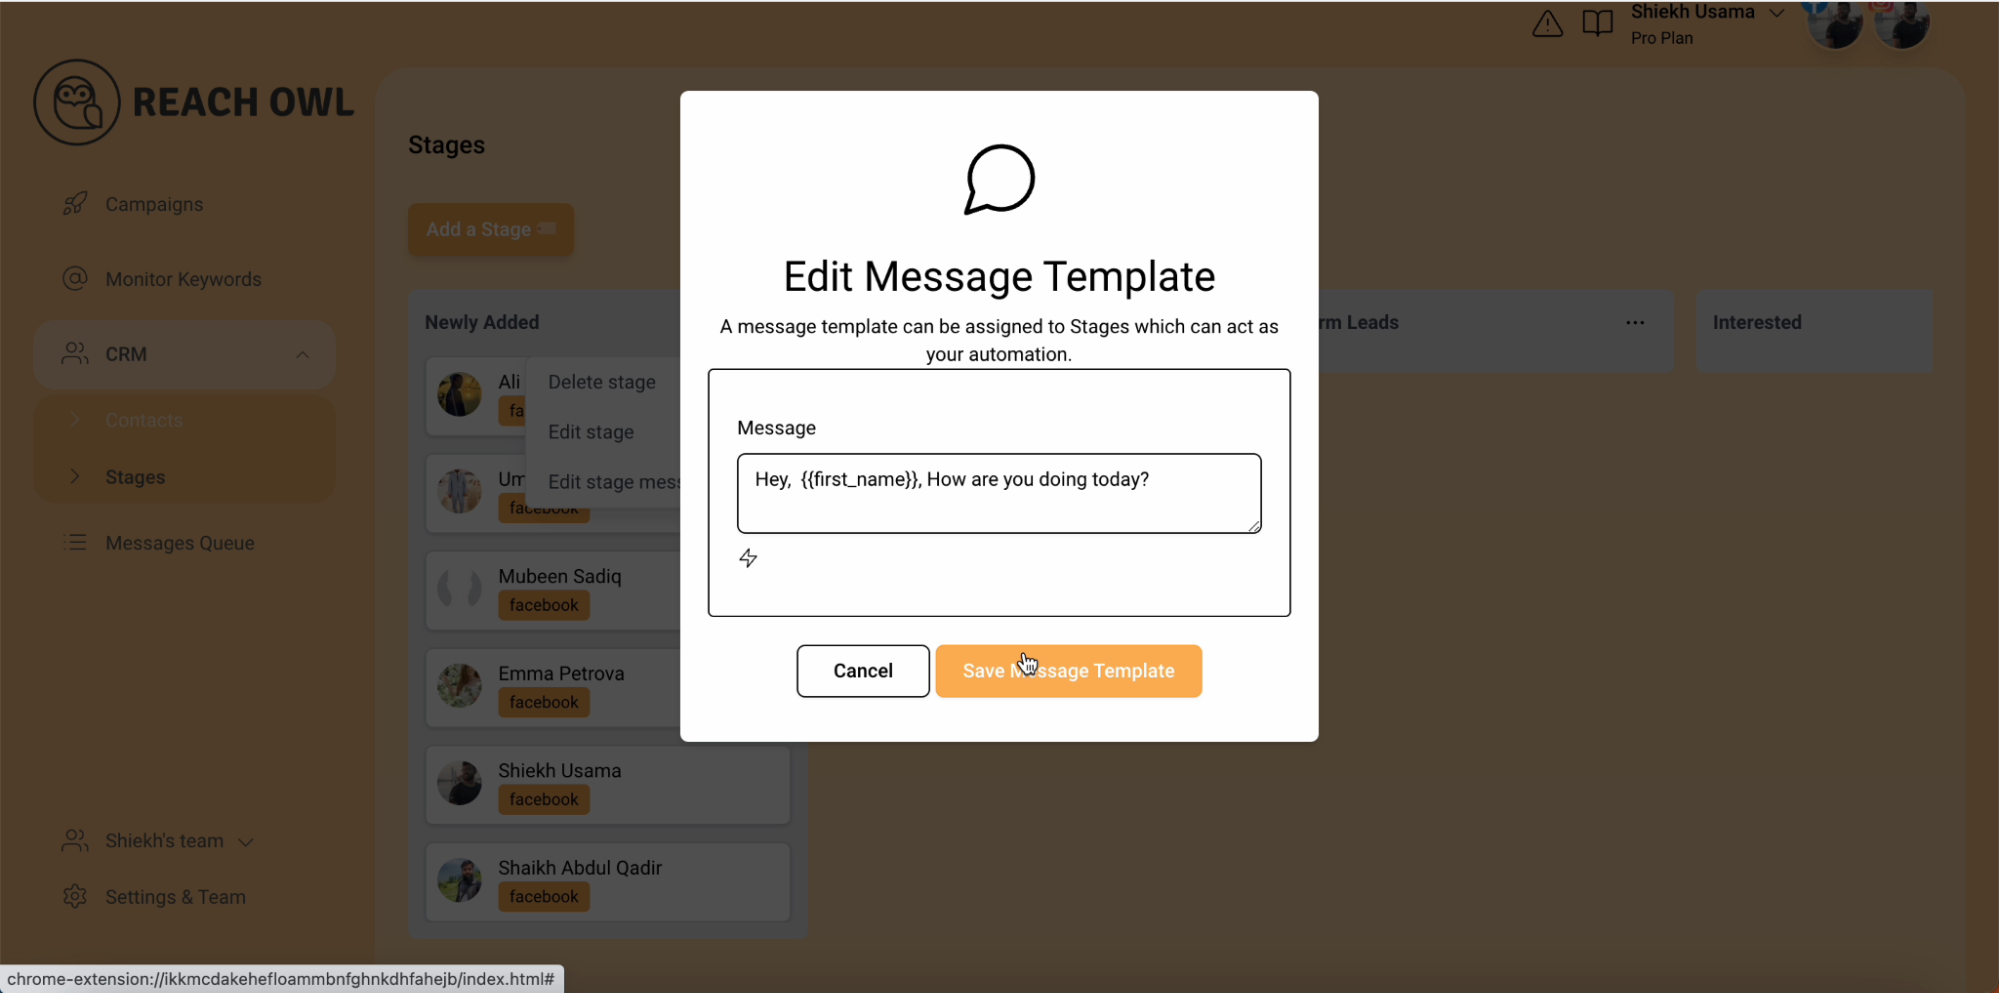
Click “Save Message Template” after customizing templates.
Step 26: Monitor and Manage Templates
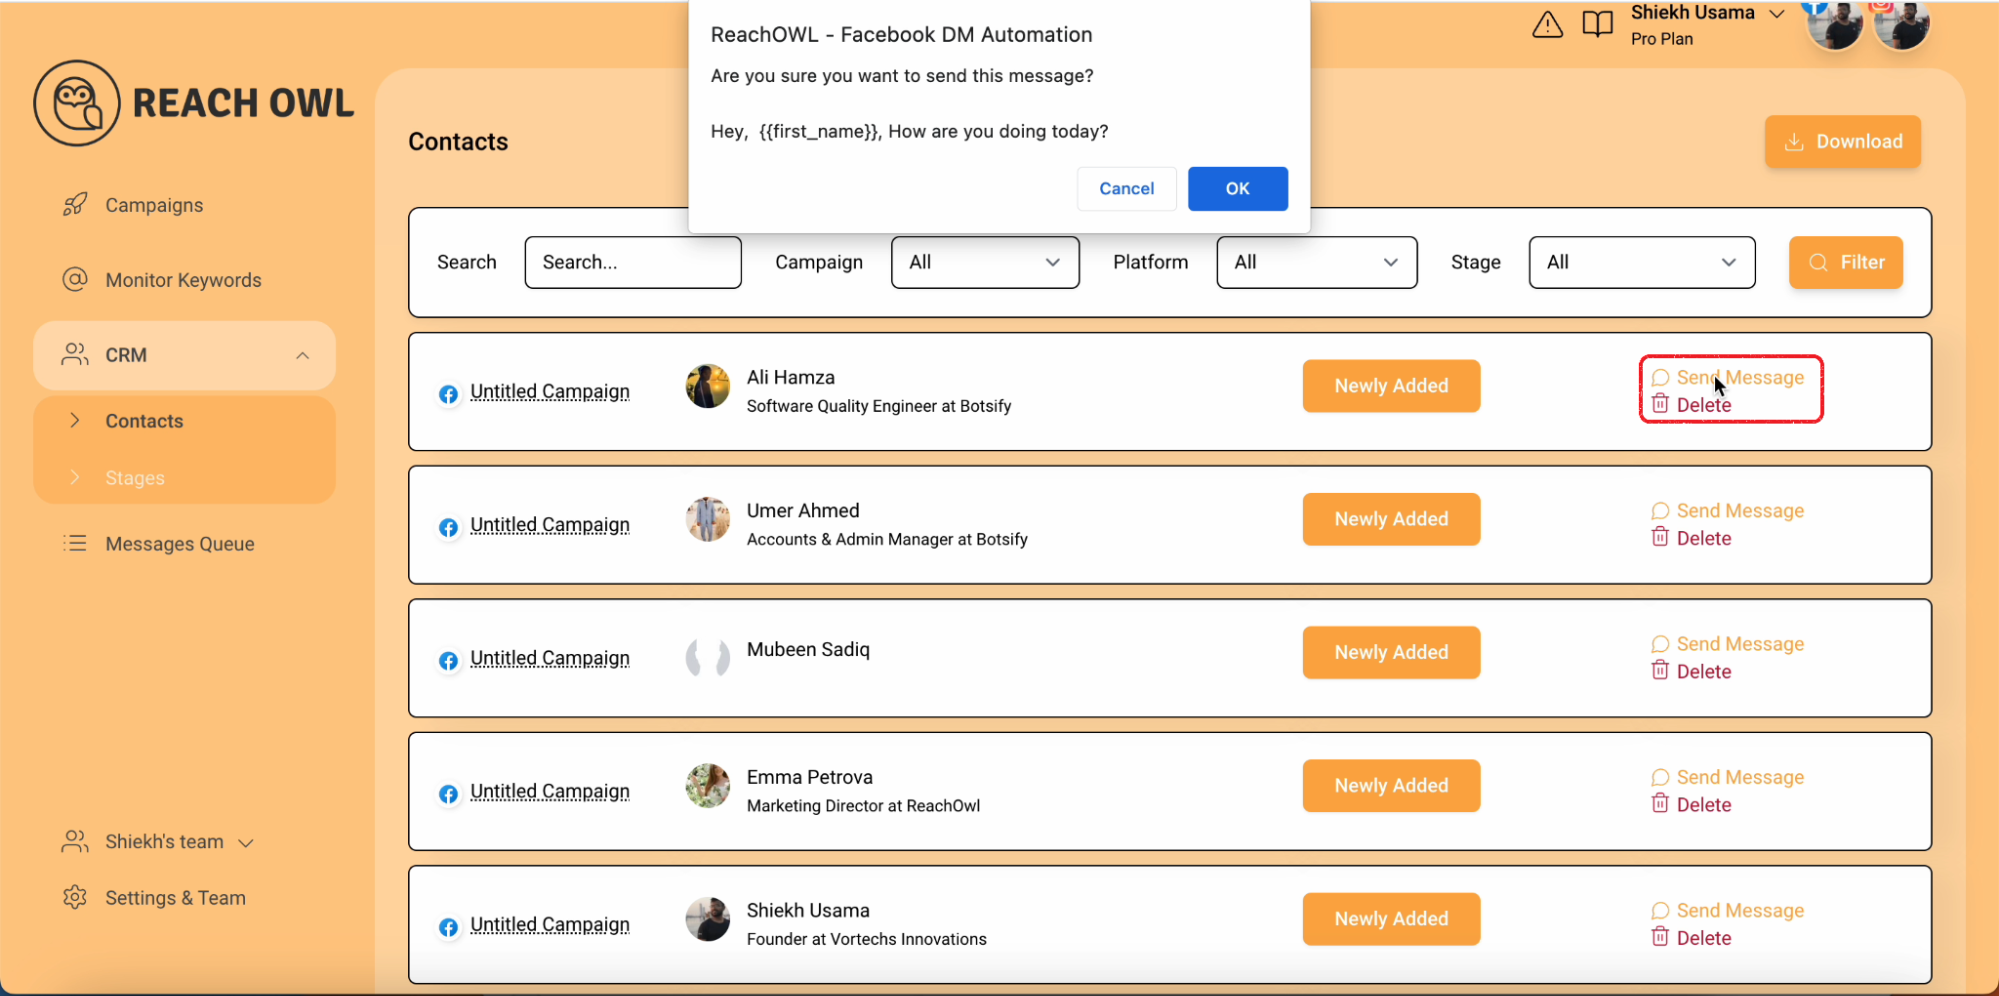
Send and manage template messages directly from your CRM interface.
Step 27: Engage Contacts

Click on contact profiles to view their details and conversation history.
Step 28: Add Notes and Save

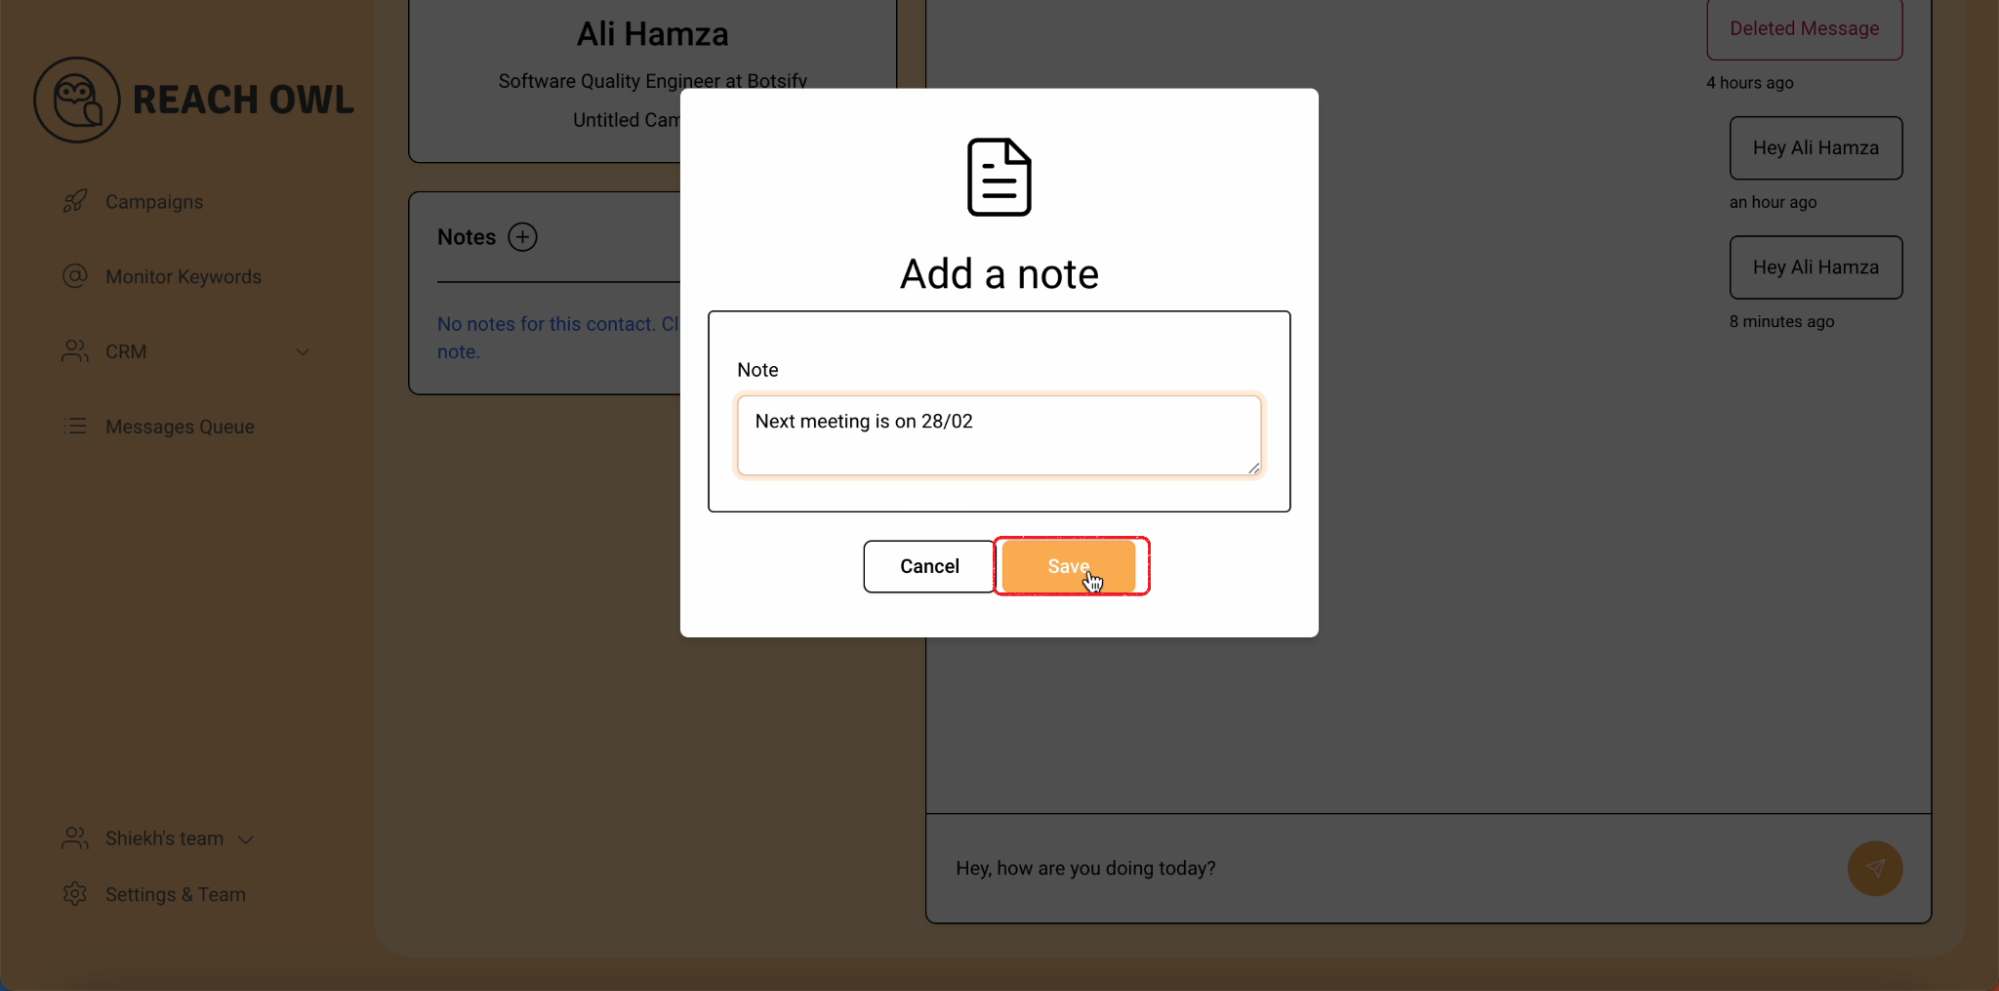
Enhance your records by adding notes and save changes for reference.
Conclusion
The new Advanced CRM and Automation feature on ReachOwl empowers you to take control of your outreach efforts, build connections, and nurture relationships with ease.
From pipeline stages to template messages, this feature offers a comprehensive solution for optimizing your campaign strategies. Start using Advanced CRM and Automation today to elevate your outreach game and achieve remarkable results.