In today’s digital world, automation and integration are key to optimizing your outreach efforts. One powerful tool at your disposal within ReachOwl is the ability to set up Webhook integrations. Webhooks allow you to connect your ReachOwl campaigns to external applications or services, enabling real-time data transfer and automation.
In this tutorial, we’ll guide you through the process of adding a Webhook integration to supercharge your outreach.
Step 1: Access Your Settings
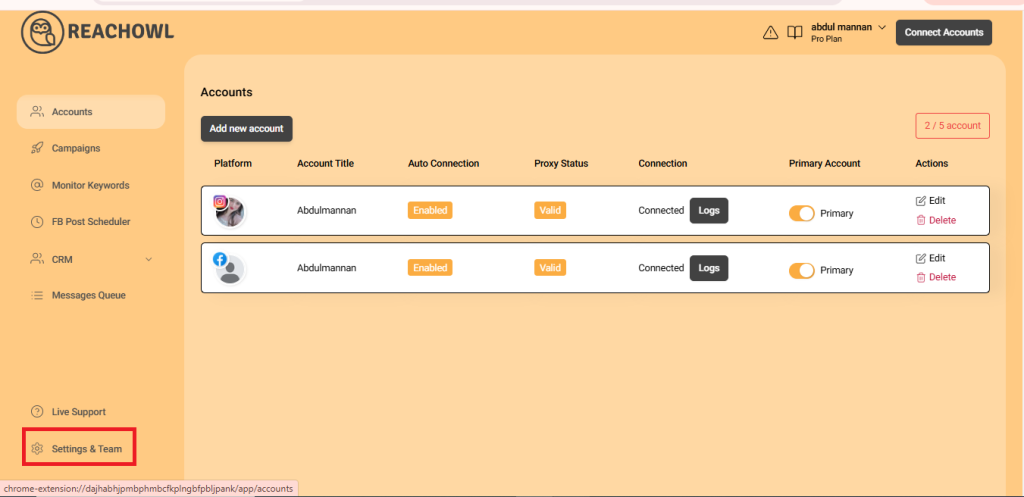
First, ensure you’re logged into your ReachOwl account. Once logged in, navigate to the settings option. You’ll typically find this in the top menu or sidebar of your ReachOwl dashboard.
Step 2: Click on the Integration Option
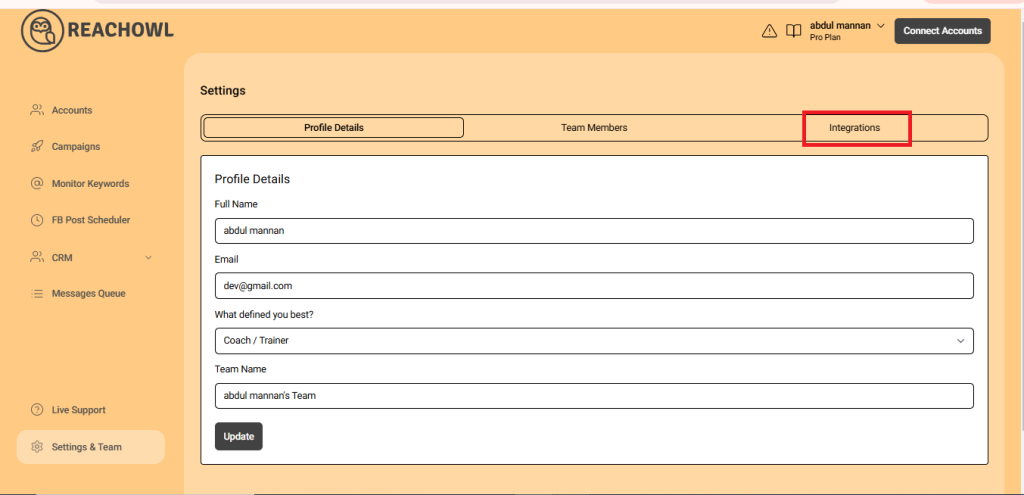
Within your settings, look for the “integration” option. This is where you’ll manage all your integrations, including webhooks.
Step 3: Add a Webhook Integration
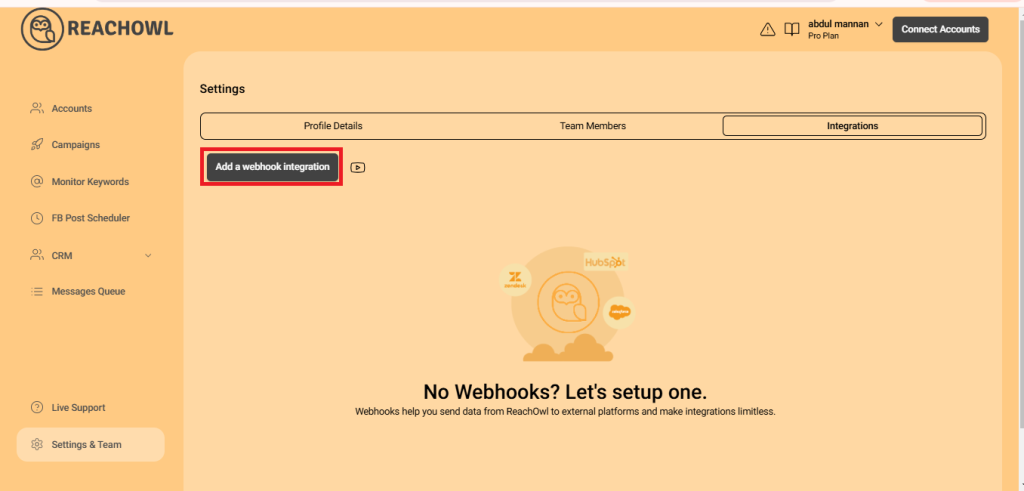
Now, it’s time to create a new webhook integration. Locate and click on the “add a webhook integration” button. This will initiate the process of connecting ReachOwl to an external service.
Step 4: Paste Your Website URL
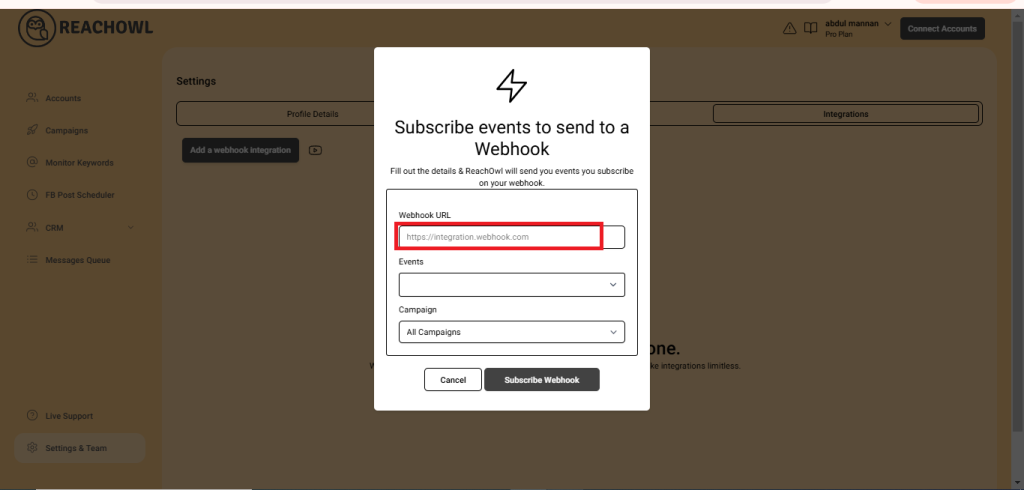
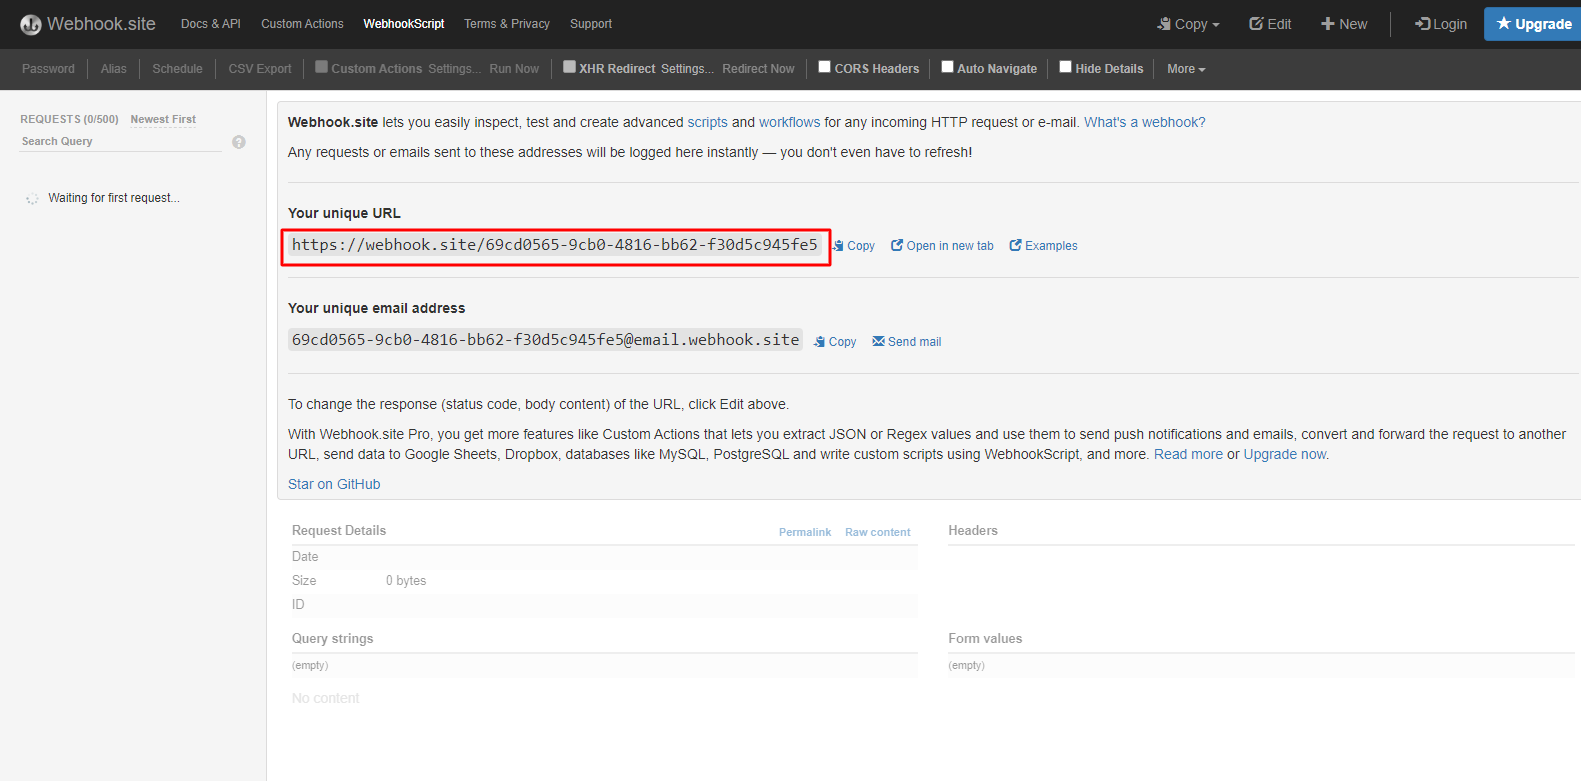
For your webhook integration to work seamlessly, you’ll need to provide the URL of your external service or application. This URL is where data from ReachOwl will be sent. Paste your website’s URL in the designated box. If you’re testing your webhook, you can use a webhook test site for this step.
Step 5: Select Your Event Type

Choose the specific event that will trigger your webhook. In this example, let’s say you want your webhook to be activated when a friend request is sent. Scroll down and select “send a friend request” as your event.
Step 6: Subscribe Webhook

With your event selected, click on the “subscribe webhook” button. This action confirms your webhook integration and sets the stage for data to flow seamlessly between ReachOwl and your external application.
Step 7: Confirm Your Webhook Integration
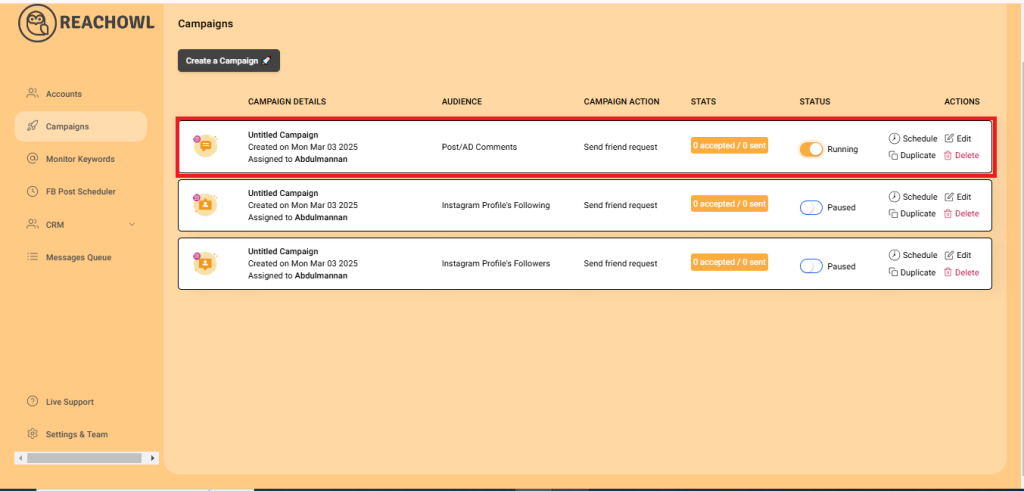
Now that you’ve added and subscribed to your webhook integration, it’s time to put it to the test. Go back to your campaigns page in ReachOwl and select the friend request campaign that you want to integrate with your webhook.
Step 8: Confirm Integration

When an event happens on the trigger application, it serializes data about that event and sends it to a webhook URL from the action application.
Conclusion
Webhooks are invaluable for connecting your ReachOwl campaigns to external services, streamlining your outreach, and automating key processes. By following these simple steps, you can harness the power of webhooks and take your outreach efforts to the next level, all while ensuring real-time data transfer and automation.