
Struggling to keep your Facebook groups engaged with consistent content? ReachOwl’s new Facebook Post Scheduler is here to save the day!
This blog will guide you through the automation process of creating and scheduling engaging posts to reach your target audience at the perfect time.
Step 1: Access the Feature
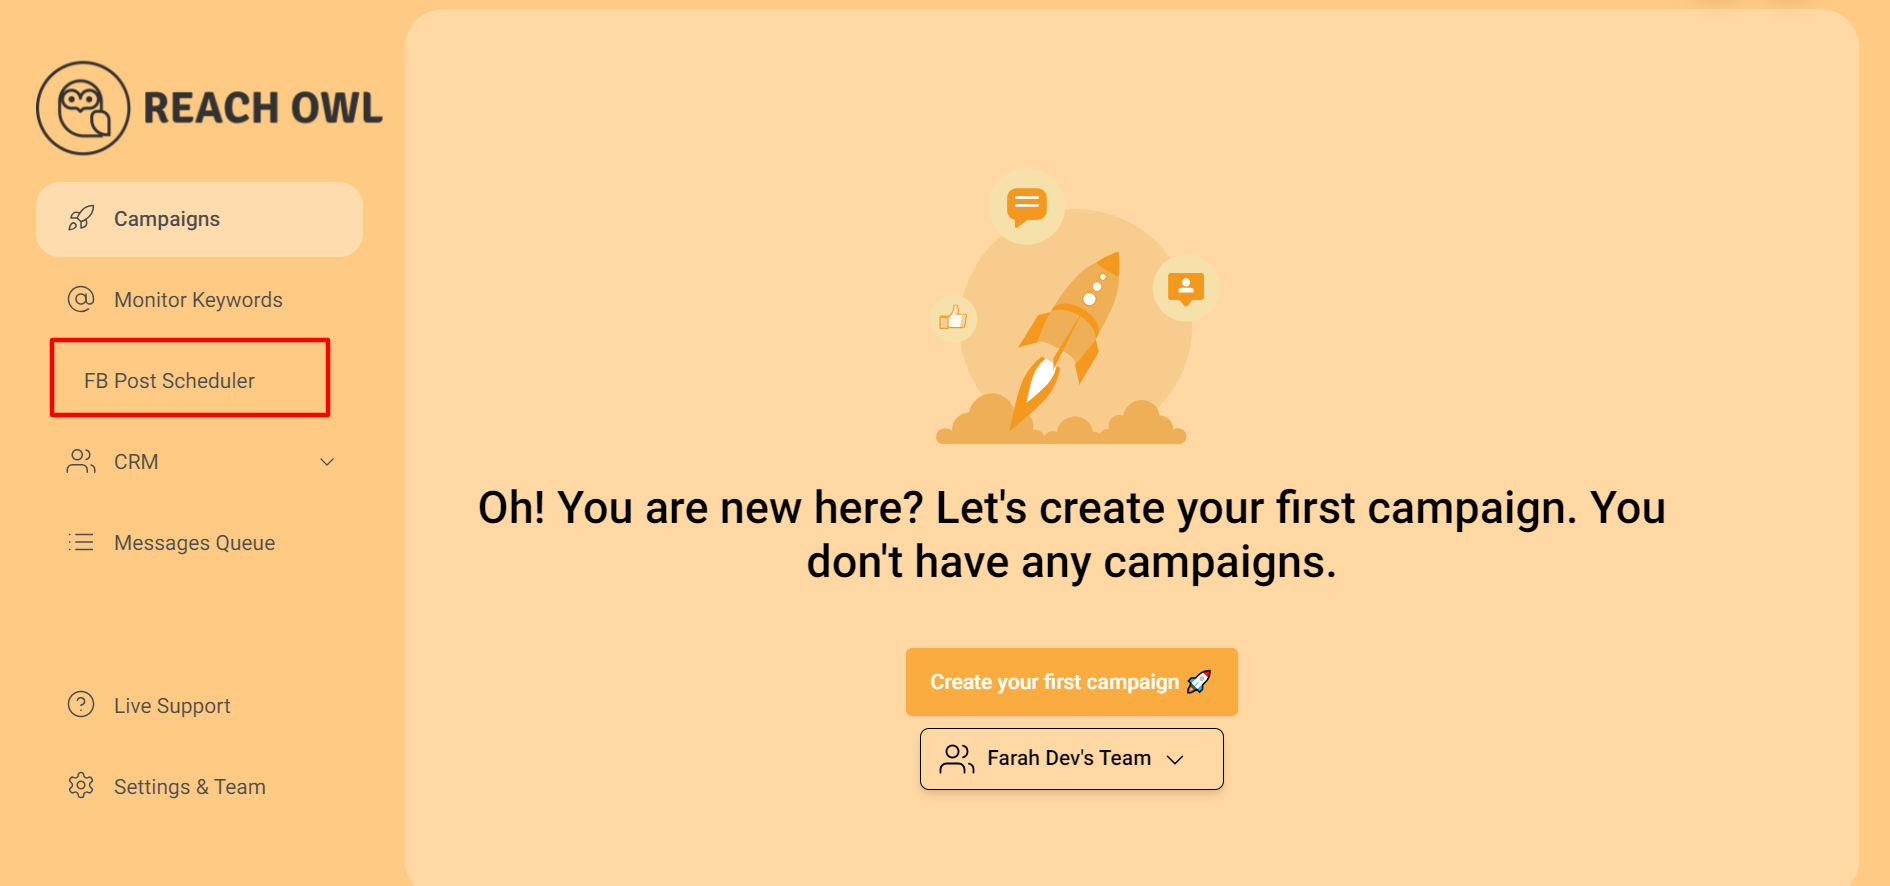
On ReachOwl’s left menu, click the new “Facebook Post Scheduler” button.
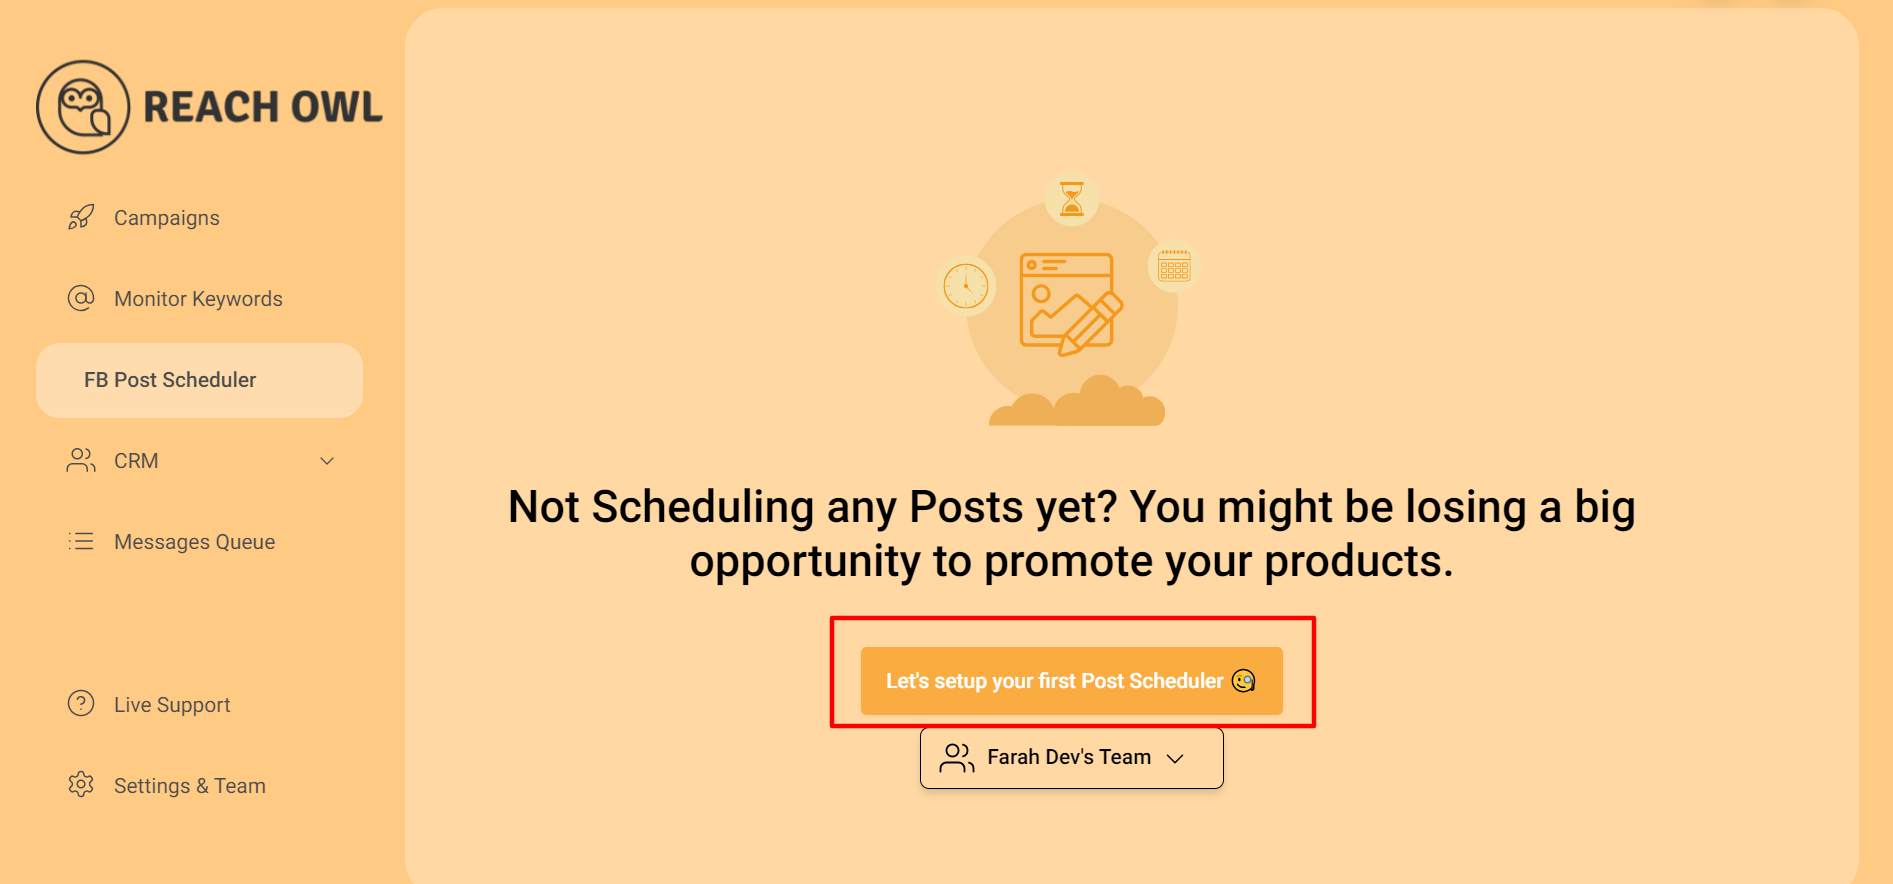
Click on “Let’s Set Up Your First Post Scheduler” to begin your scheduling journey.
Step 2: Targeting Your Audience
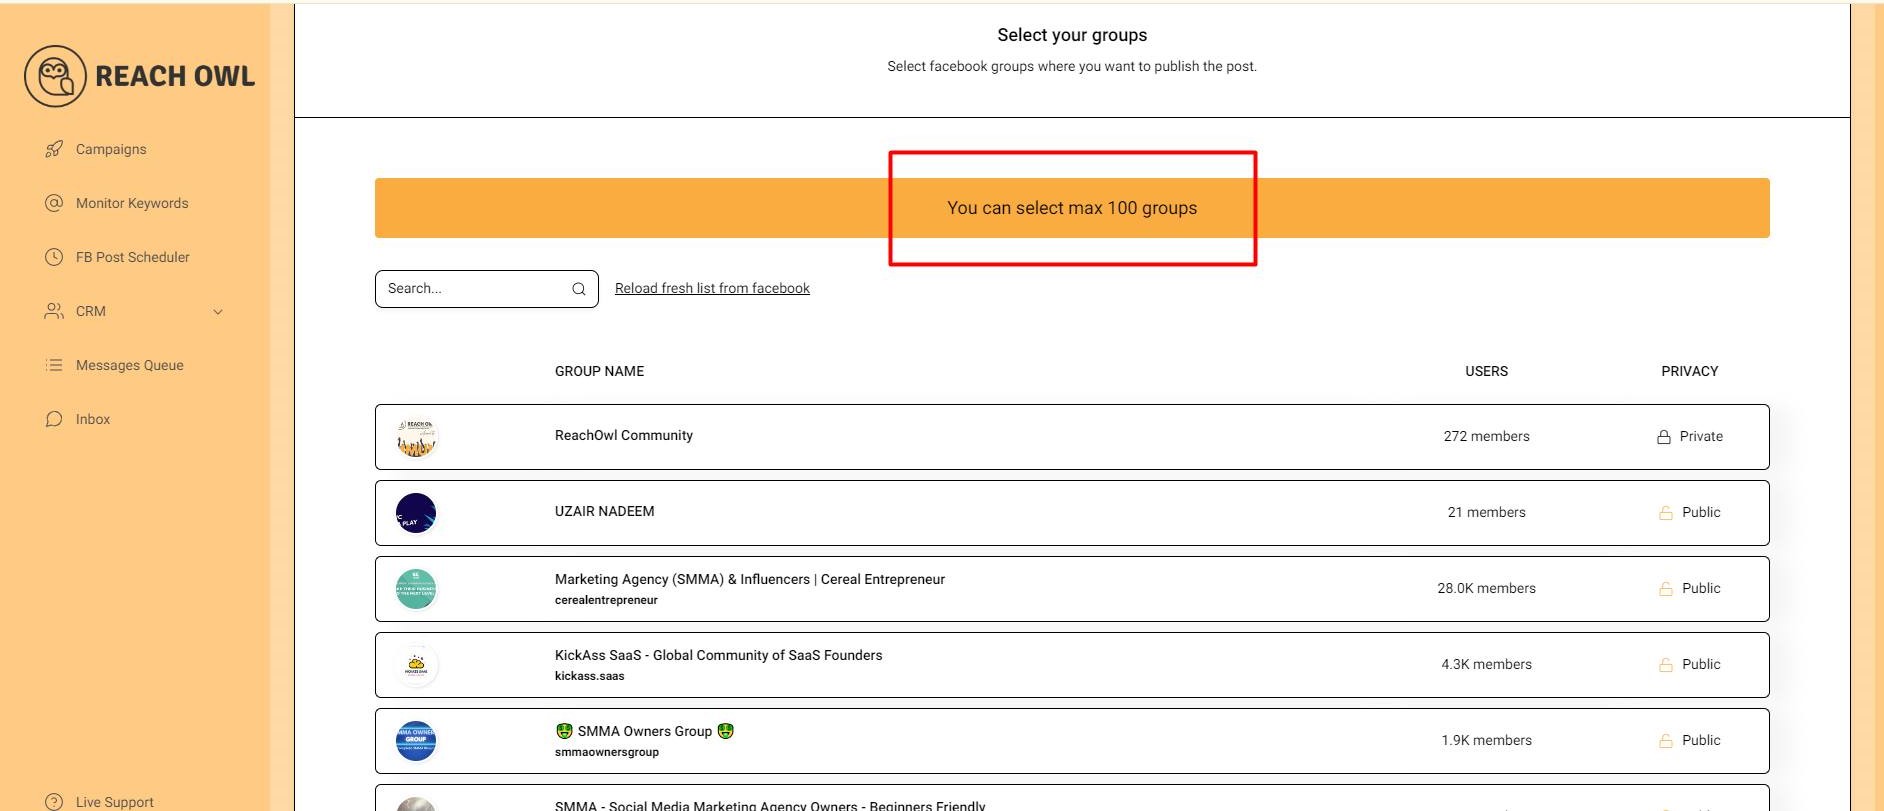
Choose the Facebook groups where you want your post to appear. You can select a maximum of 100 groups for each campaign.
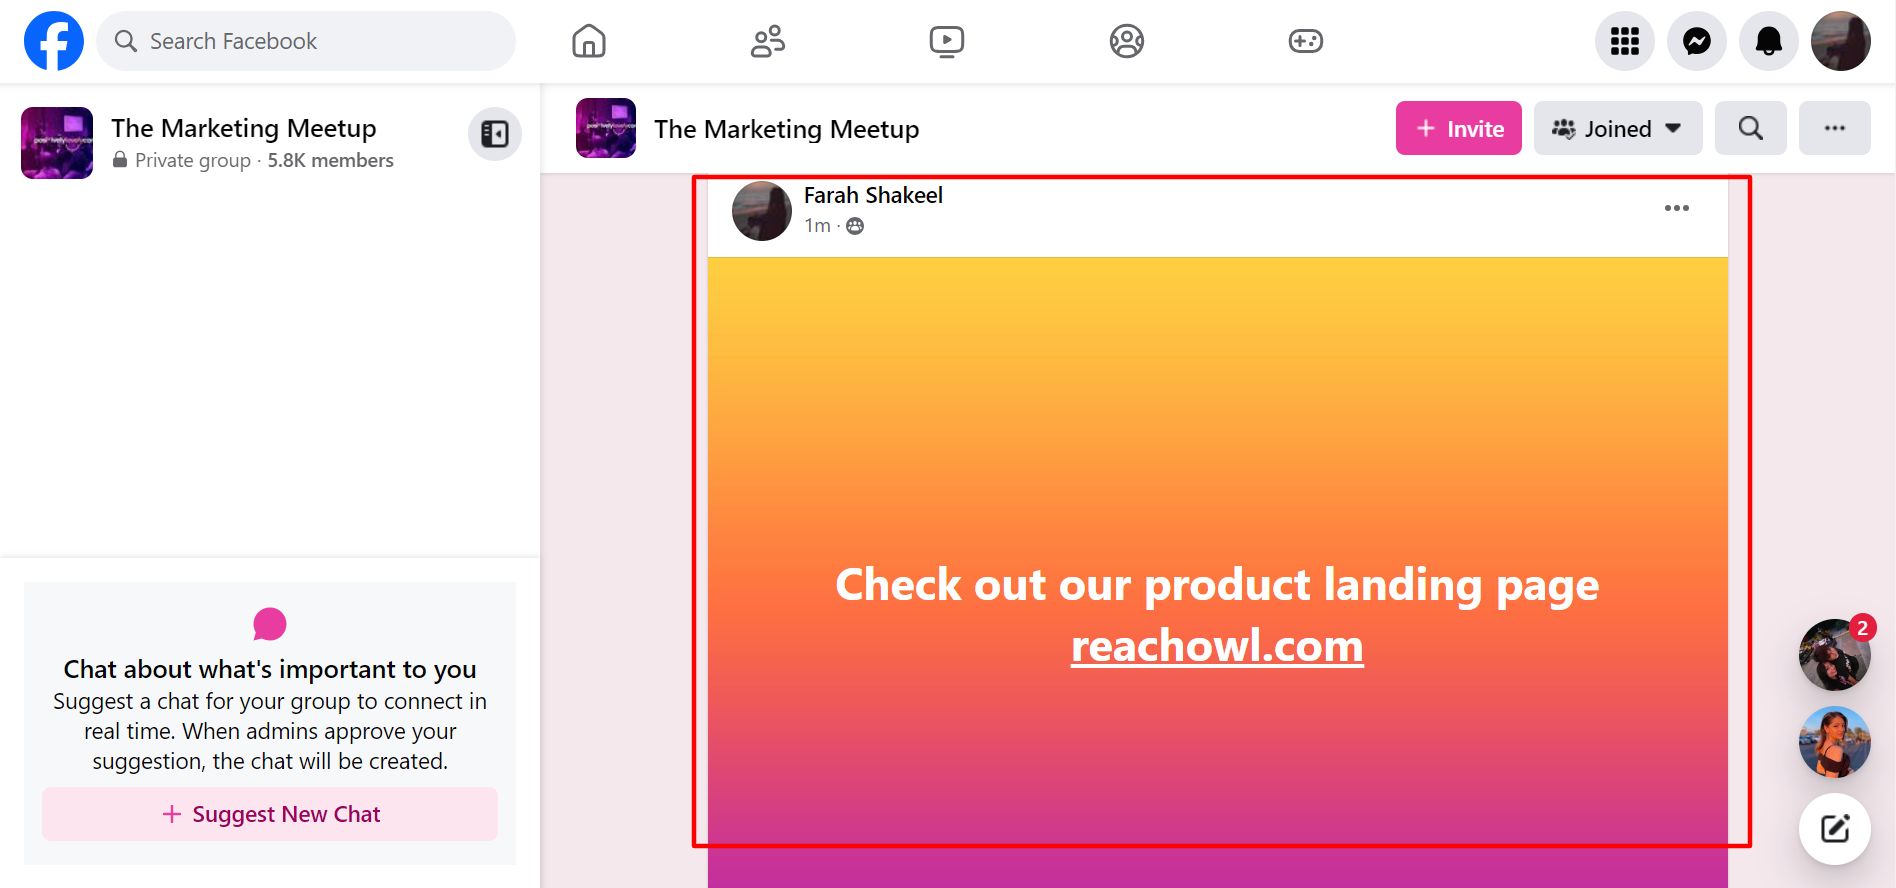
Step 3: Crafting Posts
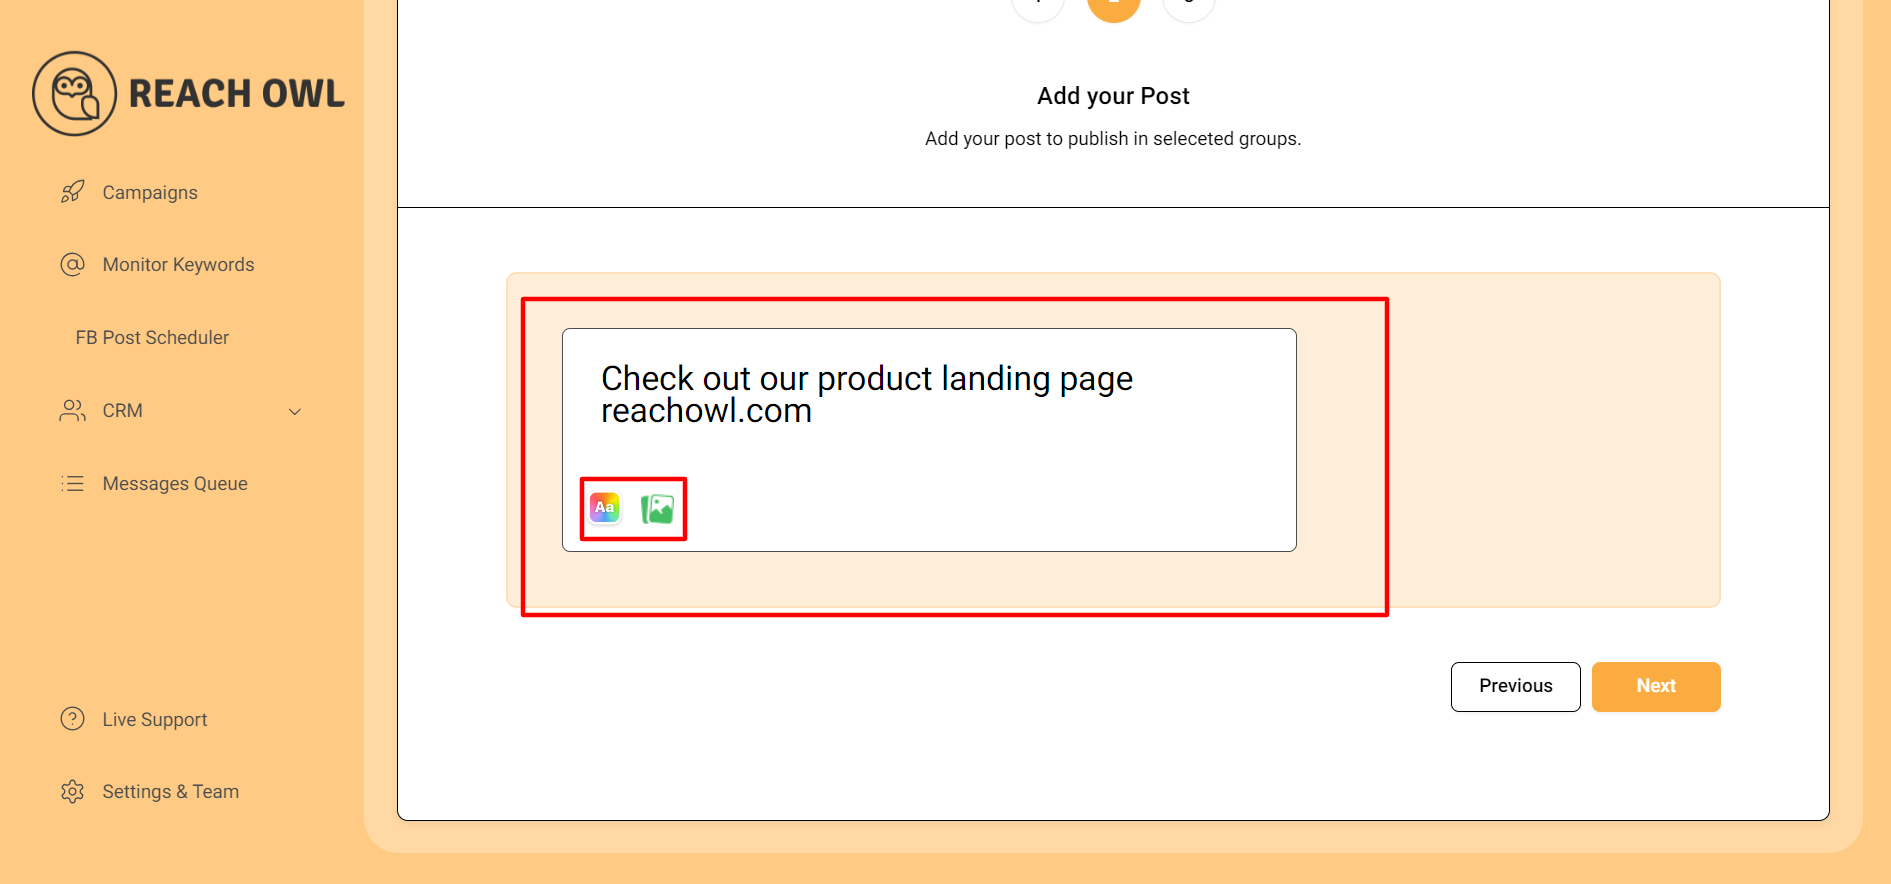
Design an engaging post to grab your audience’s attention. ReachOwl allows you to include images and preset backgrounds to make your message visually appealing.
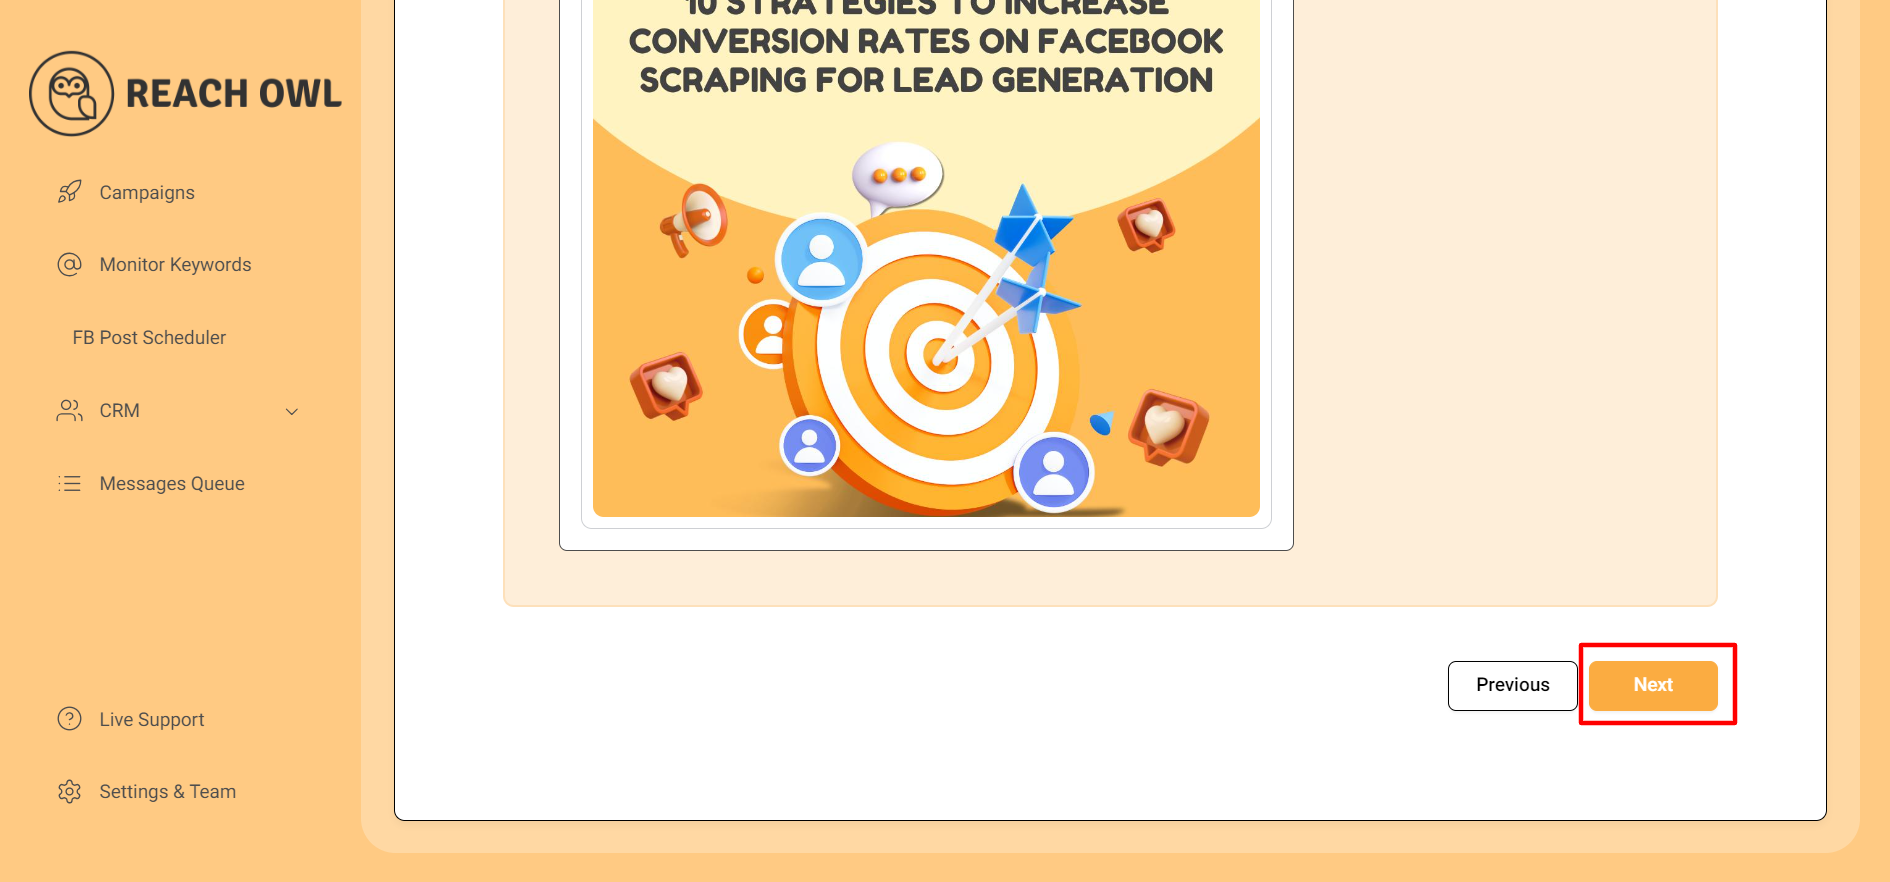
Step 4: Setting the Stage (Background)
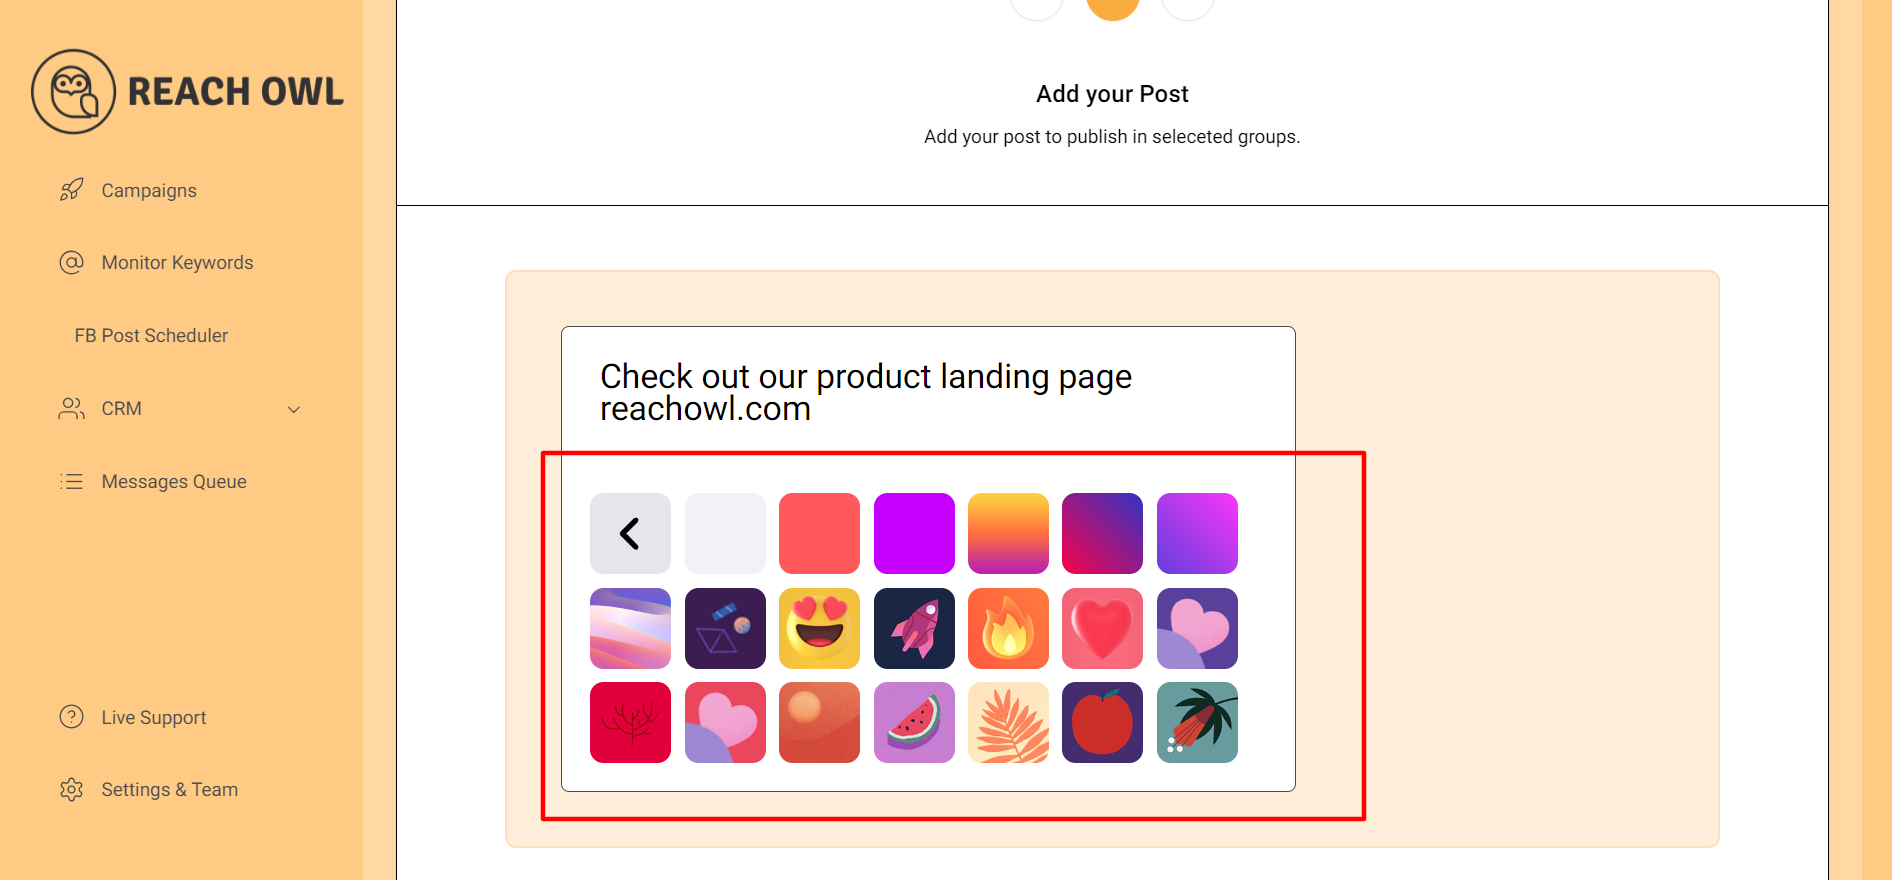
After crafting your post, define the background for your post.
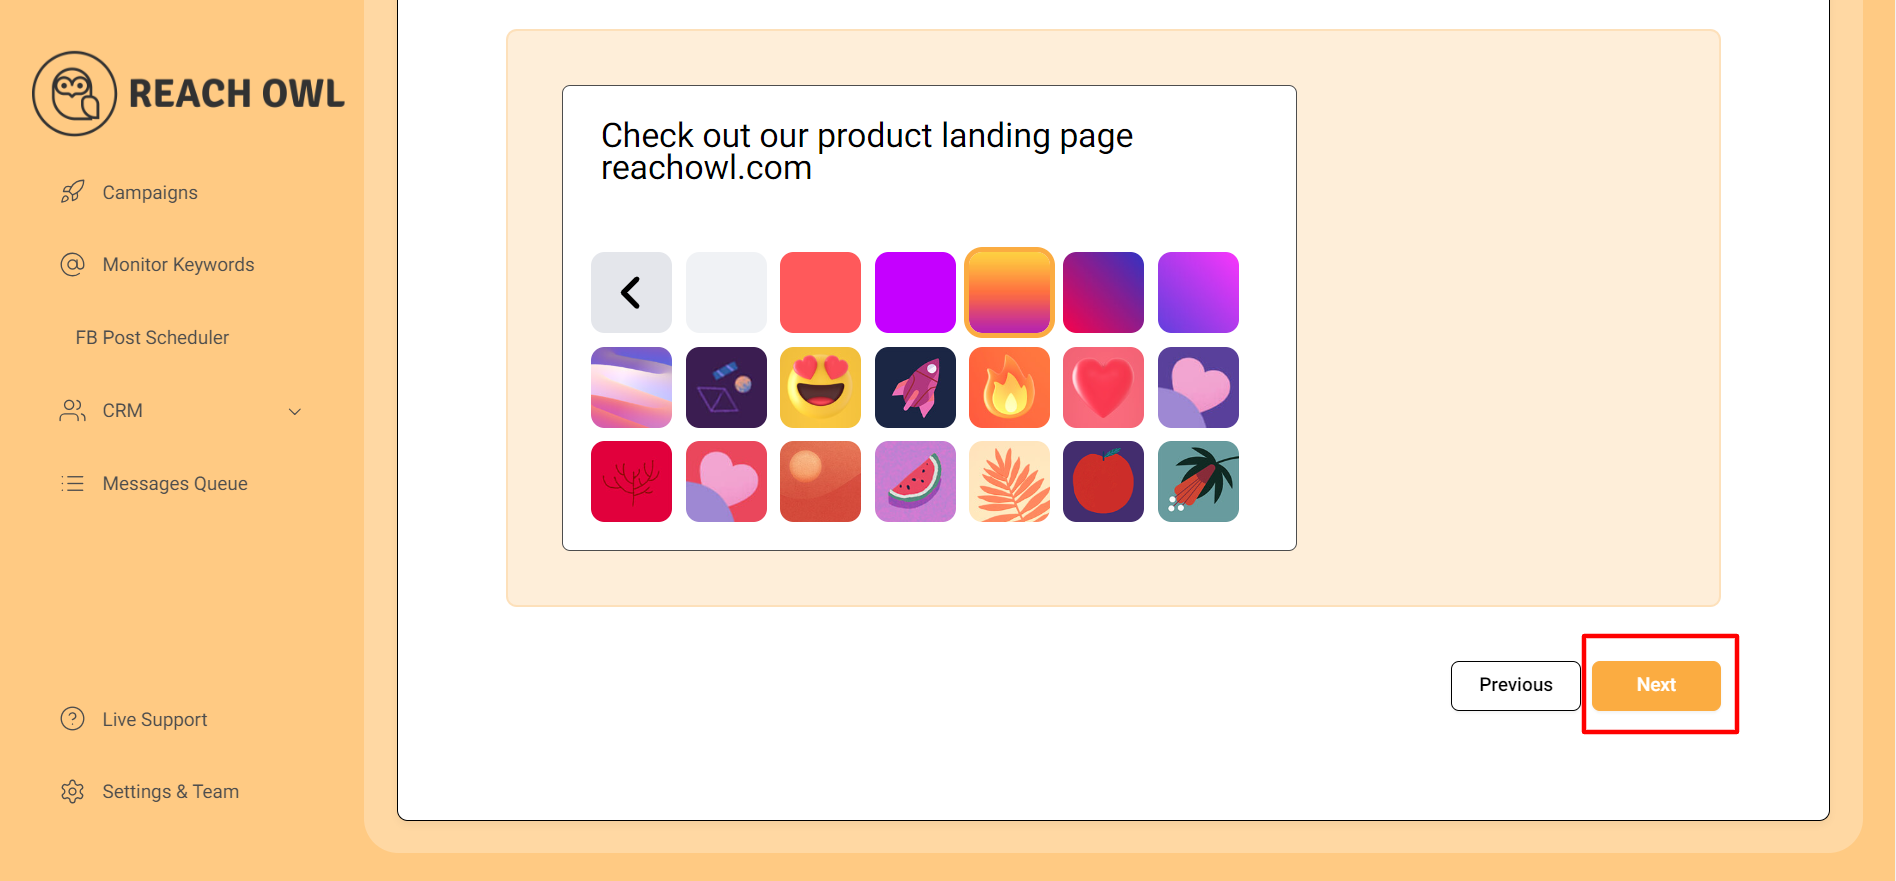
Once your post is ready, click “Next.”
Step 5: Campaign Details
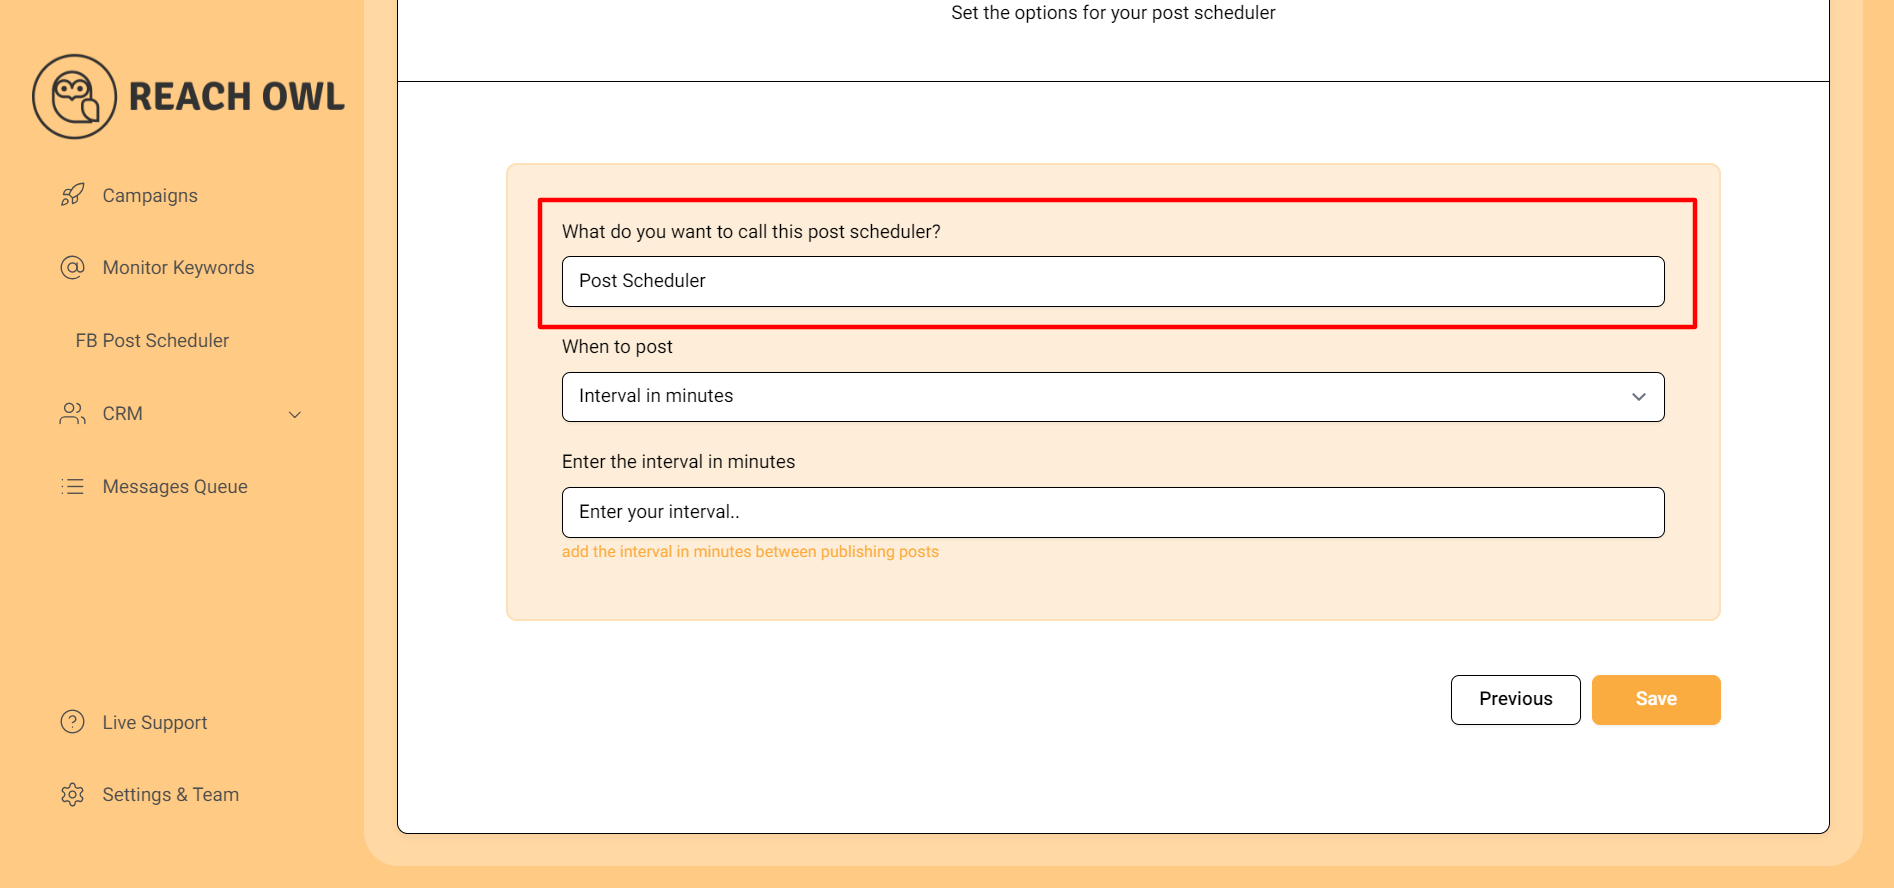
Give your campaign a clear and descriptive name, such as “Post Scheduler.”
Step 6: Scheduling Your Posts
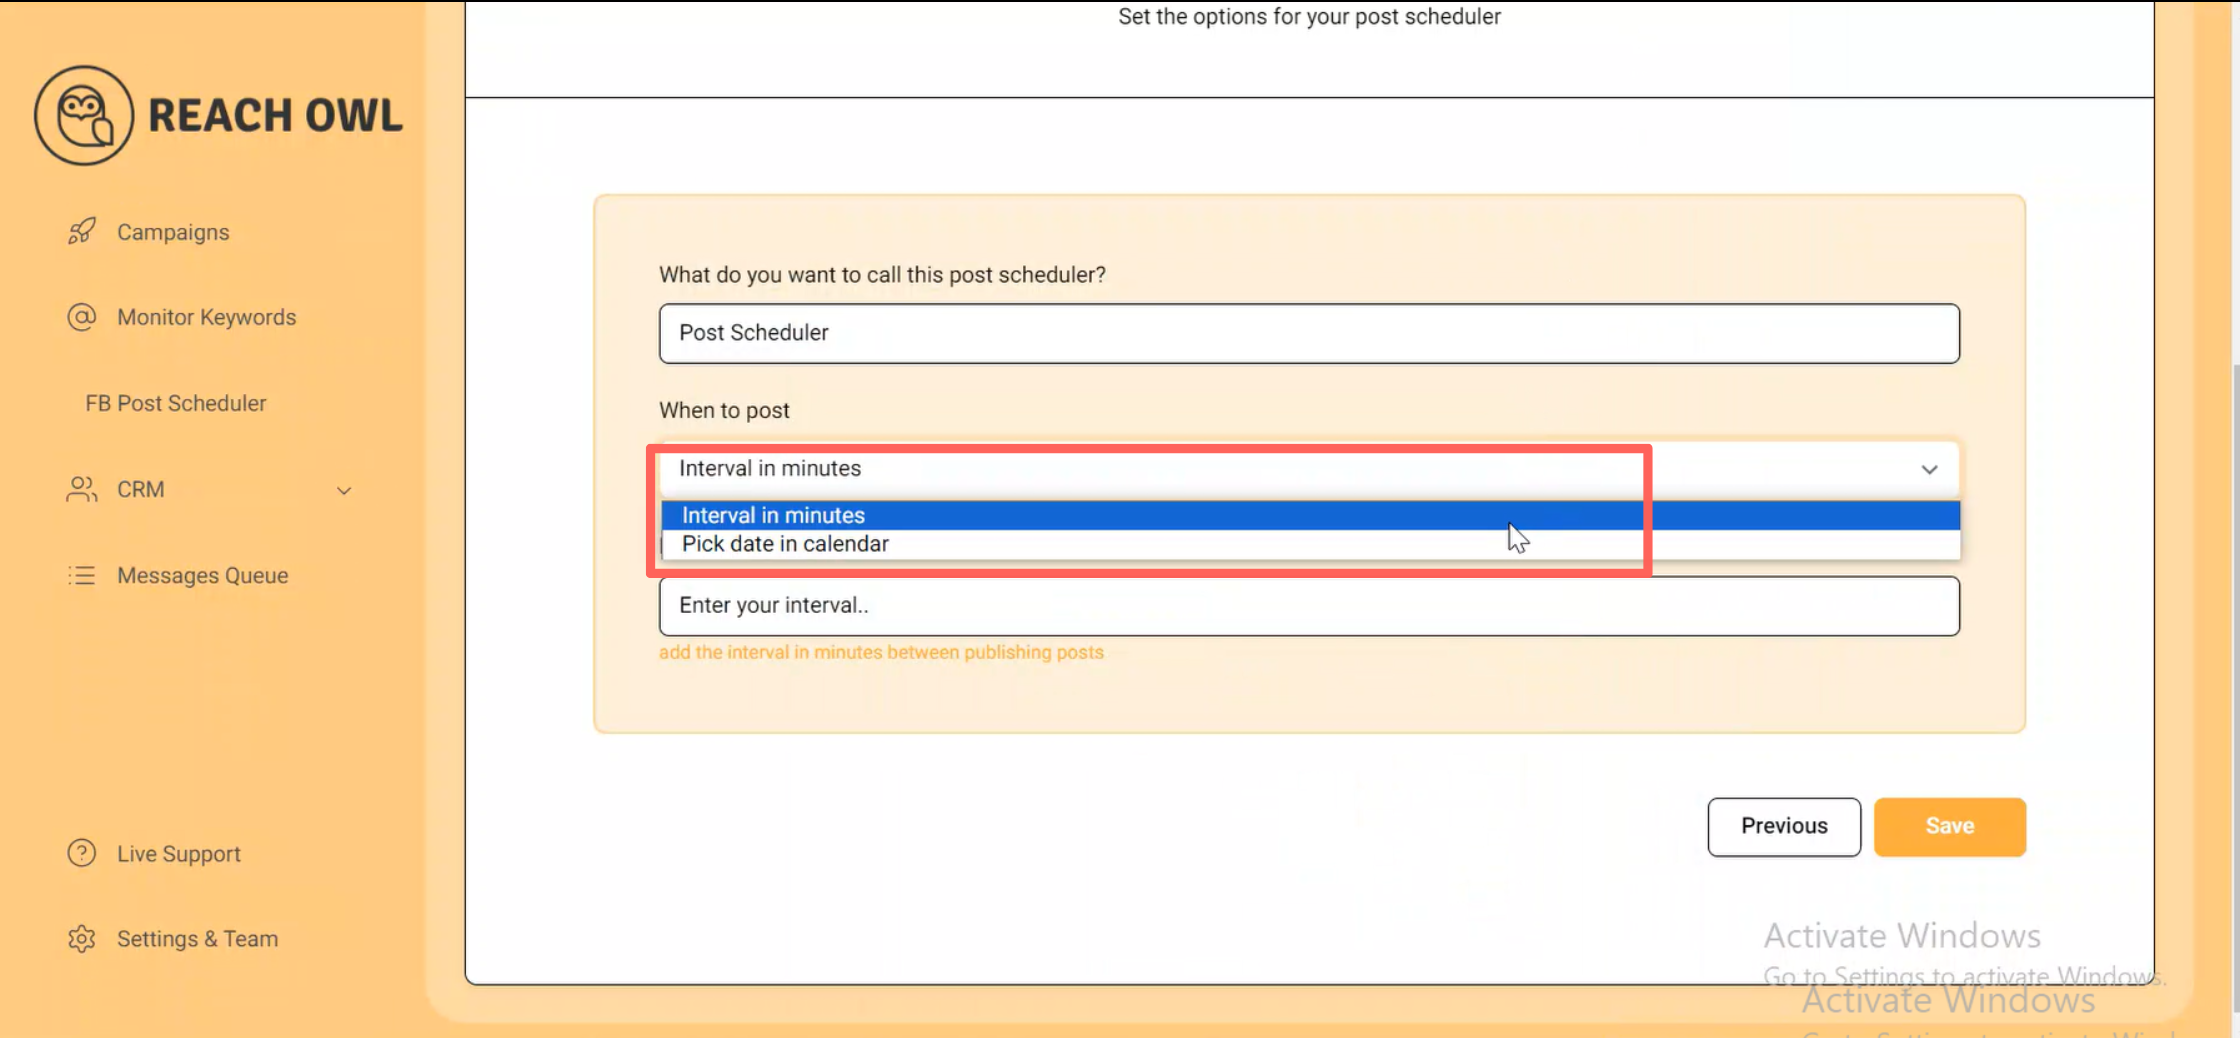
ReachOwl offers two scheduling options: time interval and calendar.
Step 7: Schedule Interval
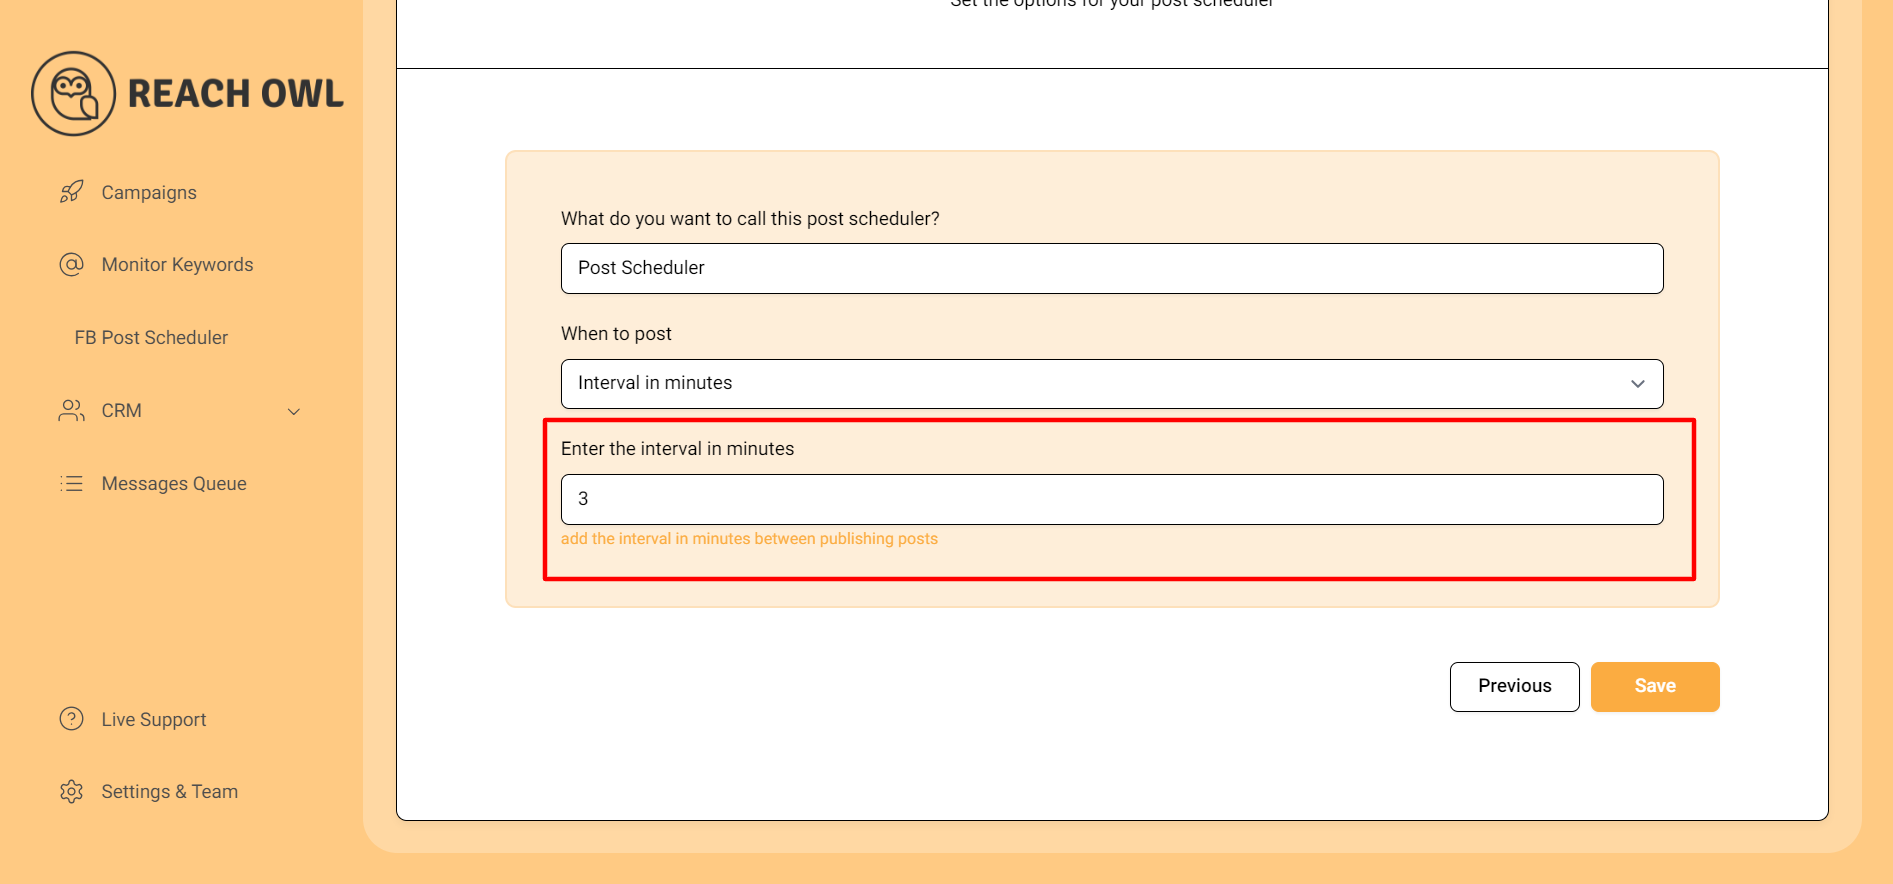
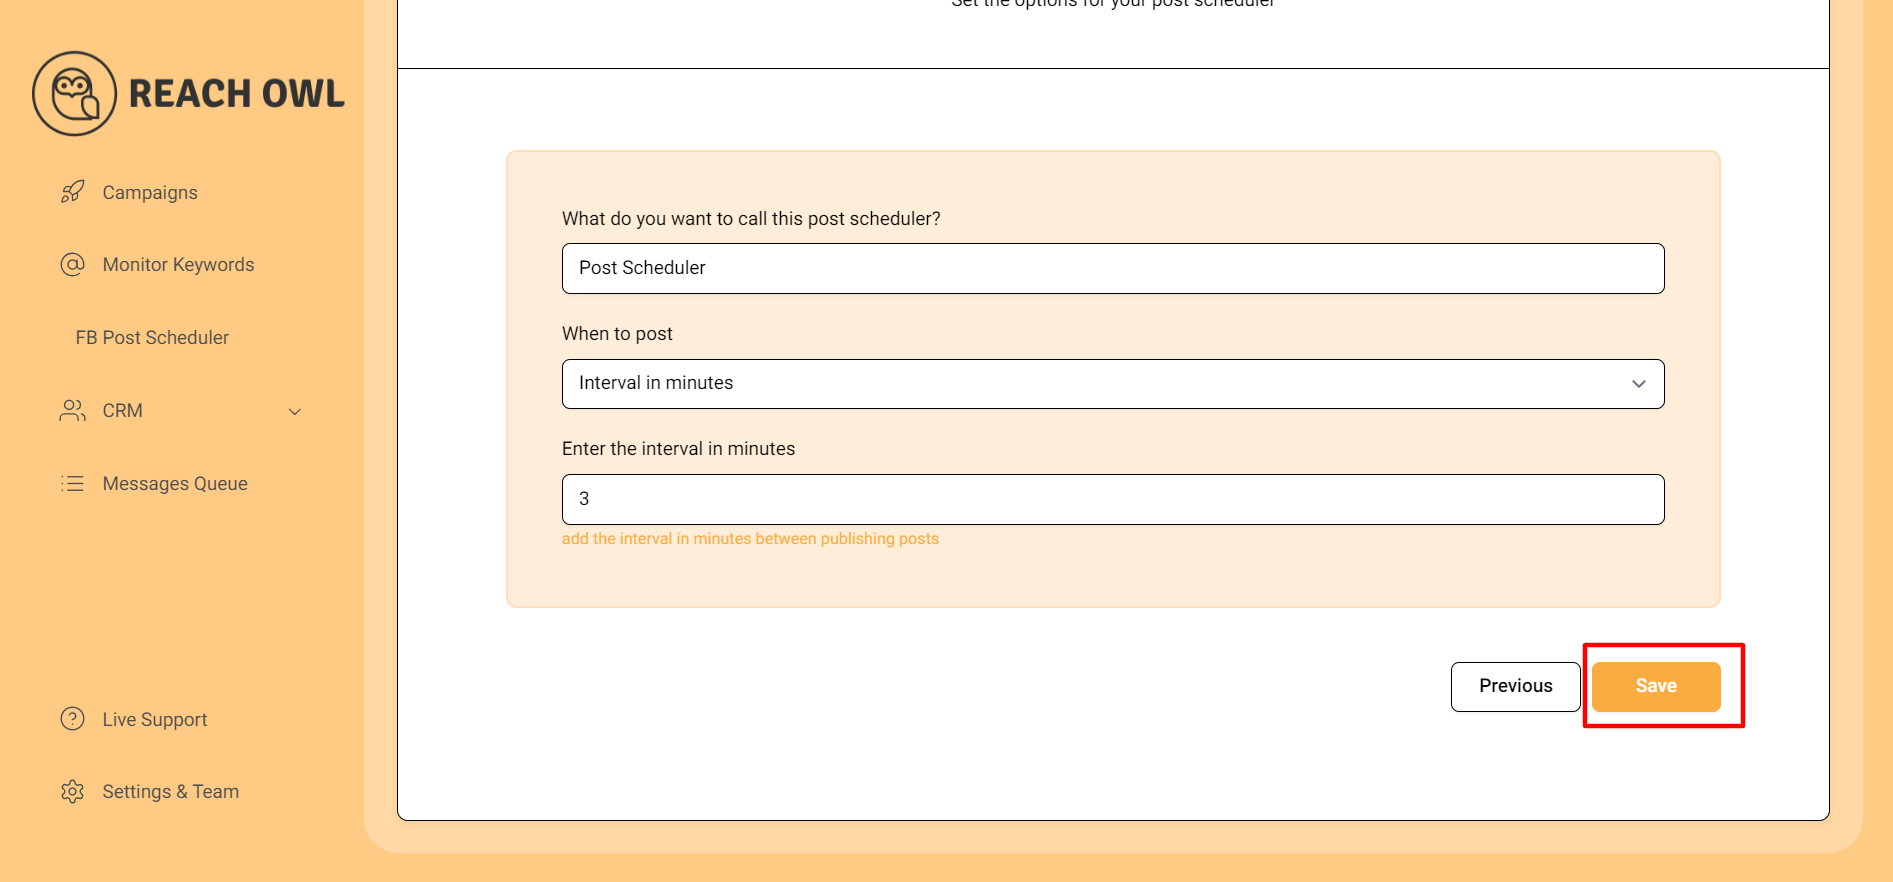
Entering the interval in minutes means that your campaign will be sent according to your time interval at your chosen time, set your desired interval between post-publications, and save your campaign.
Step 8: Monitor your campaign
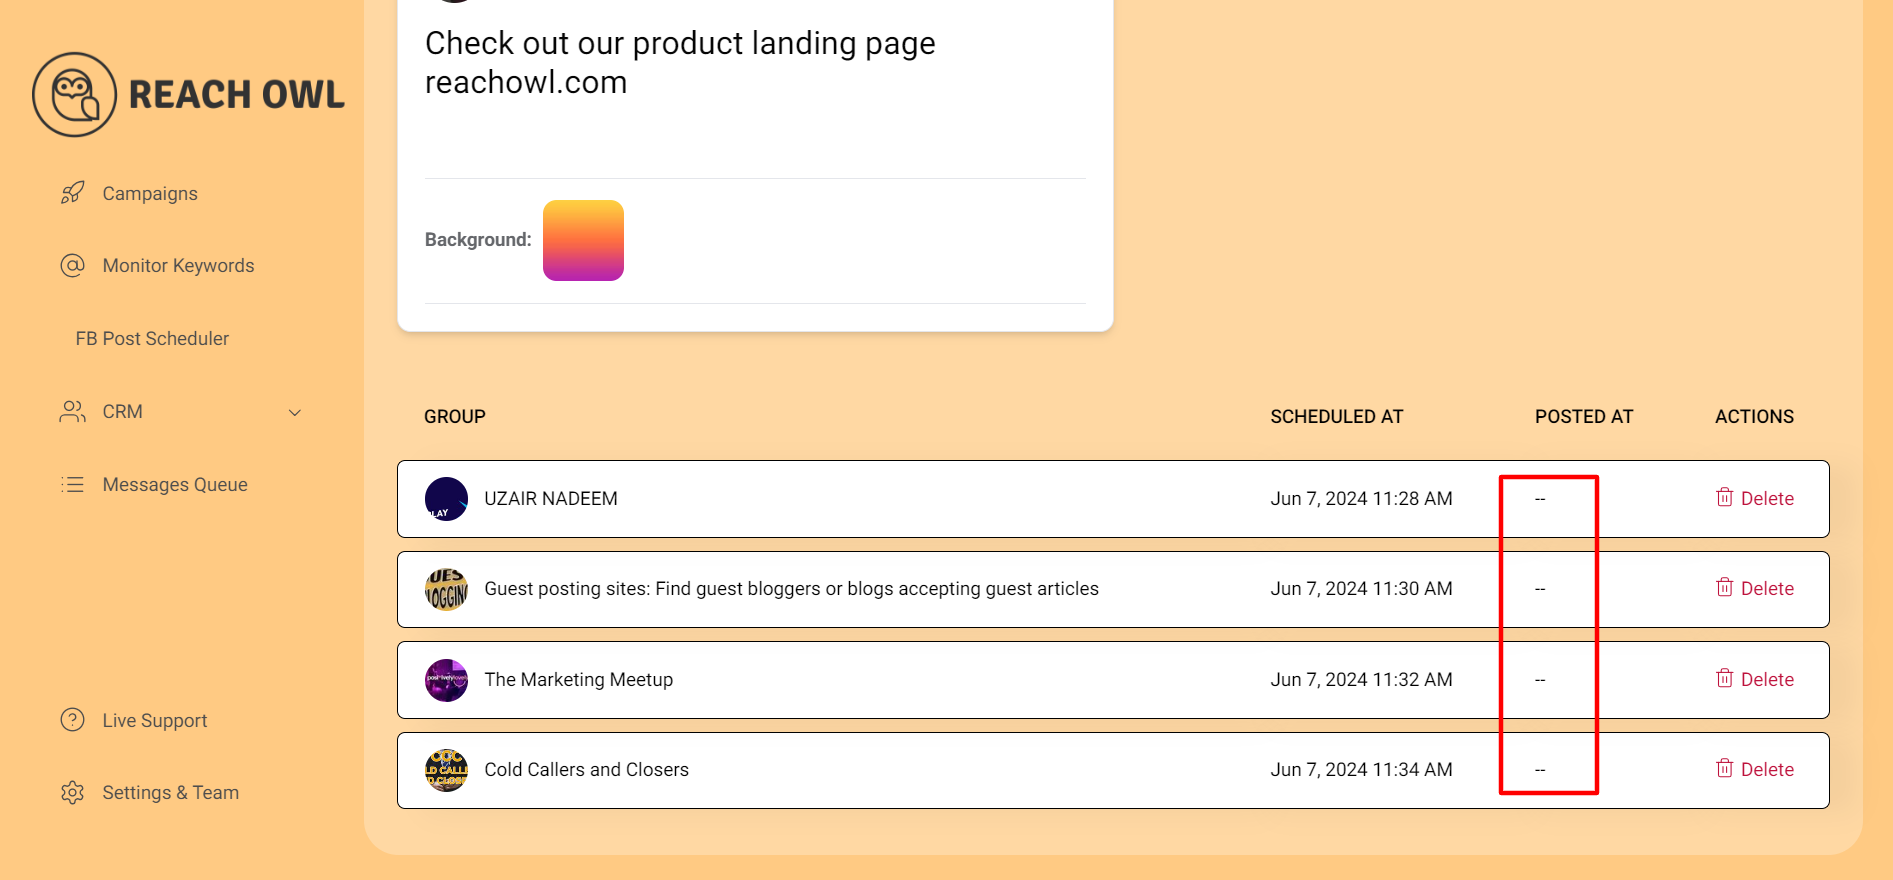
In the “Monitor Your Campaign” section, you can see how different your campaign will run on the same date but on different time intervals that you have set before and you’ll see a dash under “Posted At,” indicating your post hasn’t been published yet.
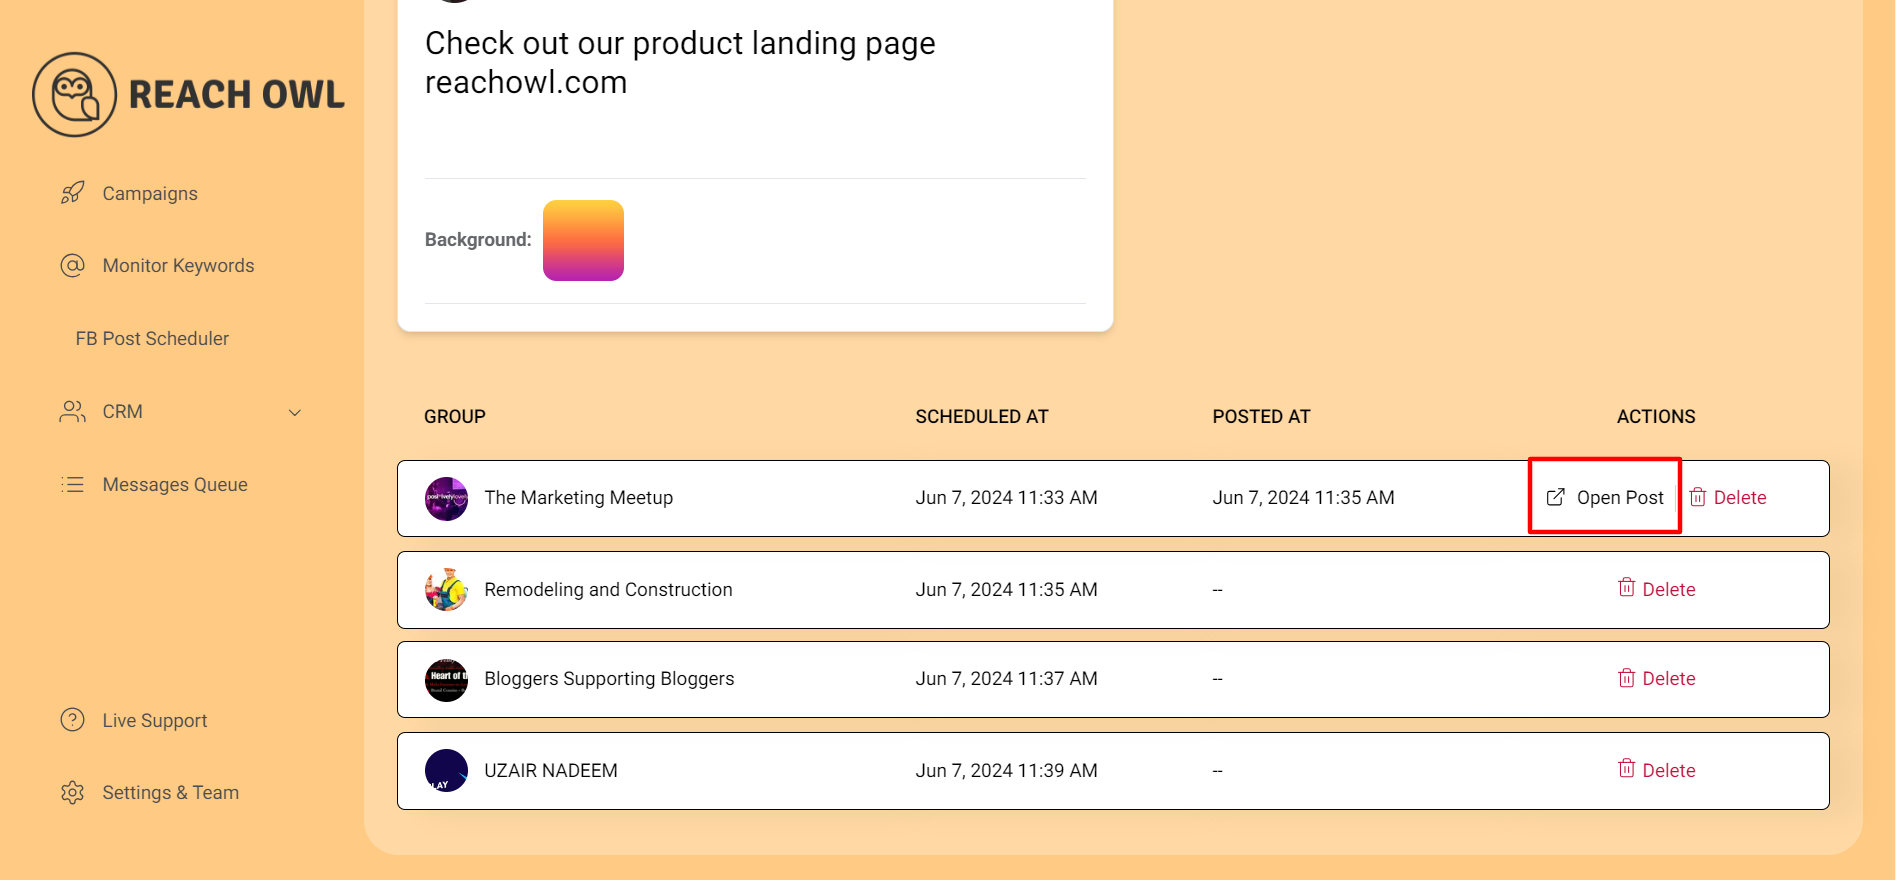
As your scheduled time arrives, the dash will change to “Open Post,” signifying a successful post, and your post will be posted on Facebook.
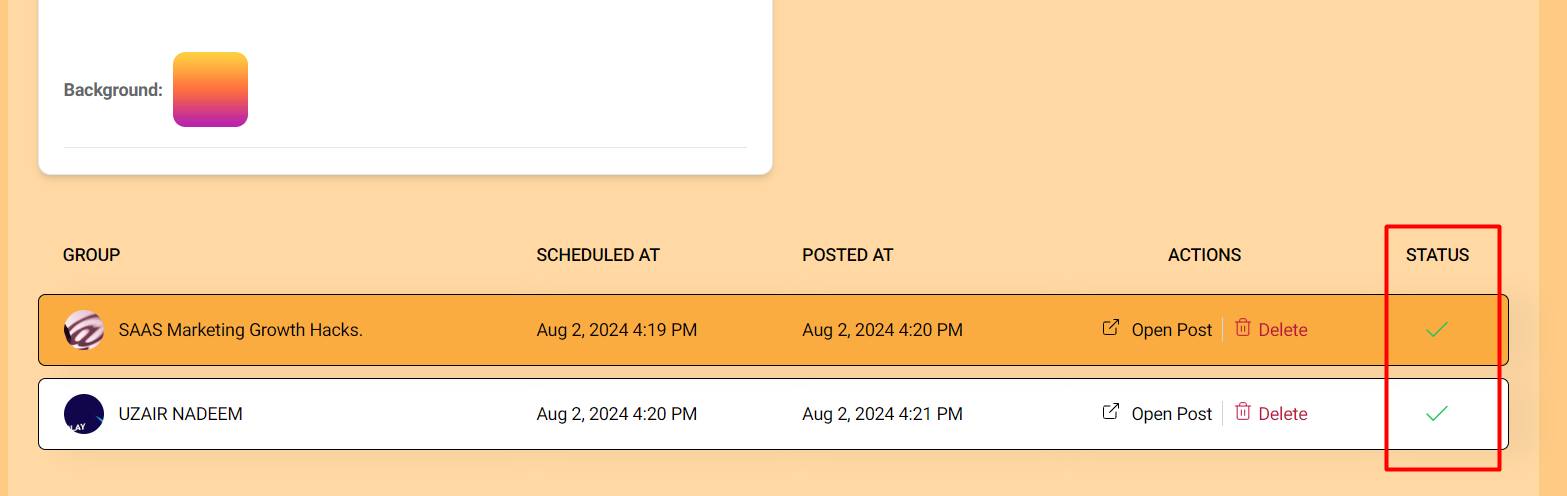
You can monitor this by seeing the status section to see if your post has been published or not by showing a tick and cross sign.
Step 9: Create a post scheduler with calendar

Now let’s create a post scheduler campaign with an image, click on the post scheduler, and repeat the process of selecting 100 maximum Facebook groups.
Step 10: Upload Image

Upload your desired image from your device’s gallery, and then click “Next.”
Step 11: Campaign Details
Fill in the details and name your campaign.
This time select the pick date in the calendar option.
Step 12: Scheduler your dates
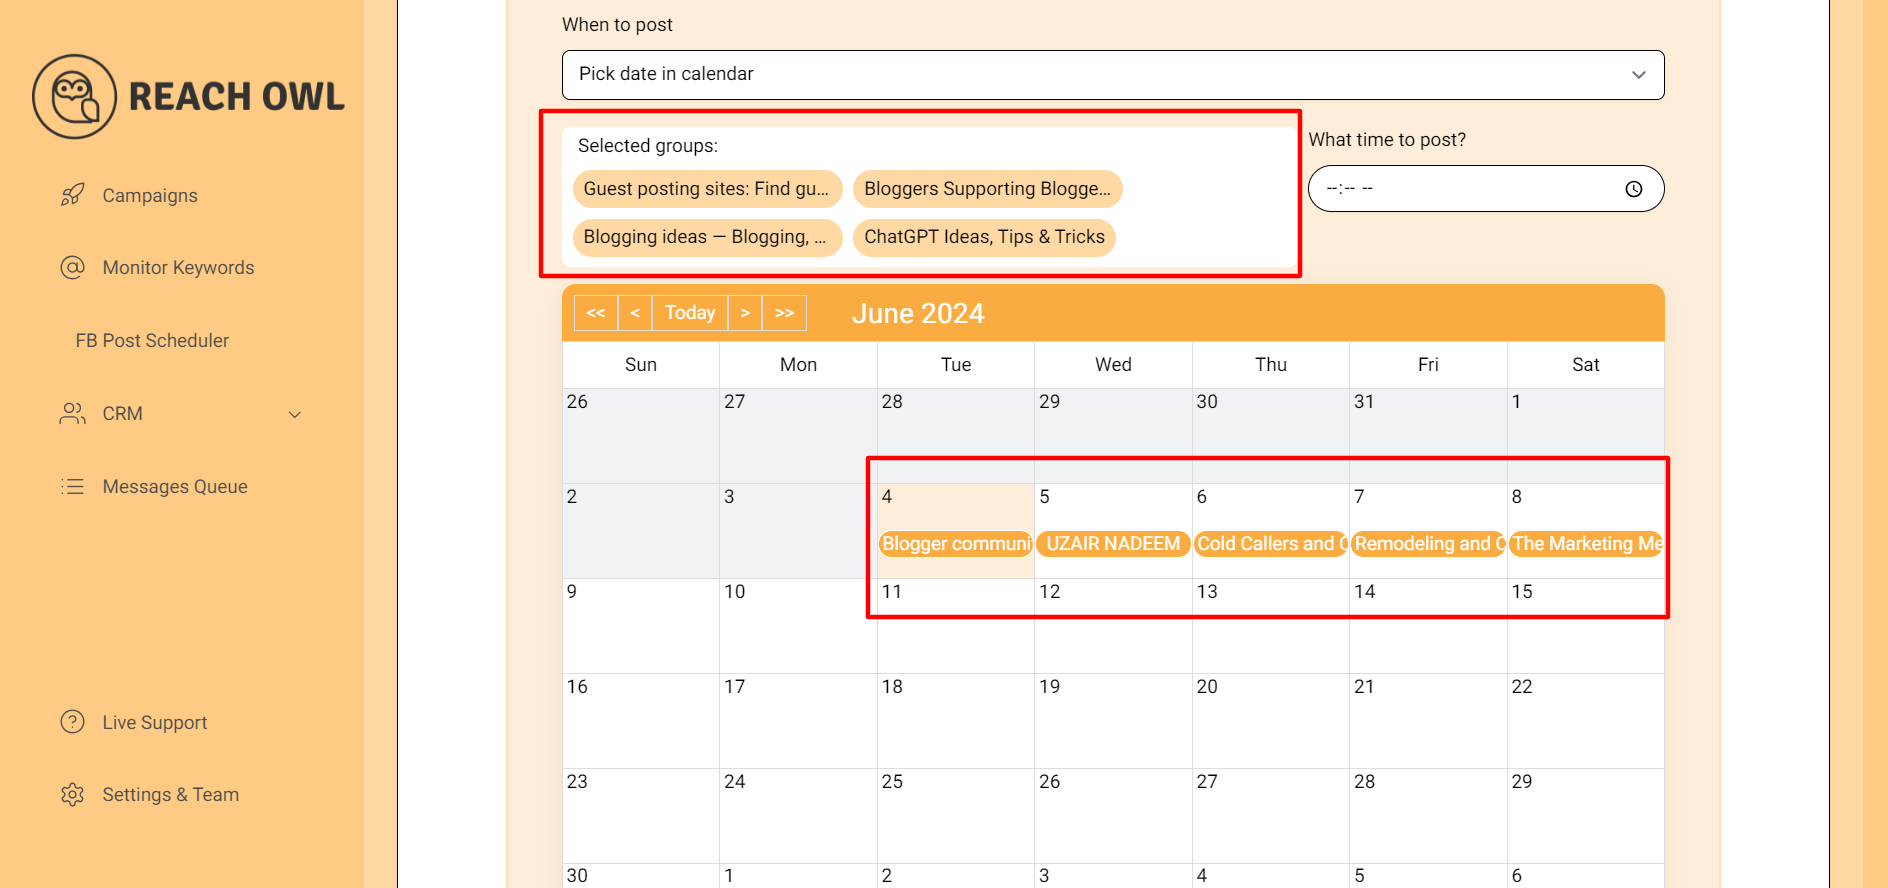
For the calendar, pick specific dates on the calendar for your posts to appear. You can even choose the Facebook groups you want to target above the calendar for a more detailed approach.
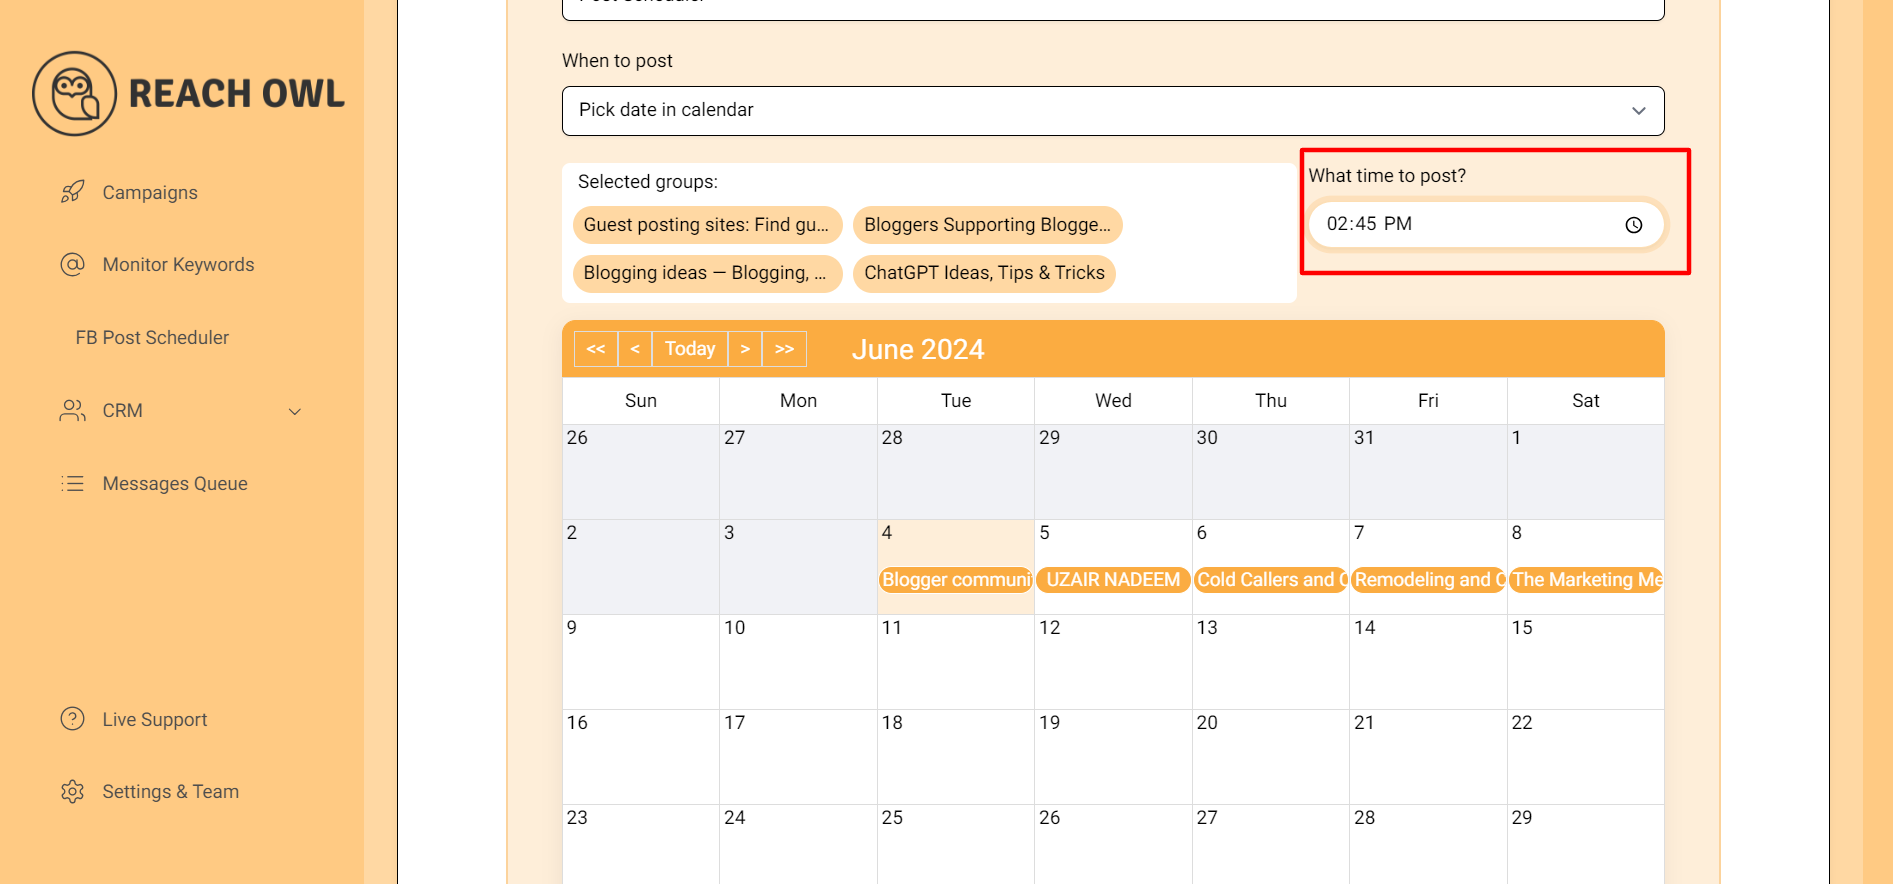
Set the exact time you want your post to go live within those chosen dates.
Step 13: Save the Campaign
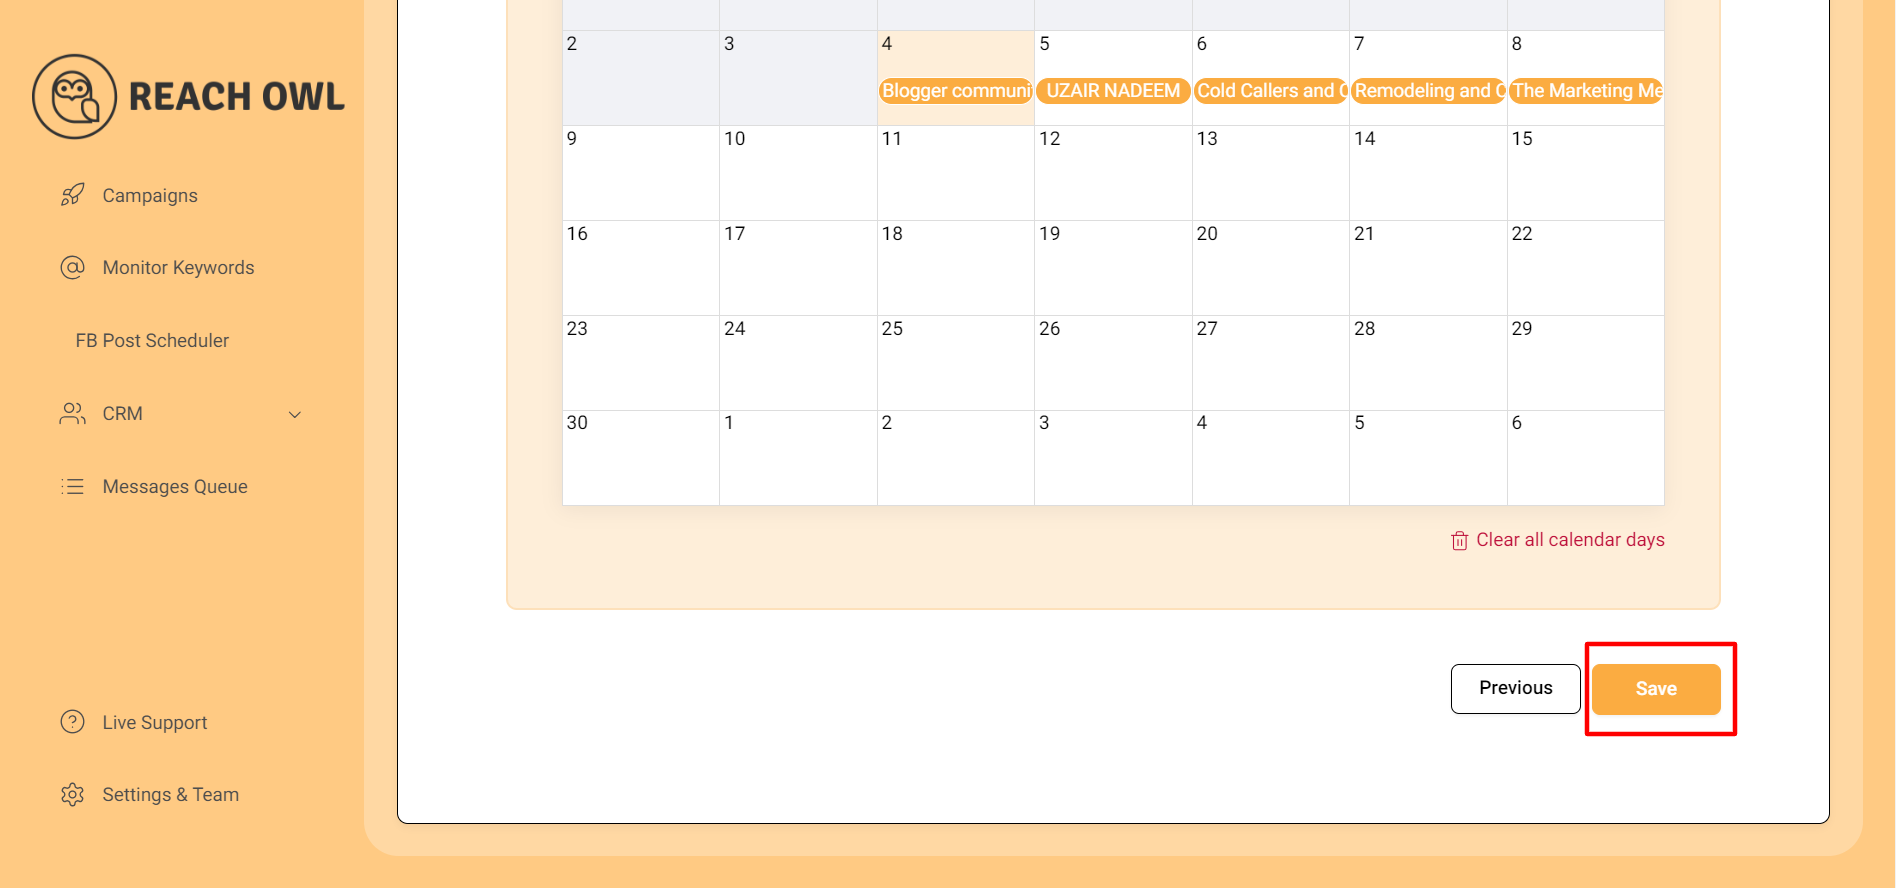
After selecting your scheduling option, save your campaign.
Step 14: Monitor your campaign
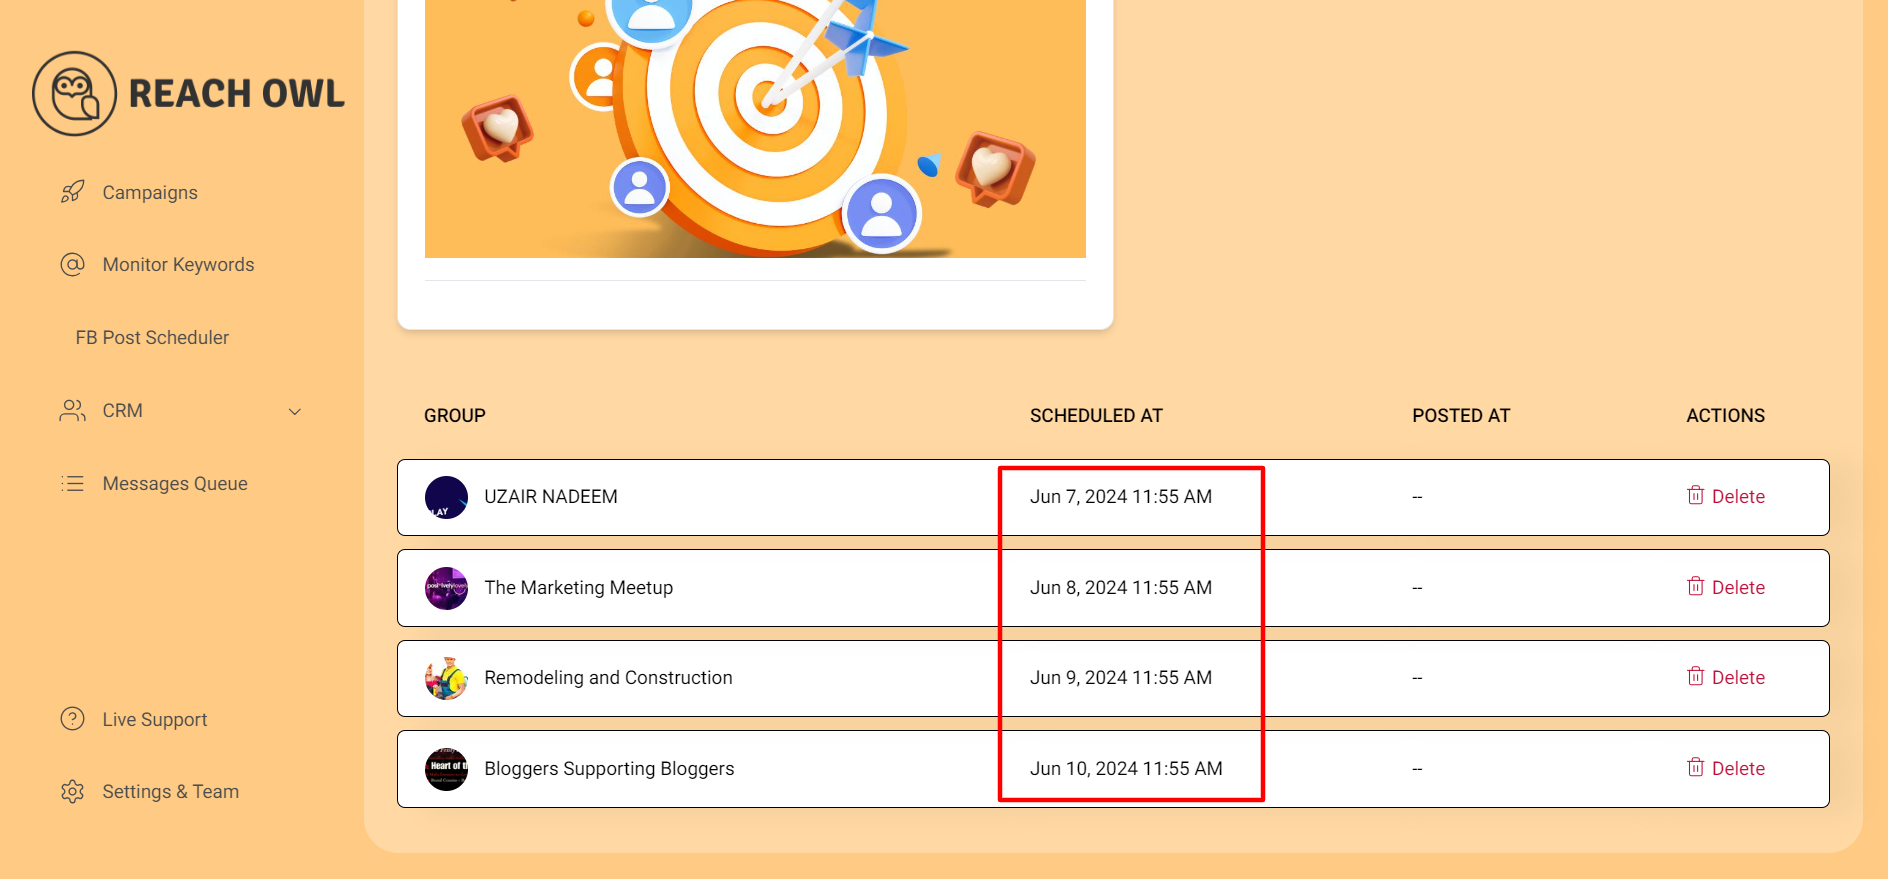
If you monitor your campaign, you can see that your post will be posted on different dates the next day at the same time that you have chosen.
Conclusion
With ReachOwl’s Facebook Post Scheduler, you can create engaging content, target the right audience, and schedule posts for maximum impact all within a user-friendly interface.
So, put those scheduling worries to rest and focus on crafting strong content that will keep your Facebook groups buzzing!