
As the domain of social media marketing expands, so does the need for efficient multitasking across multiple platforms. Unlocking the power of multiple ReachOwl and social accounts can significantly amplify your outreach efforts.
In this tutorial, we’ll guide you through the steps to seamlessly manage several social accounts and ReachOwl instances.
Step 1: Proxies Setup
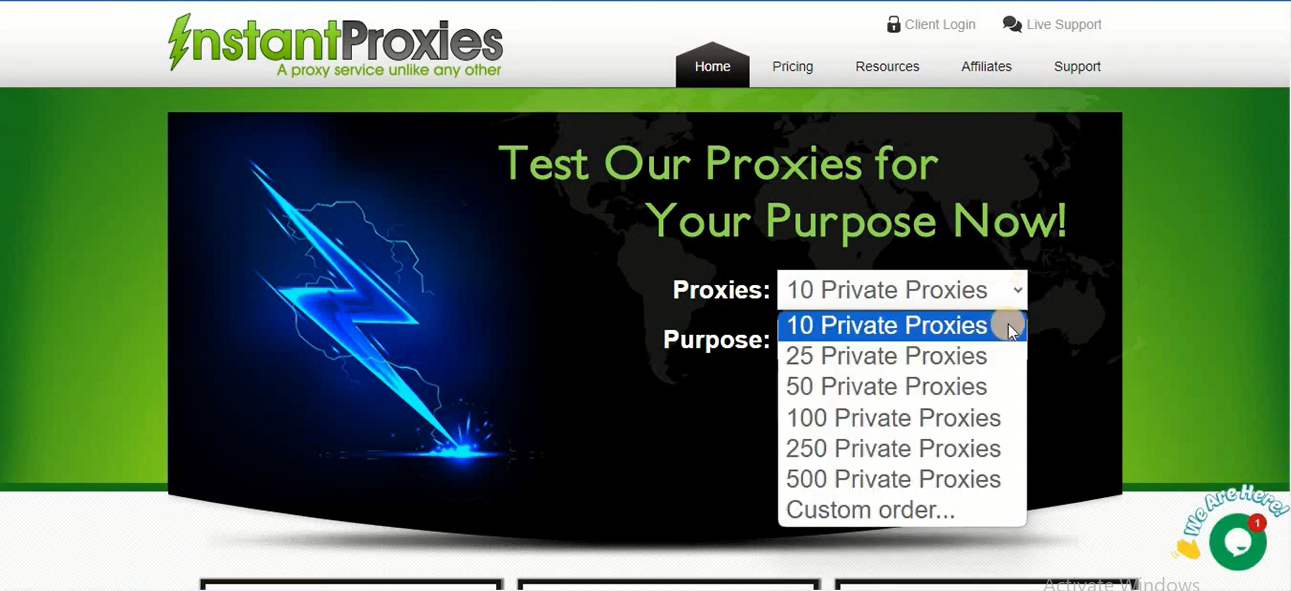
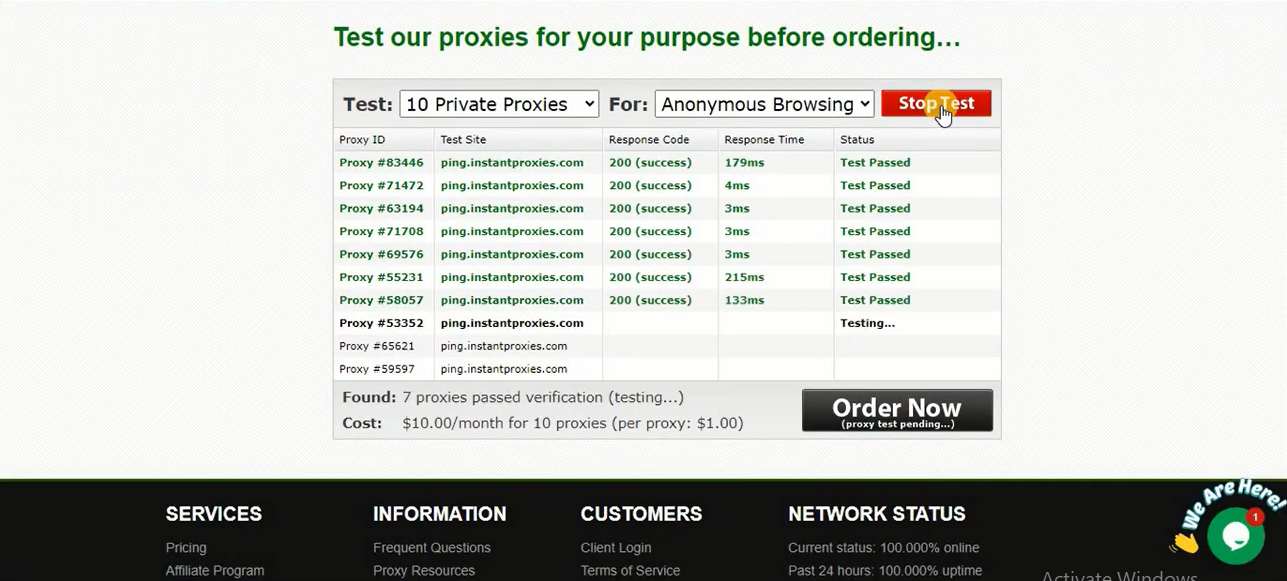
Acquire proxies from a reputable provider, such as Instant Proxies. Test the proxies for reliability and efficiency.
Step 2: Incognition Installation
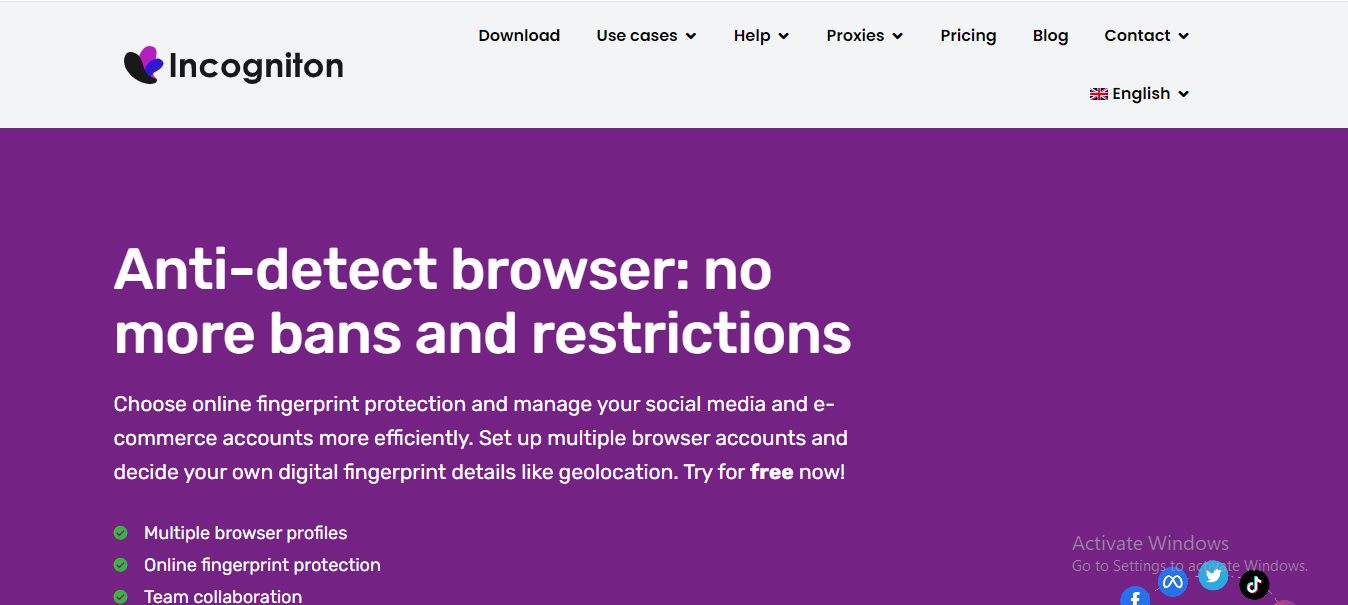
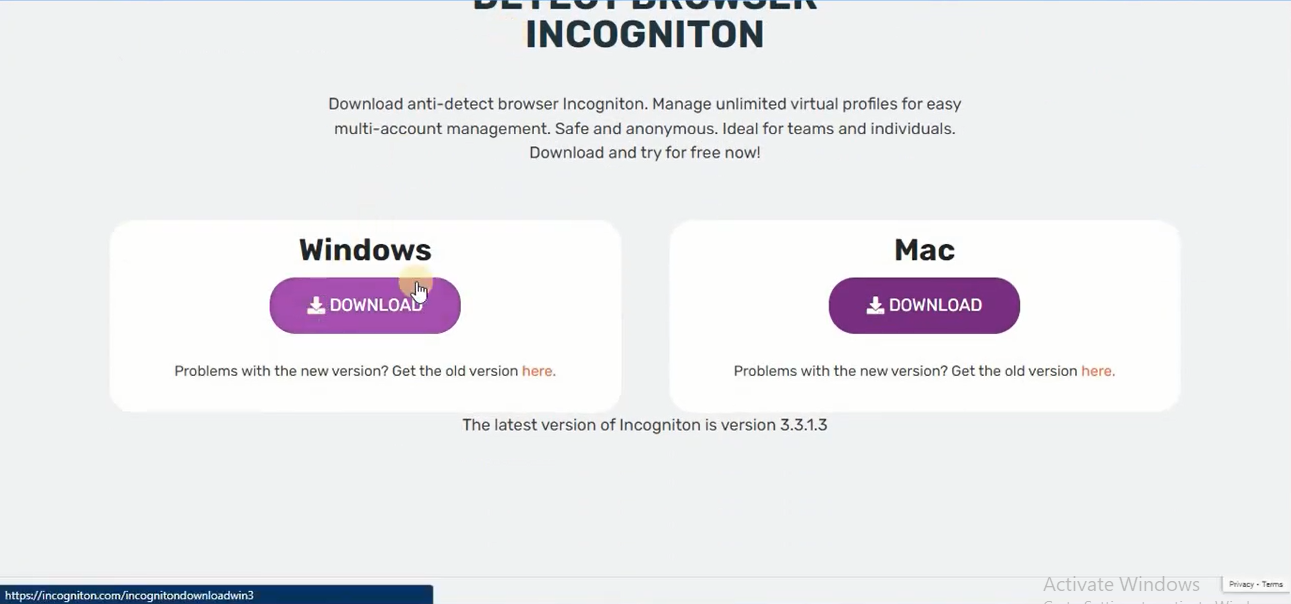
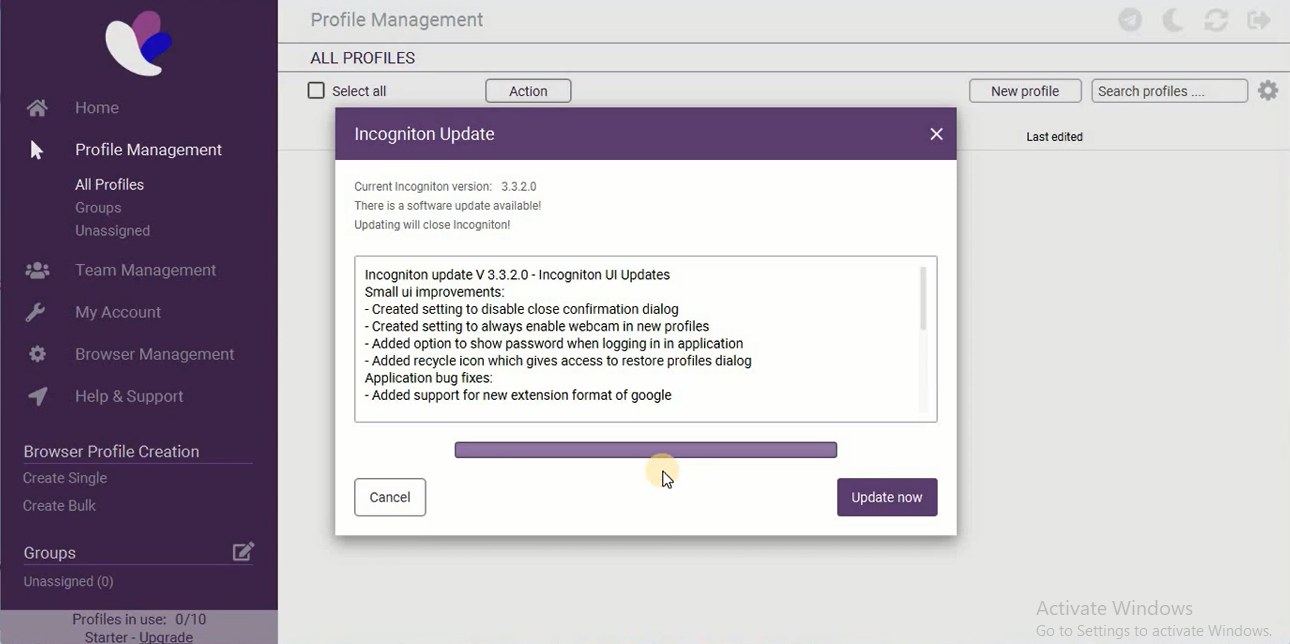
Download the Incognition installer from their official website. Install the program
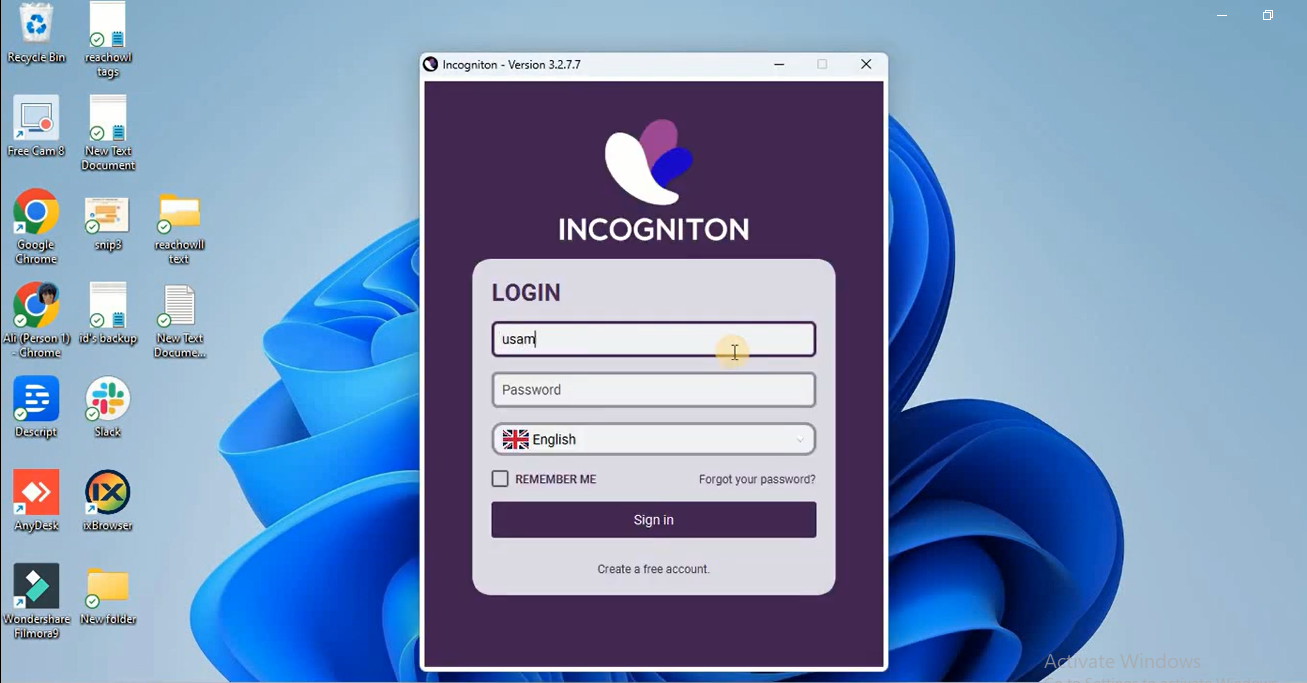
Create an account or log in.
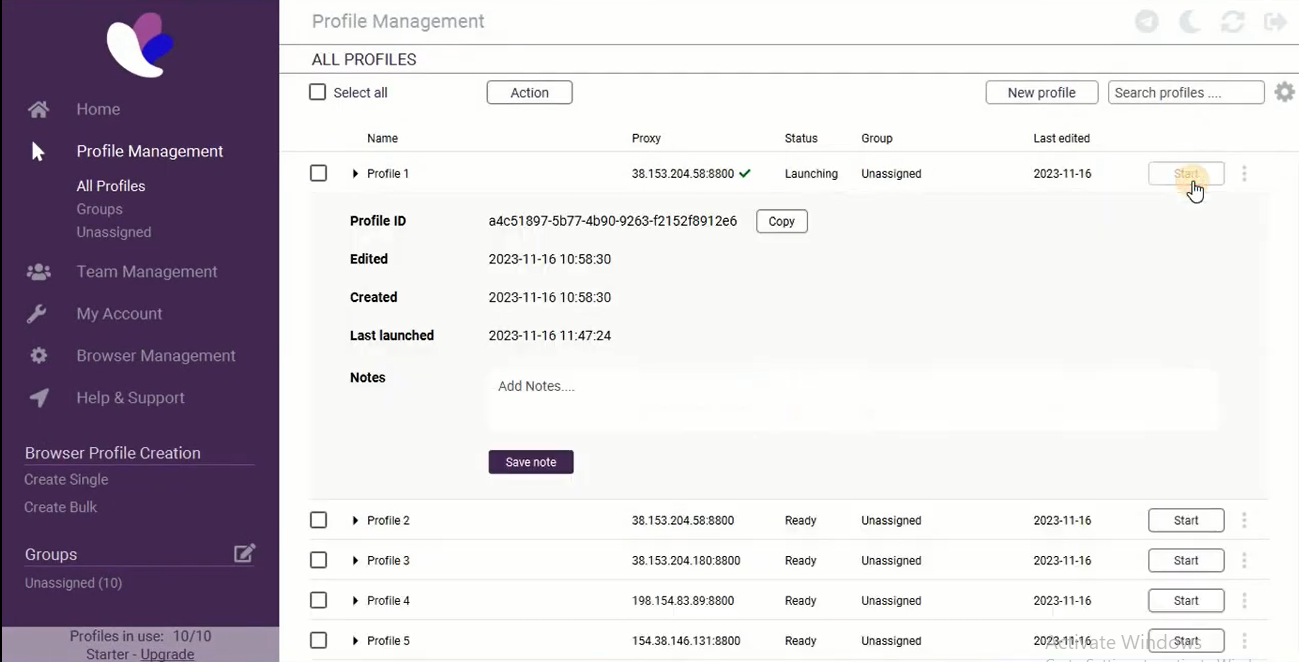
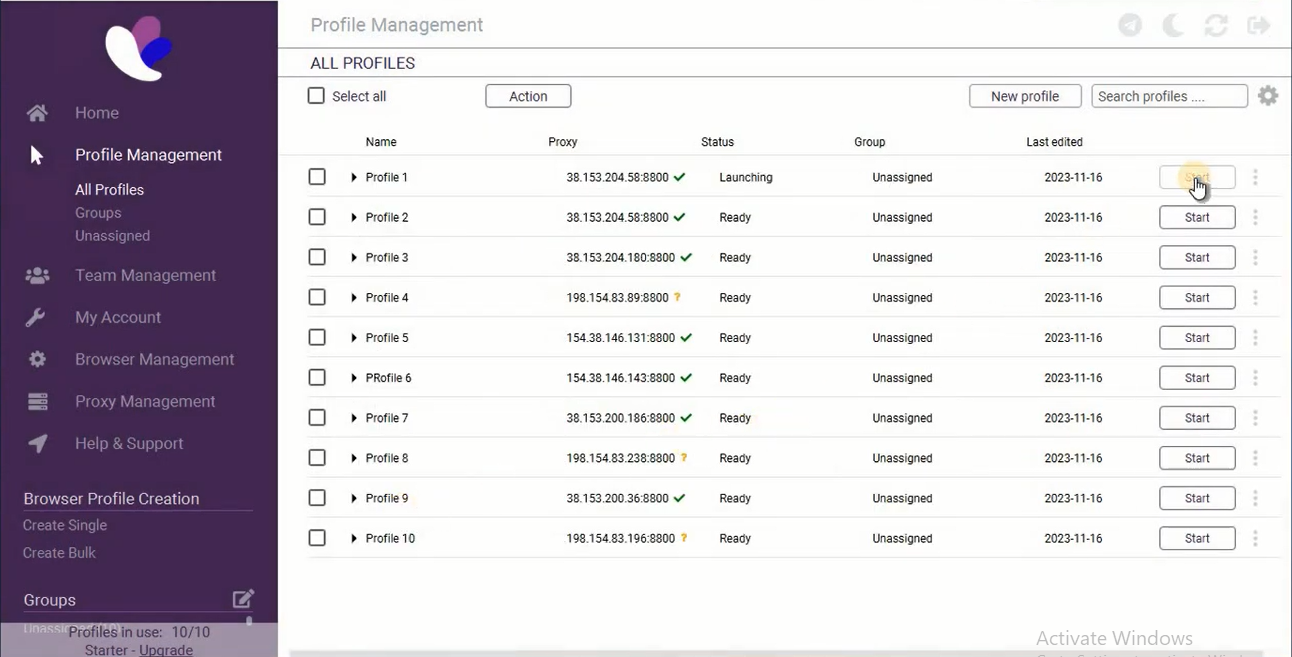
After logging in, you will see the interface.
Step 3: Proxy Configuration in Incognition
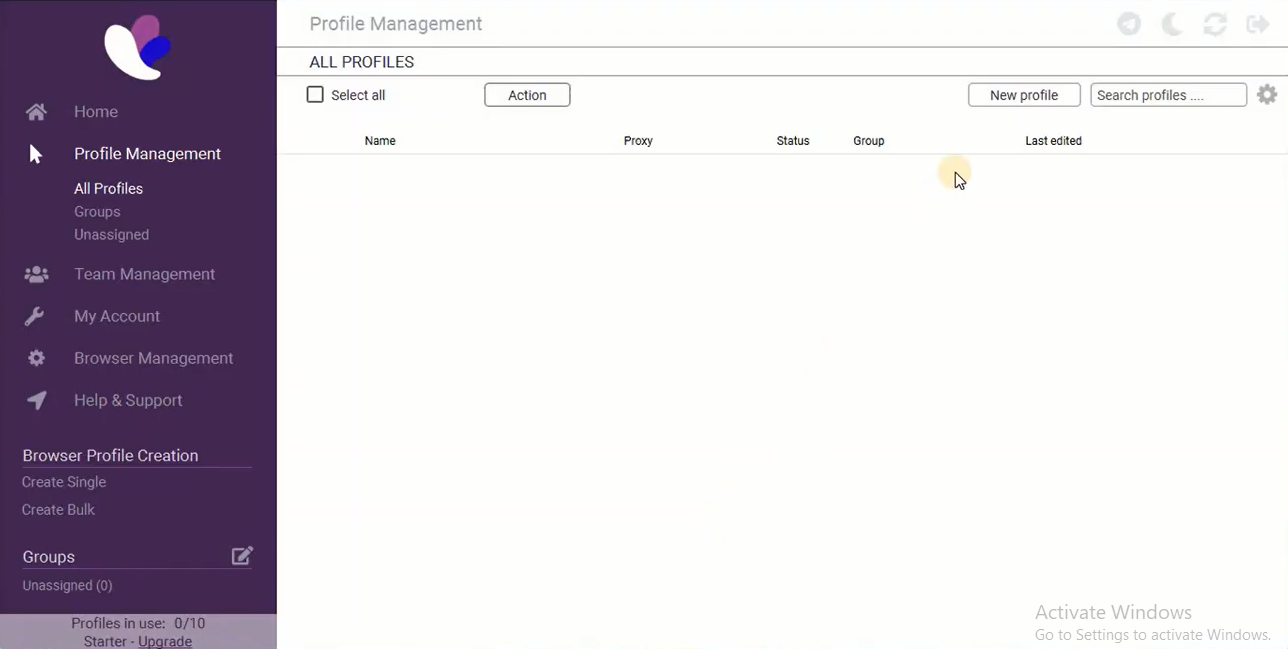
Set up proxies and create profiles by clicking on “new profile,” giving a name to your profile, such as “Profile 1,” and then clicking on add proxy.
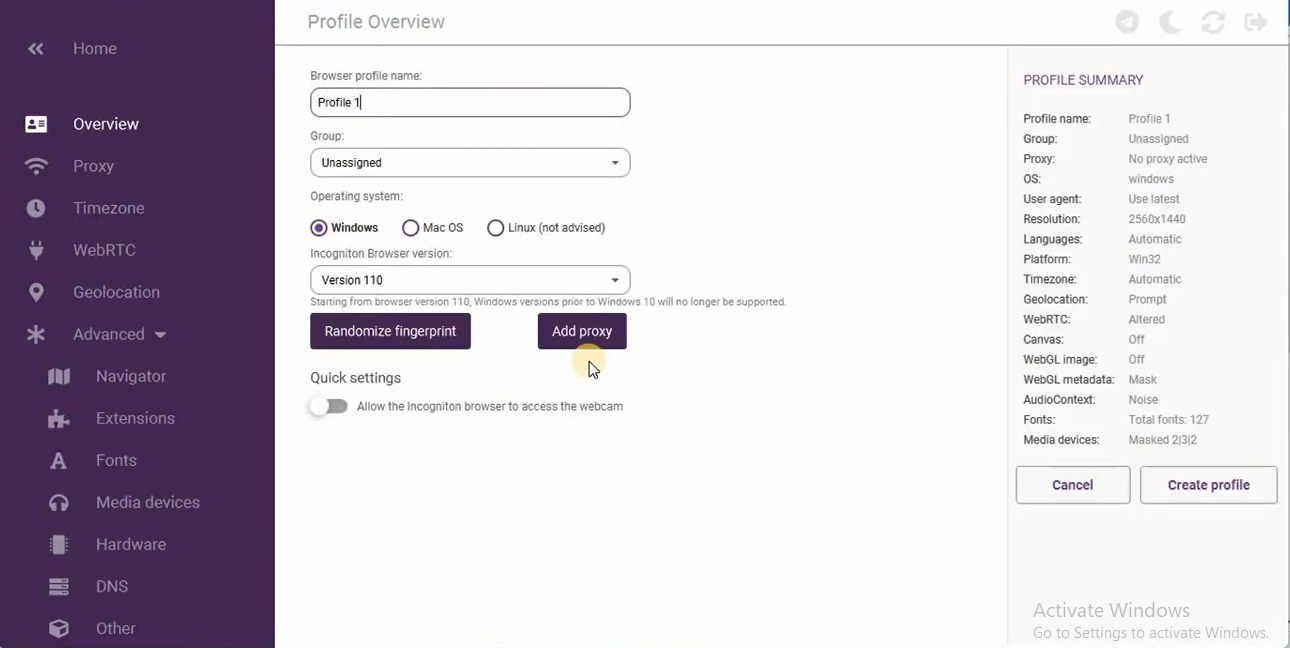
Set up proxies within Incognition by creating profiles. giving a name to your profile, such as “Profile 1,” and then clicking on add proxy. You can create more profiles, as we did for profile 1. Max 10 profile on the free version of Incognition.
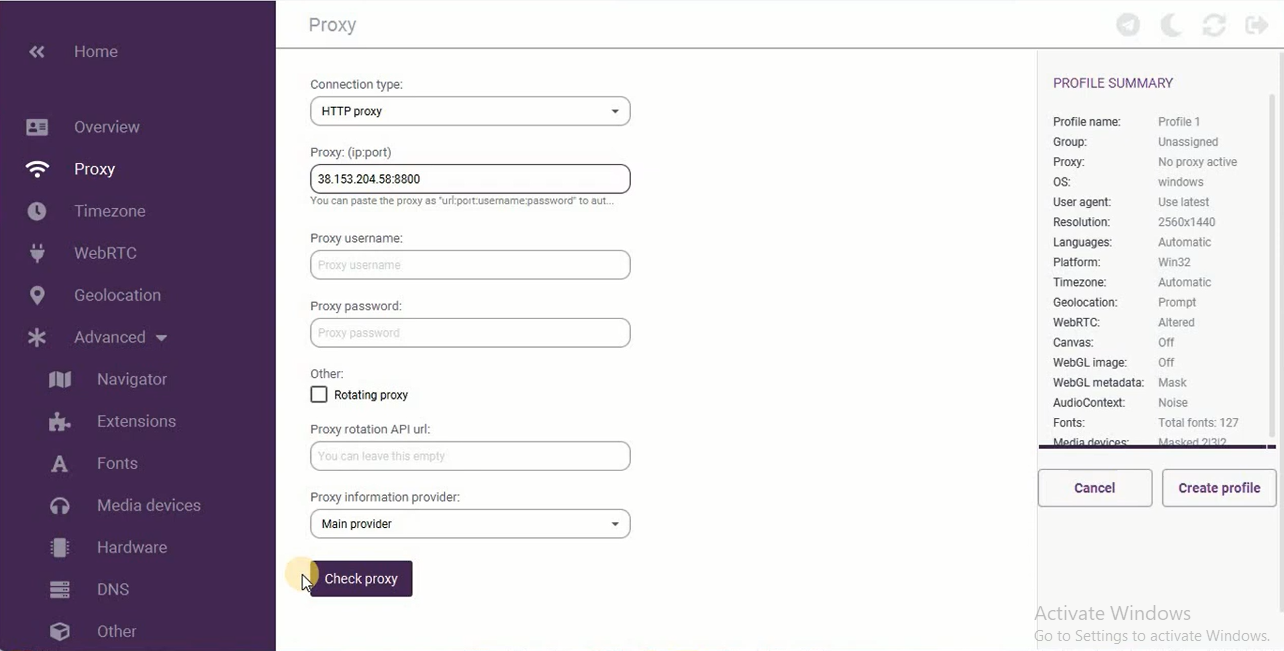
Set your connection type to HTTP, then copy your proxy IP and paste it in the box, then click on Check Proxy.
Note: If your IP couldn’t connect, don’t worry; it is common with instant proxies. After adding, click on the submit button, and it will take one or two minutes to sync with your proxies.
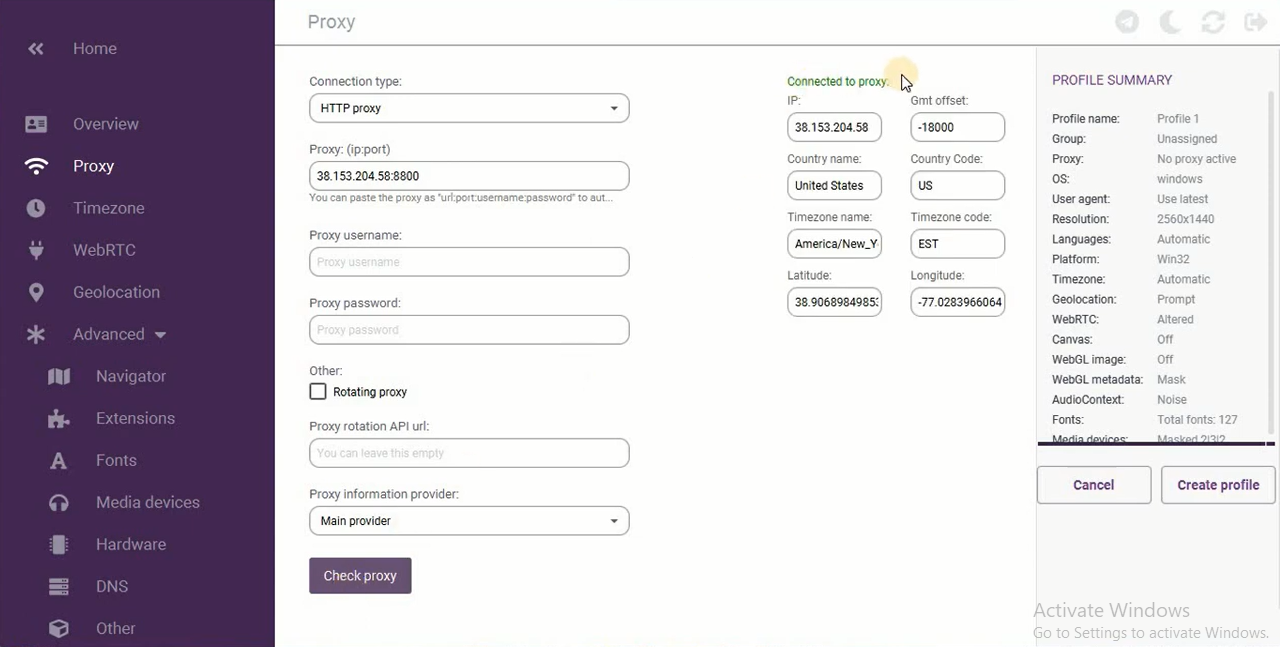
Go back to incognition and recheck your proxy. If your IP is connected to the proxy, after connecting, click on Create Profile.
Note: Create a profile like profile 1 to create remaining profiles using proxies using the same method as mentioned above.
After connecting to all proxies, you need to login to your Facebook accounts.
Step 4: Getting Facebook Accounts
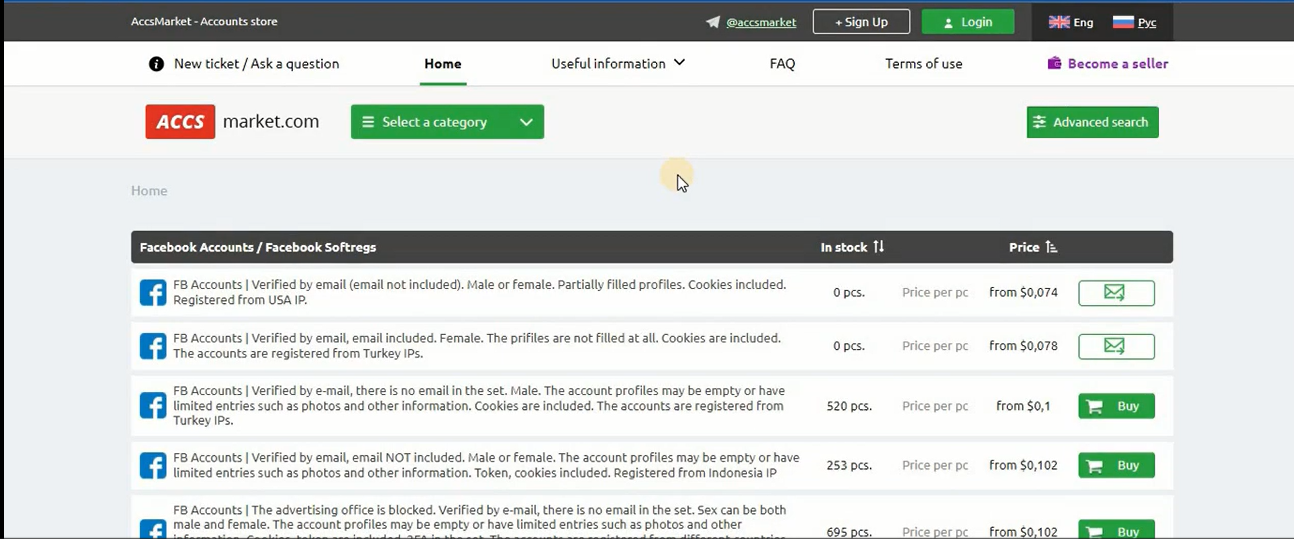
Visit platforms like Accs Market to purchase aged Facebook accounts with diverse features. Ensure the accounts suit your campaign requirements.
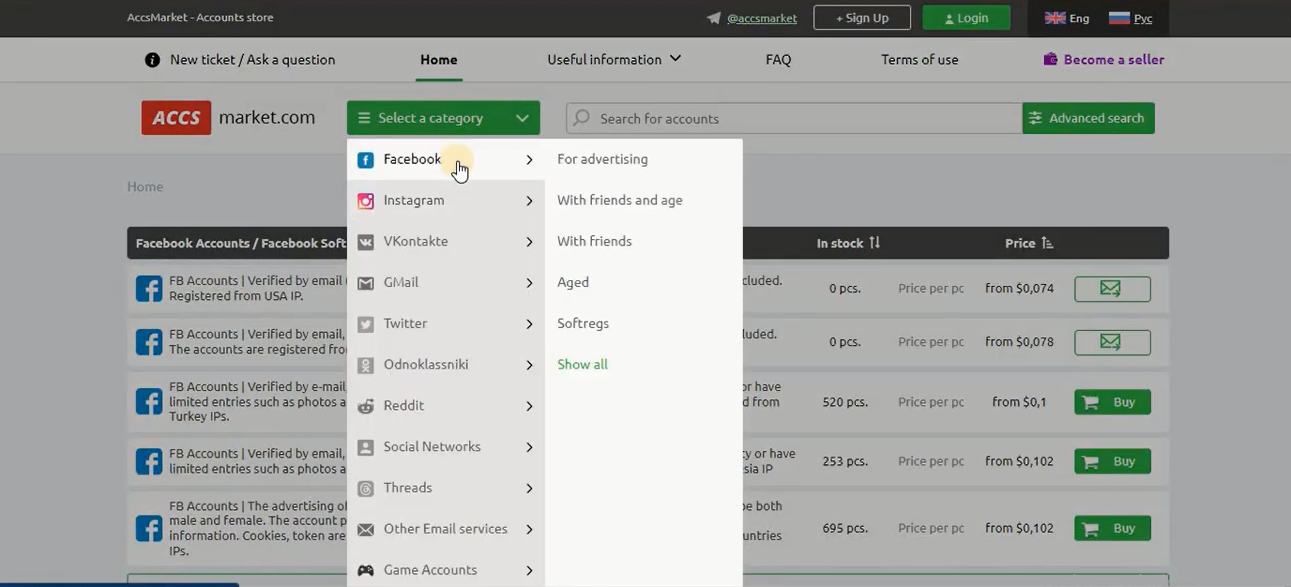
You can also find Facebook accounts with friends and Instagram accounts by selecting the platform category to buy.
Step 5: Logging into Facebook Accounts
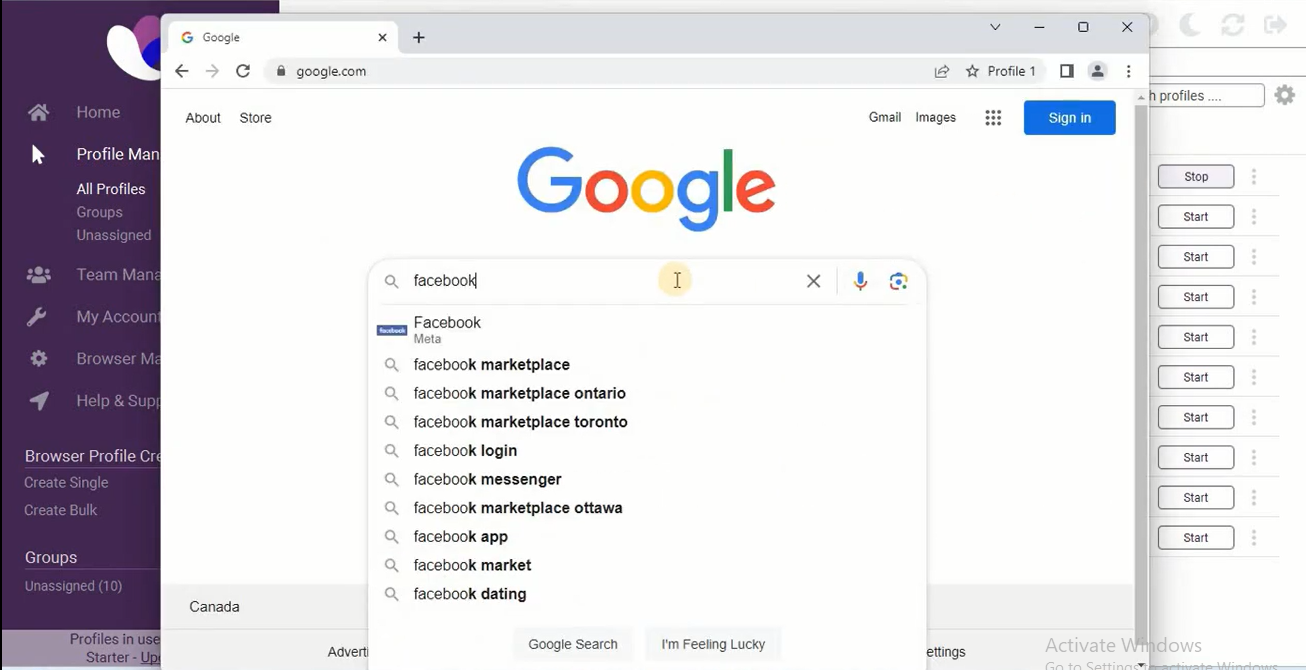
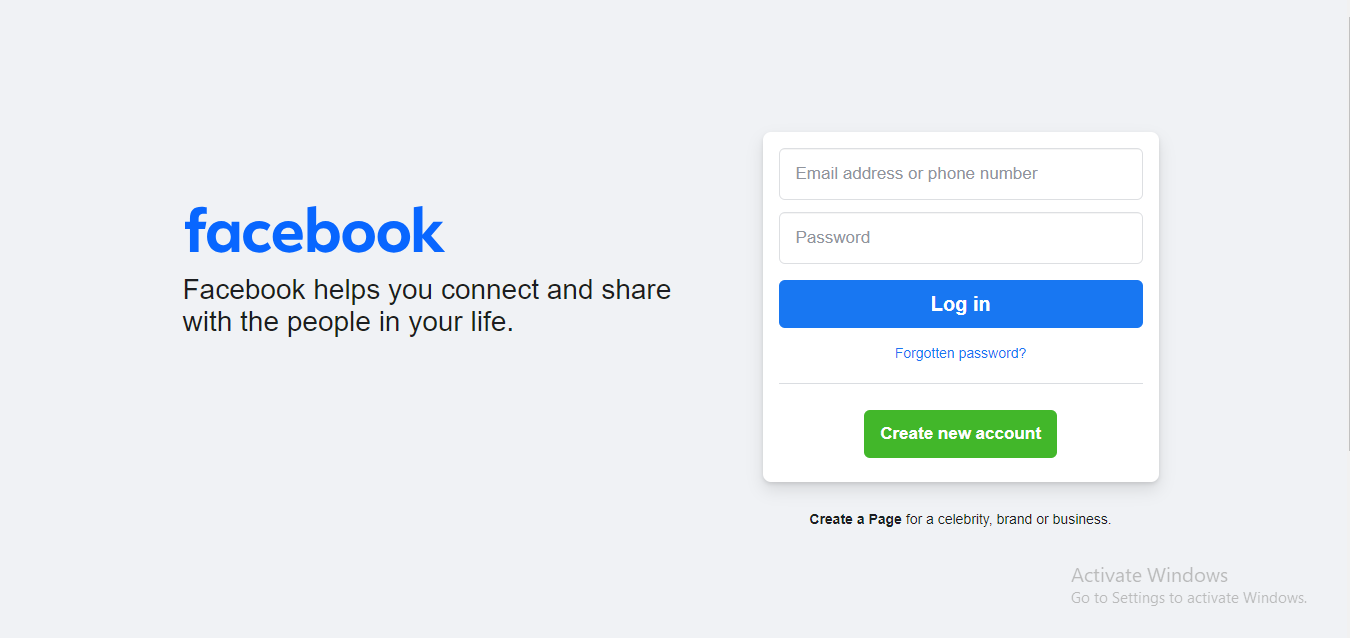
In Incognition, start your profile and log in to the purchased Facebook accounts.
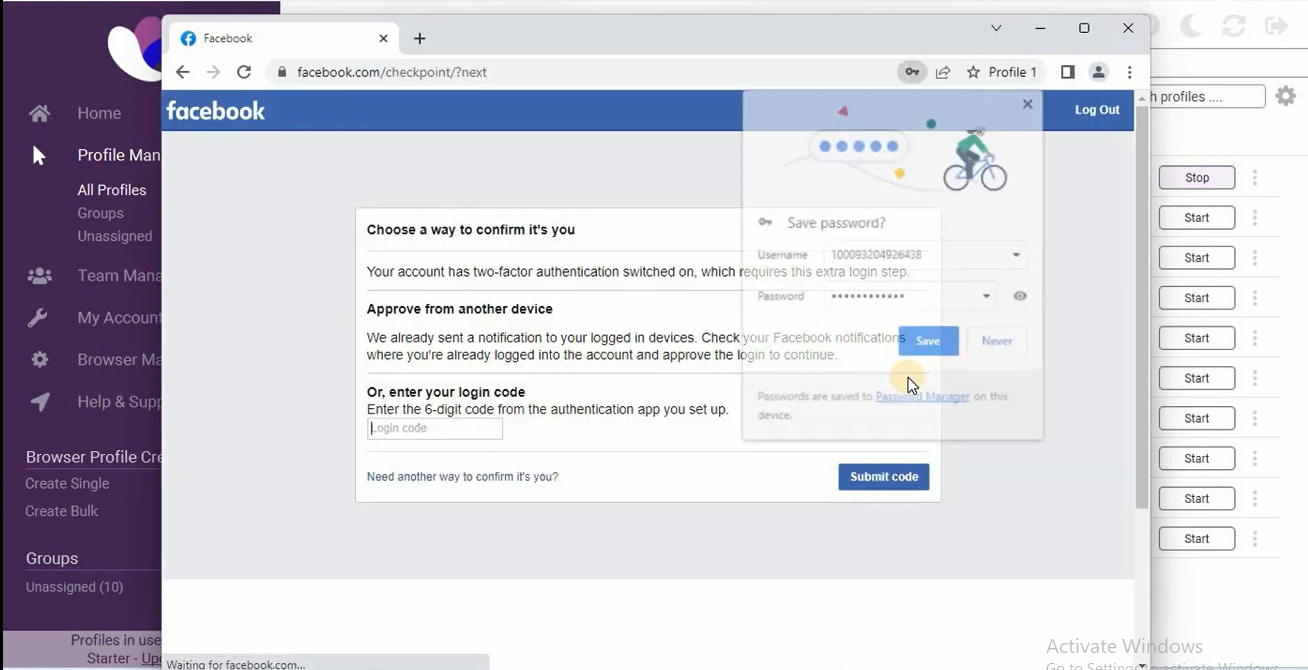
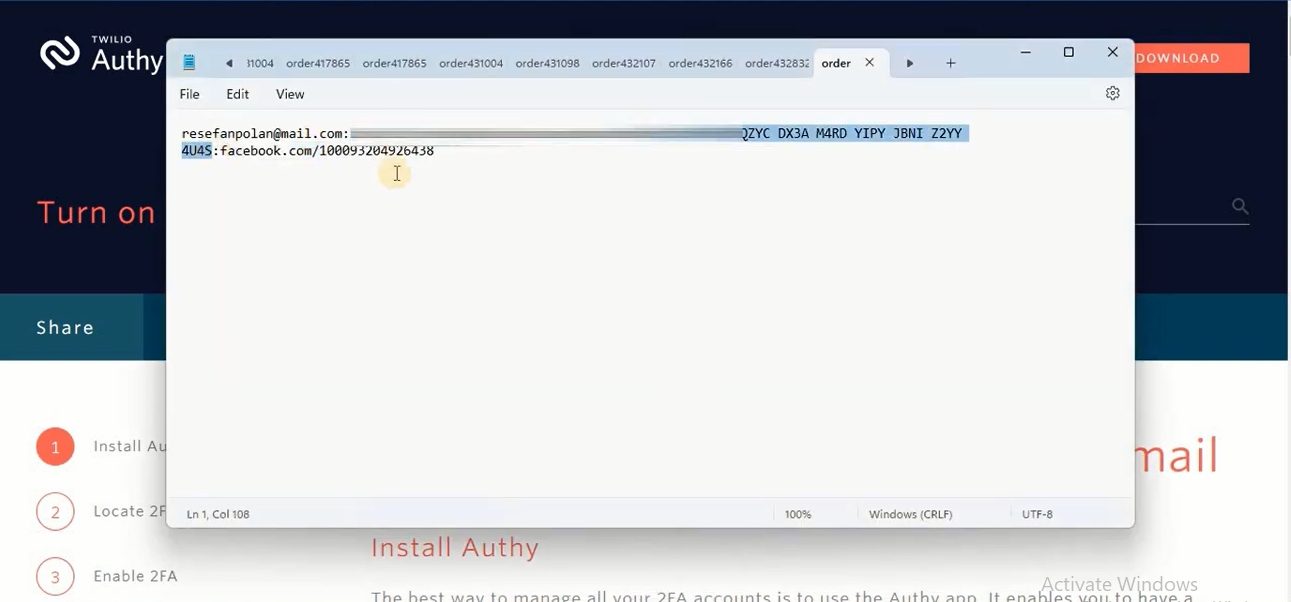
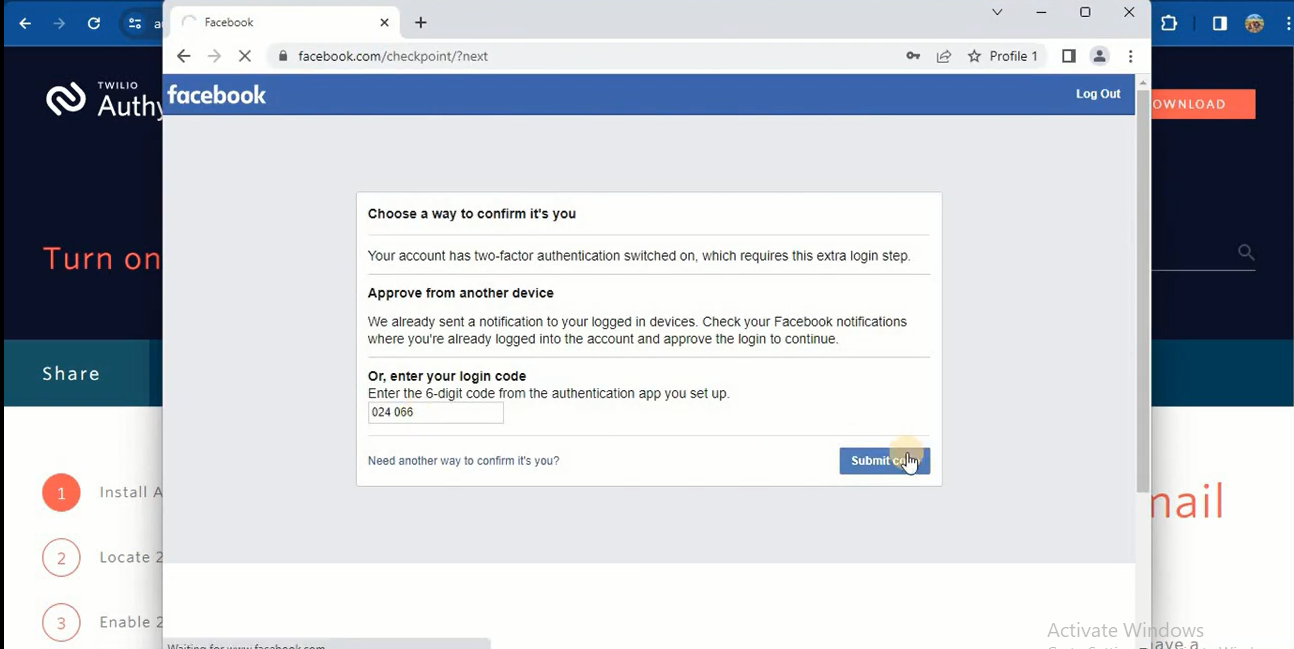
Paste the 32-letter alphabet code from Facebook into Authy, and then it will give you the six-digit code to surpass the confirmation.
Navigate through confirmation checkpoints using Authy for two-factor authentication.
Note: After confirmation, move to the next profile and repeat the process.
Step 6: Setting Up on VPS (RDP)
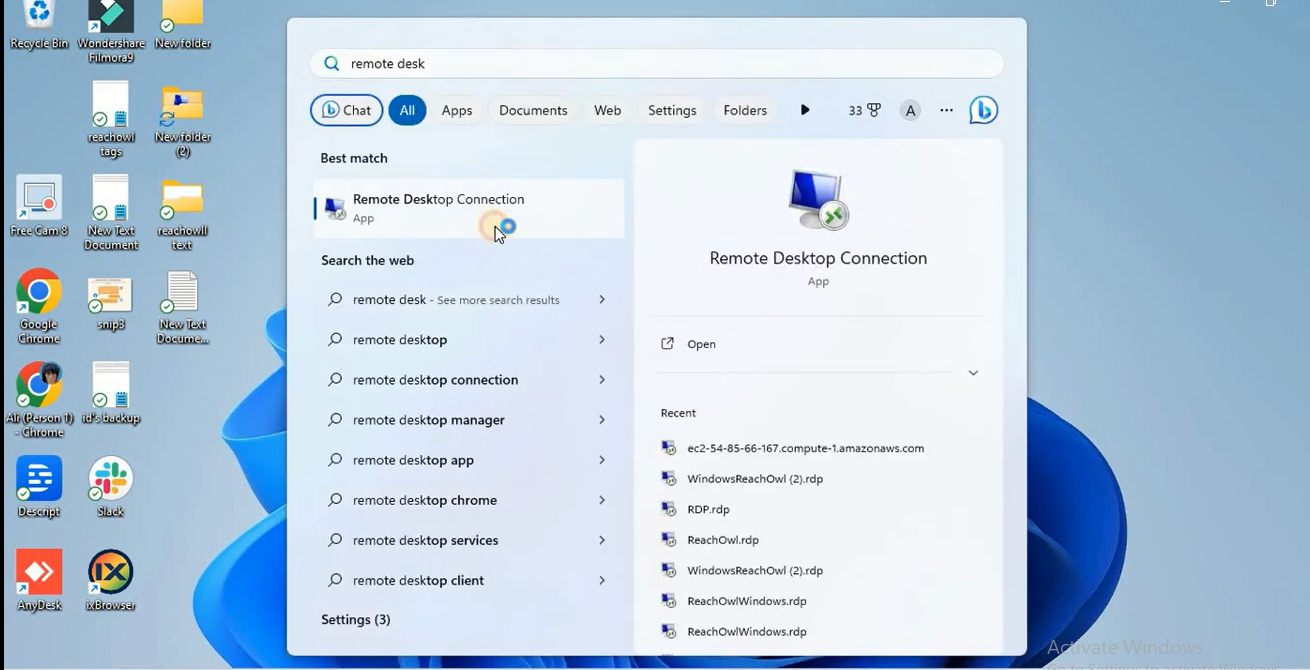
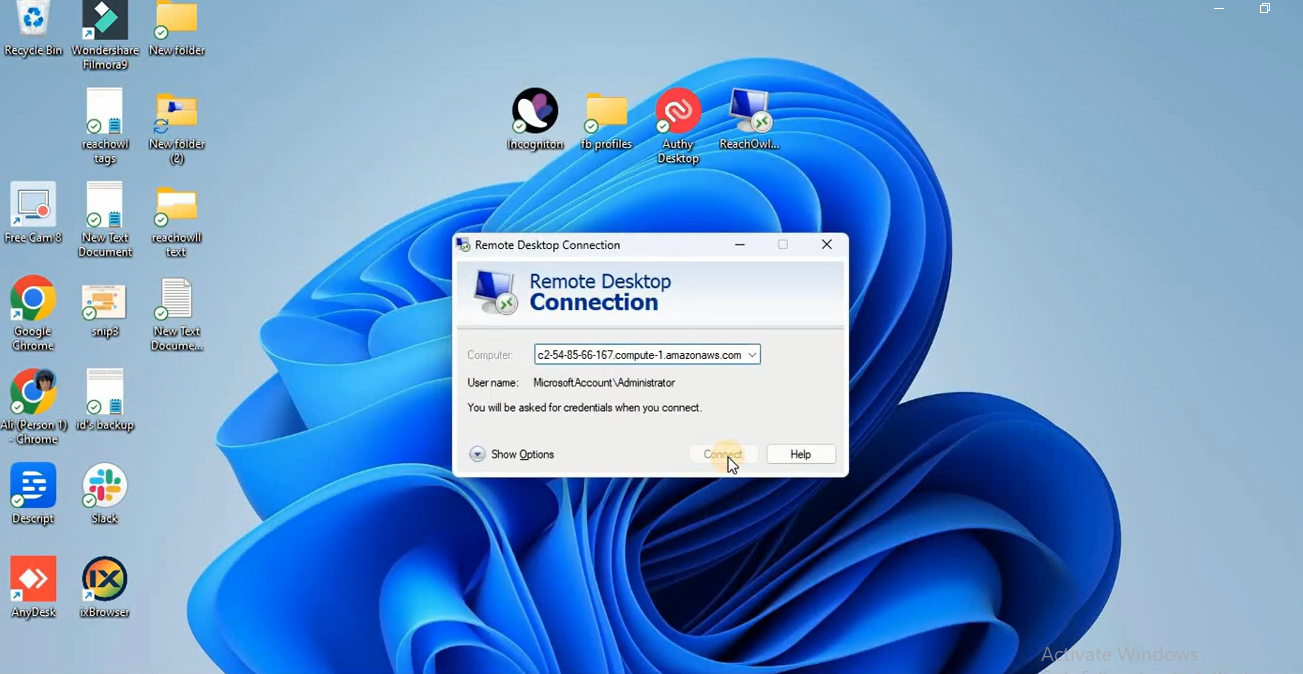
For VSP, use any provider, such as Amazon VPS. Type RDP or remote desktop connection in the search box and click on it. It will give you the RDPA name and set the password.
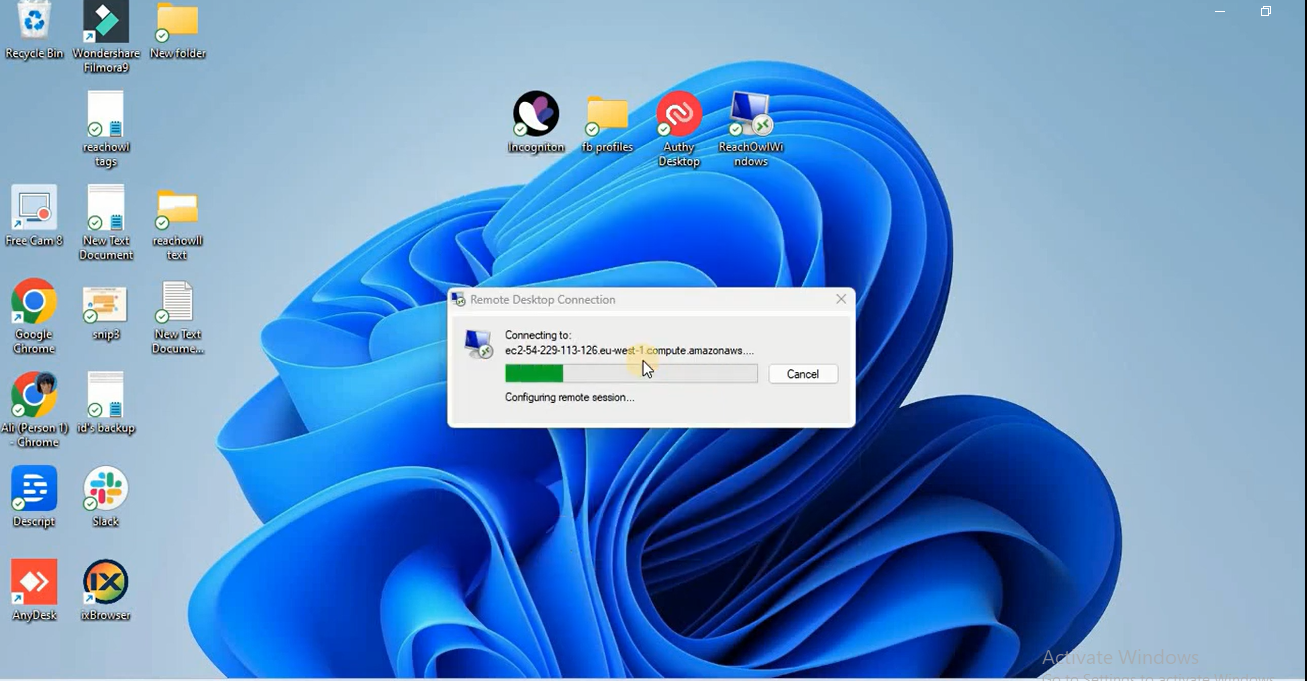 For setting up RDP you can use any virtual private server we are using amazon virtual private server.
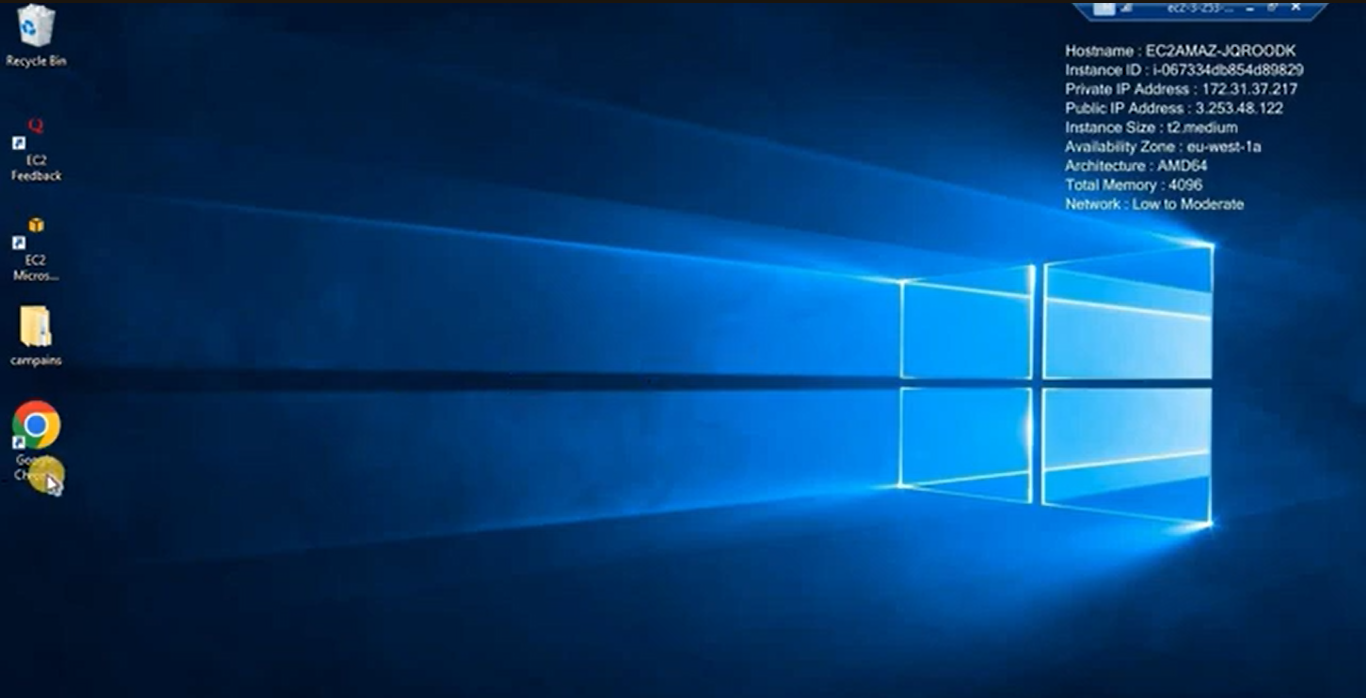
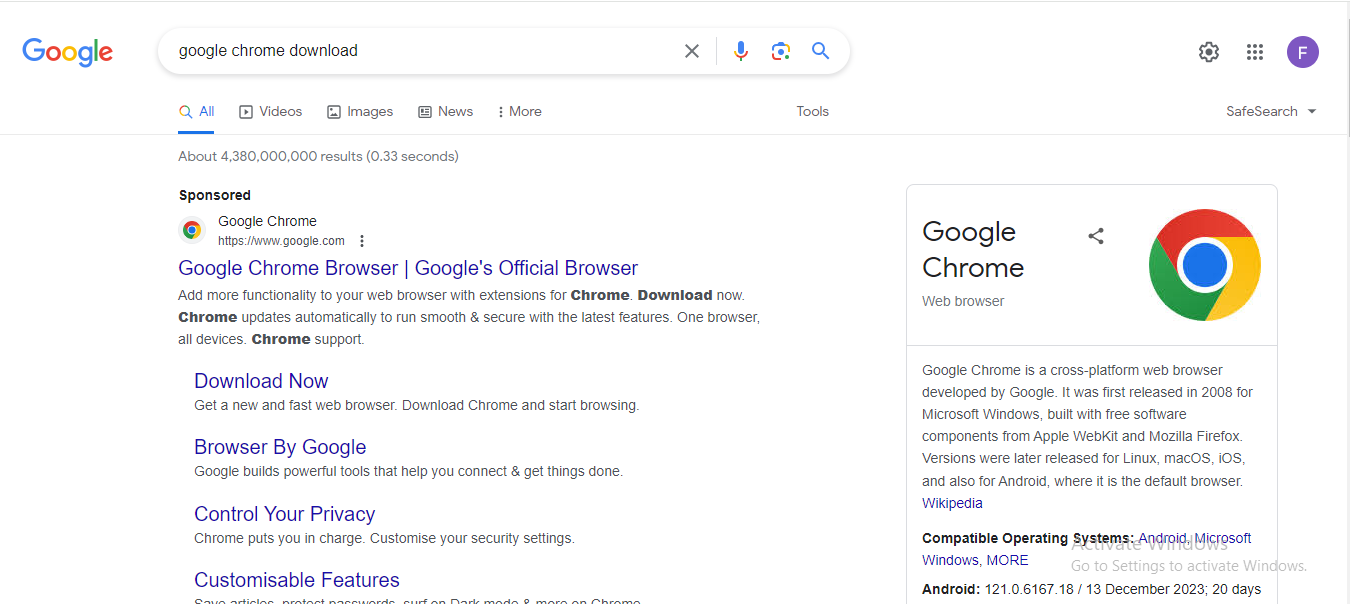
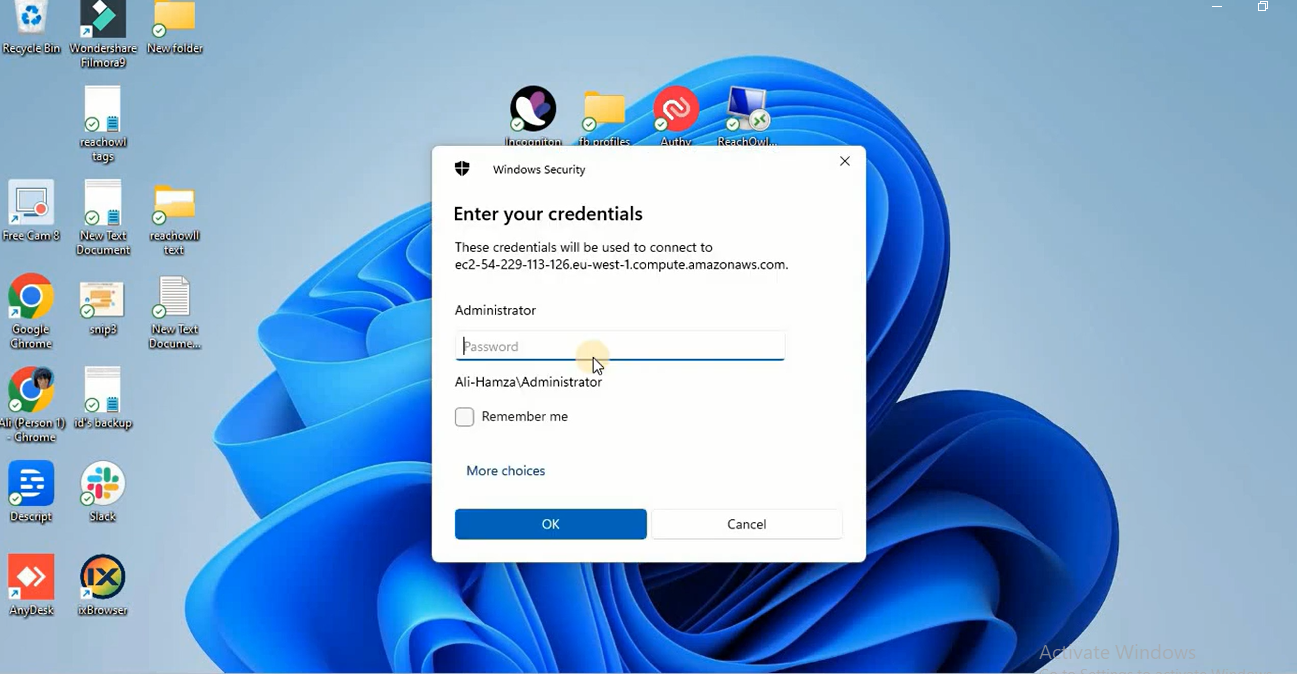
After RDP configuration, you will get the new desktop, then download Chrome and set up incognition on Chrome, as we already downloaded Chrome. So I have to download Incognition from Chrome.
Set up Incognition on the RDP similar to your local system.
Step 7: Setup Incognition and Proxies on RDP

Login in to your incognition
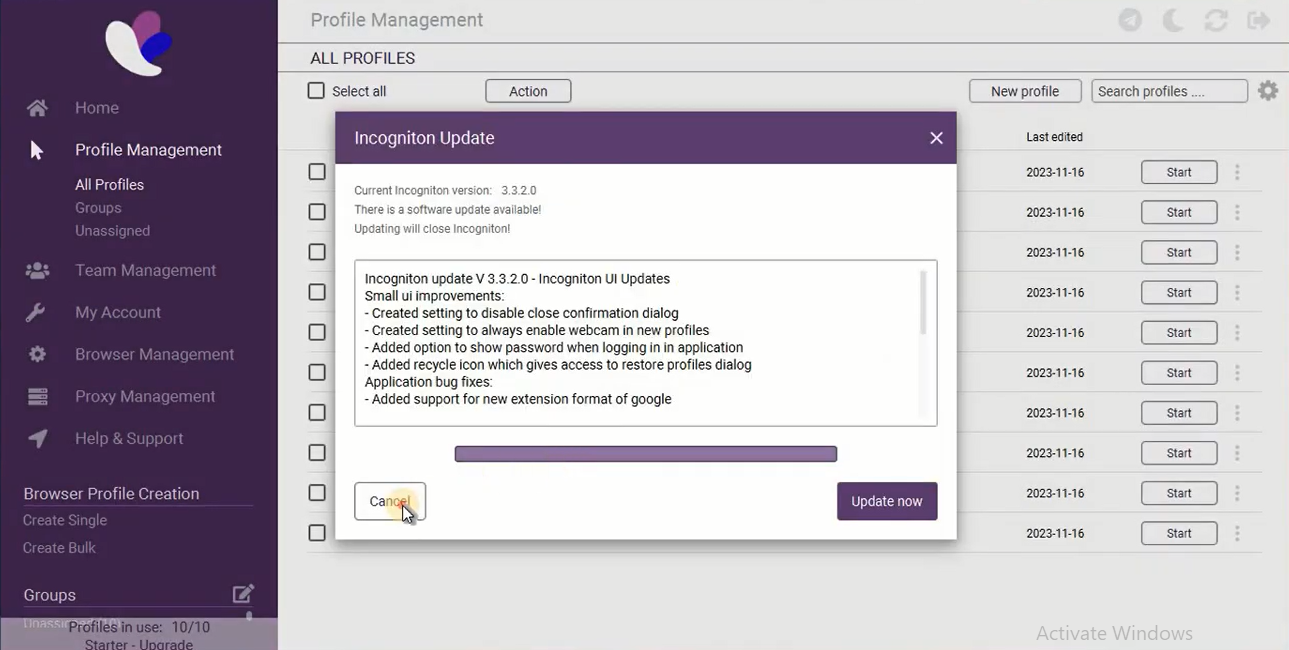
Install Incognition on the RDP and configure proxies, ensuring each profile corresponds to one proxy.
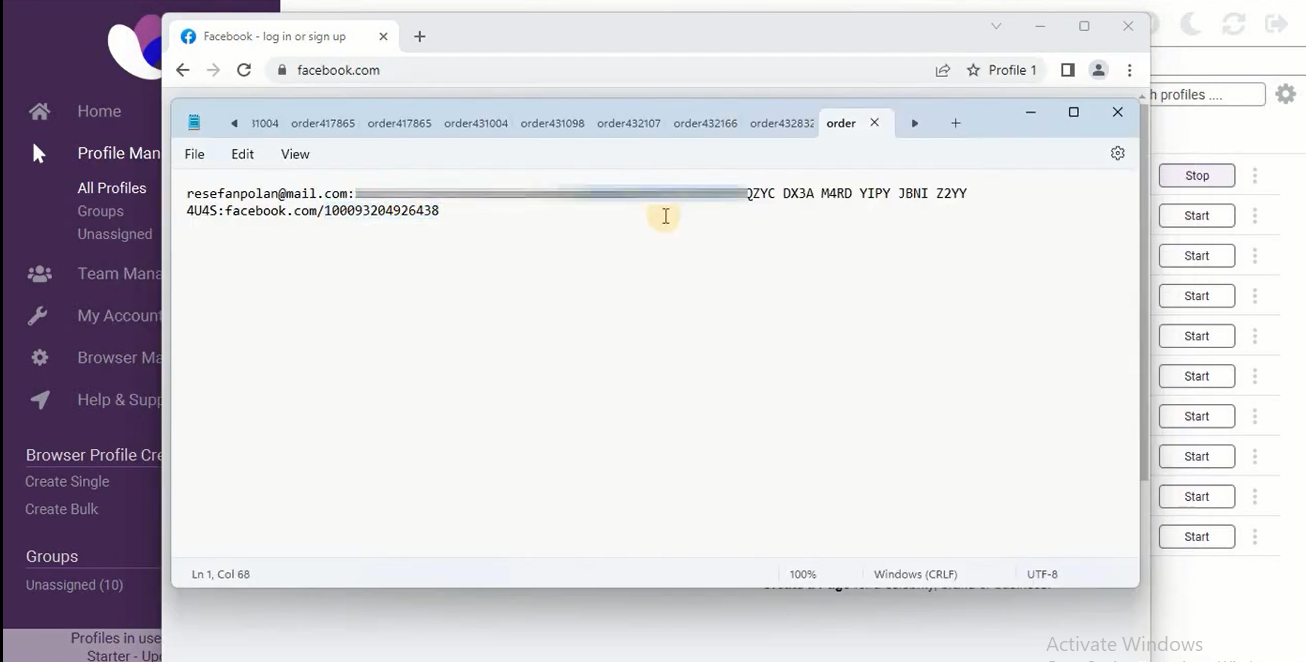
Click on the “start” button and start your profile.
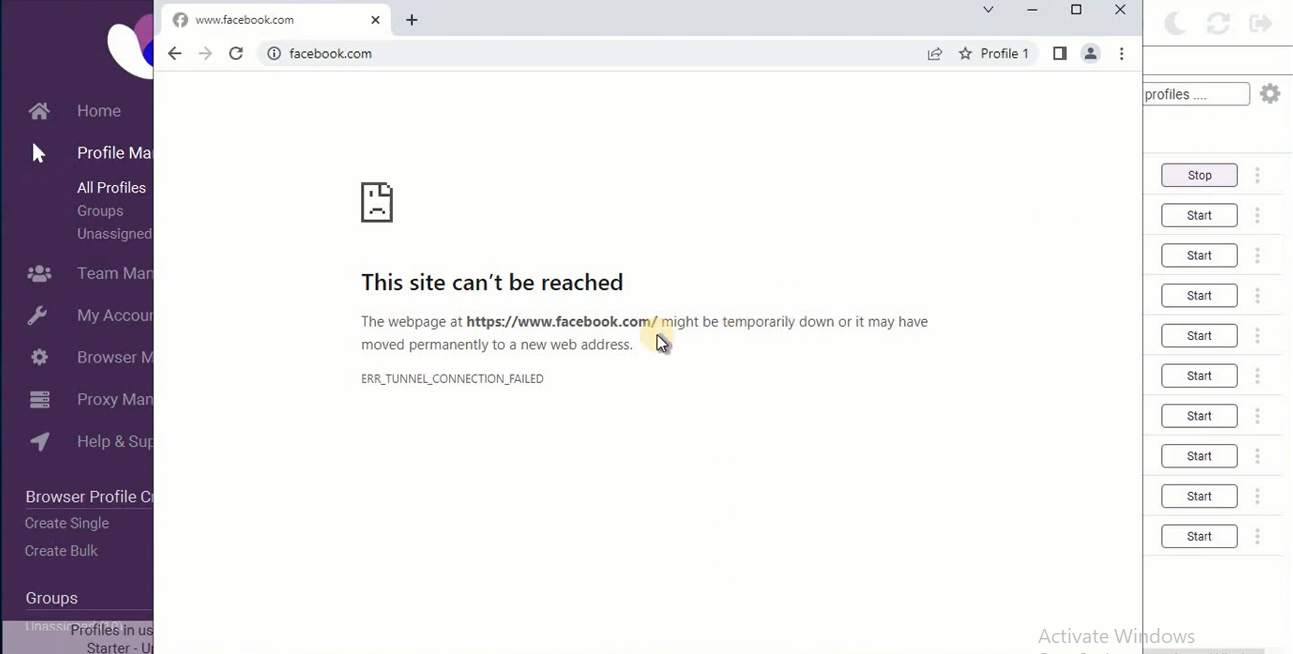
Start your profile and If the internet isn’t connected, update the authorised IP as we did before.
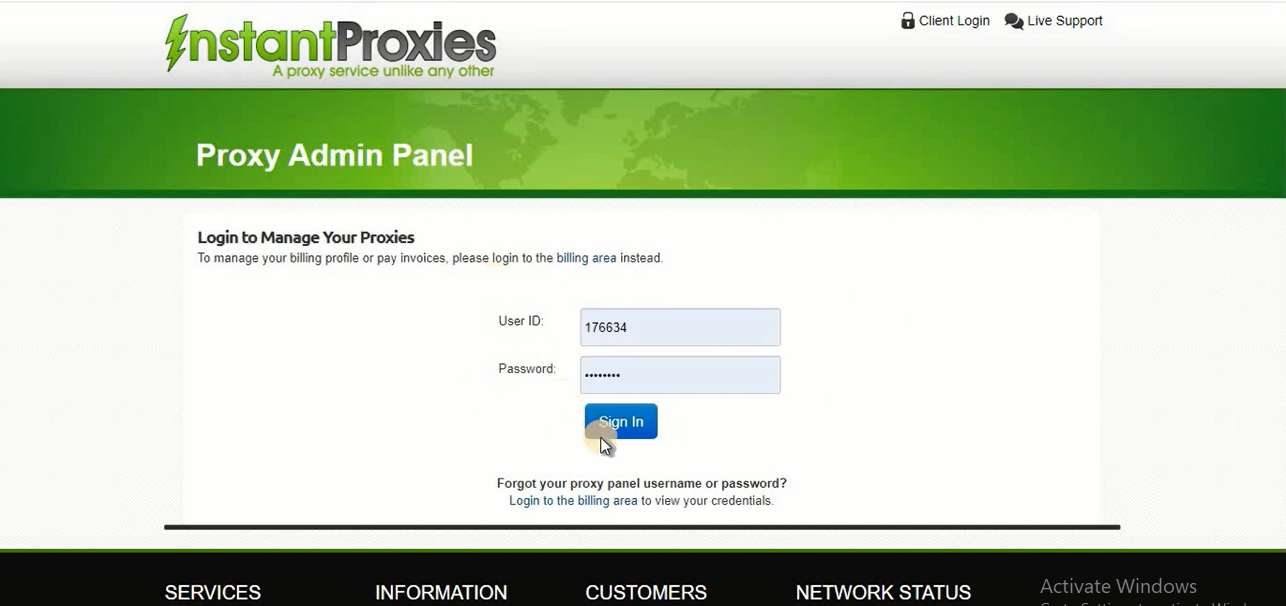
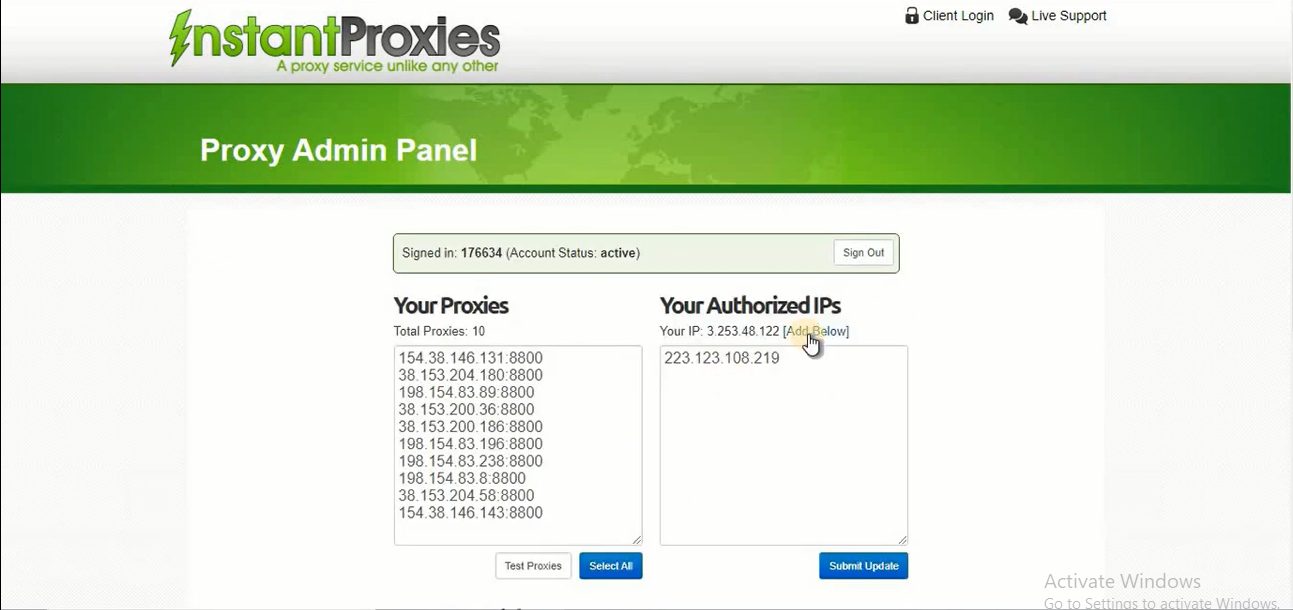
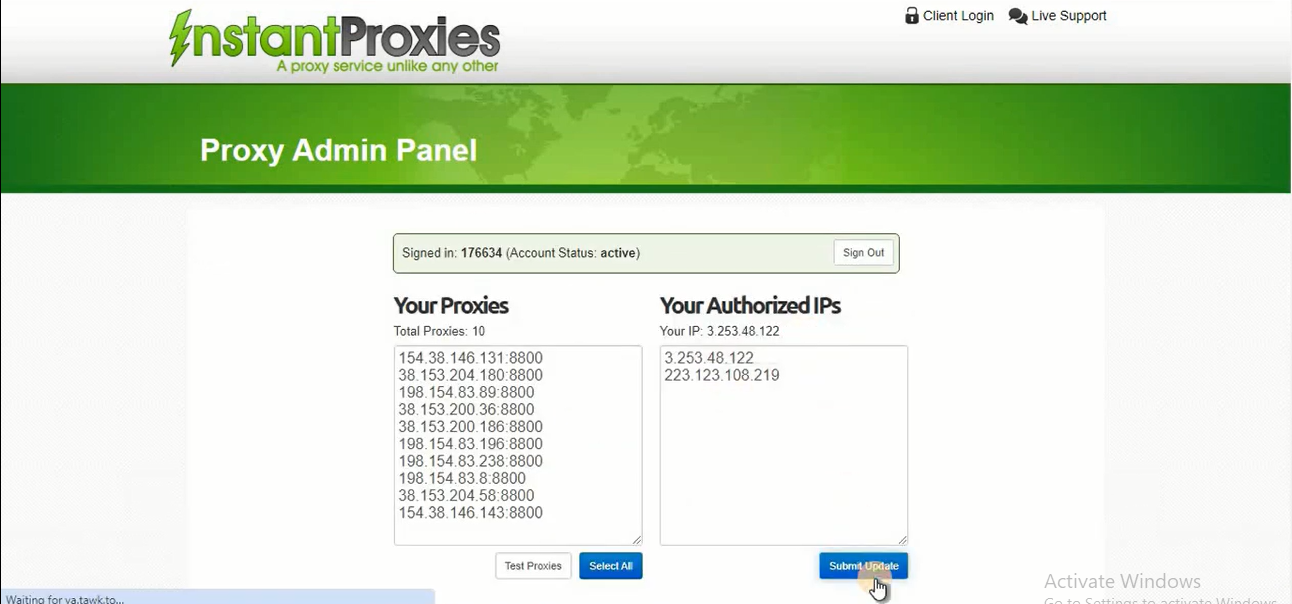
Log in to Admin Instant Proxies using Chrome. Click on “Add Below” and submit the update.
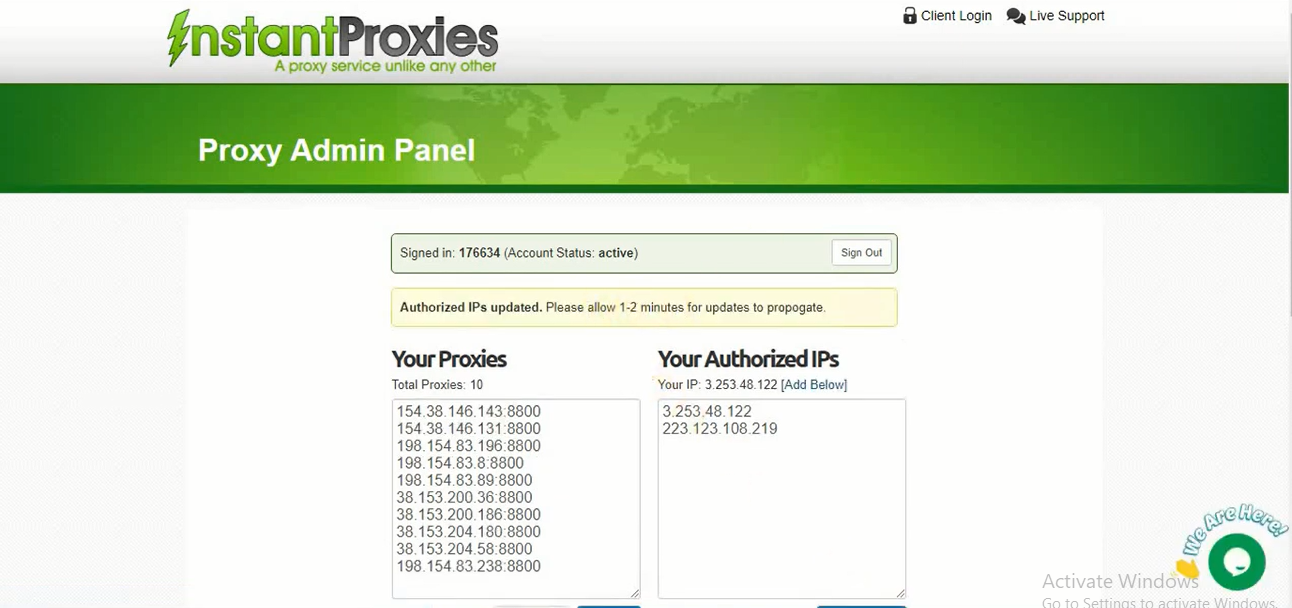
In 1 to 2 minutes, your Incognition profile browser window will have full connectivity.
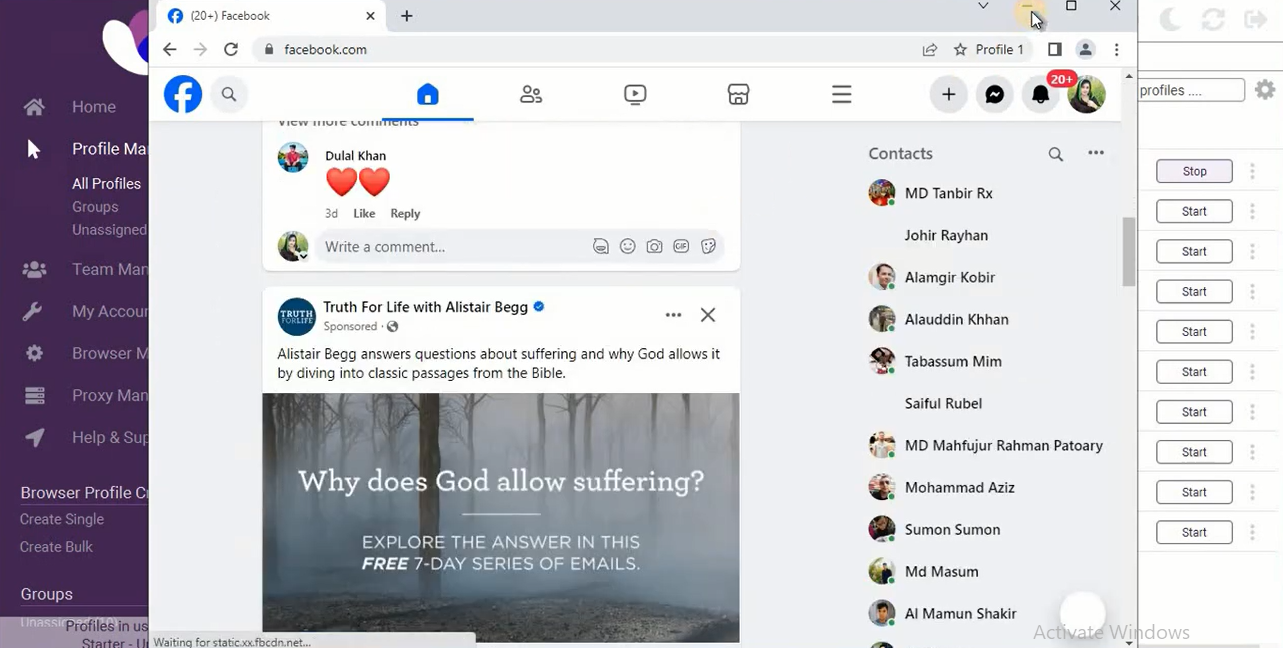
Now, your browser is running, and the social account is already logged in.
We have already logged in; we do not need to login again. Our logged-in session is saved because we recently logged in to our local system.
Step 8: Download the ReachOwl Extension
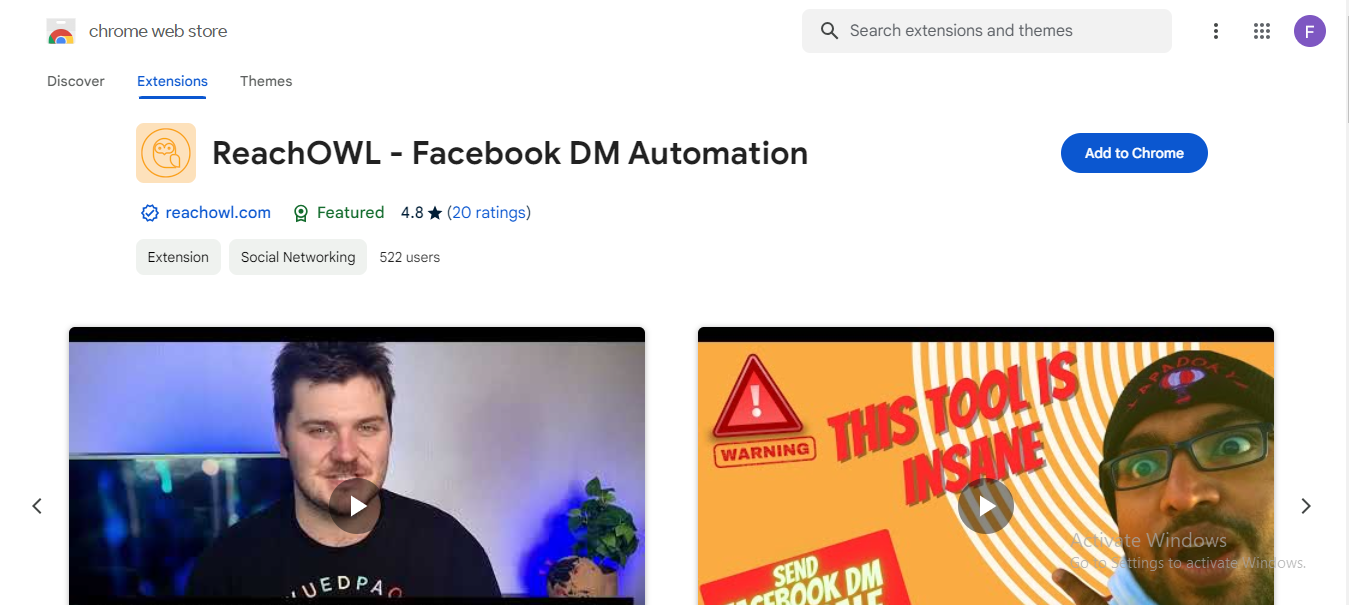
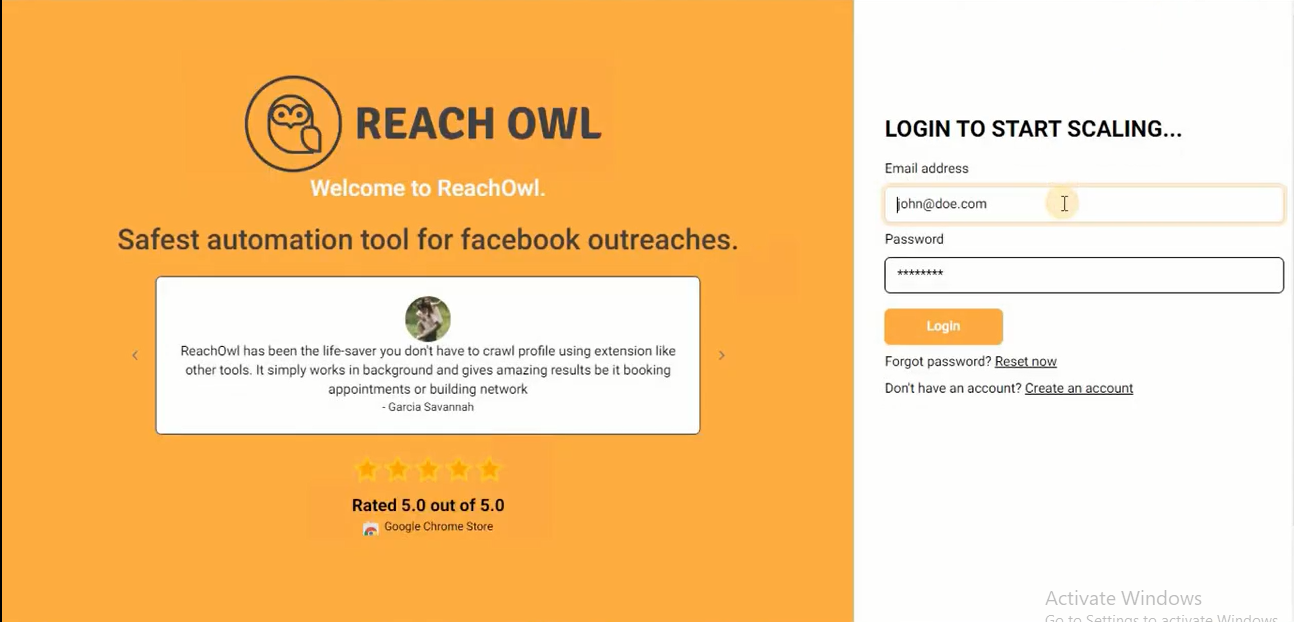
Download the ReachOwl extension on each Incognition profile where you are using your facebook. Use the email associated with each social account for verification.
Step 9: Linking Facebook Accounts to ReachOwl
Upon downloading ReachOwl, the Facebook icon will appear. This indicates successful linking between your Facebook account and ReachOwl. Repeat this process for each profile.
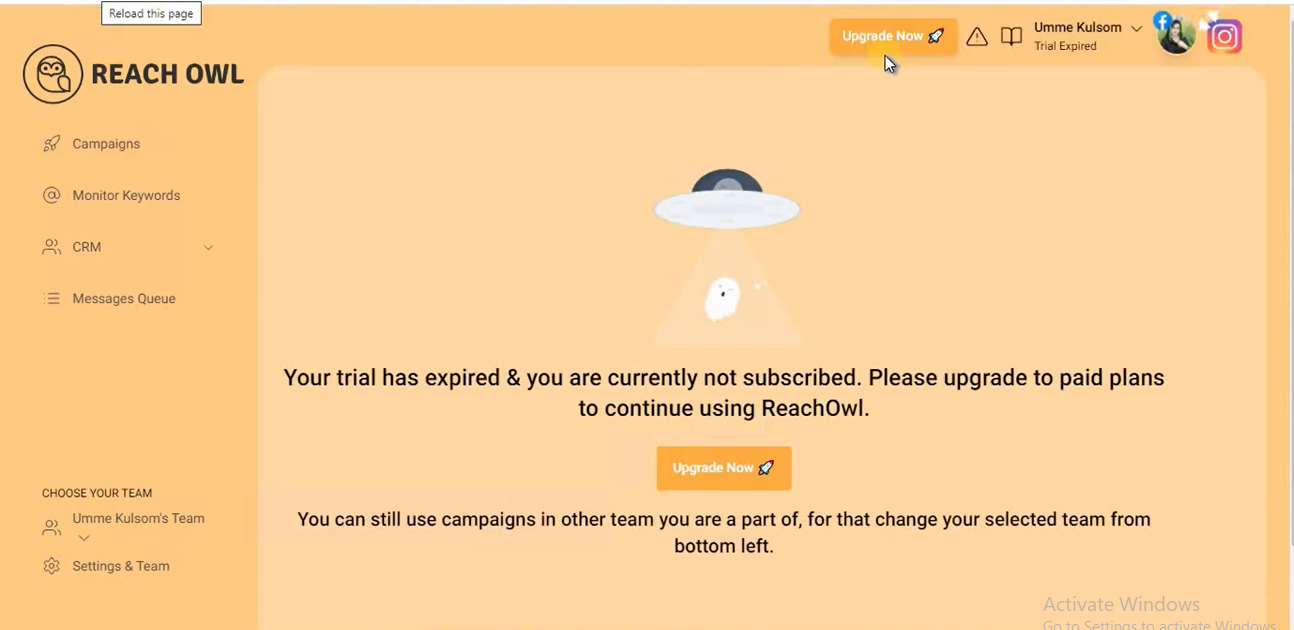
Step 10: Closing the RDP
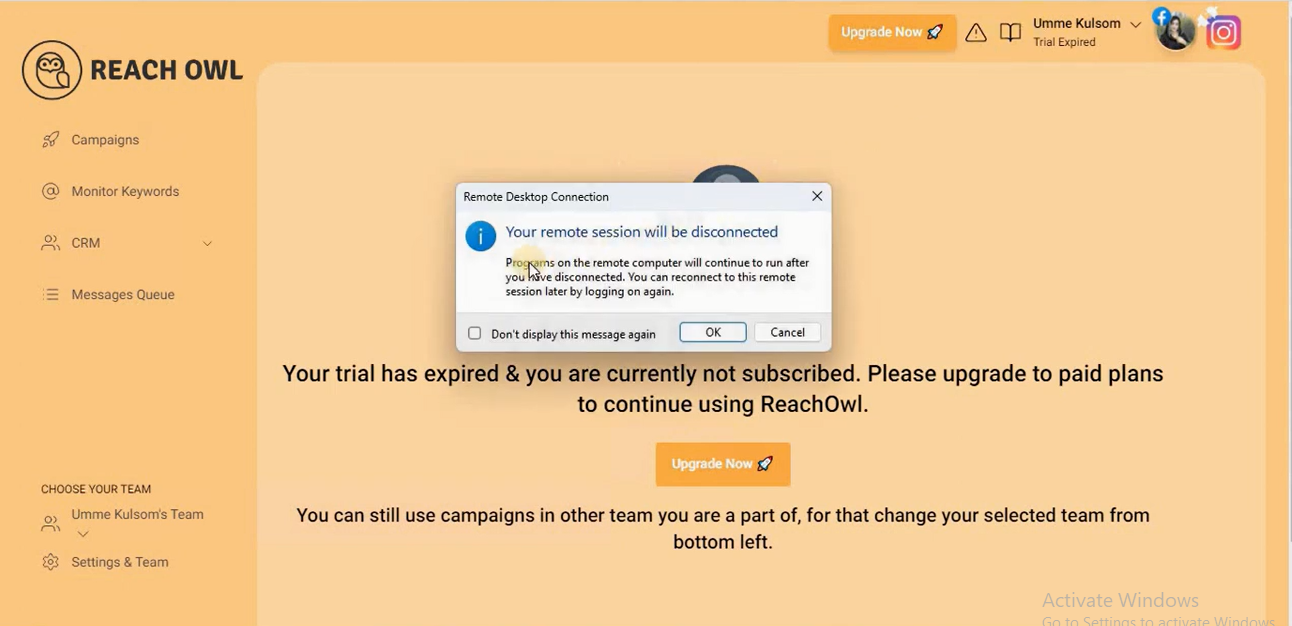
Understand that closing the RDP doesn’t disrupt ongoing processes. Ensure you’ve confirmed the pop-up message indicating that programs will continue to run after disconnection.
Conclusion
Effortlessly managing multiple ReachOwl and social accounts is a game-changer for marketers seeking to broaden their outreach.
By following these steps, you’ll navigate the complexities of proxy usage, account management, and simultaneous social account operations.
Boost your efficiency and productivity with this comprehensive guide to mastering multitasking in the digital marketing realm.