Direct communication with potential leads and clients is important for building relationships and driving conversions. With ReachOwl’s, users can now seamlessly inbox Facebook profiles directly from the ReachOwl interface.
In this tutorial, we’ll guide you through the simple steps to inbox profiles using ReachOwl.
Step 1: Access the Contact Section
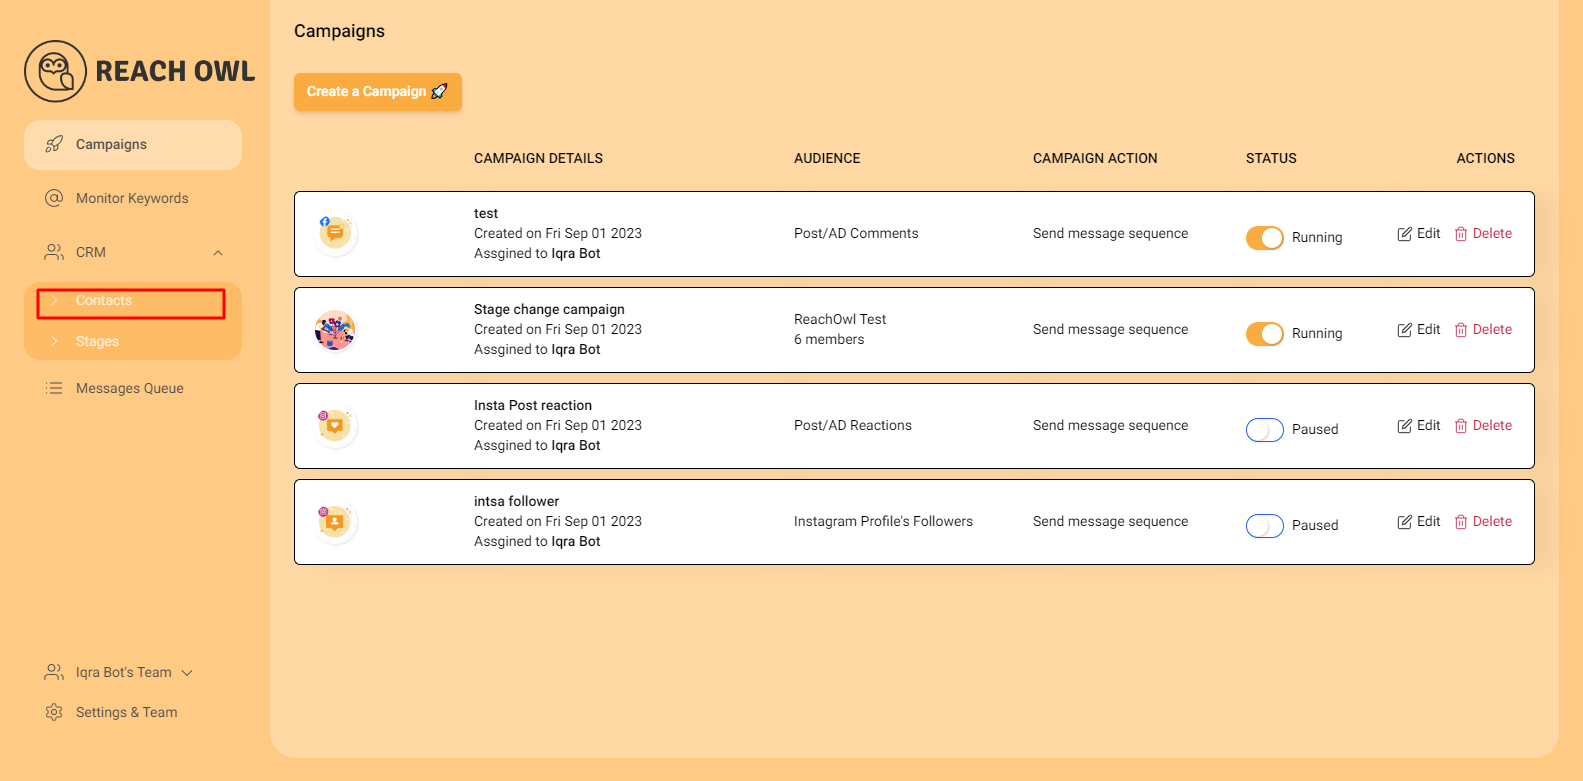
Navigate to the ReachOwl dashboard and locate the “Contact” option. Click on it to proceed to the contact section.
Step 2: Filter your Desired Campaign
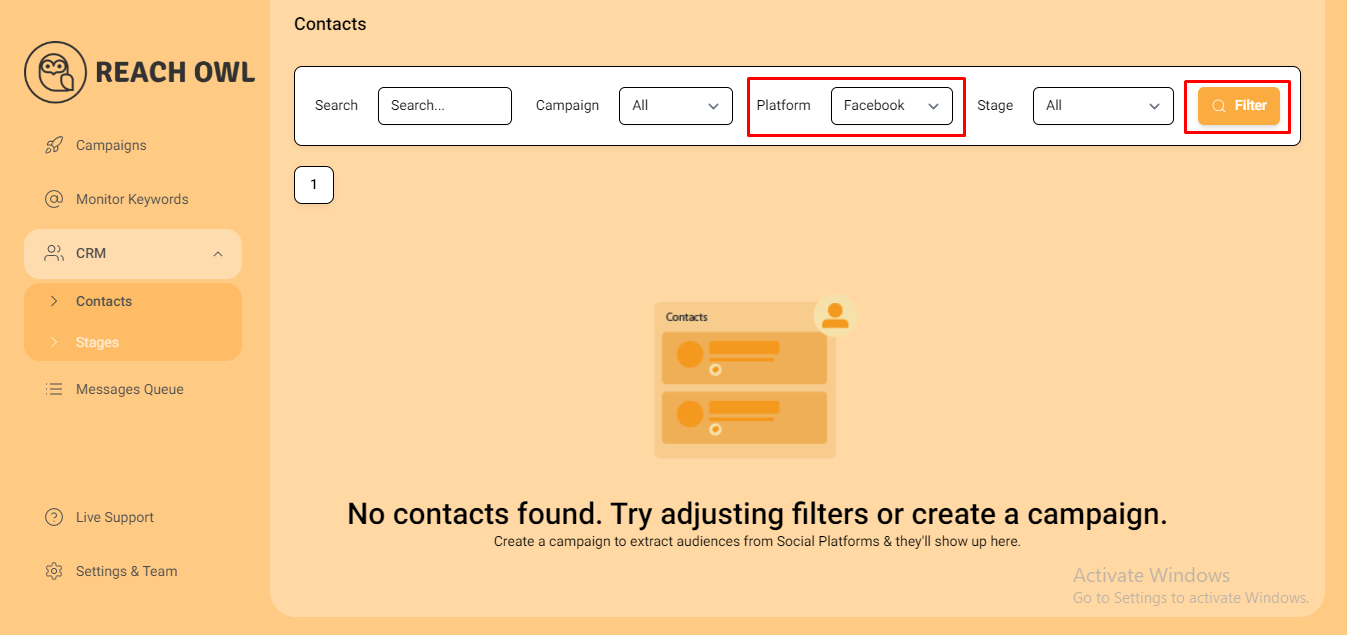
In the contact section, click on the “Platform” option and scroll down to select “Facebook” from the list of available platforms. Click on “Filter” to generate a list of your Facebook profiles.
Step 3: Select Profile/Contact and Message
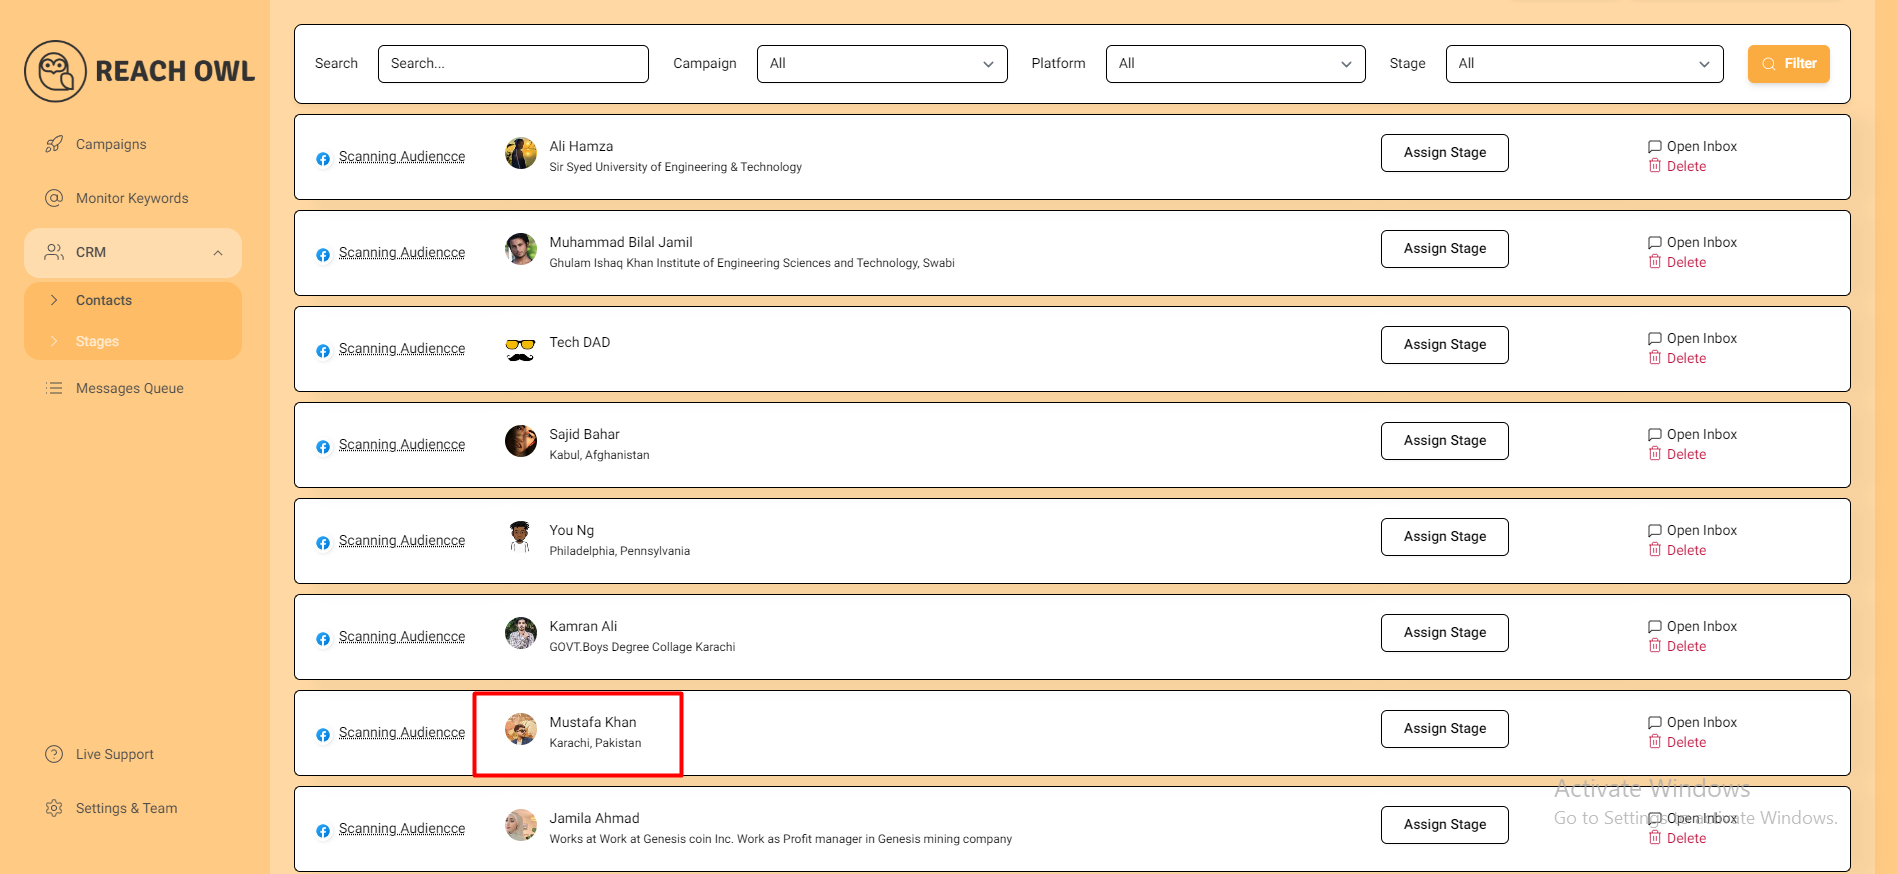
Scroll through the list of Facebook profiles and select the profile to which you want to send a message.

Click on the profile to open it, then compose your message in the designated text field.
Step 4: Send and monitor

Once your message is ready, click on the “Send” button to dispatch it to the selected profile.
Step 4: Monitoring Your Messages
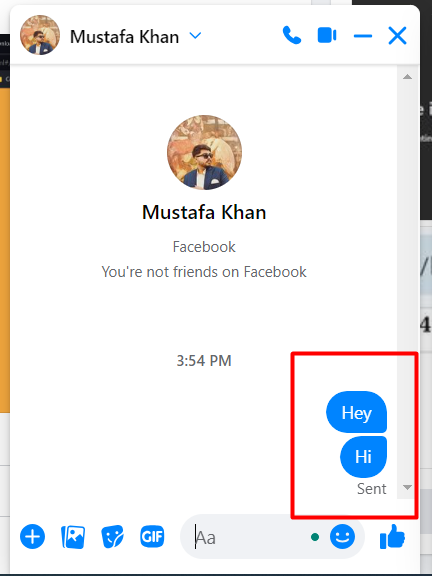
After sending your message, you can monitor its delivery and engagement directly from your Facebook account. To verify, navigate to your Facebook inbox and check where your message has been sent. Check the recipient’s inbox to see where your message has landed and track its interaction.
Conclusion
With ReachOwl, you can communicate and engage with your Facebook audience more effectively. It helps you chat with your audience such as potential customers, answer questions, or build relationships, ReachOwl makes it easier to communicate and connect interactions.
Stay connected, stay responsive, and watch your outreach efforts result with ReachOwl.