In this help doc we will guide you how you can configure your proxies in Reachowl.
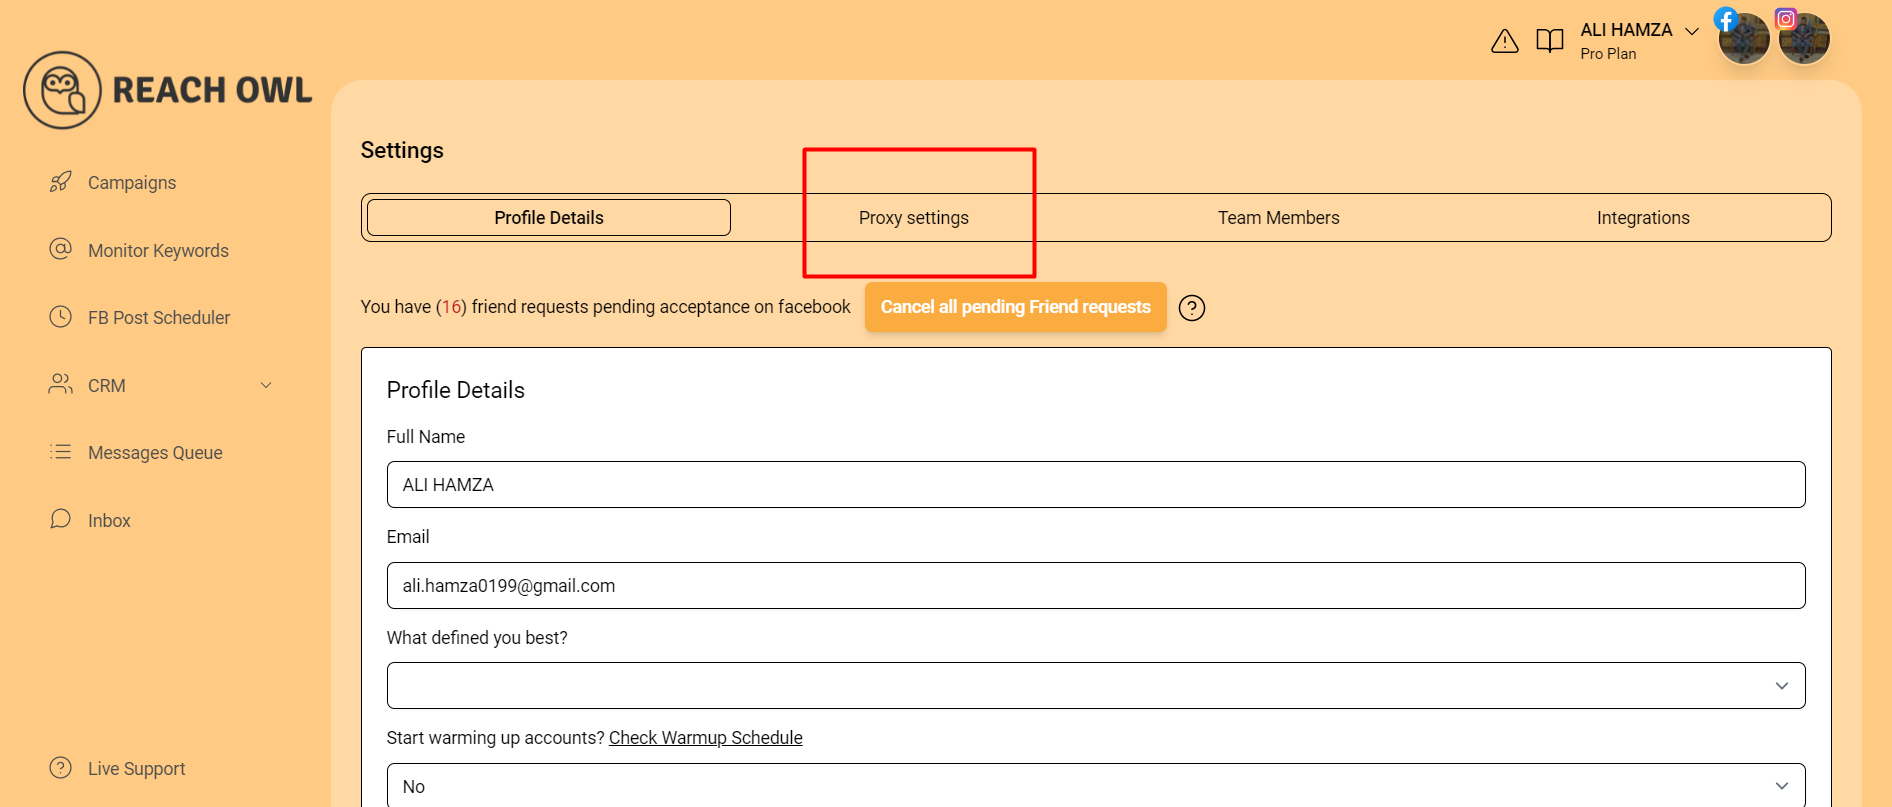
Go to the Setting & Team
To set up your proxy, go to the Settings page in ReachOwl.

Go to Proxy Setting
Go to settings and navigate to the proxy settings section, which is right next to the profile details.

Here, you will need to input the following details.

You have two options: you can either enter each detail individually or simply input the proxy URL.
Proxy Details
- Connection Type: HTTP
- Host/IP Address/Host: 192.168.1.100
- Port: 8080
- Proxy Username: Your proxy username.
- Proxy Password: Your proxy password.
Proxy URL
The format of the proxy URL should look like this: http://myuser:[email protected]:8080.
This configuration allows ReachOwl to work efficiently in the cloud.
Update Setting
After entering your proxy details, click on the Update button to save your configuration. This will enable the cloud-based functionality that works in the back-end.

Recommendation: It is recommended to use the same proxy when accessing Facebook from your browser.

