ReachOwl’s Advanced CRM (Customer Relationship Management) isn’t just about managing contacts; it empowers you to guide contacts through various stages of interaction.
Here’s how to change the stage of a particular contact with ReachOwl:
Step 1: Access Your campaign
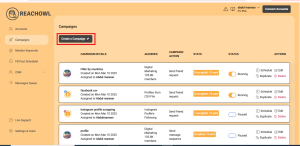
Click on create a campaign option.
Step 2: Access Your Facebook Groups

Click on “Facebook Group Members,” and you’ll see that ReachOwl already accesses all the Facebook groups linked to your account.
Step 3: Select the Target Facebook group
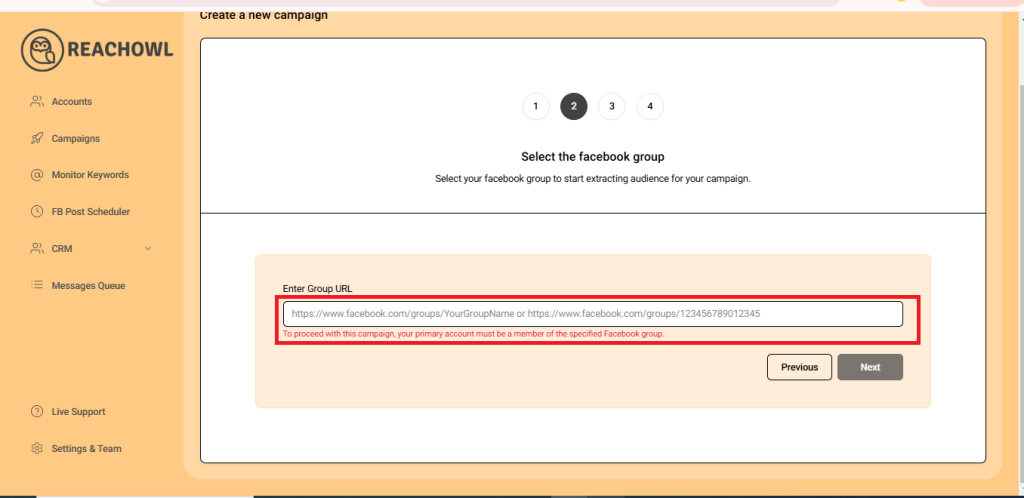

From the list of your Facebook groups, choose the one you want to target for your messaging campaign.
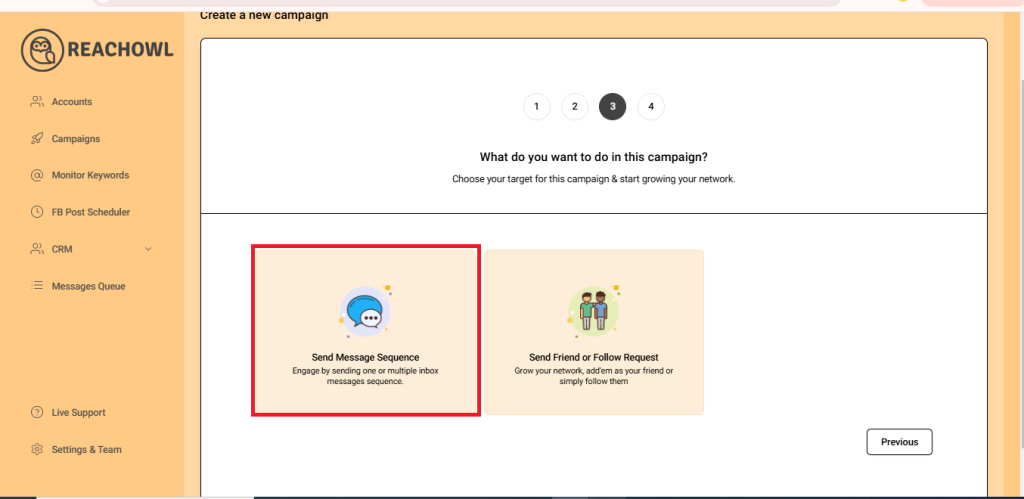
Step 4: Choose Your Messaging Option
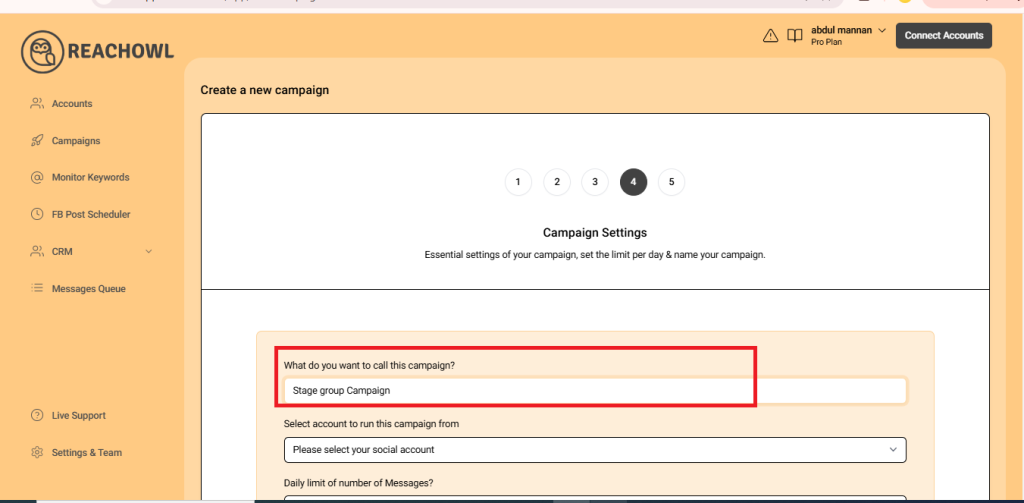
Step 5: Name the Campaign
Step 6: Select the Account to Run Your Campaign
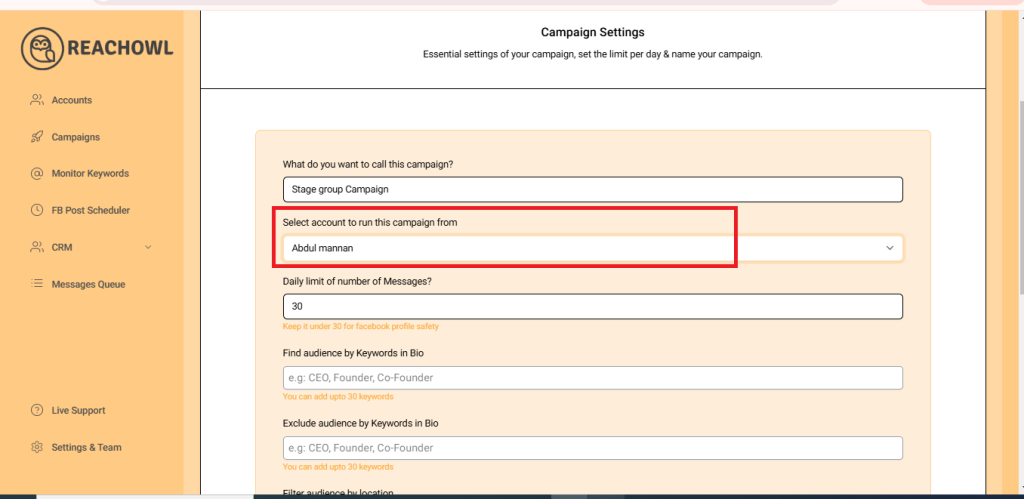
Choose the account from which you want to run the message campaign.
Step 7: Set Up a Daily Limit on the Number of Messages
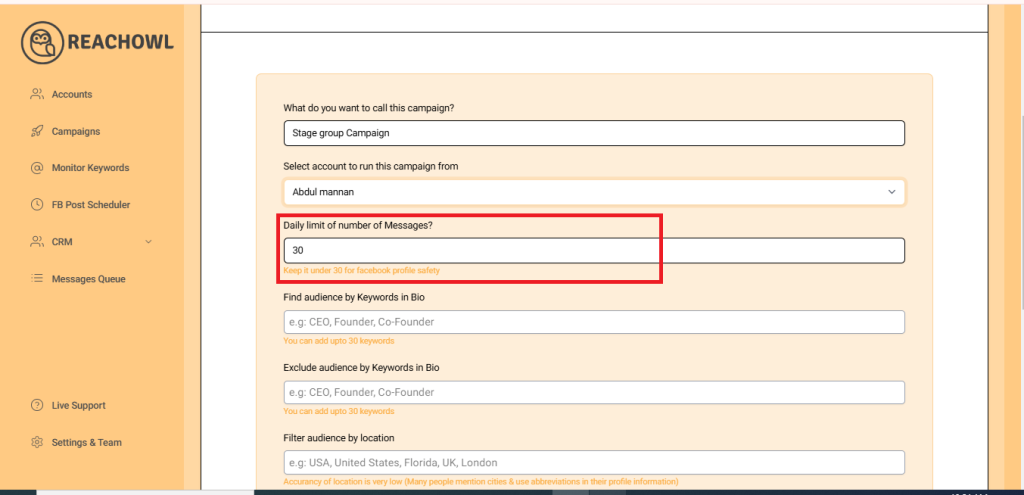
You can control the number of messages sent per day, you can set a daily limit between 5-35 messages depending on the profile value, and you can avoid sending the exact same number of messages with the same message every day and make sure to shuffle your script or use a different script every two days.
Step 8: Define Your Target Audience
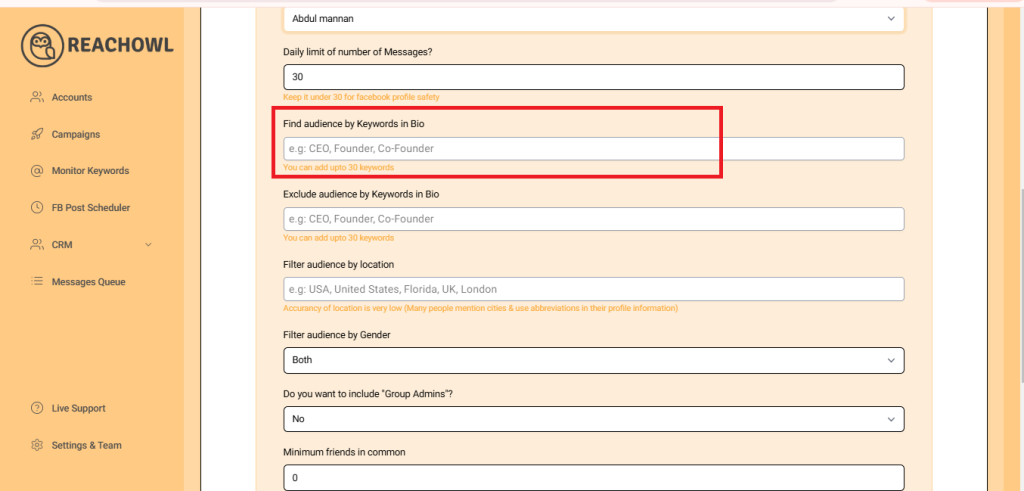
Determine the keywords you want to target in the bio to identify potential recipients. For example, CEO, Founder, Entrepreneur, Business Owner, etc.
Step 9: Exclude Audiences with Certain Words
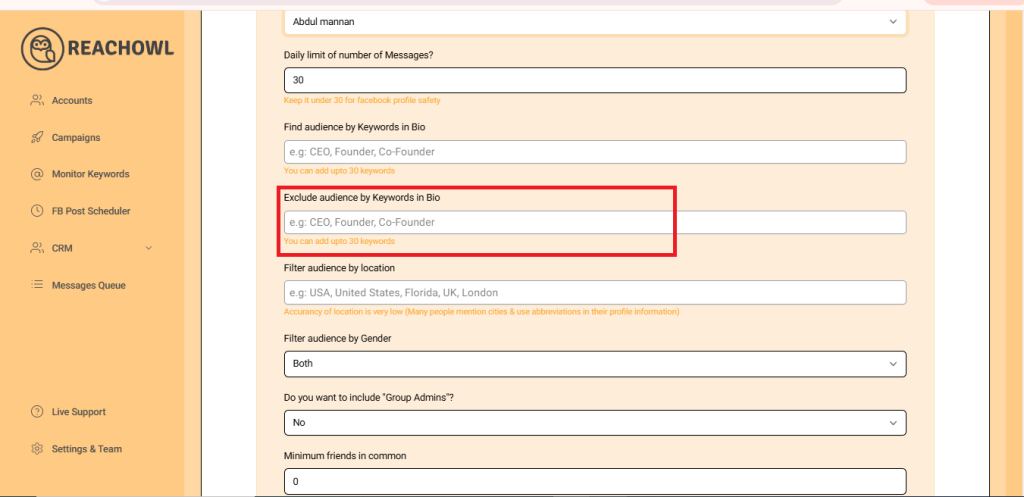
Identify the keywords that indicate you want to exclude certain groups from the campaign. For instance, a freelancer, student, intern, etc.
Step 10: Set the Minimum Number of Friends in Common
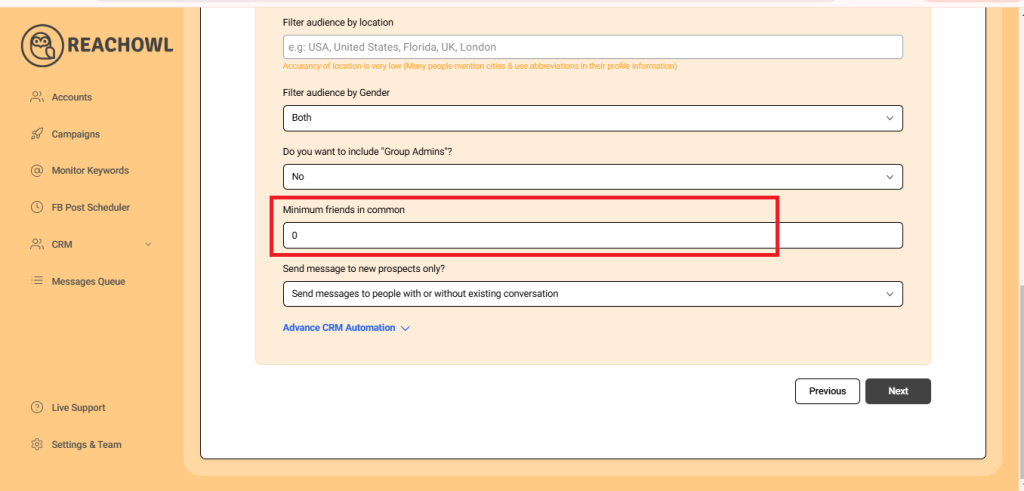
You can choose to establish a minimum number of friends in common that are required between you and then target prospects to send the messaging campaign.
Step 11: Send messages to new prospects only?
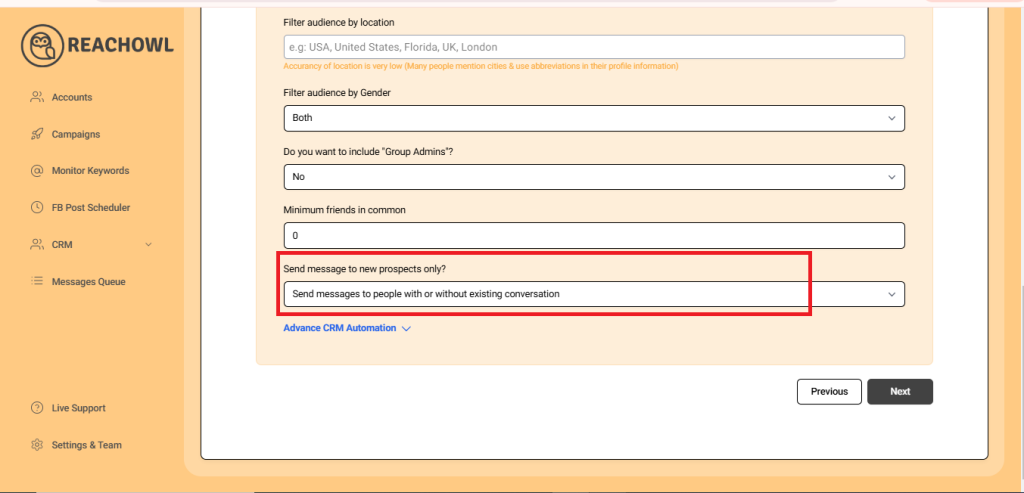
You can choose whether you want to send the campaigns to new people or to the people you already have conventions with.
Step 12: Access Advanced CRM Automation
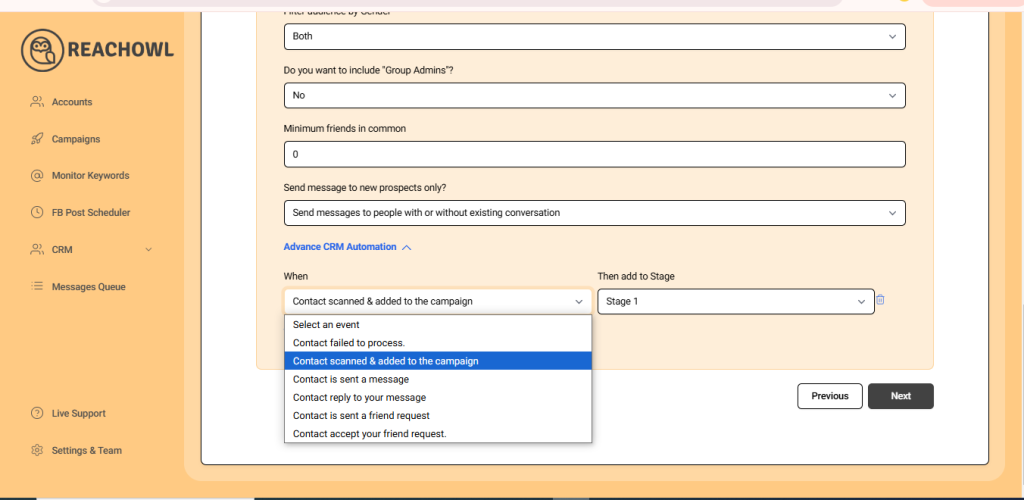
Scroll down to find the Advanced CRM Automation section.
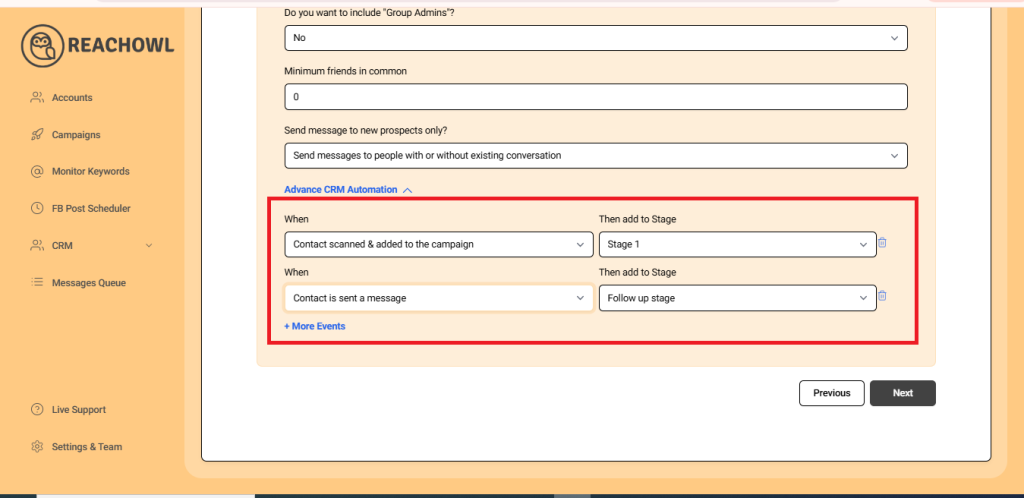
- Define Contact Scanned and Added. Set the stage for a contact when they’re scanned and added to the campaign.
- Add to Stage 1. Automatically move the contact to the “Newly Added” stage.
- Contact Has Sent a Message. Add the event when a contact sends a message.
- Add to Stage 1. Automatically move the contact to the “Follow Up Stage”
Step 13: Proceed to Next
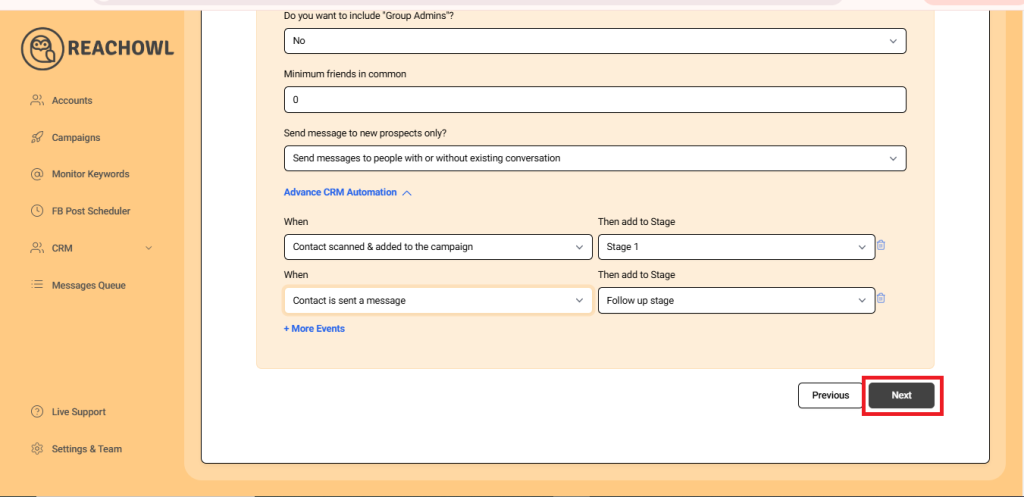
Continue to the next step of campaign setup.
Step 14: Compose the Message

Craft personalized messages using the recipient’s name variable ({{name}}).
Step 15: Add Multiple Messages
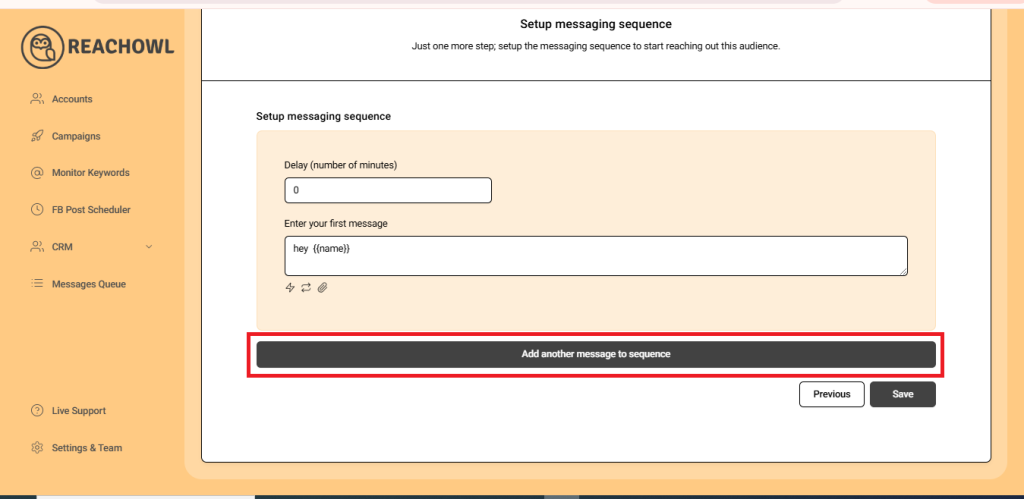
Enhance your message sequence by adding multiple engaging messages.
Step 16: Set Up the Messaging Sequence
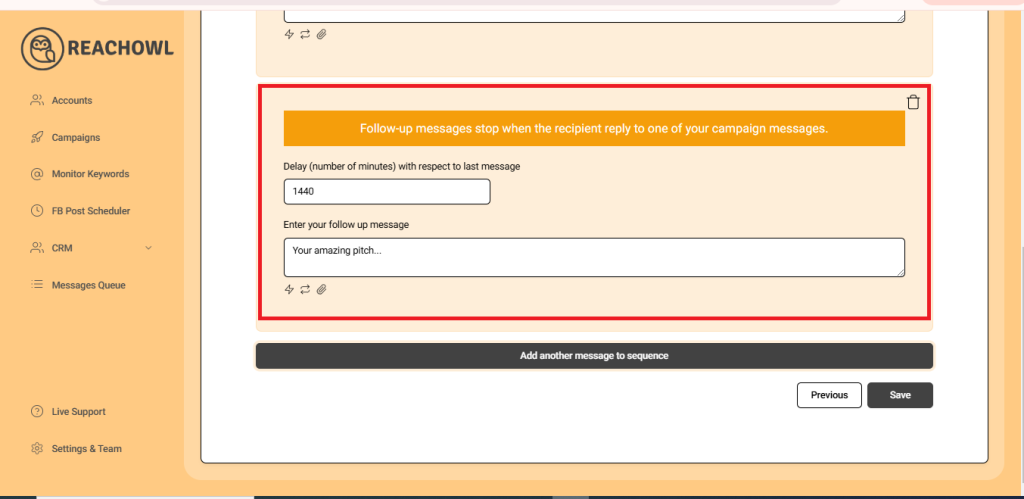
Craft follow-up messages and stagger delays between each to ensure effectiveness.
Step 17: Save Your Campaign
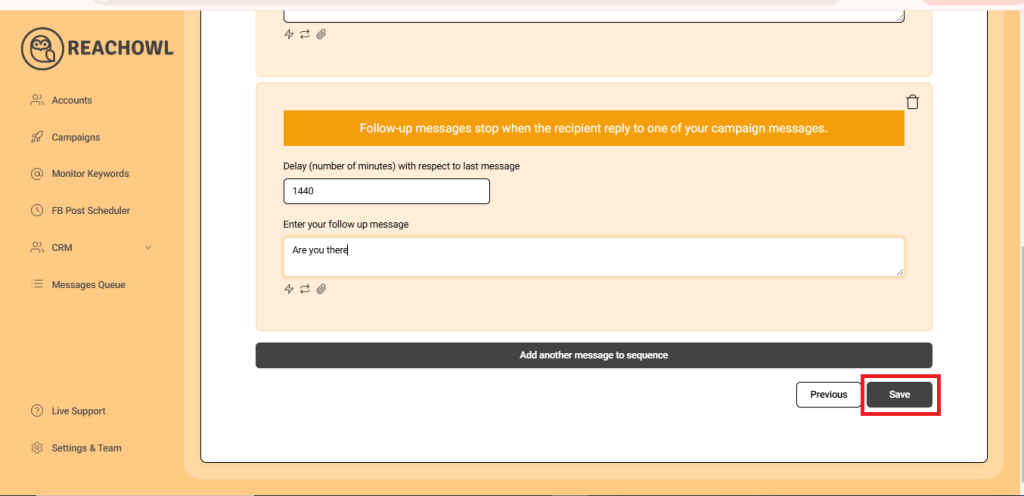
Preserve your campaign settings by clicking “Save.”
Step 18: Start Your Campaign
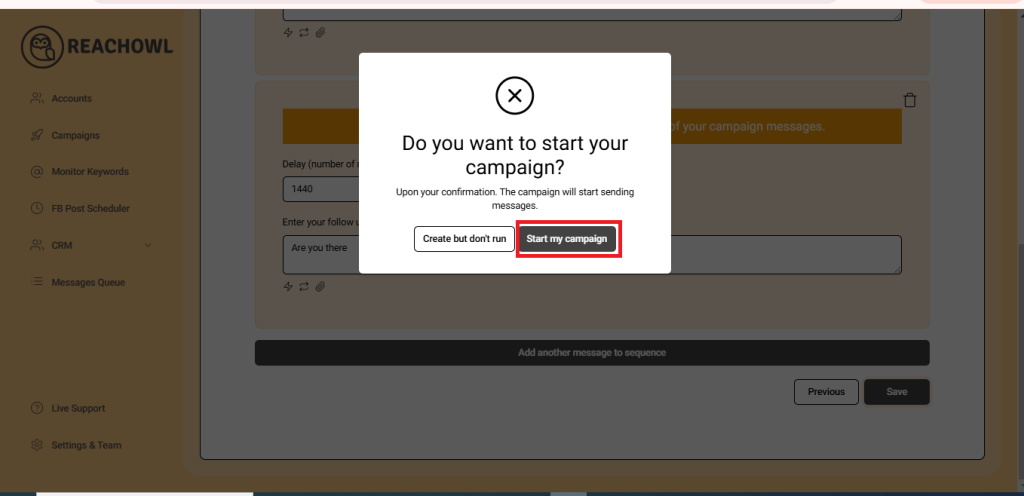
Initiate your messaging campaign by clicking “Start My Campaign.”
Step 19: Monitor and Manage
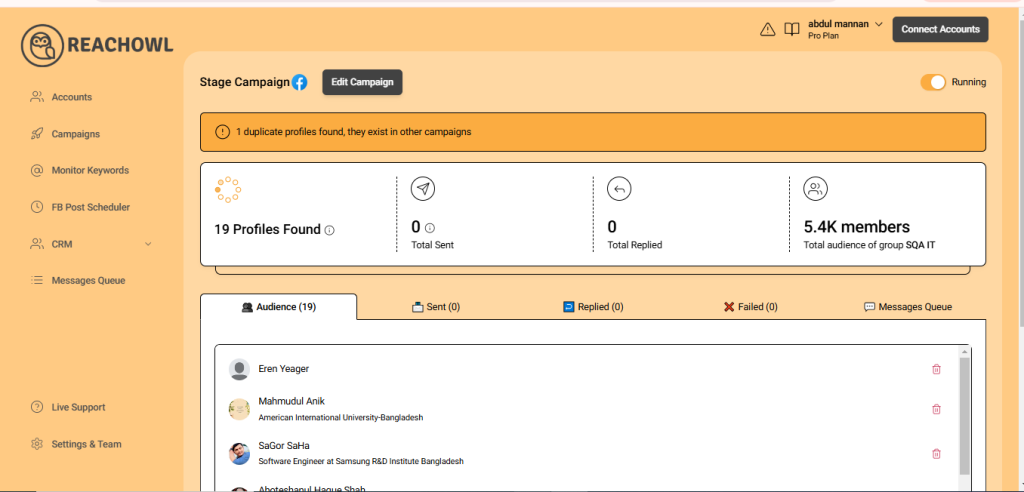
Monitor campaign progress and audiences using Advanced CRM’s comprehensive features.
Step 20: Navigate Back to Your Contact List
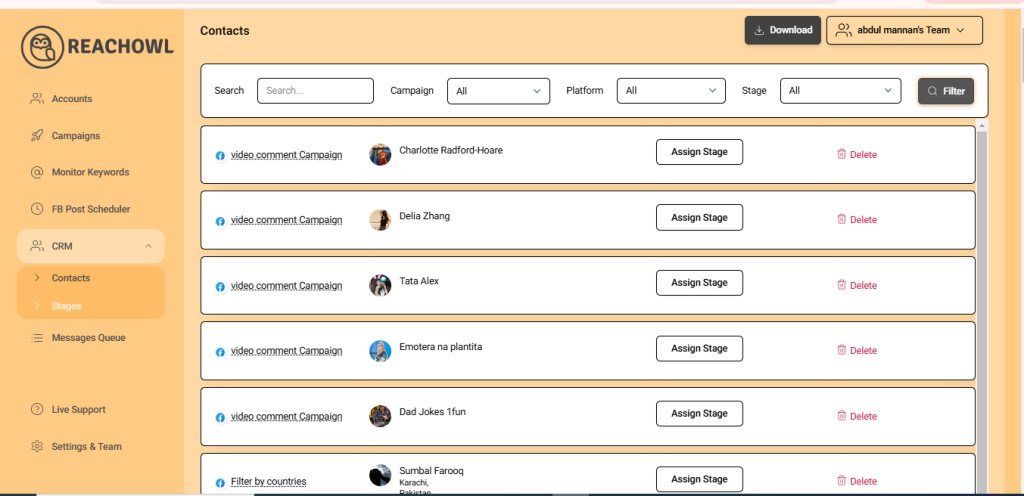
Return to your contact list by clicking on “All” to access your complete contact database.
Step 21: Filter Contacts by Campaign
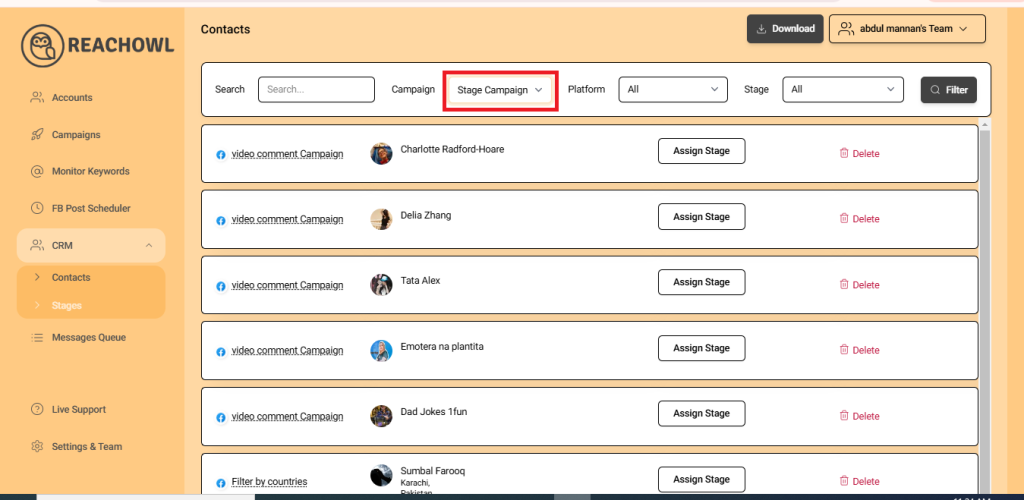
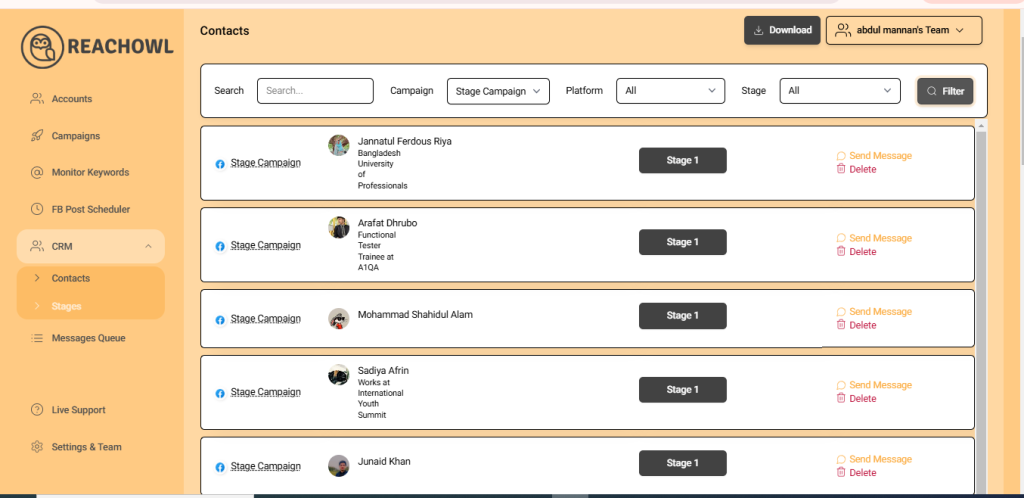
If you want to narrow down your contacts based on specific campaigns, click on the campaign you’re interested in.
Step 22: Change Contact Stages
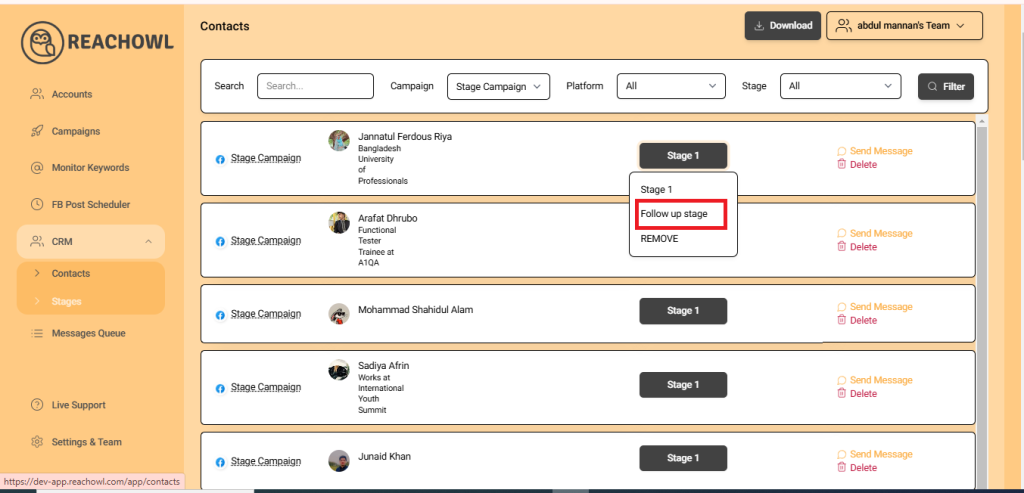
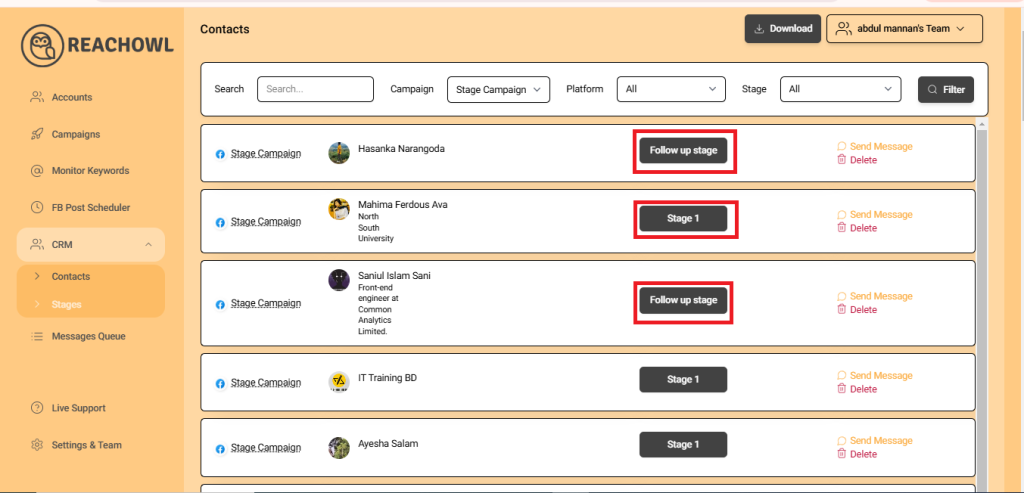
To change a contact’s stage, simply select the contact and assign them the desired stage.
Conclusion
With ReachOwl’s Advanced CRM, you have the flexibility to guide contacts through various stages, ensuring your outreach efforts are strategic and effective. So, dive into your CRM, nurture those connections, and watch your network flourish!