Managing team communications can become complex when multiple team members are involved. Fortunately, ReachOwl’s unified inbox feature allows you to send messages from your team members’ Facebook accounts while managing everything from a single, main account.
Here’s how you can effectively use this feature:
Step 1: Go to the Team Members Section
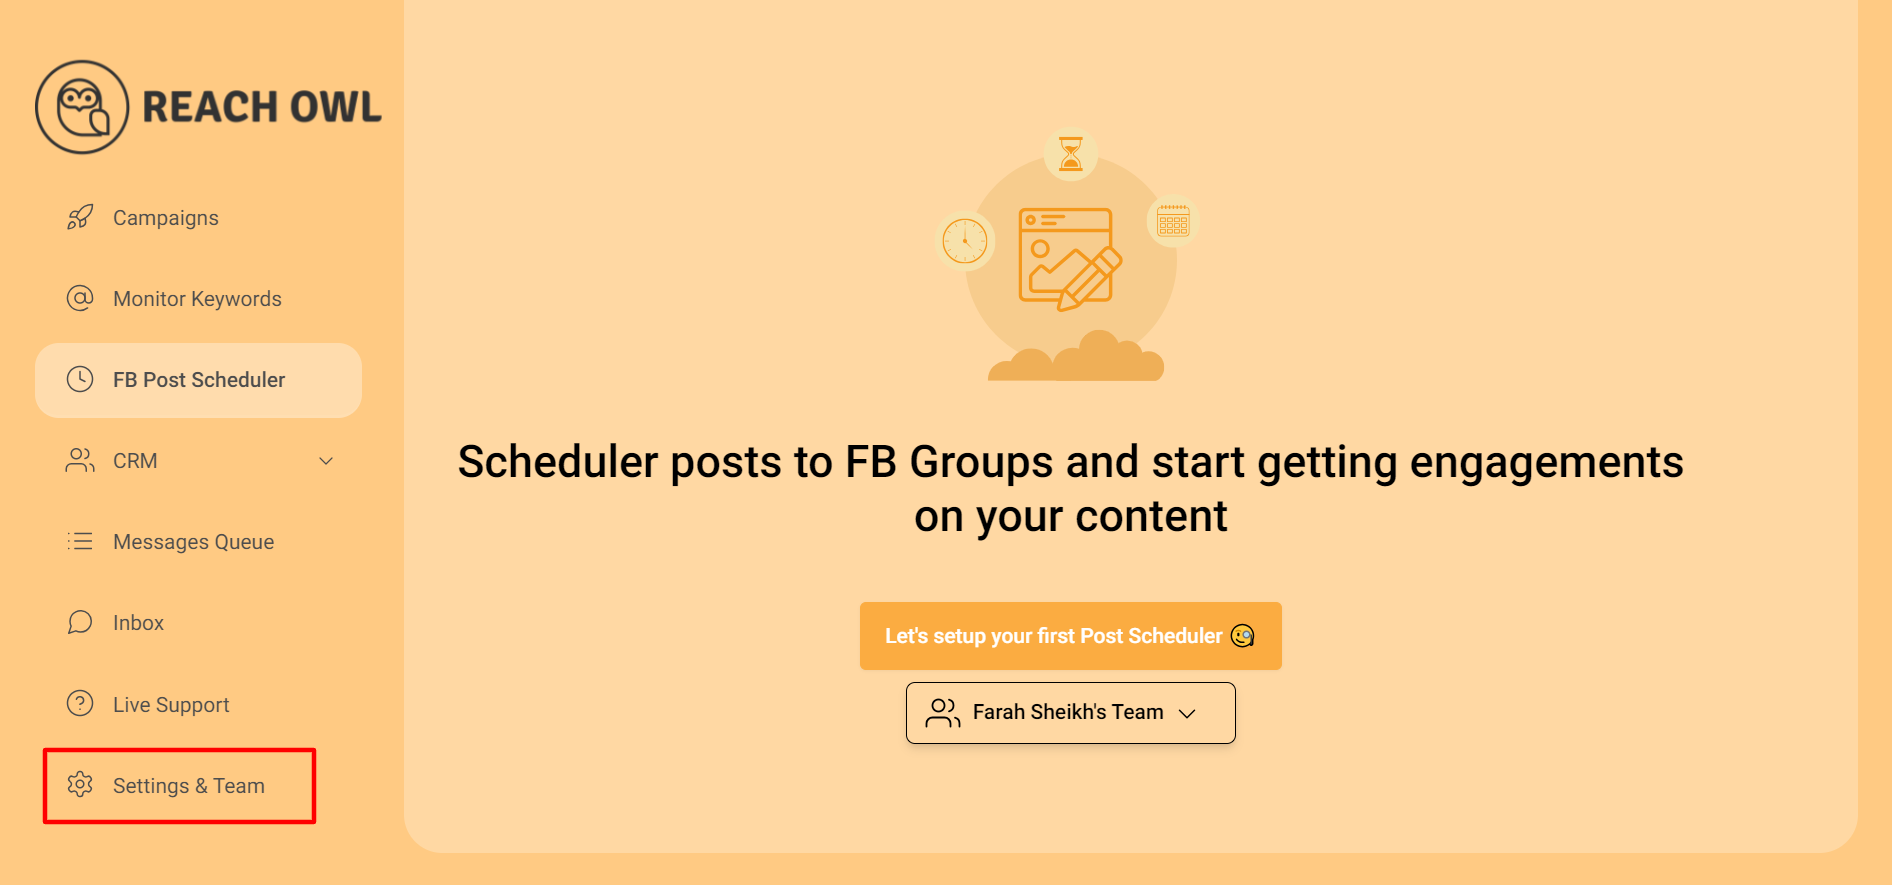
Start by going to the Settings page in your ReachOwl main account.
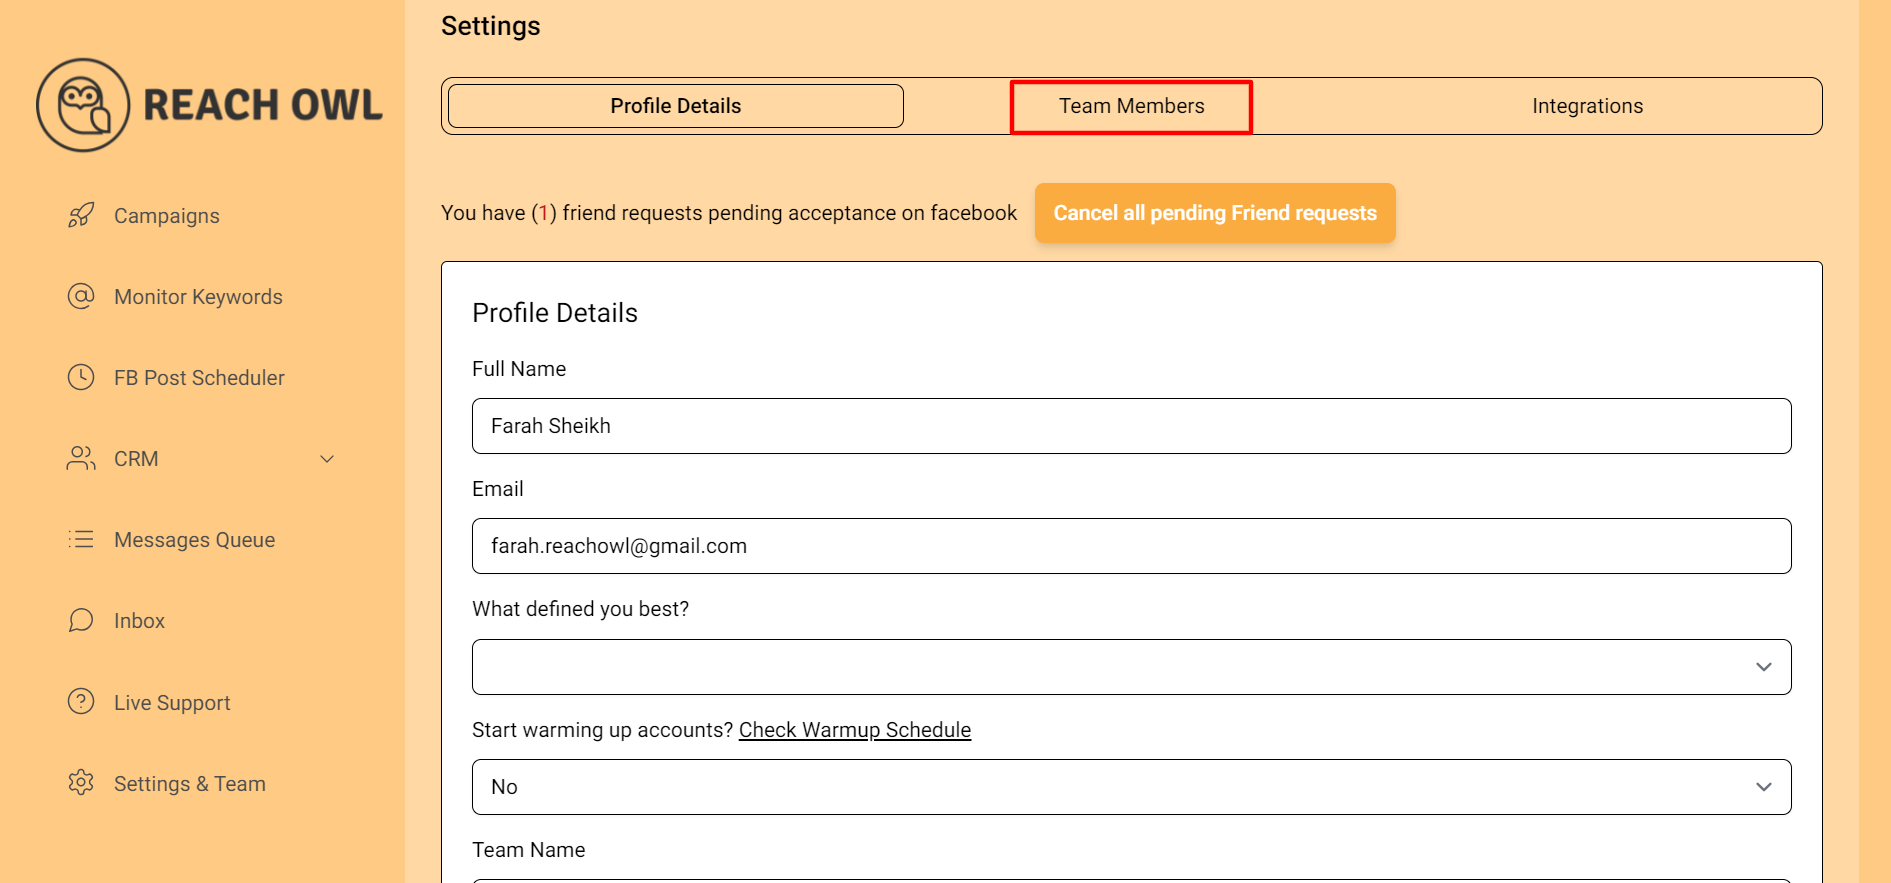
From there, click on the Team Members section.
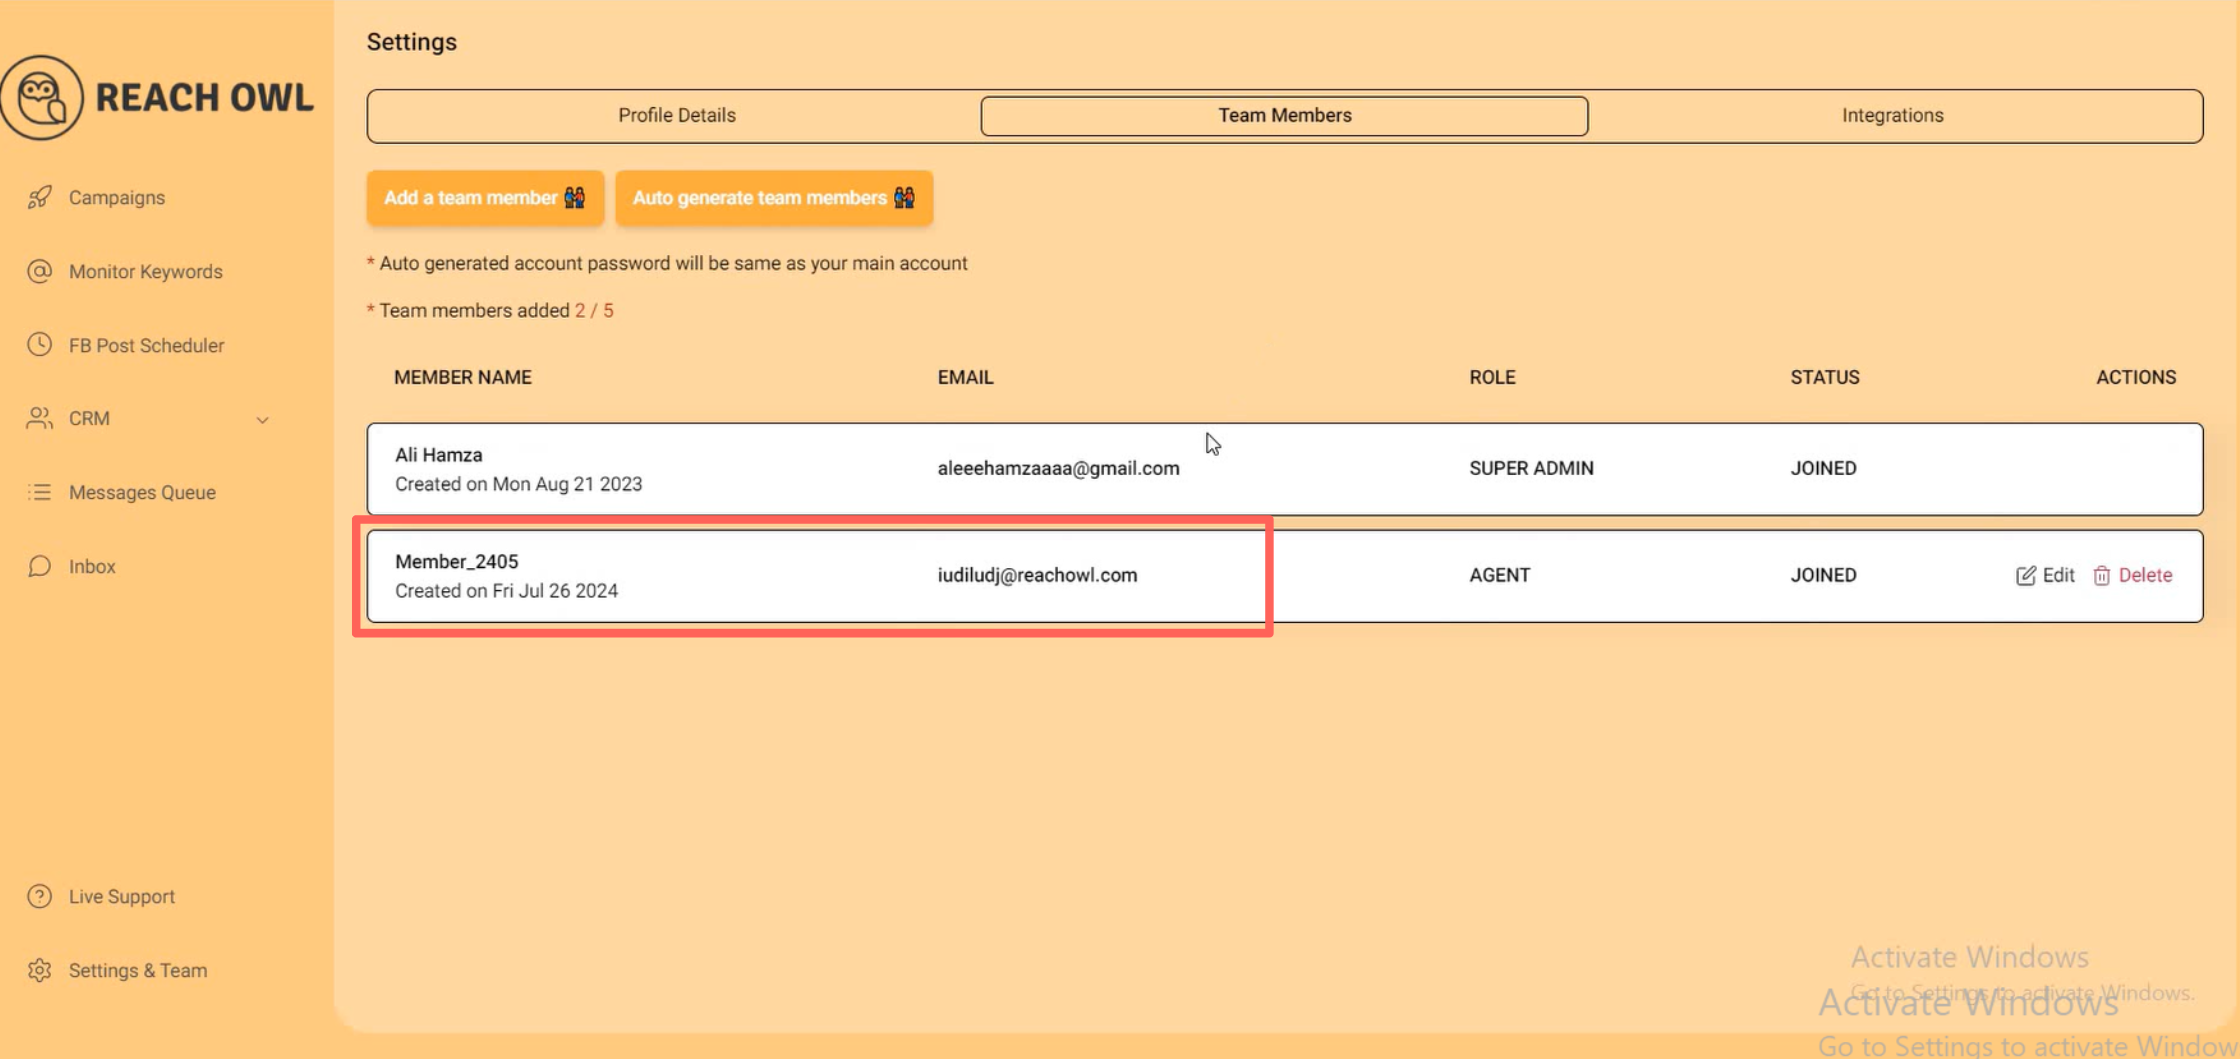
Here, you’ll see a list of team members you’ve already added.
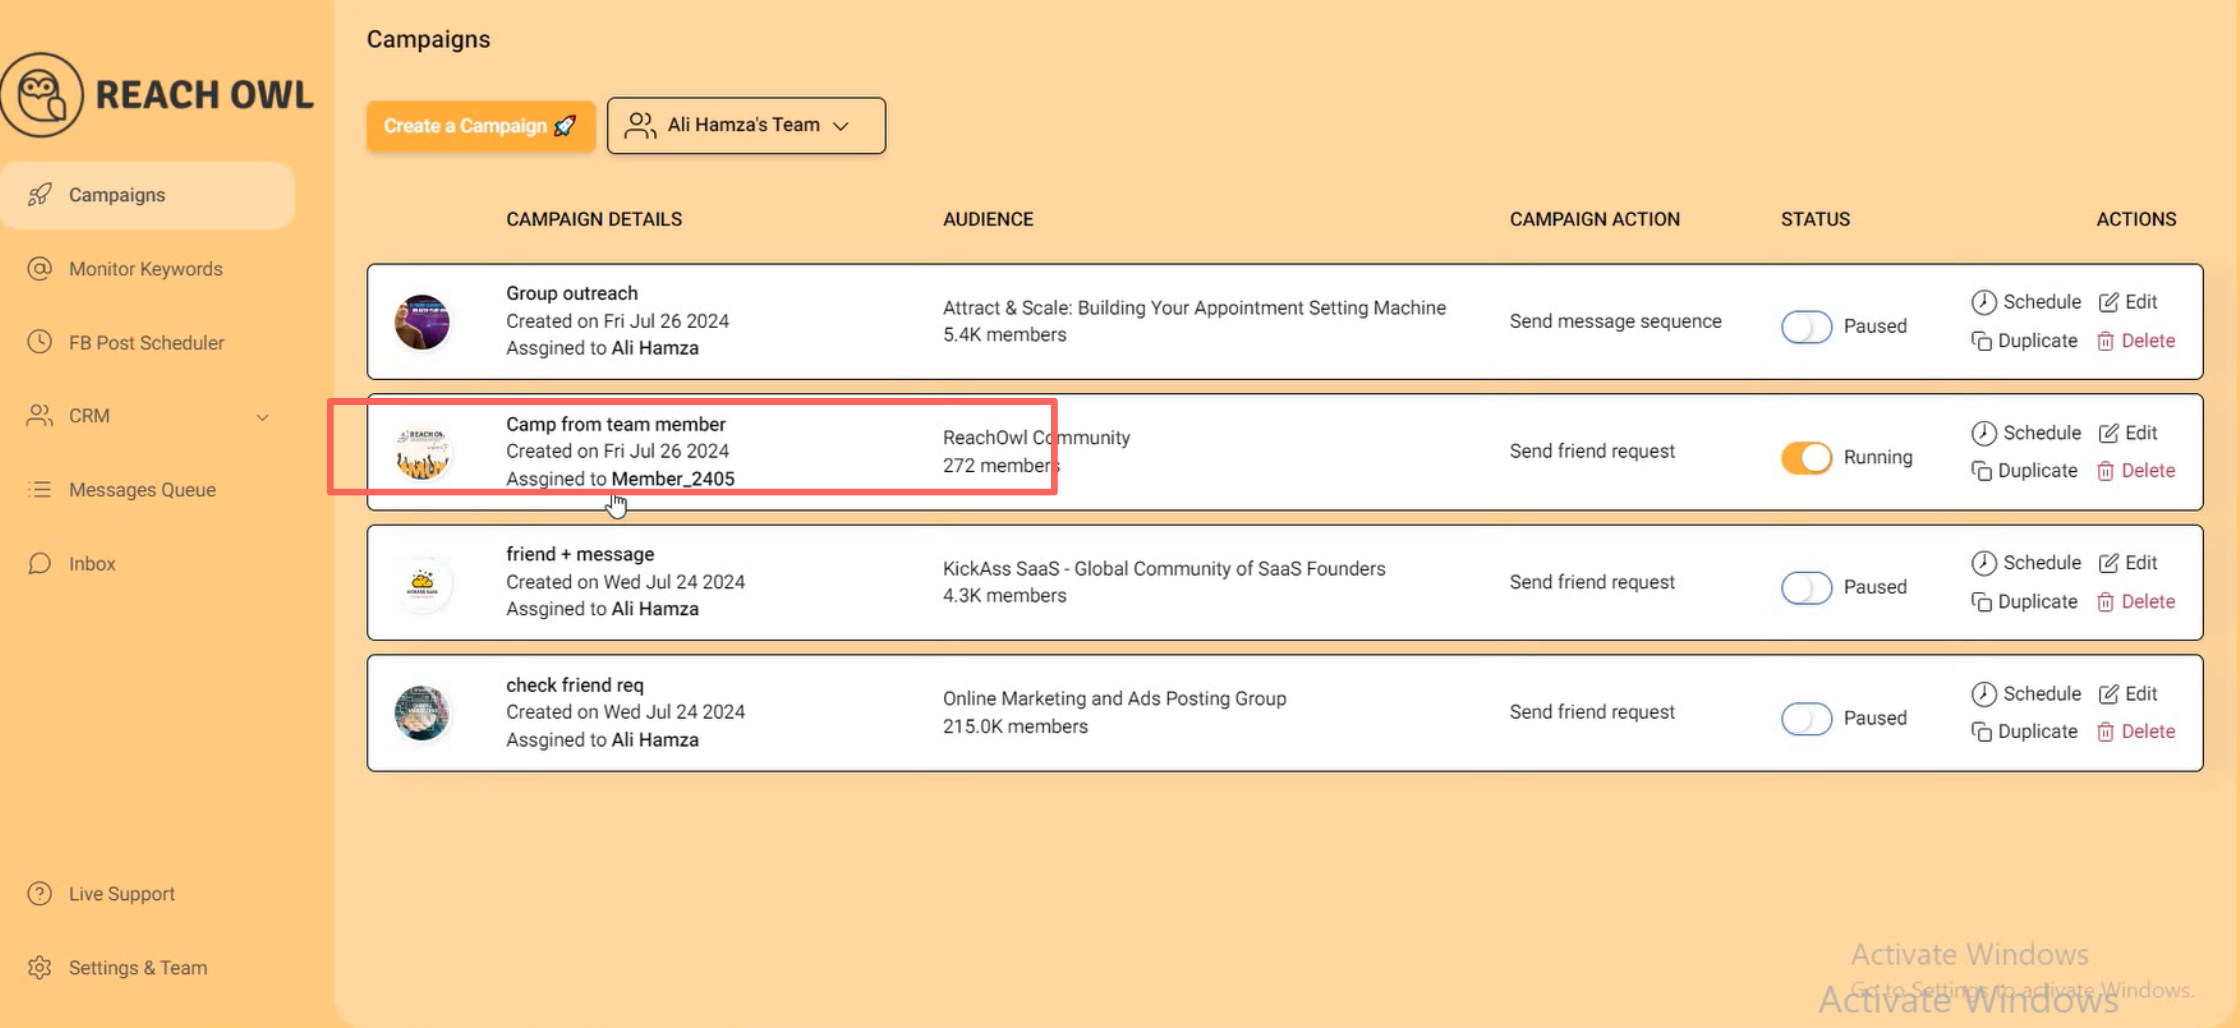
Main Account dashboard:
Team Member dashboard:
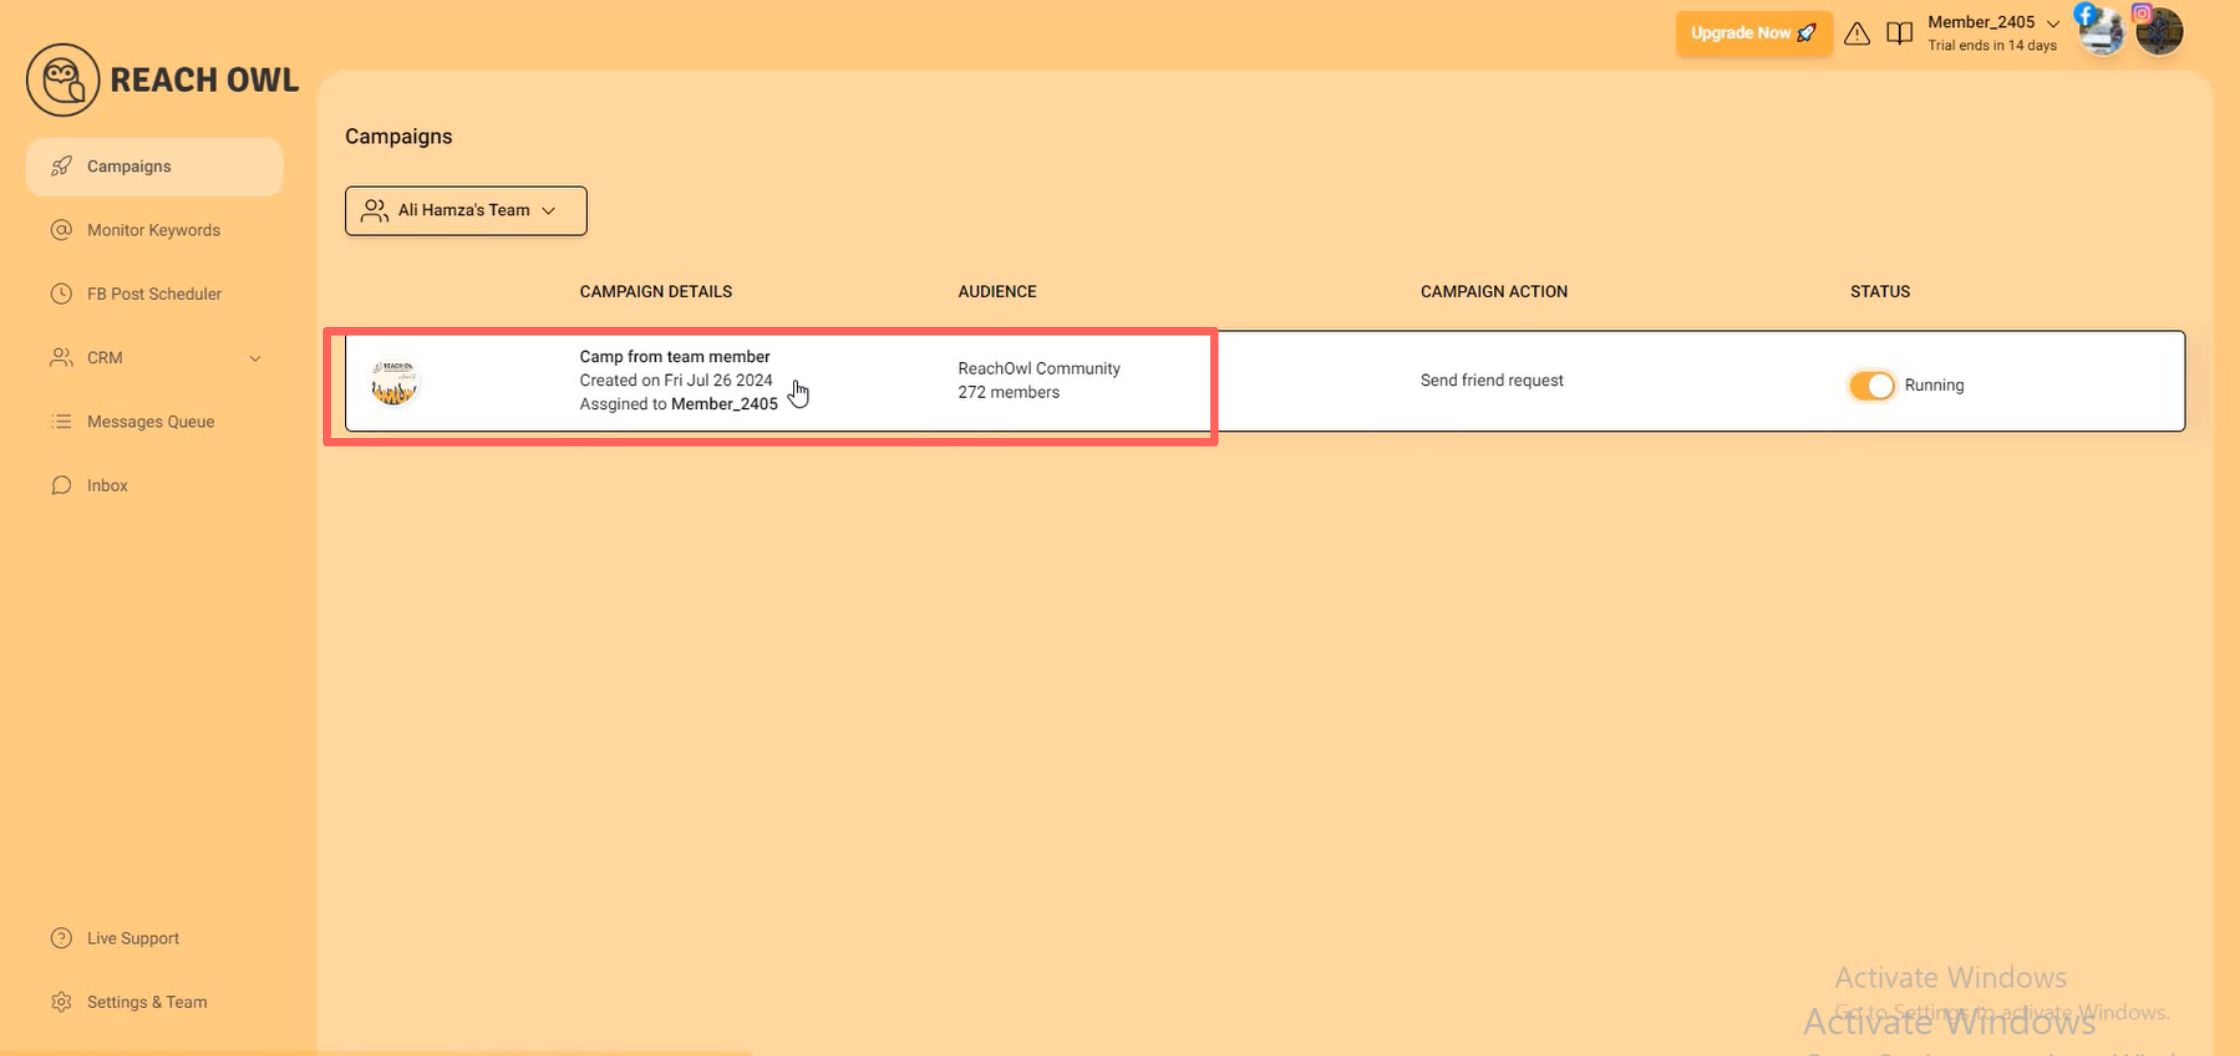
Each member’s assigned campaign will be visible on both the main account’s ReachOwl dashboard and the respective team member’s dashboard. This ensures that everyone is aligned on what campaigns are running and which member is responsible.
Step 2: Pause the Campaign on the Team Member’s Account
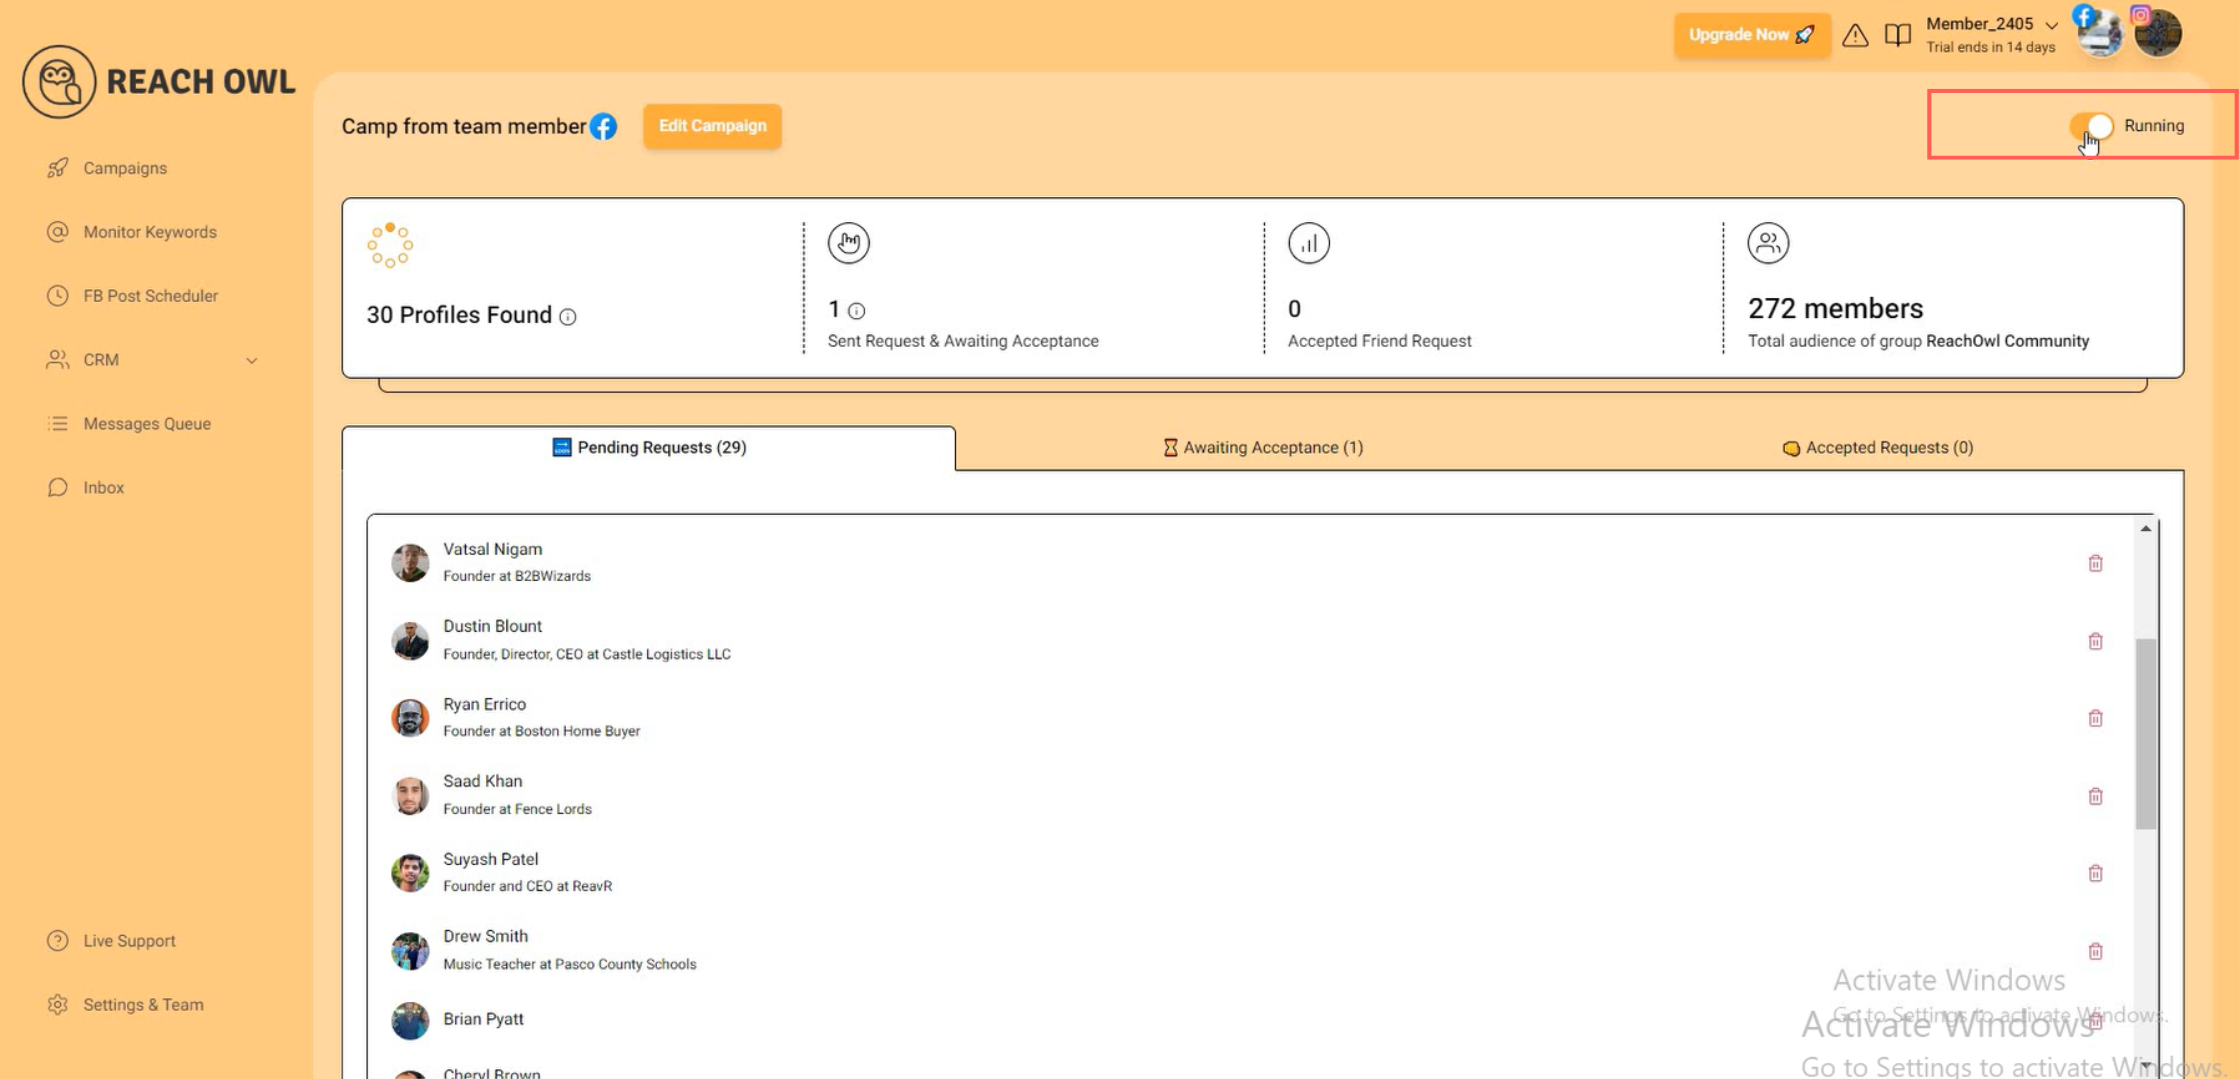
Switch over to your team member’s ReachOwl account and go to the campaign section. Find the campaign that was assigned to them and pause it.
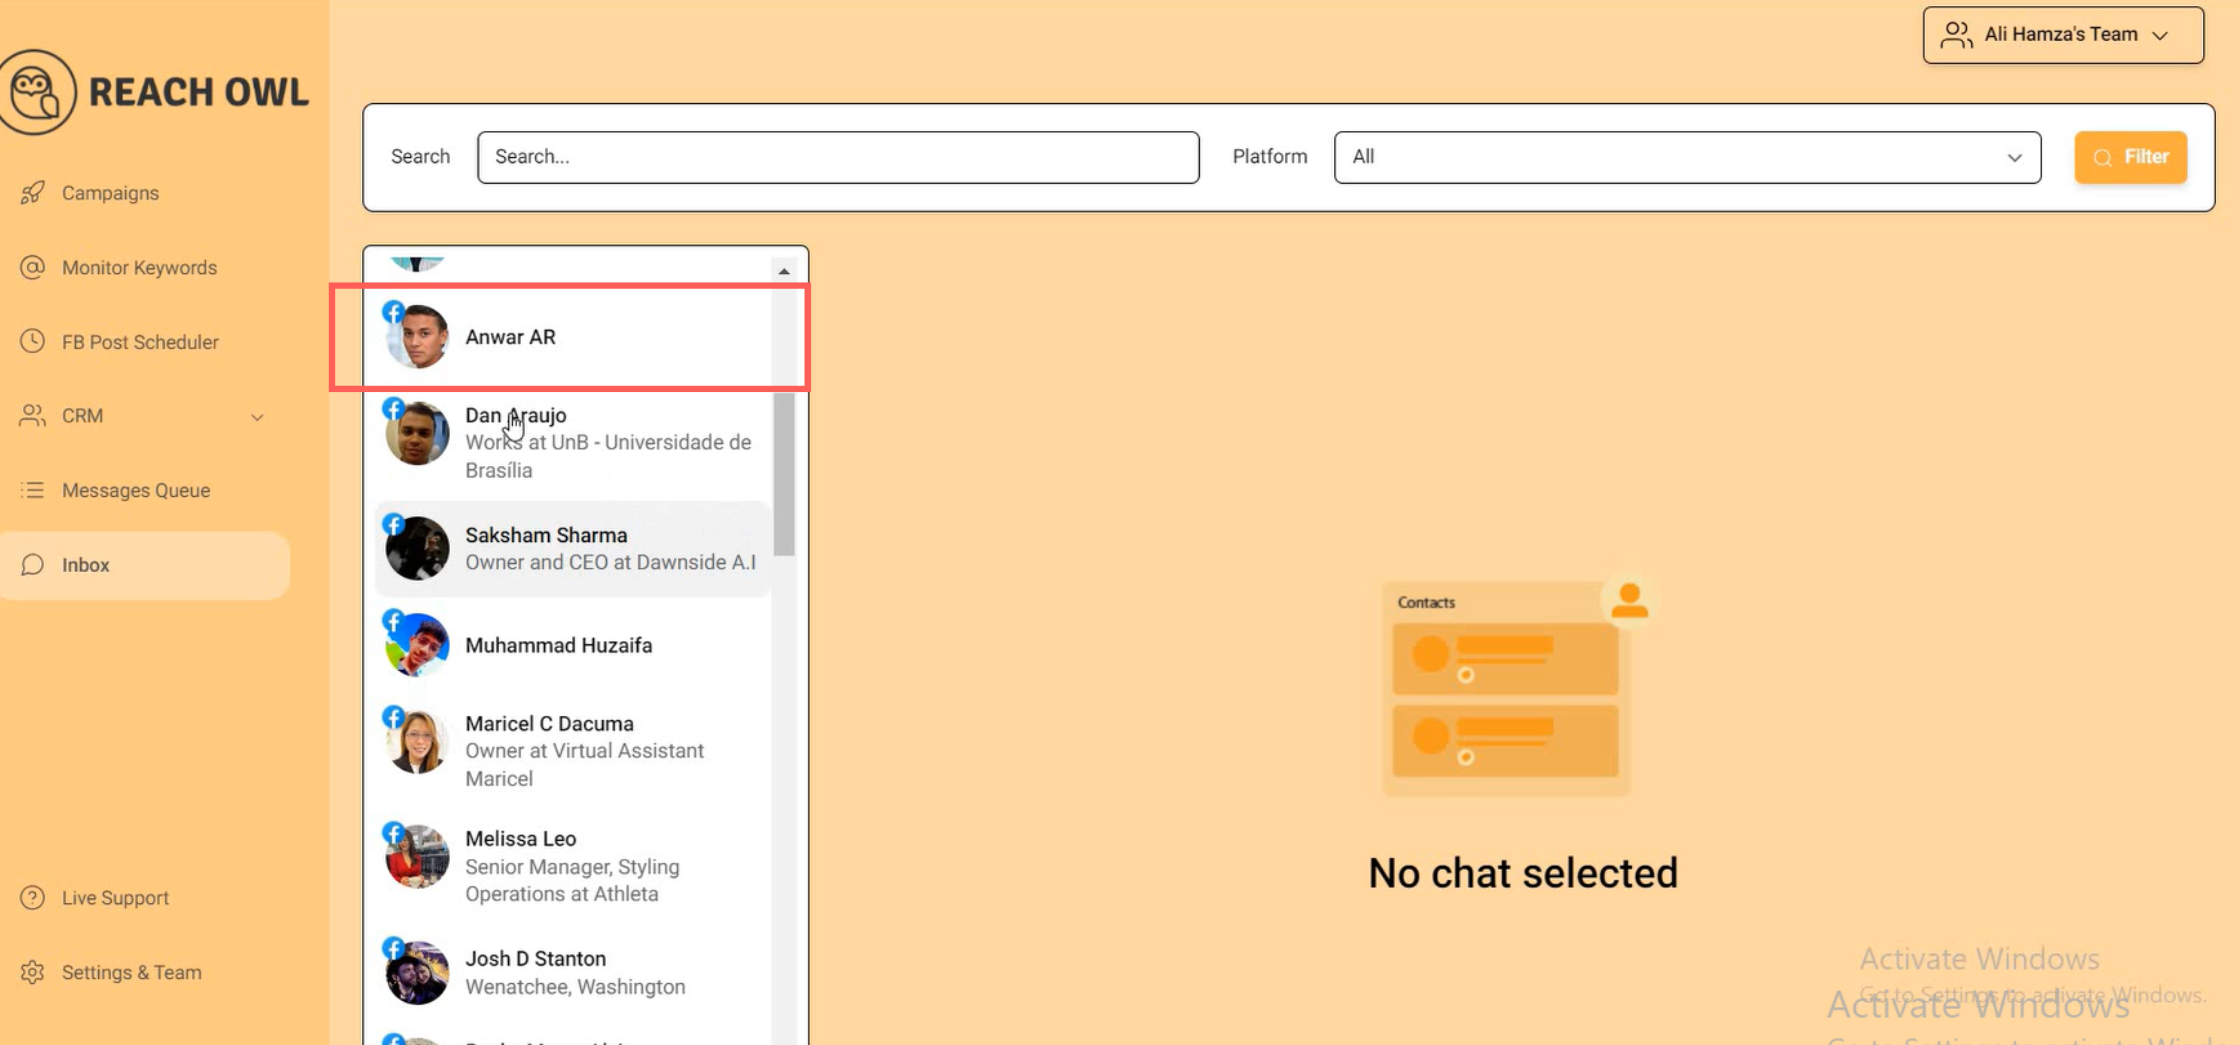
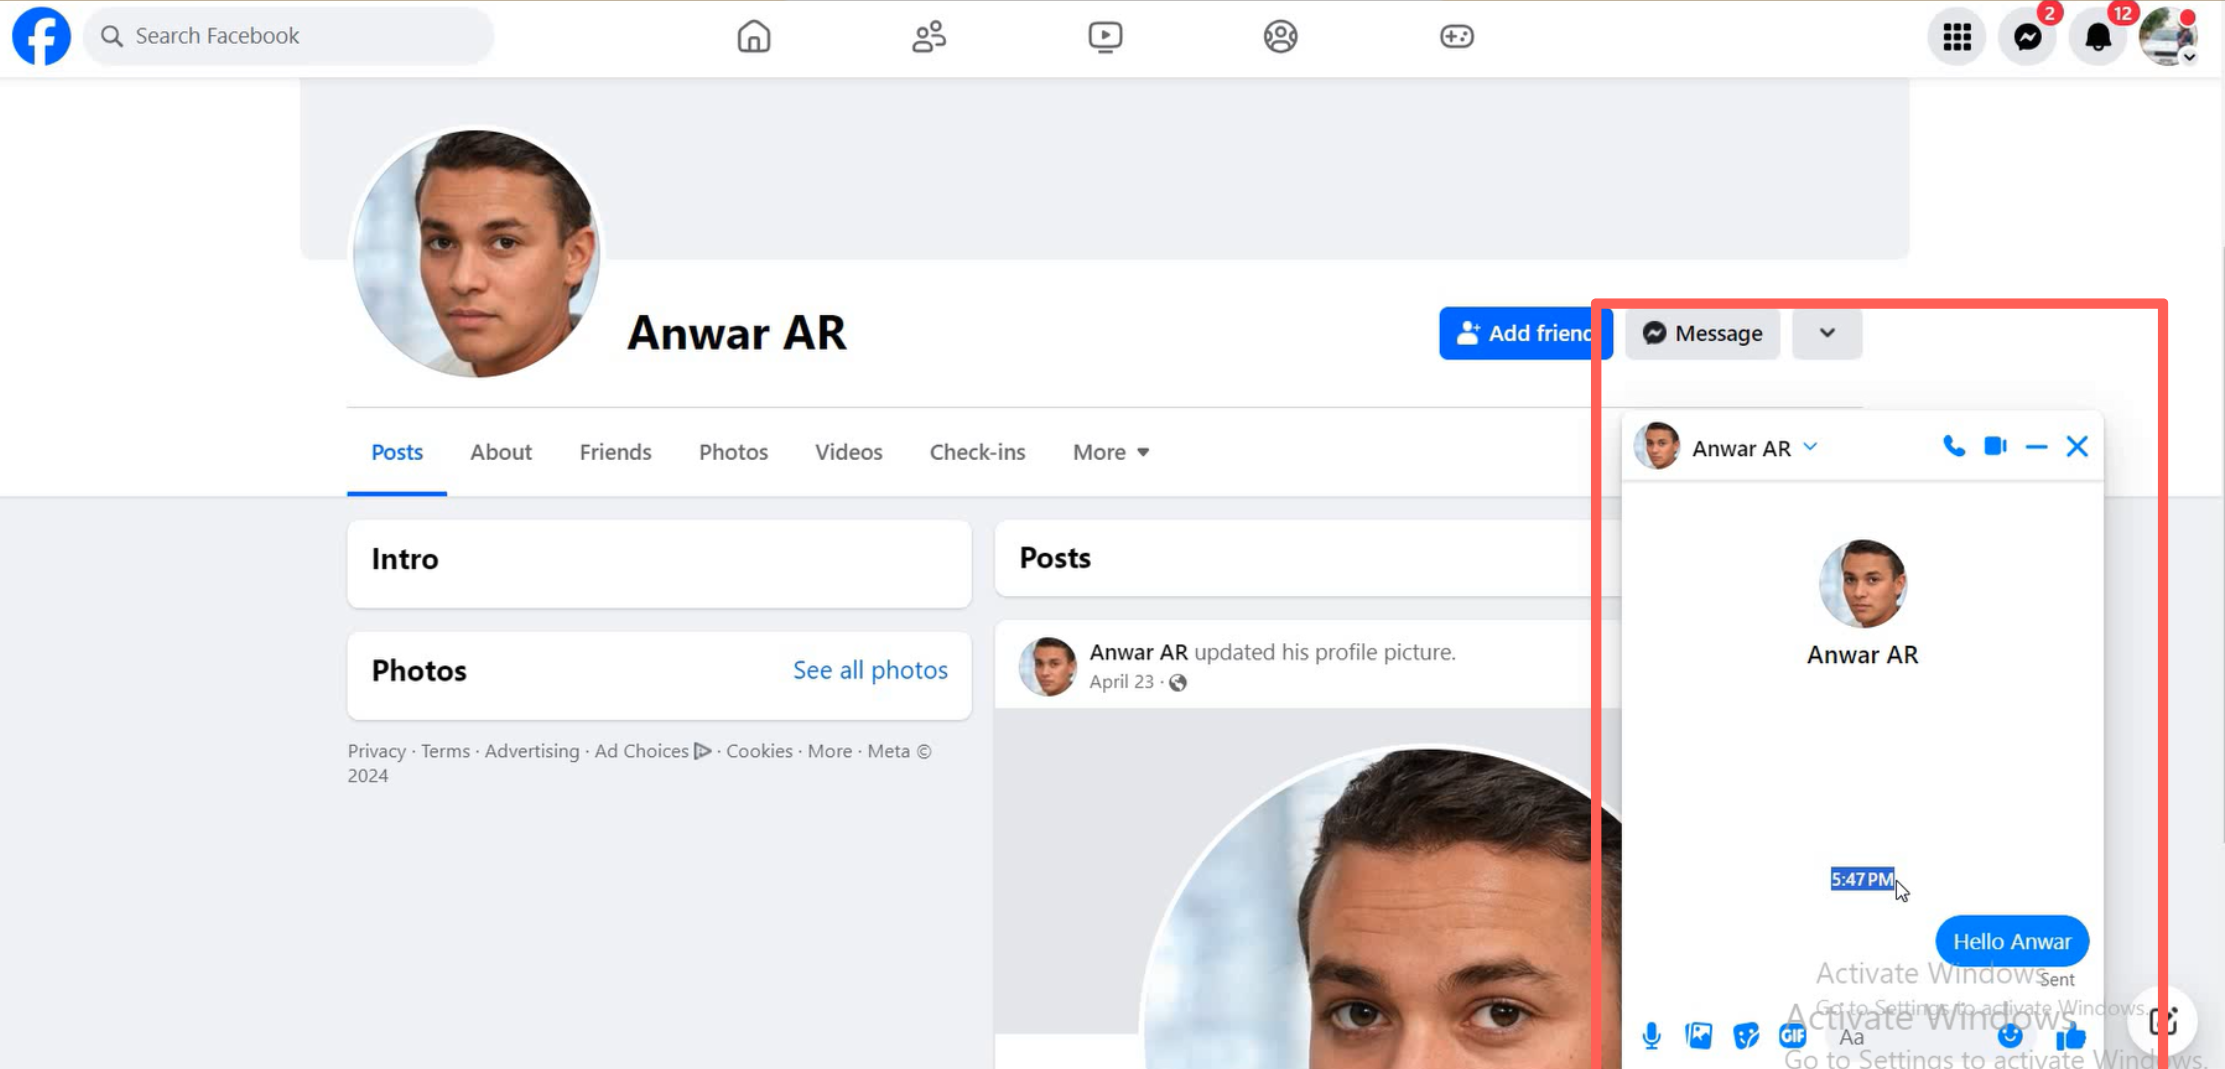
Step 3: Access the Inbox in Your Main Account
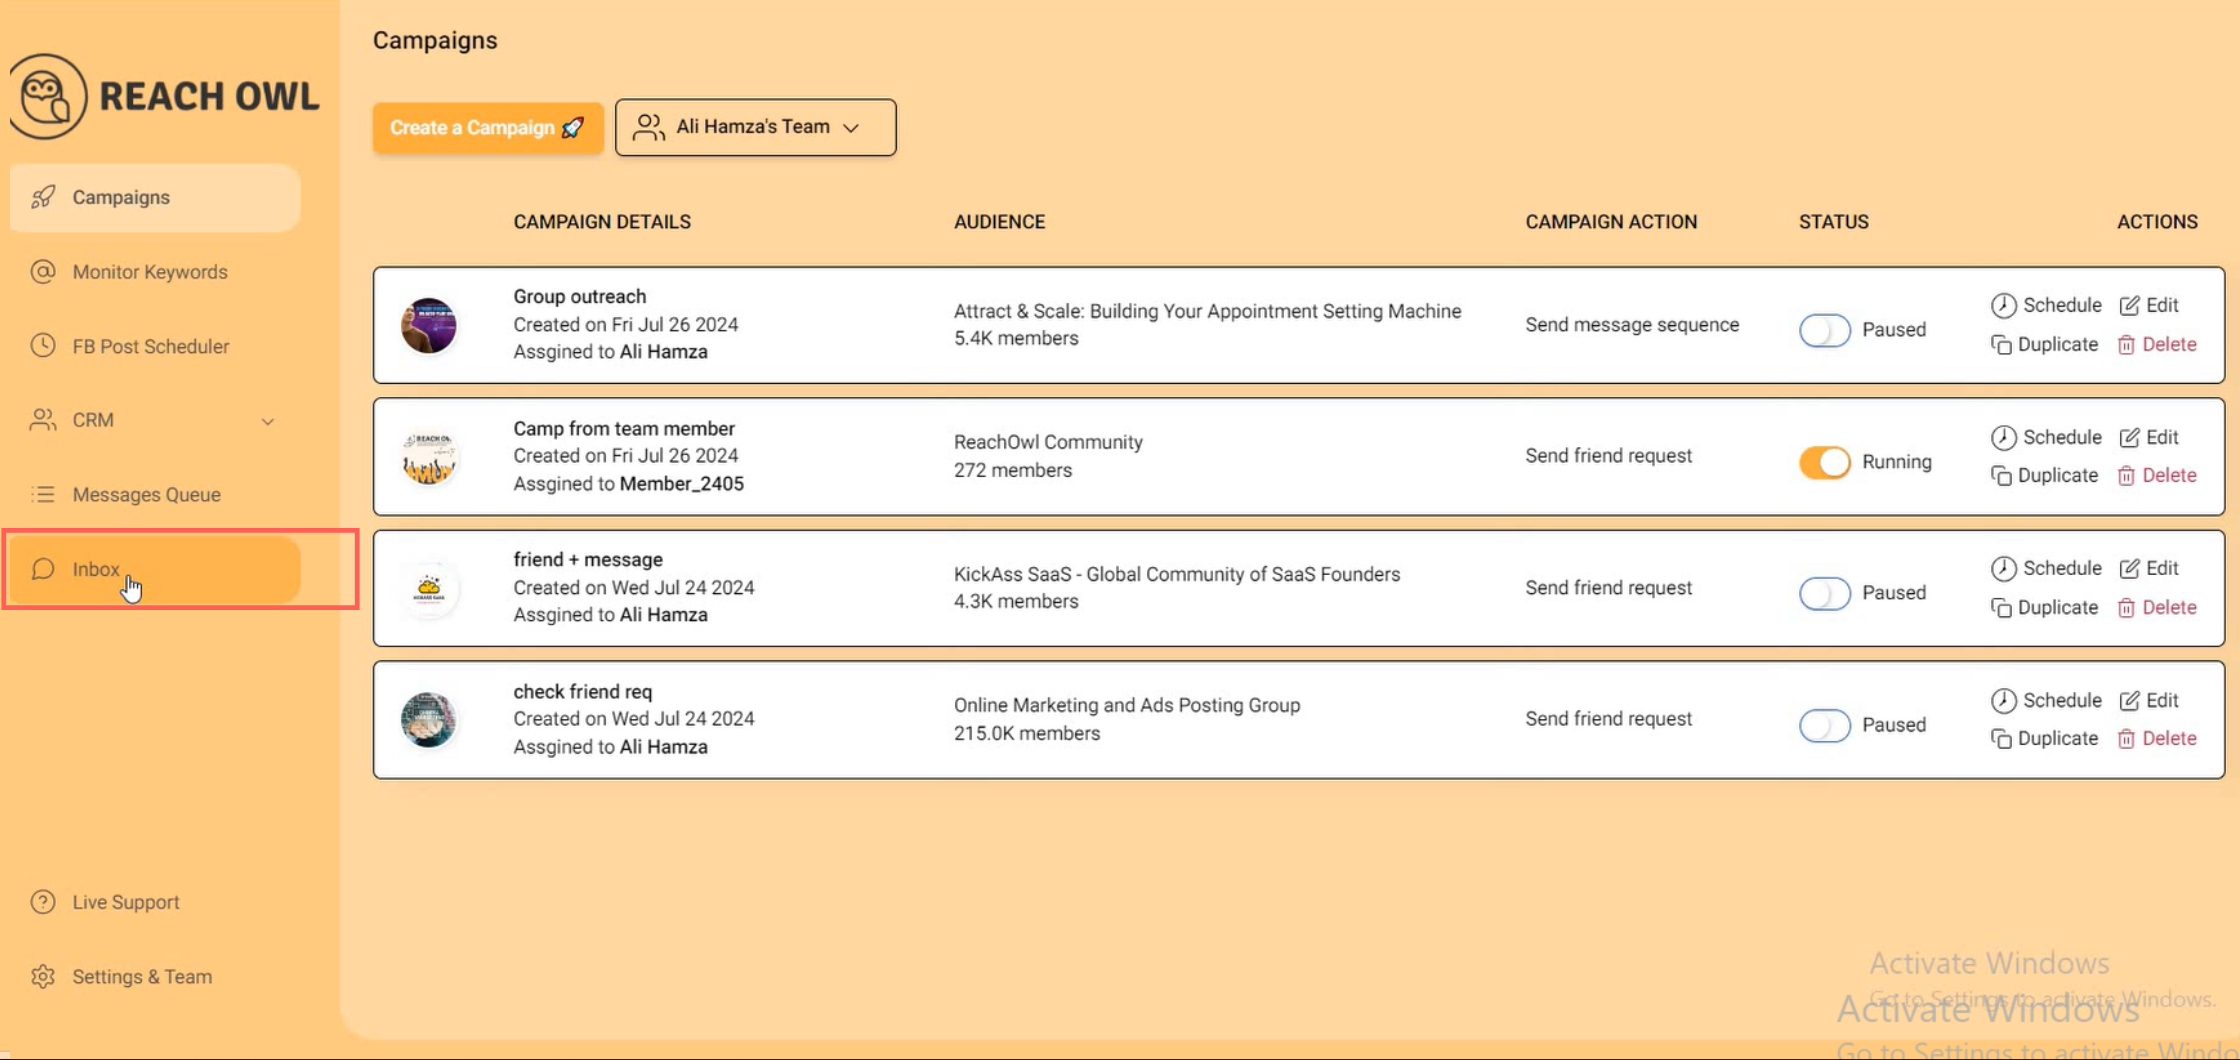
After pausing the campaign on the team member’s account, return to your main account and click on the Inbox option.
This unified inbox allows you to manage and send messages on behalf of your team members from one central location.
Step 4: Craft and Send Messages
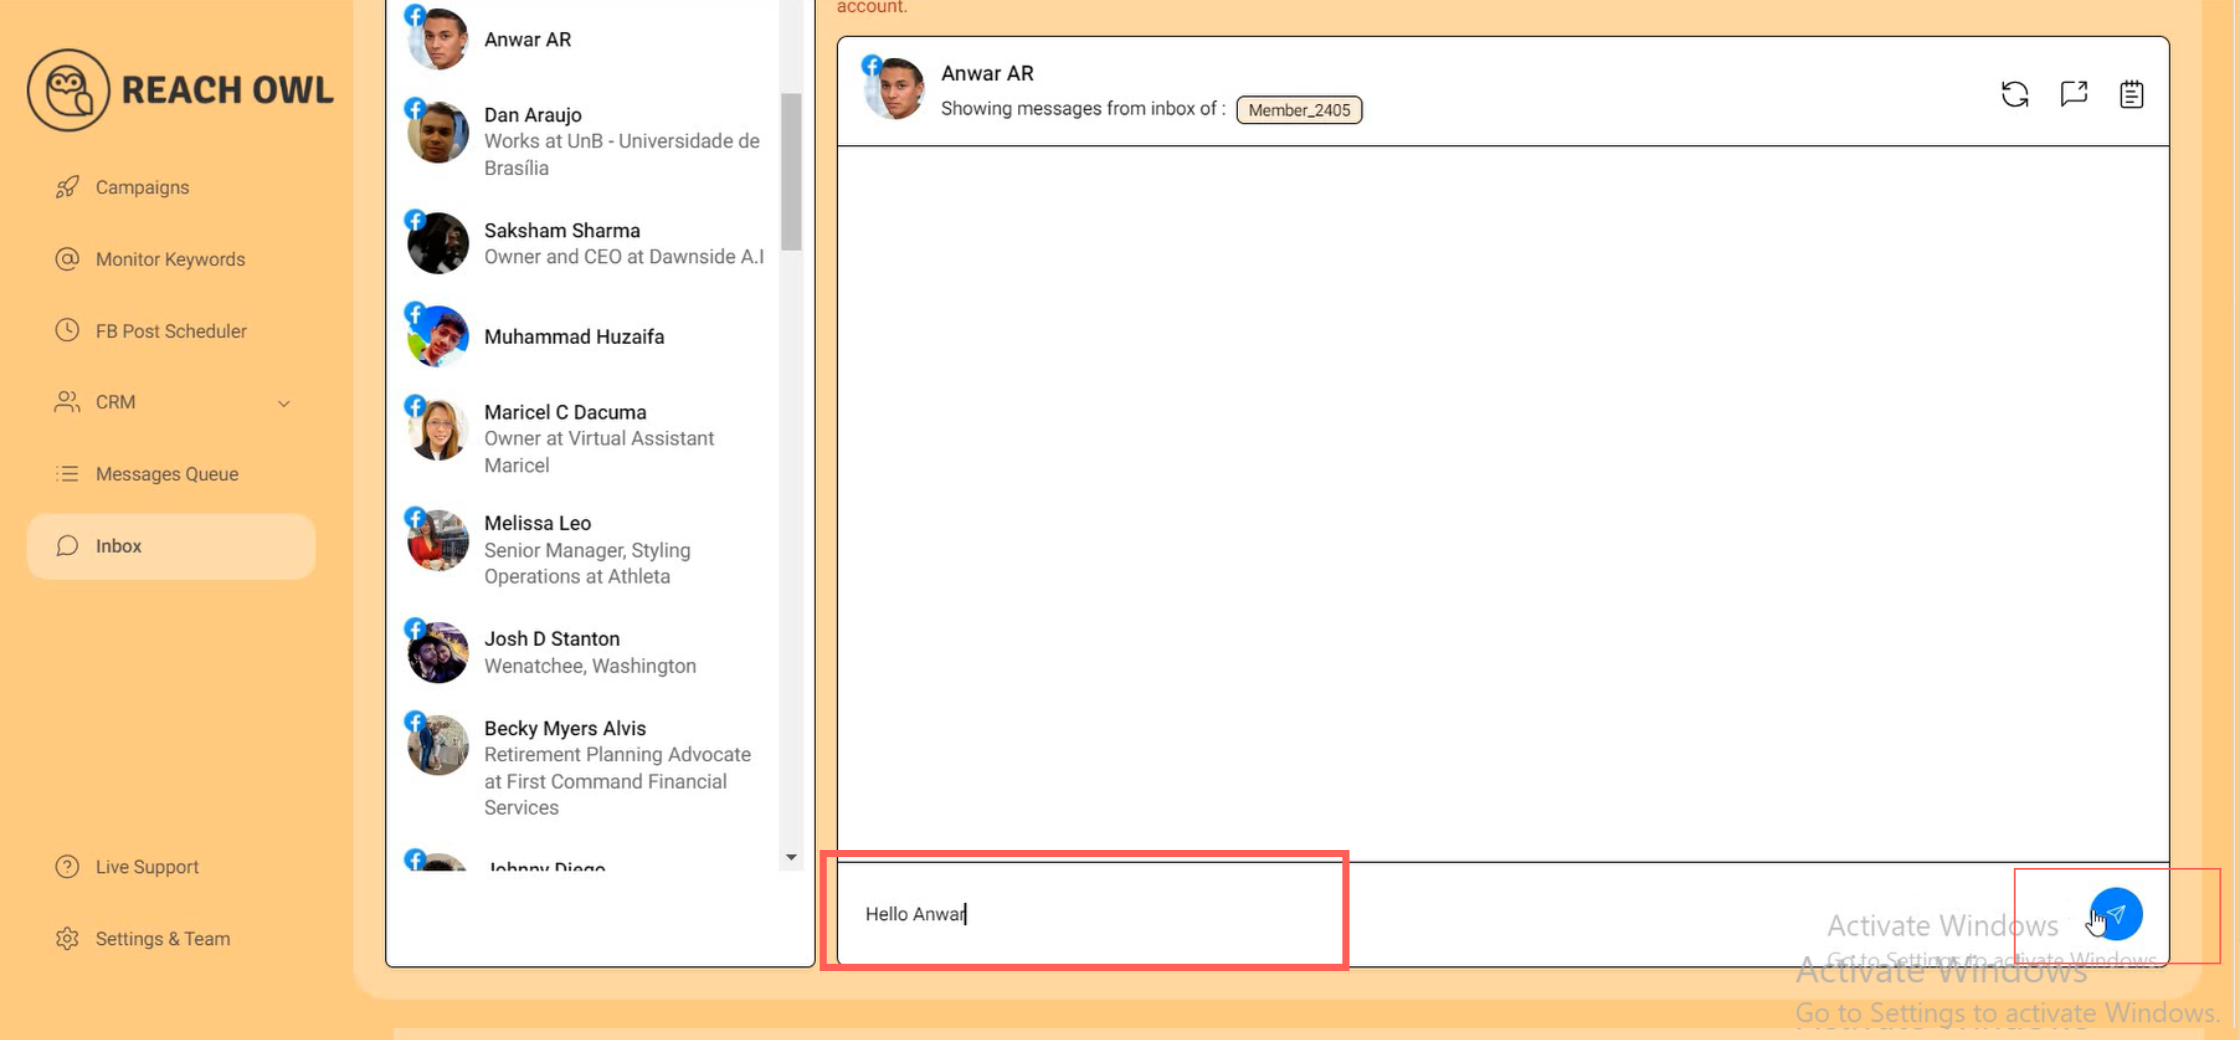
Select a profile from the filtered list and craft your message. Click on the “Send” button.
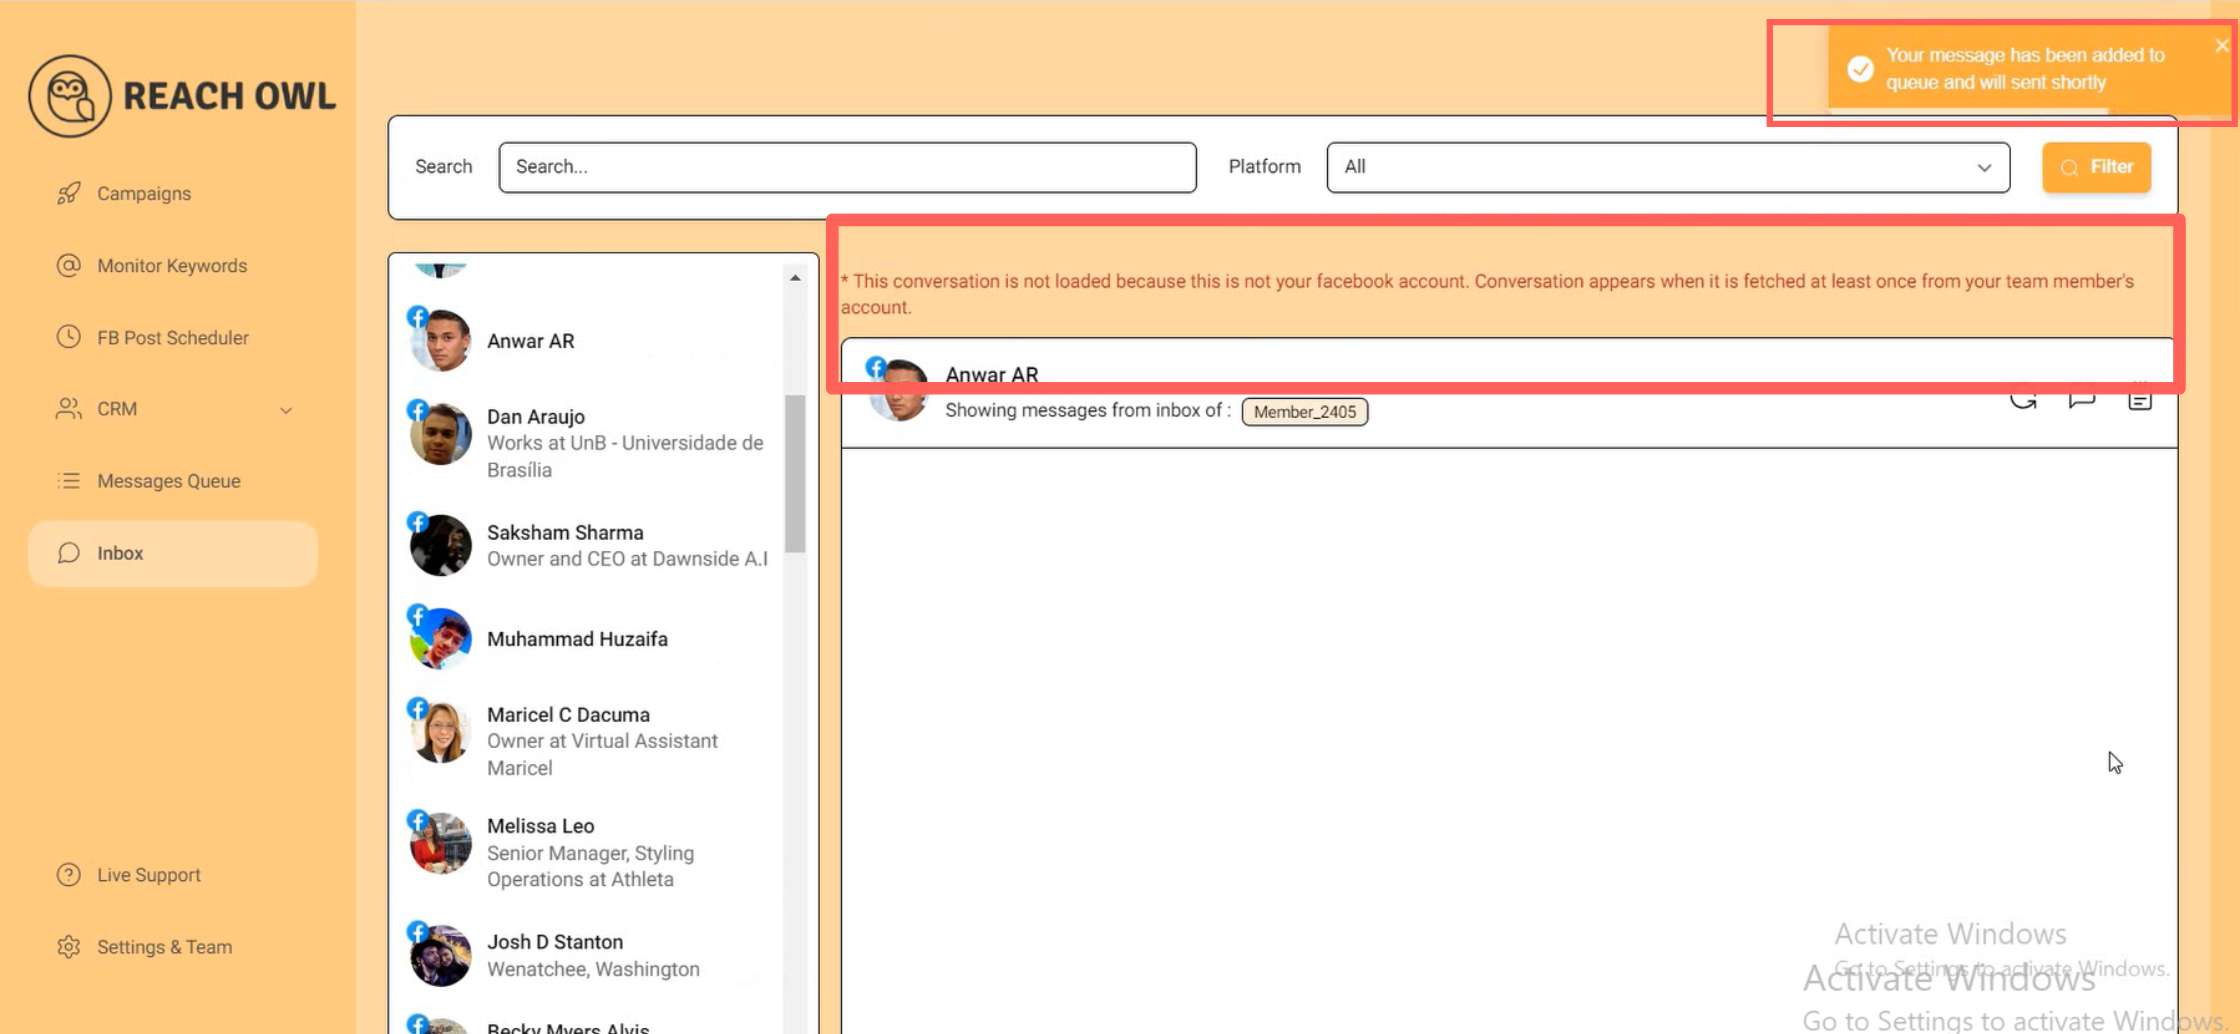
You will receive a notification indicating that your message has been added to the queue and will be sent shortly. However, note that the conversation might not load on the main account’s inbox or message queue as it will appear on your team member account.
Step 5: Check the Message Queue on the Team Member’s Account
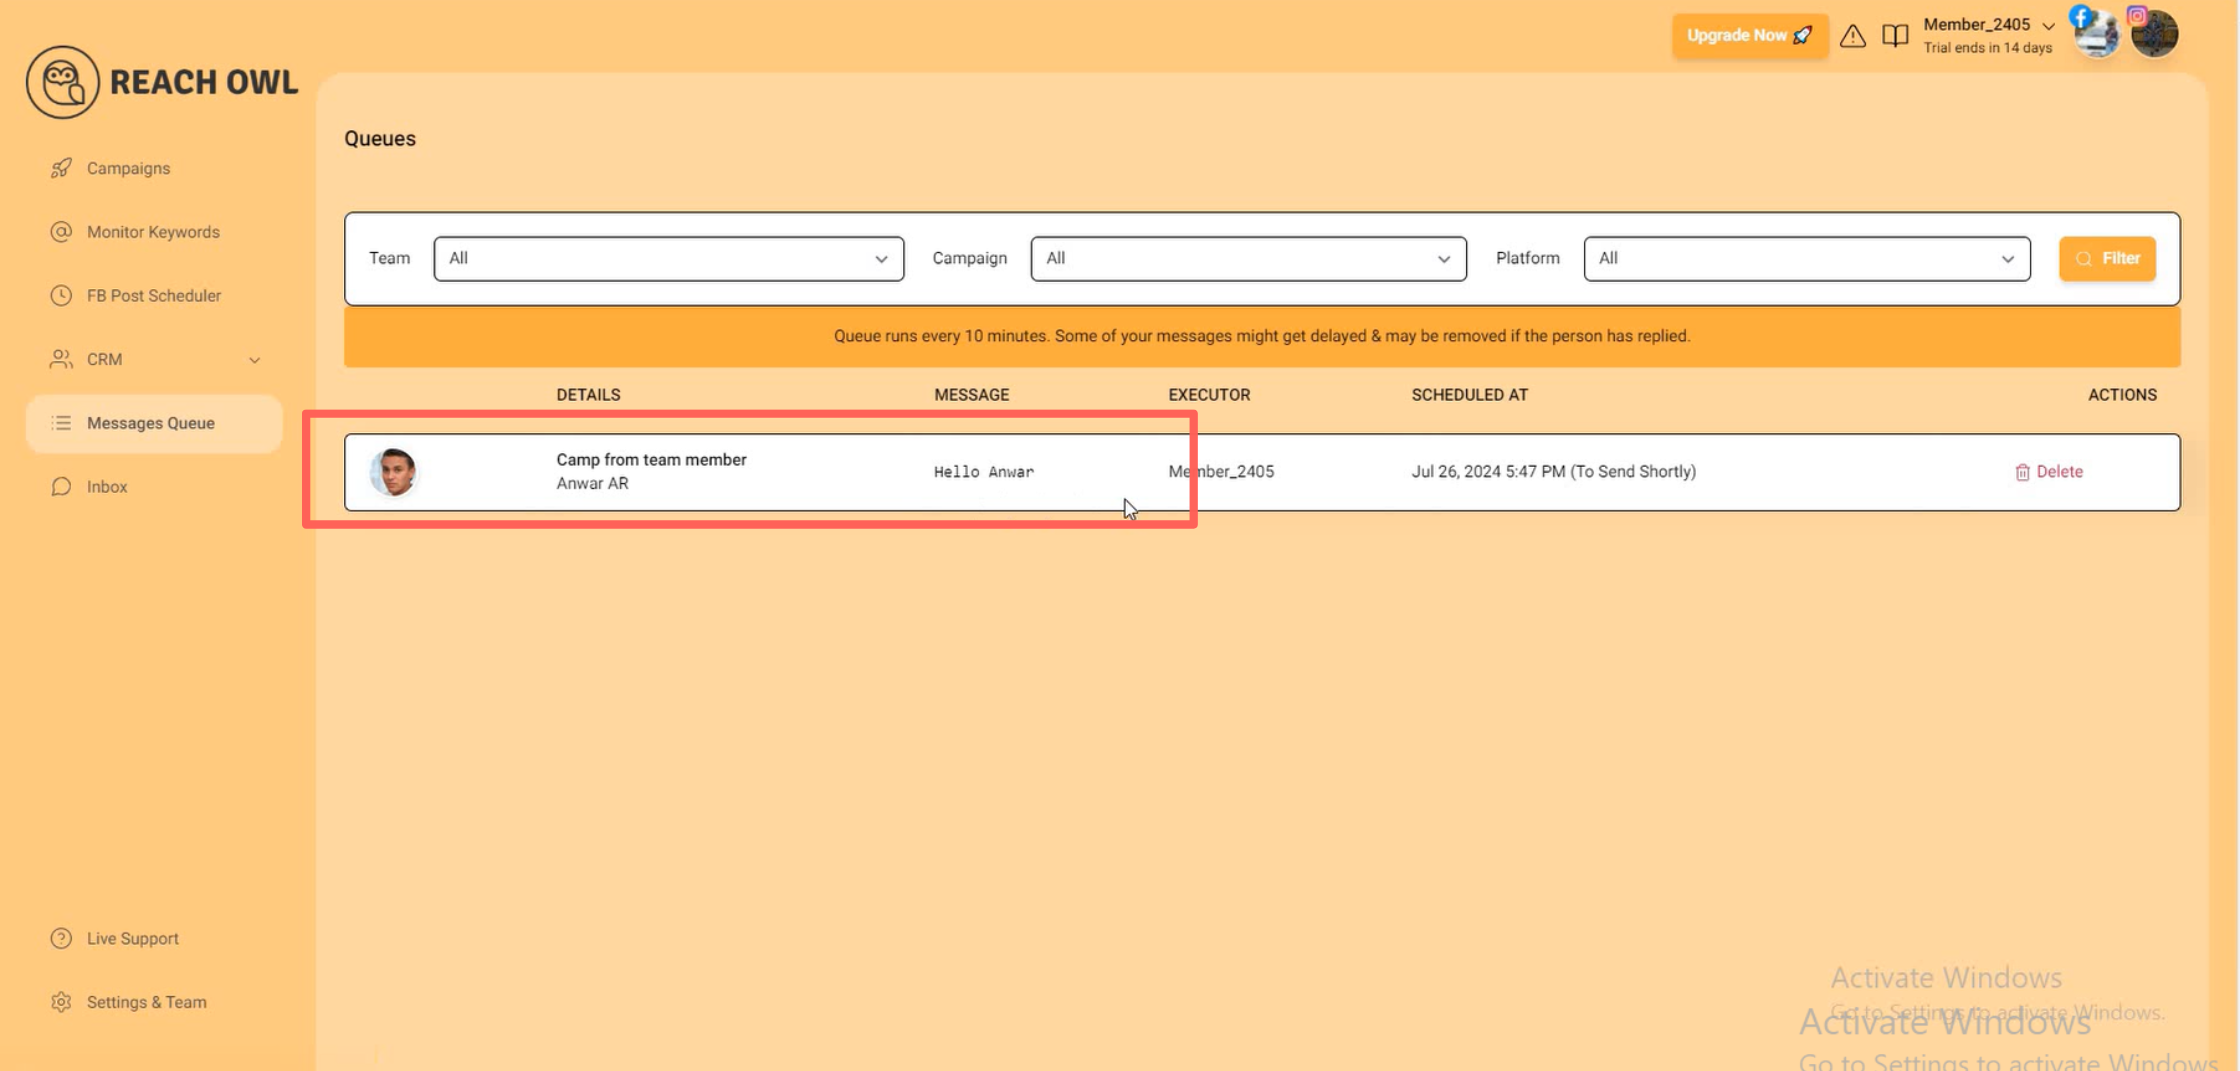
Next, go back to the team member’s ReachOwl account. Go to the Message Queue option to check the status of your sent messages. If your message is present in the queue, it means it has been successfully sent.
If the message hasn’t appeared on Facebook yet, refresh the chat in ReachOwl. This should trigger the message to send, allowing you to confirm that it was delivered on time.
Step 6: Monitor the Campaign from the Team Member’s Account
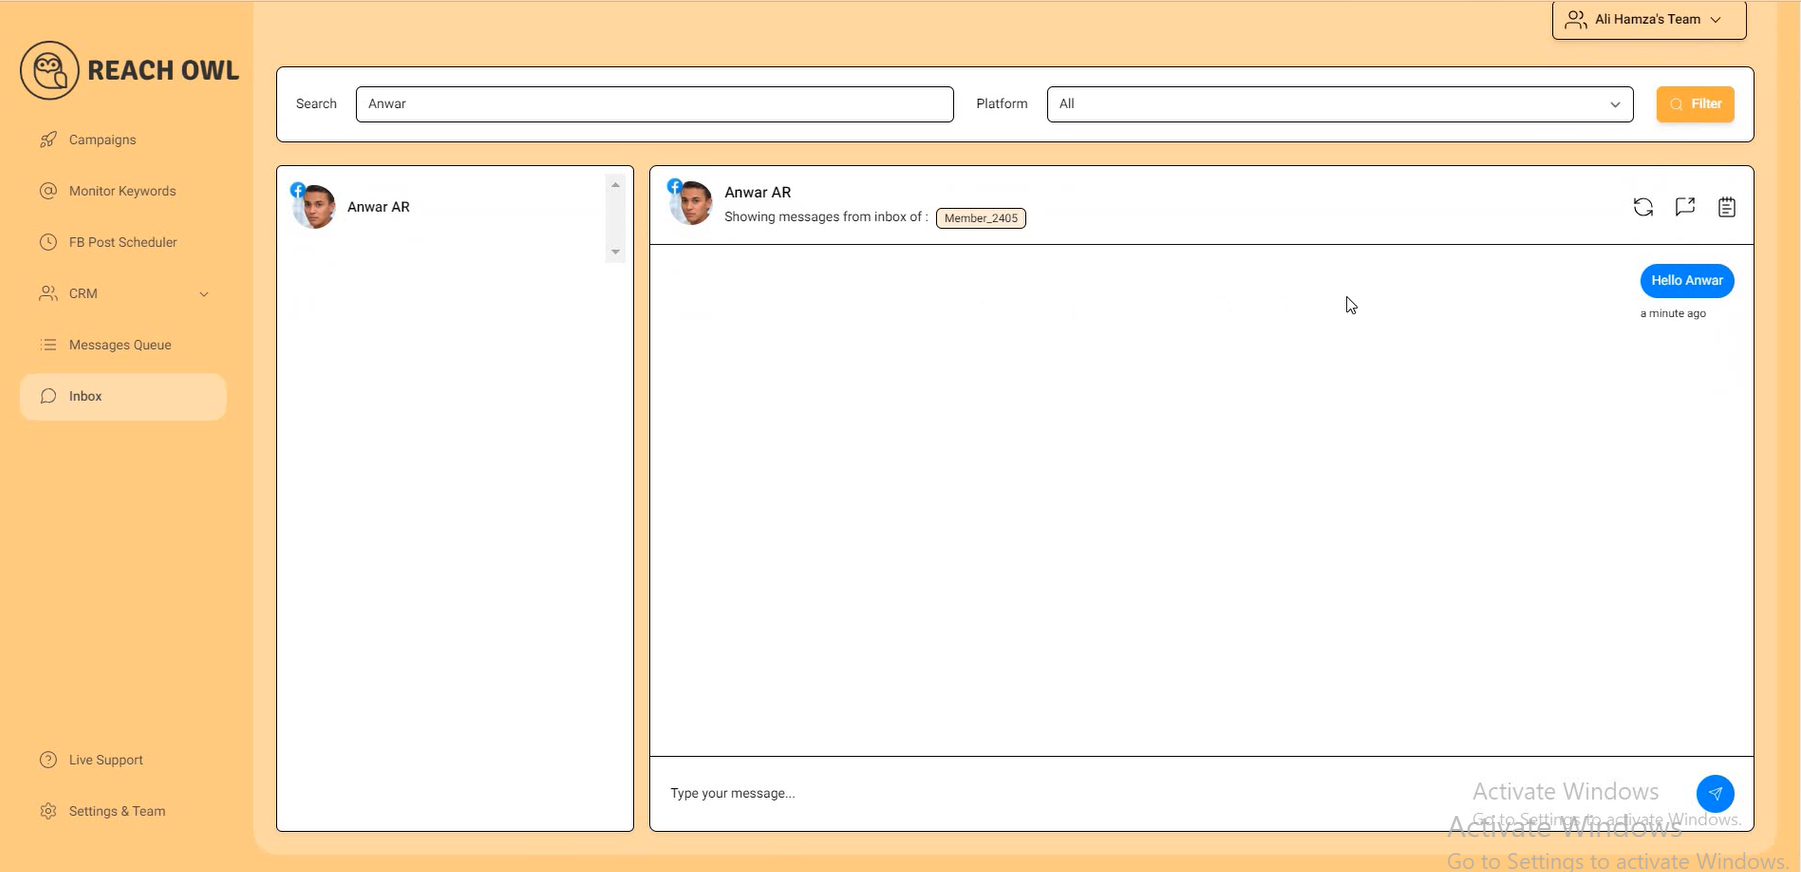
Continue monitoring your campaign by using the team member’s account. Go to the Inbox section, search for the profile, and verify that your message has been sent successfully. You will see that the message appears in the team member’s inbox and main account’s inbox section.
Conclusion
By following these steps, you can improve your team communication efforts and ensure that your messaging campaigns are executed smoothly, even when multiple accounts are involved.
The unified inbox feature in ReachOwl simplifies the process, enabling you to manage conversations from various accounts without needing to constantly switch between them.